
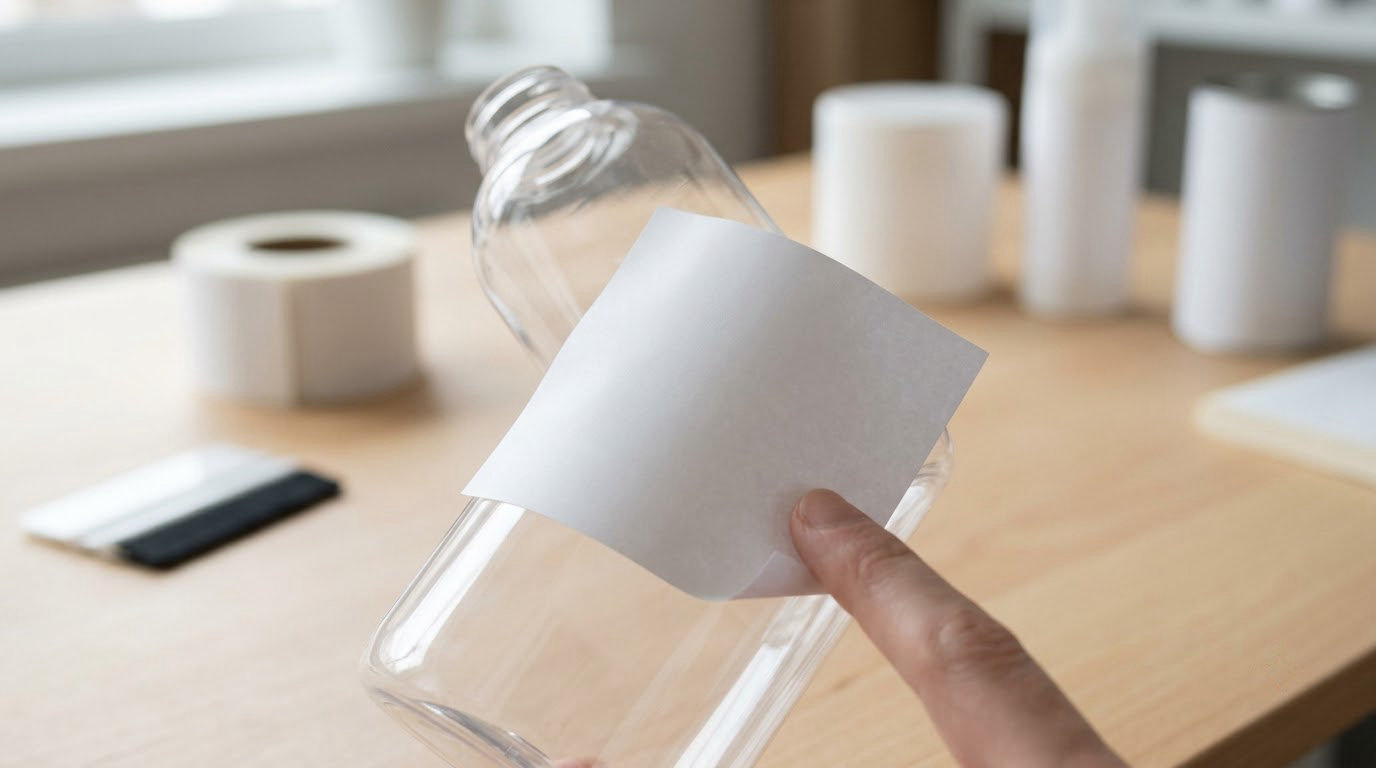
How to apply labels to curved plastic surfaces comes down to three things lining up: a clean surface with enough energy for the adhesive, a film thin and stretchy enough to follow the radius, and even pressure worked from the center outward. Almost every wrinkled, bubbling or peeling label I have seen traced back to one of those three.
The physics is simple. A flat label has more surface area than the curved patch it covers, and that extra material has to go somewhere. Squash it and it bunches at the end. Stretch it and the adhesive gets pulled away from the edges, which is why labels lift first at the corners and the seam. Conformable film plus a high initial-tack adhesive is what buys you the slack you need.
What follows works for bottles, jars, squeeze tubes, jugs, buckets, housings and control panels, by hand or on a low-volume line. One limit up front: a post-applied label can wrap a cylinder or a taper with ease, but it cannot lie flat across a compound curve, the kind that bends on two axes at once, unless you cut relief slits or switch to a molded-in or printed decoration.
Table of Contents
- What You Need
- Step-by-Step: How to Apply Labels to Curved Plastic Surfaces
- Common Mistakes
- Frequently Asked Questions
- What is the best adhesive for labels on curved plastic?
- Can pressure-sensitive labels be applied to low-surface-energy plastics such as PP or PE?
- How do you prevent labels from peeling off rounded plastic bottles?
- Should labels be applied immediately after plastic molding?
- Can a small team apply curved labels without specialized equipment?
- How long should a label be pressed before handling or washing?
- Conclusion
What You Need
Start with the plastic in front of you, not the label. A smooth molding gloss on PET behaves very differently from a soft-touch matte coat on polypropylene, and the tool list changes with the resin and the volume.
- Isopropyl alcohol at 70 percent with lint-free cloth or wipes for the first cleaning pass. Plain water leaves enough behind to soften a water-sensitive adhesive.
- Nitrile gloves. Skin oils and hand cream are the most common reason a part that passed the lab test fails on the line.
- A surface energy pen (dyne pen). Most acrylic adhesives need roughly 38 to 42 dynes per centimeter. A reading below 38 tells you no acrylic label will hold without priming or treatment.
- Plastic primer or a primer pen for PP and PE. This is the single most useful item on the list for polyolefin parts.
- A soft rubber squeegee, plastic card or burnishing tool to set the label without cutting into soft film.
- A heat gun or hair dryer on low for relaxing stiff vinyl and thicker films before you lay them.
- Application tape (masking or low-tack), a sharp blade or scissors, and labels on a release liner.
- A scrap production part to test on, plus calipers or a flexible tape for measuring.
- Dilute detergent and a spray bottle if you plan to use the wet application method on anything larger than a small decal.
For a few hundred parts a day, this kit is plenty. Past a few hundred an hour, the honest answer is a wrap-around or tamp-blow applicator, because a person can only set a curve so evenly for so long. If you are still shaping the part itself, read up on plastic part tolerance standards and wall thickness rules for part design first, because a label can only follow a surface that is reasonably consistent.
Step-by-Step: How to Apply Labels to Curved Plastic Surfaces
To put a sticker on a curved surface, clean and prime the plastic, match a conformable film to the resin, cut the label with rounded corners and a small seam overlap, then set it from the center outward with a squeegee at steady pressure. Warm stiff film first, and finish by pressing harder on the edges than feels necessary.
1. Inspect and identify the plastic surface
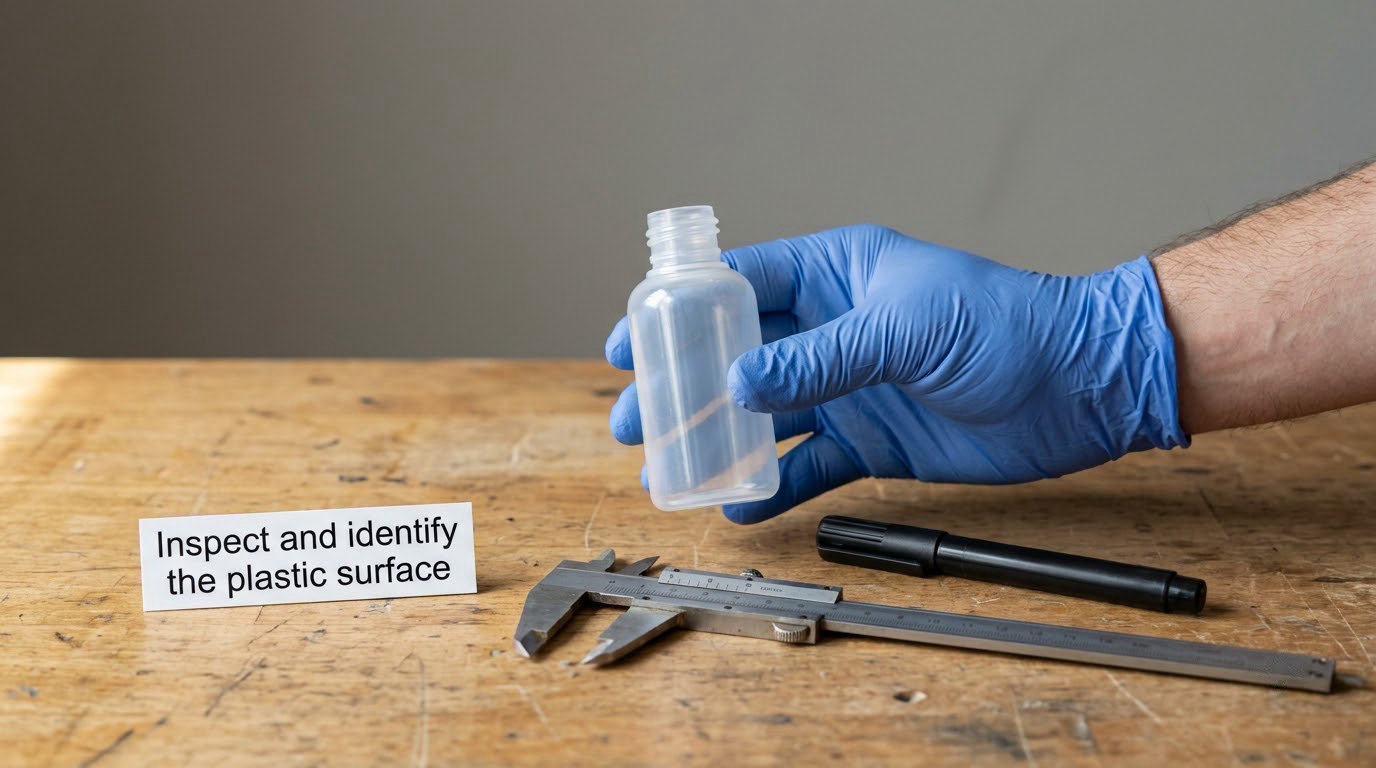
Name the resin before you order anything. HDPE shows up on blow-molded jugs and detergent bottles, PP on caps, tubs and squeeze bottles, PET on clear beverage bottles and jars, and ABS or polycarbonate on housings, helmets and control panels. A quick water-fill test helps in a pinch: PP and HDPE float, PET sinks, but a scratch test is more reliable than anything you do at the sink.
Then look at the surface itself. Molding gloss gives the adhesive the most contact area. A matte texture, a soft-touch coat or a heavily grained pattern reduces real contact and cuts bond strength badly. Mold seams, parting lines, embossed logos, handles, threads and draft angles are all places where a flat label will bridge a gap and eventually peel.
Check for flex and for stress. Squeeze bottles flex constantly and need a stretch film with a high-tack adhesive. Thick, molded sections can be stress-sensitive, and pressing too hard leaves a white bloom that never comes out. Run the dyne pen last: it takes two seconds and it will tell you more than guessing at the resin name.
2. Clean and prepare the surface
Wipe the label area with 70 percent isopropyl alcohol in a single pass, moving in one direction, and use a fresh section of cloth for every part. Let it dry fully, at least a minute in moving air. Skip acetone, household glass cleaner, car polish and any wipe that leaves a residue film; all of them will undercut the bond later.
Give cold or freshly molded parts time. A part that is cool to the touch is usually carrying condensation, and a label set onto damp plastic will bubble within days. Let parts reach room temperature and dry before they enter the labeling station, and keep them out of humid air between molding and application.
Abrasion helps only on rigid, non-clear plastics with a heavy texture. Fine scuffing on a thick opaque part can raise adhesion, but the same treatment on thin walls, clear PET or a stressed section causes whitening you cannot reverse. Skip abrasion entirely on thin-walled containers.
For PP and PE, wipe on plastic primer and follow the label maker’s dwell time before you apply. Where you cannot prime, corona, plasma or flame treatment is the industrial route. Re-check with the dyne pen after every prep step; if the reading has not moved, the label will not move either.
3. Choose and test the label adhesive
Acrylic adhesives are the default for a reason: they age well, take ultraviolet exposure, and will not migrate plasticizers into the container. They are the right pick for PET, ABS, polycarbonate and HDPE, and for anything that will sit on a shelf for a year or more.
Rubber and solvent-based adhesives grab faster and bond to lower surface energy, which makes them useful on polyolefins and textured surfaces. They are also the ones that yellow, creep under heat and can lift when the container sits in sunlight. Use them when the part is handled and stored cool, not when it lives outdoors.
Squeezable containers need a stretch adhesive designed to elongate with the film rather than resist it. If a bottle gets squeezed 20 times in a store, a rigid bond line is the first thing to give. Match the adhesive’s rated service temperature to the fill: a part filled hot and then washed with cold water cycles through more strain than a shelf-stable container ever will.
Test before you print the run. Put five labels on five actual production parts, not on a clean sample from a different batch. Check them at 24 hours, at 72 hours and again at 7 days, because a poor bond often looks fine on the bench and fails later. Peel one slowly by hand and inspect the film for adhesive transfer, then cross-hatch the rest and look for lifting at the cuts.
4. Cut and shape the label
Measure the flat printable width rather than the visible face. Wrap the label stock around the part and mark where the ends meet, or measure the circumference and add 1/16 to 1/8 inch for a seam overlap. The overlap is not waste, it is the one place a wrapped label is allowed to have a second layer of adhesive.
Round every corner. A square corner on a curve creates a point of concentrated stress, and that point is where the film tents up first. Give the corner a radius larger than the tightest radius on the part, and keep the label height short if the container curves sharply near the top or bottom. A label that stops short of the curve transition is far more forgiving than one that runs across it.
Compound curves need relief cuts. Short slits cut from the edge inward, parallel to the direction of stretch, let the film above and below them slide independently, so the label can climb a compound curve without bucking. Keep them out of barcodes, text and logo lockups, and never run one straight across a large graphic.
Leave the liner on the portion you are not working. Peel back only the section you are about to set, and hold the rest of the label against its own backing so it stays flat and does not curl. For a wet application, put a few drops of detergent in a spray bottle of water and mist the plastic lightly. You want damp, not soaked.
5. Position the label without wrinkles
Start in the middle. Set the center of the label onto the center of the target area, then anchor the middle and work outward in both directions at the same rate. Working one end to the other without anchoring produces exactly the bunching people complain about, because all the slack ends up at the far end.
Bridge the curve deliberately. On a bottle with a shoulder, the top of the label belongs on the shoulder and the bottom belongs on the body, and you should shape the label around that transition before you press anything down. If the label has to jump a 90 degree radius in one motion, it will not make the jump cleanly.
Use warm film for stiff materials. A hair dryer or heat gun on low, held at a moving distance, relaxes vinyl and thicker films so they conform instead of springing back. Test the temperature on a scrap piece first; most polyolefin and PET containers will distort before the label does.
For anything larger than a small decal, the wet application method is worth the extra setup. The soapy water keeps the adhesive from grabbing instantly, which buys you thirty seconds to reposition before the tack sets. Spray, set the label, squeegee the water out, and let the film dry fully before you handle the part.
On a wrap-around cylinder, line the seam up last and lay the overlap down without stretching it. Stretching an overlap is what makes a seam pop open under temperature cycling. And if the part bends on two axes at once, use relief cuts and wet application or pick a different decoration method; a post-applied label simply cannot lie flat across a compound curve.
6. Press, bond, and inspect the label
Burnish with a soft rubber squeegee held at 30 to 45 degrees, making overlapping passes from the center out to the edge. Squeeze the excess adhesive and air out toward the perimeter rather than trapping it in the middle. On a semi-automatic line, check that the roller pressure is firm enough that you can feel the ribs in the roller, and increase it slowly rather than all at once.
Pressure is not the same as force. Hard squeegees on soft vinyl can cut through the film, so use a rubber blade and more passes instead of more pressure. On a rigid wall, pressure is cheap; on a thin-walled squeeze bottle it is not.
Give the bond time. Do not handle the part for 15 to 30 minutes after setting, keep it dry for 24 hours, and wait 72 hours before immersion washing or hot water. Warmth speeds this up: parts applied at 70 to 100 degrees Fahrenheit reach useful bond strength sooner, and a post-application heat pass often improves edge adhesion noticeably. Stay below the label’s rated service temperature and below the distortion temperature of the container.
Inspect every part before it leaves the station. Run a thumbnail along each edge, especially the seam and the corners. Look for a visible halo of raised film, a pale bloom at the boundary, or a corner that springs back. Then cross-hatch a sample from the batch and look for lifting at the cuts. Parts that are cold-filled, hot-filled, wet or still carrying condensation at application time need their own qualification run, because a label that bonds in the lab can fail on a line where the product arrives cold and wet.
Common Mistakes
Almost every call about a lifting or wrinkled label comes down to one of these. Read the symptom, take the fix, and skip the part of the process that is not working.
Wrinkles and bunching at one end. The label carried more material than the curve consumed, usually from laying it down one end first without anchoring the center. Anchor the middle, keep tension even, and shorten the label if the container’s radius is tight.
Bubbles in the middle. Trapped air from setting the label on a dusty, oily or damp surface, or from pressing too hard too early at the center. Clean properly, lay the center down gently, and use wet application so the air can escape as you squeegee.
Edges that lift after two or three weeks. Real-world moisture, condensation from a fridge or a cold shower, and oils from handling. Switch to a higher-tack adhesive, reduce the label height so it does not cross a curve transition, and consider edge sealing or a laminate.
The label will not stick at all. The plastic is almost certainly PP or PE with no surface prep, or the surface is soft-touch coated. Prime it, or use a rubber or solvent-based adhesive formulated for polyolefins, and confirm the dyne reading before blaming the label.
Tenting and folds on a compound curve. The film is bridging a two-axis bend with nothing to give. Add relief cuts, use wet application, and consider tampo or pad printing for a small area, in-mold labeling for a molded part, or a shrink sleeve for full-body coverage instead.
Peeling right at the mold seam. The seam is proud of the surface, so the label bridges an air gap and the adhesive never touches plastic. Print the seam into the artwork, keep the label clear of it, or treat the seam area first. Embossed logos and handles cause the same failure.
Corners curling on a die-cut rectangle. Sharp corners concentrate stress on a radius, and a stressed film lifts. Switch to a rounded rectangle with a corner radius wider than the tightest curve on the part.
Ghosting, residue or soft adhesive blocks. Adhesive migration under heat, or a leftover adhesive film where a liner sat. Store labels cool and flat, control part temperature before application, and remove residue with a plastic-safe cleaner rather than a solvent that will haze the surface.
A few habits that prevent most of the above. Dry-fit every new label on a real part before approving artwork. Keep a labeled scrap of each resin in the shop so the next person can identify the plastic in five seconds. Bring parts and labels to room temperature before you start. And when a bond fails, check the dyne pen before you reorder the labels, because the wrong resin and a bad adhesive look identical from the outside.
Frequently Asked Questions
What is the best adhesive for labels on curved plastic?
For PET, ABS, polycarbonate and HDPE, a permanent acrylic adhesive with high initial tack is the best starting point because it ages well and does not migrate into the container. For PP and PE, use a rubber or solvent-based adhesive or prime the surface first. Squeezable containers need a stretch adhesive that elongates with the film. Test any choice on real production parts and re-check the bond at 72 hours and 7 days before you commit to a run.
Can pressure-sensitive labels be applied to low-surface-energy plastics such as PP or PE?
Yes, but not without preparation. PP and PE have a surface energy below what standard acrylic adhesives need, so a clean wipe alone is not enough. Wipe with 70 percent isopropyl alcohol, apply a plastic primer and allow the specified dwell time, then confirm the result with a surface energy pen. In production, corona, plasma or flame treatment achieves the same effect continuously. Re-test after every batch change, because surface condition drifts with the molding cycle.
How do you prevent labels from peeling off rounded plastic bottles?
Edge lift on a rounded bottle is usually three things at once: a low-energy plastic, a label long enough to cross a curve transition, and a bond that never fully matured. Increase initial tack, shorten the label so it sits on one radius, and keep the overlap seam unstretched. Press the edges harder than the middle, leave the part undisturbed for 72 hours, and keep it out of a fridge or cold shower during that time. For outdoor use, laminate or edge-seal.
Should labels be applied immediately after plastic molding?
Not immediately. Freshly molded parts carry mold release agent, moisture and static, and they are often still cool enough to attract condensation. Let parts cool to room temperature and dry before application, and wipe the label area regardless. On textured or soft-touch surfaces, an isopropyl wipe and, where needed, light abrasion or priming will do more for adhesion than any adhesive upgrade. If you cannot control the wait time, move the labeling station downstream from molding.
Can a small team apply curved labels without specialized equipment?
Yes, and most small teams should. A printed label on a release liner, a soft rubber squeegee, 70 percent isopropyl alcohol and a surface energy pen are enough by hand for a few hundred parts a day. Beyond that, or once a label runs the full circumference of a bottle, a wrap-around applicator pays for itself in consistency. The other two options worth knowing are tampo printing for a small curved area and in-mold labeling for a molded part.
How long should a label be pressed before handling or washing?
Do not handle the part for 15 to 30 minutes after setting it, keep it dry for 24 hours, and wait 72 hours before immersion washing, hot water or a sterilization cycle. Adhesives reach a useful bond over the first 24 hours and most of their final strength within three days. Applying at 70 to 100 degrees Fahrenheit shortens that window. If you need a shorter cycle, specify a hot-melt or rubber adhesive rated for it and validate on real parts first.
Wrapping a label around a plastic bottle by hand takes well under a minute once you have the right film, and a mislabeled run is expensive in scrapped parts and reprint cost. If you are still shaping the container, a custom plastic part RFQ guide is worth reading before you lock the geometry.
Conclusion
Four things to do first. Identify the resin and read it with a surface energy pen. Wipe a scrap part with 70 percent isopropyl alcohol and, if it is PP or PE, prime it. Put five test labels on five real parts and re-check the bond at 72 hours and 7 days. Only then dry-fit the full label, cut it with rounded corners, and set it from the center outward with steady pressure. That loop takes an afternoon and saves a production run.