
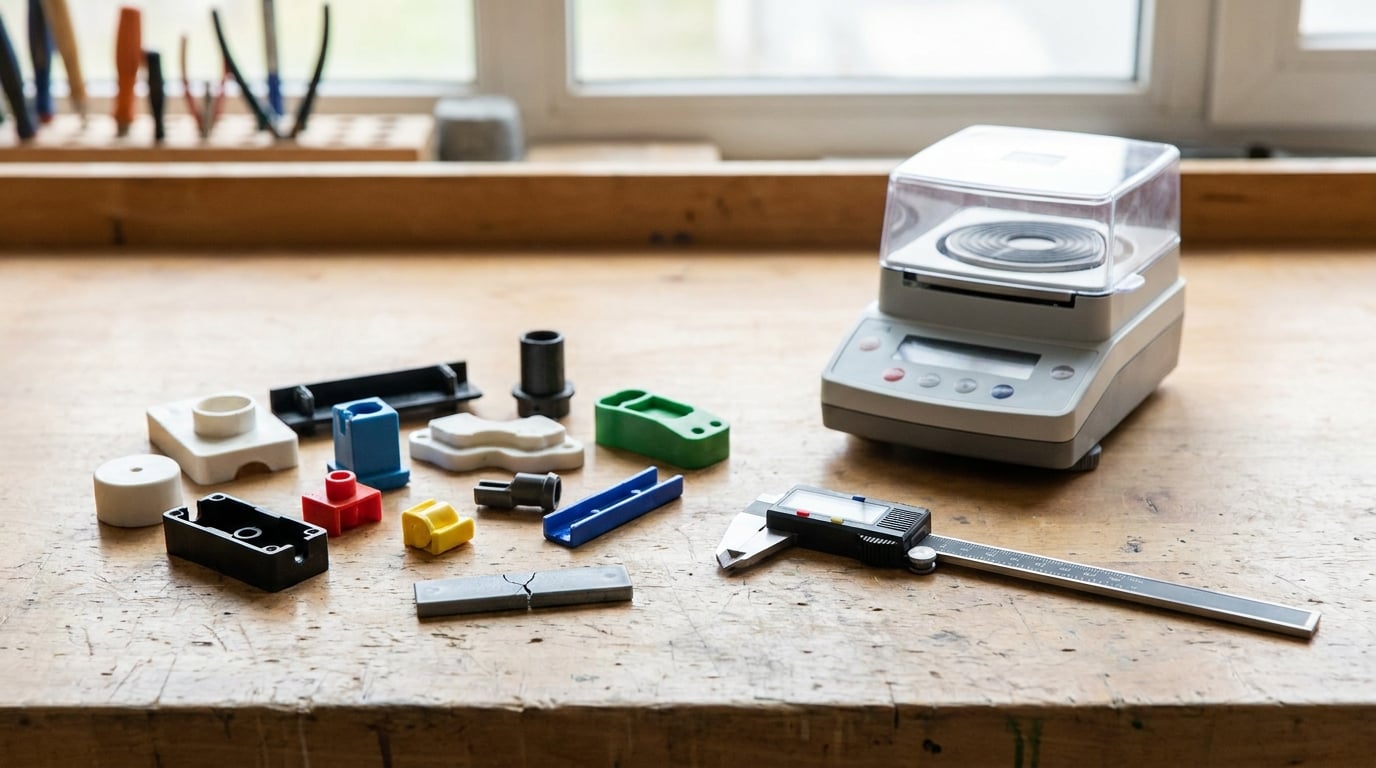
What causes brittleness in plastic parts? In most cases it is frozen-in moulding stress acting on polymer chains that have shortened through chain scission, absorbed water, or cross-linked, so the material snaps instead of bending. The trigger is usually a combination of resin, processing, geometry and service exposure rather than one isolated defect.
The part you are holding was probably fine on the moulding floor. That is the puzzle most people run into, and the honest answer is that brittleness develops over time, and the process settings that made the part look good can be the thing that set it up to fail.
This guide walks through the causes in the order you would actually diagnose them: what brittleness means physically, the material variables, the process variables, the geometry, the service environment, and then a step-by-step route to the answer. It is written for process and quality engineers, but the diagnostic logic is useful to anyone trying to work out why a plastic component suddenly snapped.
Updated for 2026.
Table of Contents
- What Causes Brittleness in Plastic Parts?
- Brittle Plastic Causes at a Glance
- How Material Selection Makes Plastic Parts Brittle
- How Processing Conditions Create Brittle Parts
- Design, Geometry, and Assembly Stress
- Chemical, UV, Thermal, and Moisture Aging
- How to Diagnose a Brittle Plastic Failure
- How to Prevent and Correct Brittle Plastic Parts
- Frequently Asked Questions
- Conclusion: Start With the Failure Pattern
What Causes Brittleness in Plastic Parts?
Brittleness is a loss of ductility. A ductile plastic deforms visibly before it fails: it stretches, whitens at the stress point, maybe necks, and gives you warning. A brittle plastic part absorbs almost no deformation and separates in a fraction of a second, along a clean line, with no precursor.
Polymer chains stay flexible only while they remain long, un-cross-linked and adequately lubricated. Change any of those three things and stress that once spread out through the material concentrates at a notch, a weld line or a gate, then propagates as a crack.
Chain scission is the shortening of those chains. Heat history, oxidation, UV exposure and hydrolysis all cut molecular weight, and a lower molecular weight means fewer entanglements holding the material together. A resin that arrived ductile can leave the supplier ductile and return from the process brittle.
Cross-linking is the other direction. Where thermal degradation or additive reactions tie chains to each other, the material stiffens and loses the slippage that lets it absorb energy.
Absorbed water is the third. Water molecules hydrogen-bond to amide, ester and carbonate groups and act as a plasticiser or a lubricant. Too much of it, or a different balance of it, moves the glass transition temperature and cuts impact strength faster than most people expect.
Ductile-to-brittle transition: why a passing tensile test does not clear a part
The ductile-to-brittle transition is the shift in behaviour that occurs when a polymer’s chain mobility drops below what the loading rate and temperature allow. A tensile coupon pulled slowly, at room temperature, on a dry lab bench can stretch 20% before it fails while the same material snaps like glass in a cold, wet, chemically exposed service environment under a fast load.
Failure-analysis groups describe brittle fracture as the most common cracking they see, even on components that pass a standard tensile test. Engineers who hit that contradiction tend to assume the material is out of spec. More often the coupon was not the problem: the geometry, the notches and the environment were.
Keep that in mind before you go looking for a bad resin batch. Brittle fracture in service is the default outcome of a stressed part in a hostile environment, whether or not the resin was ever wrong.
Brittle Plastic Causes at a Glance
This is the working diagnostic table. Find the row that matches what you can see on the part, then work through the columns in order.
| Cause | Typical symptom | Where the crack starts | First check | Main fix |
|---|---|---|---|---|
| Moisture in a hygroscopic resin | Part is tough and semi-opaque off the machine, then snaps at weeks or months | Ribs, corners, gate, anywhere with local stress | Karl Fischer moisture check on regrind and dried pellets; check dryer dew point and hold time | Drier resin, lower moisture target, sealed transport, storage humidity control |
| Chain scission from heat history | Yellowing, odour, brittleness from the first shot | Anywhere, often random across a batch | Melt temperature and residence time; look for barrel dead spots and oversized barrel capacity | Lower melt temperature, shorten residence time, purge dead corners, smaller machine |
| Frozen-in orientation and packing stress | Part handles fine, then cracks in assembly or service with no impact | Corners, boss roots, gate area, snap arms | Compare pressure and packing between a good and a bad lot; increase mould temperature and time | Higher mould temperature, longer cooling, lower packing pressure, lower injection speed |
| Weld line or incomplete fusion | Hairline crack visible on the parting line at right angles to flow | Directly opposite the gate, on the flow path split | Gate position versus the visible seam; check melt temperature, injection speed and venting | Move the gate, shift or rotate the part, raise melt temperature, add vent or run higher speed |
| Design stress concentration | Consistent cracks at the same feature on every part, no relation to time | Sharp corners, notch, thread root, rib junction, snap-fit root | Radius and wall transition review against the section thickness | Add fillet radii, thicken and round transitions, move or resize the feature |
| Environmental stress cracking | Slow, stable cracking near a moulded-in stress area, often weeks after assembly | Near a rib, gate or corner in sustained contact with the chemical | List every chemical the part sees; ESCR screening per ASTM D1693 | Lower residual stress, change resin to a higher ESCR grade, isolate the chemical, add a barrier coating |
| UV and thermal aging | Chalking, fading, hairline crazing on exposed faces, months to years | Exposed surfaces, thin sections, corners first | Compare with a shielded or indoor sample; check the stabiliser package in the grade | UV-stabilised grade, pigment or coating, reduce exposure, thicker section, avoid the unstiffened grade |
| Excess regrind or degraded regrind | Brittleness rises with regrind rate; failure gets worse as the ratio climbs | General, following the melt flow path | Measure melt flow rate or molecular weight on incoming regrind; check for contamination | Cap and control regrind ratio, dry it separately, quarantine material above the limit |
Two rows deserve a warning. Regrind-driven and heat-history-driven brittleness both look random, and both get misdiagnosed as a material problem when they are really process problems. If a batch fails randomly across many features, look at the barrel before you look at the resin supplier.
How Material Selection Makes Plastic Parts Brittle
Not every resin is equally vulnerable, and the grade matters more than the family. Two polycarbonates from the same family can behave completely differently depending on the impact modifier level, the filler loading and the stabiliser package.
ABS ages badly without protection. The butadiene phase that gives it impact strength is exactly the part that photo-oxidises, which is why sun-exposed ABS trim fades to grey and then snaps at a light load. Unmodified ABS is also sensitive to the lubricants in some engineering greases, so a part stored next to a sealed bearing can embrittle without any load at all.
Polycarbonate is amorphous with a high glass transition temperature, so it holds stiffness well into heat, but that same structure makes it notch-sensitive. Any sharp internal corner or a solvent wipe with the wrong chemistry will find it. Polycarbonate also hydrolyses if it is held at high humidity and elevated temperature for long periods, which is why the head of a syringe barrel or a wet end-of-line fixture can craze.
Nylon, PET and polycarbonate blends are hygroscopic. They take up moisture from the air in the silo, from the barrel between shots and from a wet regrind stream, and each of those changes the behaviour of the melt. PA66 is more resistant to the effect than PA6 because of its higher crystallinity and lower equilibrium moisture content, but neither is safe without proper conditioning.
POM is the resin that surprises people. Unfilled POM is strong and stiff, and the unfilled grade in particular is prone to environmental stress cracking in the presence of acids, aldehydes and some solvents. The glass-filled grades resist that but introduce their own stress concentration at the glass surface.
Highly filled compounds are another trap. Adding 30% or 50% glass or mineral to a resin buys stiffness, creep resistance and dimensional stability. It also makes the part more notch-sensitive and more prone to brittle fracture, because there is less continuous polymer left to absorb a crack, and the moulded-in shrinkage stresses concentrate around every filler particle.
PVC without plasticiser is rigid and prone to cracking. Rigid PVC pipe and uPVC window profiles are the extreme end of the argument: the unplasticised polymer is a hard, chemically sensitive solid, and it fails in service by environmental stress cracking far more often than by yielding.
How hygroscopic resins make plastic parts brittle
There are three separate moisture moments and people routinely mix them up. Moisture present before moulding changes the melt viscosity and the appearance. Moisture that arrives in service changes the mechanical properties directly. Moisture absorbed in the middle of a service life changes them slowly, and that is the version that shows up as a part that failed six months in with no obvious trigger.
| Resin family | Typical moisture pickup | Typical drying range | Dwell time | Storage class |
|---|---|---|---|---|
| PA6 and PA66 | About 2.5% to 4% at ordinary ambient humidity, up to 9% saturated for PA6 | 75 to 85 C with a dehumidifying dryer | 4 to 6 hours | Airtight, pre-dry, transfer within hours |
| PET and PETG | About 0.1% to 0.2% | 120 to 150 C | 2 to 4 hours | Dried, sealed, desiccant |
| Polycarbonate | About 0.15% to 0.35% | 120 to 130 C | 2 to 4 hours | Dried, sealed, low humidity line |
| ABS | About 0.05% to 0.2% | 80 to 100 C | 2 to 4 hours | Sealed, dry storage |
| PMMA | About 0.1% to 0.3% | 60 to 80 C | 2 to 4 hours | Sealed, dry storage |
| PBT and PPS | About 0.1% to 0.2% | 120 to 150 C | 2 to 4 hours | Dried, sealed, dry line |
These are typical ranges, not a substitute for the supplier datasheet. Your resin’s drying specification, dew point and moisture target come from the manufacturer, and the machine’s dryer should be verified against them rather than assumed to deliver.
Hydrolysis is the chemical companion to moisture. Polyesters, polyamides, polycarbonates and polyurethanes contain bonds that water attacks at elevated temperature, and the reaction is faster at each step. A part running hot in a wet environment loses molecular weight continuously, which is why a dishwasher-safe polycarbonate bowl can fail after a year while the same bowl on a shelf never does.
Fillers, regrind and batch variation
Regrind lowers molecular weight every cycle it goes through, and the loss is not recoverable. If a part failed, check the regrind ratio change, the dryer status for the regrind stream, and whether anyone added unsorted or mixed-grade material to the hopper.
Batch variation is real but it is usually the excuse, not the answer. Suppliers vary tensile strength by a few percent between batches, which is not enough to turn a ductile part brittle on its own. What does that is a batch change combined with a sharp corner or a stressed assembly.
Additive interactions deserve more attention than they get. A hobbyist failure-analysis thread on TinkerDifferent attributes long-term brittleness to a brominated flame retardant combined with off-gassing, producing micro-fissures through the part. Flame retardant packages can also plasticise a matrix at processing temperature and then behave differently once the part is hot in service, which is a documented failure route in flame-rated plastics.
Use a reference table for the resin you run. The values below are typical and useful for narrowing the search, and your datasheet governs.
| Resin | Approximate Tg | Moisture pickup | UV sensitivity | ESCR tendency | Usual failure mode |
|---|---|---|---|---|---|
| ABS | About 100 C | Low | High without stabiliser | Moderate with lubricants and oils | Chalking and brittle fracture after UV exposure |
| Polycarbonate | About 145 C | Moderate | Moderate, yellows | High with solvents, low with oils | Notch fracture, crazing from hydrolysis |
| PMMA | About 105 C | Low | Moderate | High with solvents and aromatic cleaners | Surface crazing, brittle fracture at notches |
| Polystyrene | About 100 C | Very low | High | Very high, aromatic solvents and oils | Environmental stress cracking and UV embrittlement |
| PA6 and PA66 | About 45 to 75 C depending on conditioning | High | Low | Moderate | Drying-related and hydrolysis embrittlement at corners |
| PET | About 65 to 80 C | Low | Low with stabiliser | High with strong alkalis and some acids | ESC, embrittlement with falling crystallinity |
| Polypropylene | About minus 10 to minus 20 C | Very low | Moderate | High | Oxidation embrittlement, brittle fracture after UV |
| HDPE and LDPE | About minus 120 C | Very low | Low to moderate | Very high | Environmental stress cracking with fuels, oils, detergents |
| Unplasticised PVC | About 80 C | Very low | Low | High | ESC, brittleness at cold temperature |
One line in that table deserves emphasis. TPU and highly filled PBT are common in small parts that fail quietly, and both sit between the rows here: TPU is soft on the surface and tears rather than crazes, while glass-filled PBT is stiff and notch-sensitive all the way through.
How Processing Conditions Create Brittle Parts
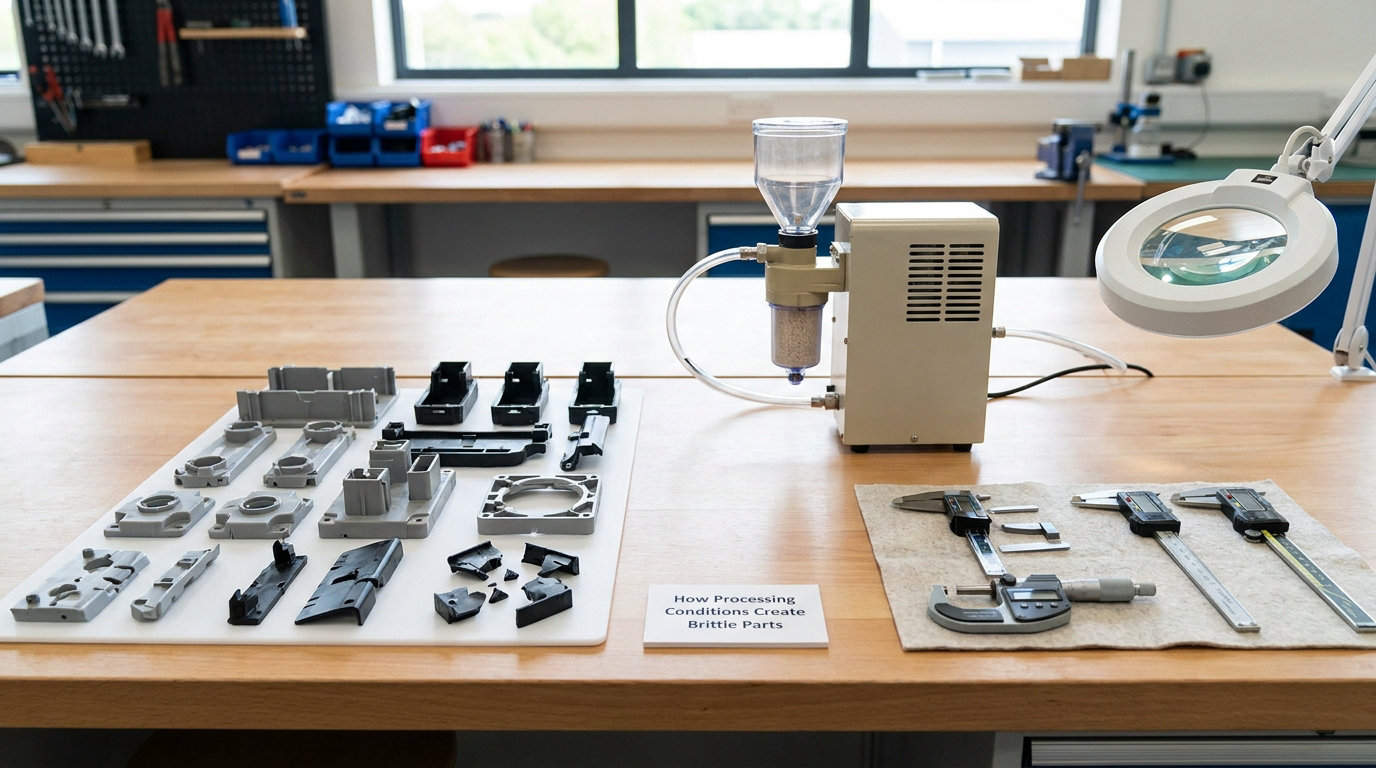
Processing does two things at once: it can degrade the polymer, and it can freeze stress into the finished part. Those are different problems with different fixes, and conflating them is the most common mistake I see in a troubleshooting session.
Degradation comes from heat and shear. A barrel set too hot, or a screw and barrel that is too large for the shot size, leaves the material sitting in the barrel far longer than the cycle needs. Long residence time at temperature causes thermal chain scission, and a disproportionately large plasticising capacity is the classic cause: the machine is perfectly capable of melting the shot, which is exactly why it takes its time about it. Shear at the nozzle, in the sprue bushing and through a worn screw flight adds to that.
Frozen-in stress comes from the cooling. A part that leaves the mould hot and unevenly cooled has an outer skin that set first while the core was still shrinking, and the difference gets locked in as residual tensile stress. Faster cooling, a cold mould and a thin section all produce more of it.
Drying is the highest-yield correction
Nothing else on this list changes results as fast as drying for a hygroscopic resin. A nylon part moulded with wet pellets can show splay, bubbles and reduced molecular weight in the same shot, and it can pass a tensile test and still show markedly lower notch impact strength in service.
Four things go wrong with drying, in order of how often I see them: the dryer dew point is not low enough, the material sits in the hopper for hours after the dryer stops, wet regrind is fed straight into the machine, and the hopper lid stays open between shifts. Check the dew point with an instrument, not with the label, and time the material rather than trusting the dryer cycle.
Cooling rate and incomplete fusion
A weld line is where two melt fronts meet as they flow around a hole, an insert or a shut-off. The molecules have not fully interdiffused across that seam, so the strength across it is lower than the surrounding material. Weld lines are not a defect in themselves, but they become a crack starter when the resin is brittle, the flow is cold, or the stress at that spot is high.
Look for the weld line opposite the gate on the finished part. If the crack sits exactly there, you have your answer before any testing.
Packing pressure and hold time control how much the part shrinks as it cools, and therefore how much residual stress it carries. Over-packing is a common cause of parts that pass every incoming check and then crack when snapped onto an assembly.
Ejection is under-rated. A part that sticks, an ejector that drags, a draft angle that is too small for the surface texture, all of these add bending load to a part that is already shrinking, and the crack appears at the ejector pin position or at the point where the tool forced the draft.
Design, Geometry, and Assembly Stress
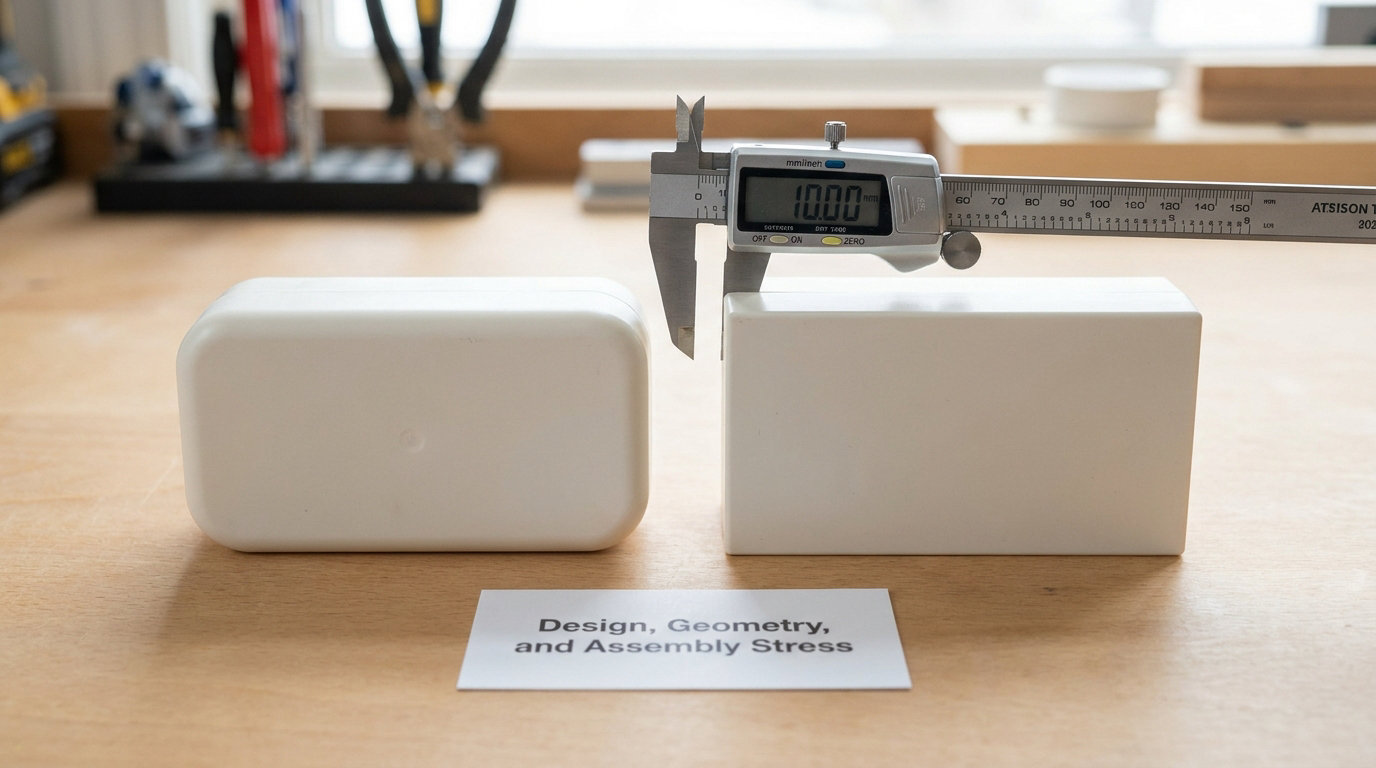
Geometry does not make a material brittle. It makes a material fail, and when the material is already on the marginal side, the difference decides the outcome.
A sharp internal corner acts as a notch, and the stress at the root of a notch is a multiple of the nominal stress. Change a square internal corner to a generous fillet and the stress at the root drops sharply. The rule of thumb in design for manufacturability is that a fillet radius at least half the adjacent wall thickness keeps the stress concentration modest, and many programs now specify a radius proportional to section thickness as standard practice.
Abrupt wall-thickness transitions do the same thing. A step from 3 mm to 1.5 mm across a short distance puts a high stress at the step, and the thicker section also cools and shrinks at a different rate, which adds residual stress right where the section is weakest.
Ribs are a good design tool and a common defect when misapplied. A rib that is too thick relative to the wall creates a thick-to-thin junction with a sharp root, which concentrates more stress than the flat panel it was meant to stiffen. Rib thickness is usually kept around half the adjacent wall for a reason.
Snap-fits and undercuts are pure stress concentration. A cantilever snap arm is a beam under constant deflection, and the root of the arm takes the highest load in the whole part. The root radius, the arm thickness and the assembly strain all have to be specified together, and a snap-fit that is tight in a cold room or on an ageing plastic will break at the root rather than flex.
Thread roots are the same story. A moulded thread with a sharp root, or a metal thread screwed into a plastic boss without an insert, concentrates load at exactly one point. Inserts solve the strength problem and create a thermal mismatch problem instead, because the metal expands and contracts at a different rate than the polymer around it and puts the boss into a permanent stress state.
Assembly is where good parts get broken. A press fit designed for a 2% interference on a ductile grade will split a brittle one. Fastener torque beyond specification, a housing closed with an uneven gap, and over-constrained assemblies that force the part to fight thermal movement all feed stress into the part long after it leaves the tool.
Chemical, UV, Thermal, and Moisture Aging
Environmental stress cracking is the mechanism that ties most in-service failures together, and it is worth defining precisely. ESC is not chemical decomposition of the polymer. It is a chemical environment acting on a part that already carries tensile stress, which lowers the energy needed to open a crack until the crack grows on its own.
Five contributors have to be present together: a chemical the part is exposed to, mechanical stress acting on it, temperature that varies or sits high, a material composition that is sensitive to that chemical, and manufacturing defects that provide a stress concentration or a frozen-in stress field. Remove any one of the five and the cracking stops. That is why the same part can be perfectly fine in a lab and fail in a vehicle, a washing machine or a garden hose.
Polyethylene and polystyrene are the most ESC-prone common resins. Fuels, oils, lubricants, detergents, aromatics and chlorinated solvents are the usual suspects, and household cleaners are a bigger source of unexpected stress cracking than most product engineers assume.
UV exposure drives photo-oxidation, which breaks the polymer chain and consumes the stabiliser package. The visible sequence is fading, then chalking, then hairline crazing on the exposed face, then a sudden failure. Thin sections and corners go first because they have the highest surface-to-volume ratio and the highest stress.
Thermal cycling causes a different set of problems. Repeated expansion and contraction between a metal insert and a plastic boss, or between a coating and a substrate, cycles the interface. Condensation on a part that is warm inside and cold outside adds moisture exactly when the stress is highest, and it is a common explanation for a housing that survives the summer and fails the first cold, damp morning.
Plasticiser loss is the mechanism behind the observation on repair forums that aged plastic feels dry and chalky. PVC and some other flexible formulations lose their lighter, lower-volatility components over years, and as they go the material stiffens and then cracks.
What causes brittleness in plastic parts months after moulding
When a part is fine at moulding and brittle later, the trigger is almost always in the service environment rather than the material certificate. Work through these in order.
First, UV. If the failed surface faced daylight, photo-oxidation is the prime suspect and the parts stored indoors will still be fine. That comparison is the cheapest test available.
Second, humidity plus heat. A hygroscopic resin in a warm damp environment hydrolyses slowly, and the failure lands on a stress concentration rather than at random.
Third, chemical exposure. Look for stress cracks near ribs and corners, in a part that was assembled with any lubricant, sealant, coolant or detergent nearby.
Fourth, thermal cycling and insert mismatch. A part that fails at a metal insert after a fixed number of months or cycles is a thermal mismatch problem.
Fifth, additive interaction, which is rarer but real. Flame retardant packages and incompatible additives can produce micro-fissures through a part over time.
Sixth, and only then, suspect the resin. Pull a sample from the good lot and the bad lot and test both.
How to Diagnose a Brittle Plastic Failure
Use this sequence. Each step is cheap and rules something out, which is why the order matters.
1. Document the failure before you touch it. Photograph the part as found, note where the crack starts and where it stops, record the direction of the parting line, the gate position and the ejector pin positions, and write down the service conditions: time since moulding, temperature range, chemicals present, load history.
2. Read the fracture surface. Stress cracks are smooth, branching, and grow over time; impact cracks are bright, ragged and often show a stress-whitened zone. Crazing shows as a fine network of surface lines that has not yet penetrated. A crack that starts at the gate and travels is usually a fusion or packing problem rather than a chemistry problem.
3. Compare lots and records. A good part and a bad part from the same period answer most questions. Pull the drying logs, the regrind ratio, the cycle times, the mould temperature settings and any changeover notes. Manufacturing changes cluster in time, and so do failures.
4. Test the material condition. Run a moisture check on the pellets, the regrind and the finished part. Then run a melt flow rate or a viscosity check against the datasheet, because that is where molecular weight loss shows up first, before tensile strength has visibly moved.
5. Review the design for stress. Radius, wall transition, rib root, snap-fit root, thread root, press fit, fastener torque. If the crack starts at the same feature on every failed part, the design is the cause regardless of what the resin is doing.
6. Reproduce the service environment. Put a sample from the good lot into the actual chemical, temperature and load. This is the step that catches environmental stress cracking, and it is the step most often skipped.
| Test | Standard | What it separates |
|---|---|---|
| Notched Izod impact | ASTM D256 | Compares notch sensitivity between lots and grades; a drop in notched impact with tensile strength still acceptable points to molecular weight or moisture |
| Environmental stress cracking | ASTM D1693 | Confirms ESC susceptibility in a specific chemical at a defined stress level; the accepted screening test for PE, PP and PS |
| Tensile testing | Per the resin datasheet method | Establishes baseline strength and elongation; a large drop in elongation with little change in tensile strength is a classic sign of degradation |
| Differential scanning calorimetry | DSC | Shows melting behaviour and crystallinity changes that follow chain scission or filler damage |
| Gel scan or capillary rheometry | Method dependent | Quantitative molecular weight and molecular weight distribution; catches recycled or degraded material that a datasheet comparison misses |
Impact testing on its own does not prove fitness for service. It is a comparison tool between lots and grades, not a pass or fail gate against real loading, which is why it needs to be paired with the environmental test.
How to Prevent and Correct Brittle Plastic Parts
Each fix depends on which cause you actually have. Mapping them one to one is the fastest way to a stable process.
If moisture is the cause, fix the drying and the storage, not the resin. Verify dryer dew point with an instrument, time the material rather than the cycle, dry regrind separately, keep hoppers closed between shifts, and check the moisture target against the supplier datasheet. Then condition the material properly before moulding and move it through a dry line.
If heat history is the cause, lower the melt temperature until you are just melting the resin, cut the residence time, purge the barrel dead corners, and move to a smaller machine if the barrel is grossly oversized. If you cannot reduce the settings enough, the shot size to barrel capacity ratio is the problem and the machine is the fix.
If frozen-in stress is the cause, raise the mould temperature, extend cooling time until the part is closer to room temperature on ejection, reduce packing pressure, and slow the injection to lower peak shear. A warmer mould is usually the single highest-return change in this whole list.
If weld lines are the cause, move the gate away from the critical area, rotate the part in the tool so the seam lands where it can tolerate stress, raise the melt temperature, add vent at the split, and increase injection speed so the fronts meet hot.
If the design is the cause, add fillet radii, round the wall transitions, correct the rib thickness, increase the snap-fit root radius and reduce the assembly strain, and specify the fastener torque in writing. No process change rescues a notched root reliably.
If environmental stress cracking is the cause, lower the residual stress first, then move to a grade with a higher ESCR rating for that chemical family, and finally consider a barrier coating. Moving to a better resin while leaving a high frozen-in stress in the part usually buys you time rather than a fix.
If UV is the cause, specify a stabilised grade or a UV-stable colourant, add a coating, or reduce exposure. There is no process setting that undoes photo-oxidation that already happened.
For parts that are already brittle, be honest about the limits. Brittleness caused by chain scission, photo-oxidation or hydrolysis cannot be reversed. There is no solvent, no heat and no coating that puts molecular weight back into a polymer, and anyone who tells you otherwise is selling something. A plasticiser or a flexible coating can add compliance to a surface and mask the problem, but a brittle core under a soft skin still snaps.
What is realistic is reinforcement, and that means accepting a different failure mode. A bolted or bonded repair in a composite or metal part can work where the joint is designed to carry the load rather than relying on the plastic. Gluing a brittle part back together rarely survives the next impact, because the glue joint is now the weakest point and it fails at a stress concentration of its own.
Decide early whether a brittle part is a nuisance or a hazard. A cracked enclosure is an annoyance. A brittle bracket under load, a container that will hold pressure, a clip on a seat belt, or a housing over a mains connection is a safety problem, and the answer is replacement plus a root-cause fix, not a repair.
Frequently Asked Questions
Is there a way to fix brittle plastic?
Only if the cause is recoverable. Parts that failed because of frozen-in stress can sometimes be improved by annealing, which relieves residual stress at a controlled temperature. Brittleness from chain scission, photo-oxidation or hydrolysis cannot be reversed, because molecular weight cannot be put back. In practice you reinforce the part, change the material, or replace it.
How to stop plastic from becoming brittle?
Work on the four levers in order. Dry hygroscopic resins properly and verify the dryer dew point. Keep the melt temperature just high enough and cut residence time. Raise the mould temperature and cool the part fully before ejection to reduce frozen-in stress. Remove stress raisers in the design, add fillet radii and round wall transitions. Then match the resin to the actual chemical, thermal and UV exposure.
How to harden brittle plastic?
You cannot harden a degraded polymer back into a usable part. Hardening means increasing stiffness, and the only honest route is reinforcement or replacement. A glass-filled or mineral-filled grade gives a stiffer, more creep-resistant part, but it is also more notch-sensitive, so a hard part in a harsh environment fails more abruptly than a ductile one. Softening with plasticiser is a temporary measure at best.
At what temperature does plastic become brittle?
There is no single temperature. Each resin has a glass transition temperature, roughly 100 C for ABS, PS and PMMA, 145 C for polycarbonate, 45 to 75 C for nylon depending on conditioning, and far below zero for polyethylene and polypropylene. Below its Tg a part stiffens and loses impact strength, so cold weather effectively moves every part closer to brittle behaviour.
What do stress cracks look like?
Environmental stress cracks are smooth, branching, and grow with time, often starting at a rib, gate or corner. Impact fractures are bright, ragged and show a whitened stress zone. Crazing is a fine network of surface lines that has not yet penetrated the wall. A crack running along a mould seam and stopping abruptly is usually fusion or packing, not chemistry.
Does moisture make plastic brittle?
Yes, and it does so in two separate ways. Before moulding, moisture in a hygroscopic resin changes melt viscosity and can cause splay and reduced molecular weight. In service, absorbed water acts on amide, ester and carbonate groups, moving the glass transition temperature and reducing impact strength. Polyamides, PET, polycarbonate and PC/ABS blends are the resins where this matters most.
Conclusion: Start With the Failure Pattern
Start with where the crack begins and when it appeared. A consistent failure at one feature is design. A crack on the weld line is fusion or packing. A random failure in a lot points at material condition or heat history. A part that was fine at moulding and brittle in service is almost always the environment.
From there the order is material condition, processing history, geometry, assembly stress, service exposure. Change the resin last, because a better resin in a badly stressed part buys you a longer warranty, not a solution.
If you can only do one thing, pull a good part and a bad part from the same period and compare them. The difference between those two is your root cause.