
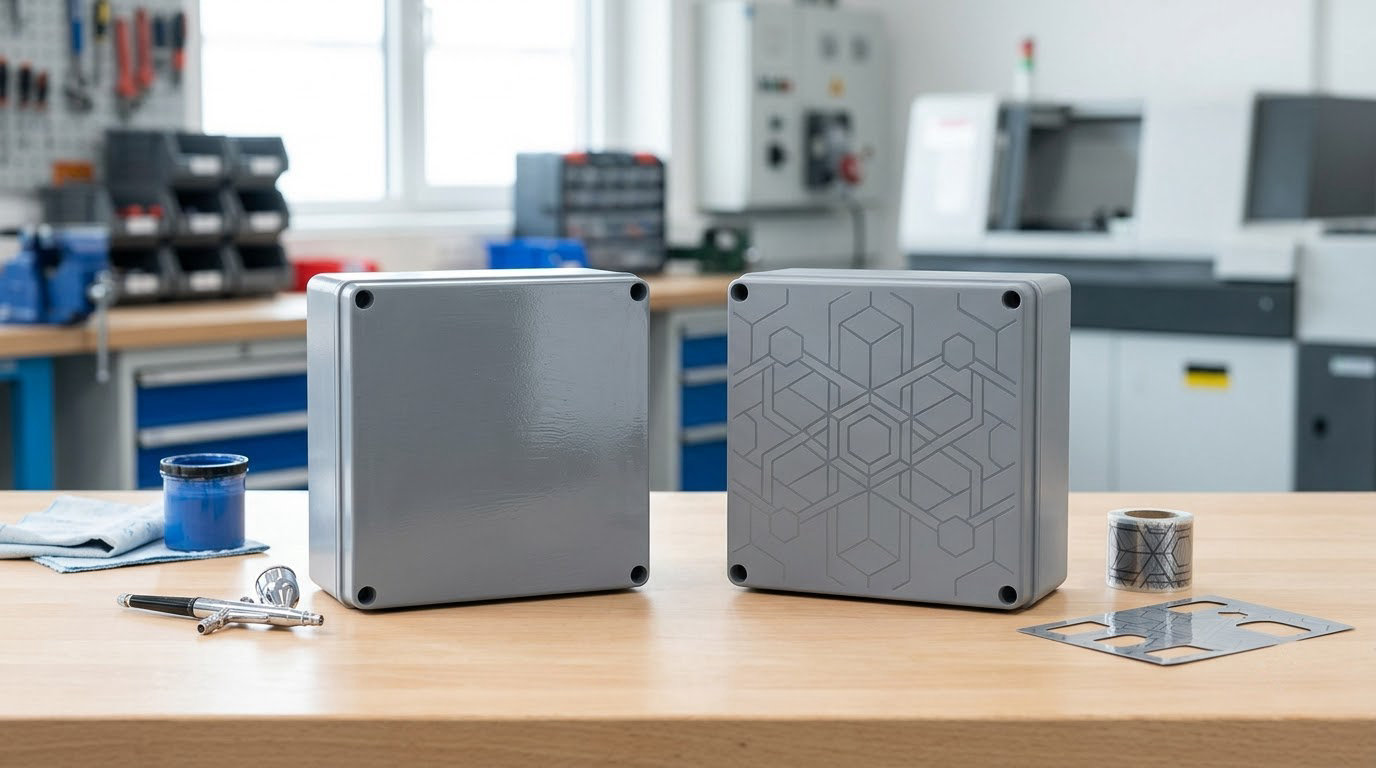
Painting adds color to a plastic part after it comes out of the mold; in-mold decorating applies a printed film or colored resin inside the mold during the molding shot. In-mold decorating wins on per-part cost, cycle time and graphic durability once you are running steady volume, and painting wins on low volumes, complex 3D shapes and parts that change often.
That is the honest short version. The harder question is where the crossover sits for your part, and it depends on three things nobody puts on a spec sheet: how cosmetic the part has to be, how often the design will move, and how many parts you actually run a year.
This guide walks through both routes the way an engineer would: what happens to the part, what it does to the budget, what it does to the line, and where each one fails. I’ve kept it neutral on purpose, because a lot of the pages ranking for this topic are written by the companies that sell the equipment.
Table of Contents
- Painting vs In-Mold Decorating for Plastics at a Glance
- How Painting and In-Mold Decorating Work
- Appearance and Design Flexibility
- Which Method Delivers Better Durability?
- Quality and Cosmetic Consistency
- Cost and Production Economics
- Cycle Time, Automation, and Production Scale
- Which Should You Choose?
- Frequently Asked Questions
- Is in-mold decorating always cheaper than painting plastics?
- What is the difference between in-mold labeling and in-mold decorating?
- Can in-mold decorating be used on complex 3D plastic parts?
- Which method gives better scratch and chemical resistance?
- Is painting suitable for high-volume plastic production?
- Can painted or decorated plastic parts be repaired or recolored?
- Conclusion: Choose the Process Around the Product
Painting vs In-Mold Decorating for Plastics at a Glance
The table below compares the two routes across the criteria that actually move a decision. Everything in it assumes a normal injection molded part, roughly hand-held size, with a graphic or a color that someone cares about.
| Criterion | Post-Mold Painting | In-Mold Decorating (IML, IMD, mold-in-color) |
|---|---|---|
| When the finish is applied | After molding, as a separate operation | Inside the mold, during the molding cycle |
| Unit cost at volume | Higher: paint, primer, clear, labour, rework, scrap | Lower: mostly film or pigment amortized across the run |
| Upfront tooling and equipment | Booth, oven, prep and cure station, masking fixtures | Higher mold cost plus film indexing or robotic handling on the press |
| Impact on molding cycle time | None, but adds queue time between molding and assembly | Minor: film load and index time inside the cycle |
| Appearance ceiling | High: any color, gradient, texture, metallic, camouflage | High for graphics, constrained for deep texture and some effects |
| Scratch and wear resistance | Good with a 2K clear, degrades if the clear is thin or undercured | Very good: the graphic is buried under the part surface itself |
| Design or color change | Booth recipe change, often within a day | New film and a re-qualification run; color change is costly |
| Effect on molding defects | Hides flow and weld lines; sink marks still show | Exposes every molding flaw, because the surface must read clean |
| Geometry that works | Anything a fixture or robot can reach | Needs draft, radii and uniform walls the film can follow |
| Best production volume | Prototype through low volume, and high-mix short runs | Steady mid to high volume on a repeatable part |
| Rework and repair | Strong: a bad part can be refinished | Weak: a bad part is usually scrap |
| Typical applications | Automotive exterior and interior trim, appliance panels, tools, prototypes | Consumer electronics housings, packaging, medical devices, furniture, high-volume promotional parts |
| End of life | Coating complicates recycling; overspray and VOC handling | Film is a thin laminate on a mono-material body, easier to reprocess |
How Painting and In-Mold Decorating Work
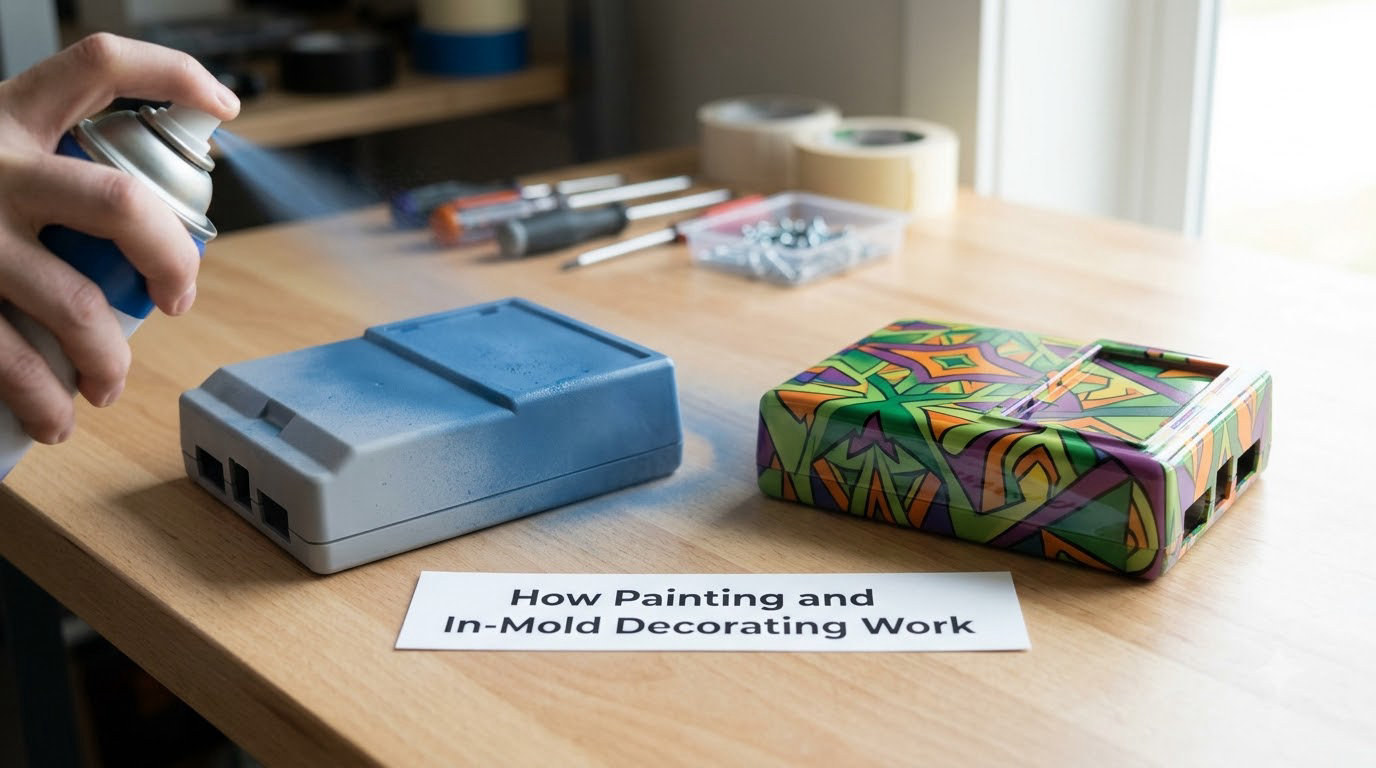
Both routes change the color of a plastic part. The difference is when that happens and what has to be built to make it happen.
Post-mold painting is a secondary operation. The part leaves the molding cell, goes to a prep line, then a paint booth, then an oven, then trim and assembly. Every one of those steps is a place to add cycle time, labour and scrap.
In-mold decorating folds the finish into the molding shot. A printed film sits in the cavity and the resin is molded directly against it, or pigment is already in the resin when the part forms. Either way the part comes out of the machine finished.
The four routes people lump together under “in-mold”
Searchers use these terms interchangeably, which causes a lot of wasted quoting. They are not the same process and they have different limits.
| Term | What it is | Key limit |
|---|---|---|
| IML (in-mold labeling) | Pre-printed film molded behind the part surface, usually reverse-printed | Graphic is flat, so extreme 3D forms are hard |
| IMD / IMC (in-mold decoration or coating) | Printed film left on the surface and optionally textured in the same step | Texture depth and film thickness are limited |
| Mold-in-color (masterbatch, pre-colored resin) | Pigment added to the resin before molding; color comes from the material | No graphics, and every color change means purging |
| Two-shot injection molding | Two materials molded in one cycle, often a soft overmold on a rigid core | Complex tooling; material and shrinkage pairing is demanding |
The eight steps to paint an injection molded plastic part
This is the sequence behind most PAA questions on the topic, and it is worth getting right, because most adhesion failures trace back to skipping one of the first four steps.
- Degrease. Remove mold release agent, silicone residue and handling oils. Skipping this is the most common cause of a coating that peels in sheets.
- Abrade or scuff. A light scuff gives the coating something to key into. Practitioners argue about whether sanding is always necessary; on textured surfaces it usually is.
- Treat the surface. Flame or plasma treatment raises surface energy, especially on polyolefins like PP and PE that will not accept paint untreated.
- Apply adhesion promoter or a plastic primer. A thin promoter layer is what actually bonds the coating to the polymer. It is not optional on PP, PE or TPO.
- Apply 2K epoxy primer. Fills micro-defects, kills color sink-in over textured surfaces and gives the color coat a stable base.
- Apply color. Either a solid or basecoat-clear system, depending on the cosmetic target.
- Apply 2K clear. This is the wear layer. Skip it and the part scuffs in the carton.
- Cure, then inspect. Full chemical and scratch resistance takes days, not minutes, which is a real constraint on rework timing.
A note on paint choice: 2K epoxy systems are the automotive-grade default and work well on ABS, ASA, PC and PC/ABS. Polyolefins need a promoter and a compatible primer. 1K lacquer is fine for cosmetic low-wear parts and gives up durability quickly.
How the in-mold sequence runs
- Print the film. Artwork goes down reverse-printed for IML so the graphic is buried, or face-printed for IMD so it sits at the surface and can be textured.
- Load the mold. A robot picks the pre-cut film, or an operator indexes a continuous web, and places it in the cavity.
- Mold over it. The shot bonds film to substrate. The window is narrow: the substrate has to be hot enough to bond and cool enough not to distort the graphic.
- Trim and cut. The film is trimmed flush to the part outline. This is where a registration error becomes a scrap part.
- Inspect. Cosmetic defects are judged, not hidden. There is no coating to soften the verdict.
Appearance and Design Flexibility
If design freedom is the only criterion, painting wins. It puts no constraint on the part’s geometry and no constraint on the artwork beyond what a stencil or a masking fixture can hold.
Gradients, soft blends, camouflage, wood grain prints, metallics and fine brushed effects are all straightforward with paint. In-mold decorating covers a lot of this too, but the artwork has to survive contact with hot resin and then be trimmed, which narrows what works at the edges and in tight radii.
Texture is where the gap is widest. A molded-in grain from the tool itself has real depth and a real tactile feel. A texture applied through a film is bounded by how thick the film can be before the graphic distorts, which is the single most common reason a texture program gets rolled back to painting.
Color matching is roughly equal in capability and different in method. Paint gets matched at the booth with a spray card and adjusted by eye. In-mold gets matched at the film supplier against a Pantone reference, then verified on molded samples, because the resin and the film shift slightly in a way the colorist has to see in the plastic rather than on the sheet.
Design changes cost money in both routes, just not the same money
A color change on a paint line is a formula adjustment, a purge and a first-article check. People often assume this is a big deal. It is not; it is measured in hours.
A color or graphic change in-mold is a new film, a new tool revision or both, plus a qualification run. That is a real cost and a real calendar delay, and once a part is in series production it is expensive to move.
This is why version churn matters more than volume for a lot of programs. A part that changes artwork four times a year may be cheaper painted for its whole life.
Substrate behavior matters too
The plastic under the finish changes how each route behaves, and picking a process without picking a resin is how projects get into trouble.
| Resin | With paint | With in-mold decorating |
|---|---|---|
| ABS, ASA | Paints well with conventional prep | Reliable substrate for film bonding |
| PC and PC/ABS | Excellent finish; watch for hydrolysis on long heat exposure | Strong bonding, common in housings |
| PP, PE | Needs flame or plasma plus a promoter; adhesion failures are common without them | Bonding is achievable but process-sensitive |
| PS | Paints well, less solvent resistance | Used with thin films; check shrinkage differences |
| TPE, TPU | Special soft-touch and adhesion chemistry | Often better served by two-shot overmolding |
Shrinkage differential between film and substrate is the quiet failure mode here. A film that shrinks differently from the part will wrinkle, or the graphic will crack around corners, and it usually shows up at qualification rather than at the first shot.
Which Method Delivers Better Durability?
In-mold decorating wins on durability, and the reason is structural rather than chemical: with IML the graphic sits below the surface of the part, so there is nothing to scratch off. The resin itself is the wear layer.
Paint can match that performance, but only when the system is built for it. A 2K epoxy primer with a 2K clear over it, properly cured, will handle abrasion, chemicals and assembly damage well. A thin single-stage coat will not, and it will not fail immediately; it will scuff, dull and then peel at the edges over a few months.
On chemical exposure specifically, both routes are decided by the clear coat or the film chemistry, not by the color. Oils, cleaners, alcohol and sunscreen are the usual offenders. Get the substrate compatibility sheet from the coating supplier and test the actual assembly, not a flat coupon.
UV stability is similar. A pigmented polymer and a UV-stable film both hold color outdoors; a lightfastness rating in the film or coat’s data sheet is the number to compare, not the word “fade resistant.”
Where paint actually holds an advantage is damage recovery. A part that gets scuffed in a distribution center can often be refinished and shipped. A film that lifts or prints wrong on an assembly line is scrap.
Quality and Cosmetic Consistency
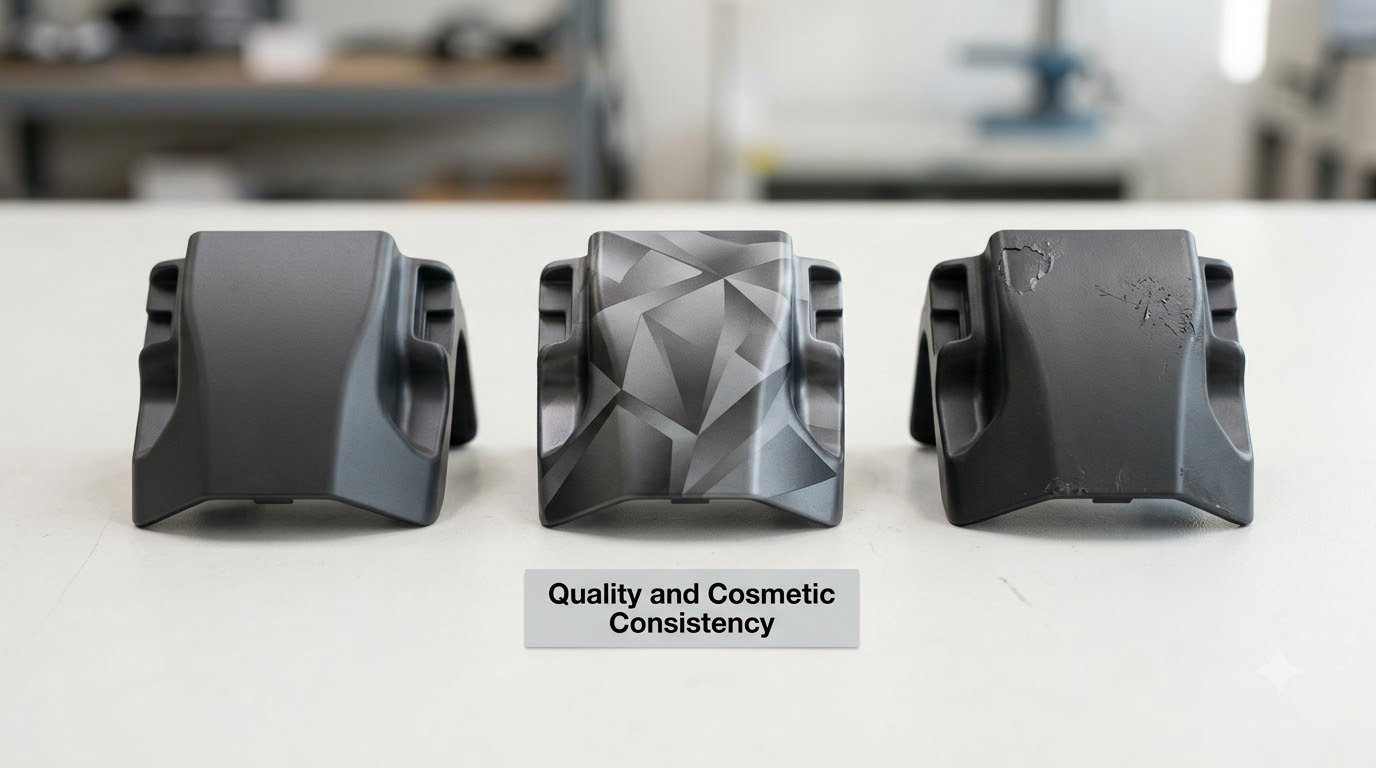
Here is the point most supplier pages skip, and it is the one that should drive the process decision more than cost does: the two routes have opposite relationships with molding defects.
Paint hides flow lines and weld lines. A filled, primed, coated surface masks the visual signature of uneven flow, and most cosmetic flow lines simply stop being visible. Sink marks are different: they are depressions, and a coating follows the depression rather than levelling it, so sink marks still read on a painted part. This is the single most common complaint about painted parts that look defective anyway.
In-mold decorating does the reverse. Because the surface has to read clean for the graphic to read clean, every flow line, weld line, sink mark and gloss variation is on display. That sounds like a reason to avoid it, and it is not. It means the part has to be molded well, and the cosmetic standard of the tool becomes the cosmetic standard of the product.
The practical consequence: teams migrating a part from paint to in-mold decoration often discover a tool that was never really class-A. Read what causes mold flash and how to prevent it as one example of the kind of tool condition issue that only becomes visible once nothing is covering it.
Defect behaviour on each route:
- Orange peel is a paint-side defect, caused by poor atomization, wrong viscosity or flash-off time between coats.
- Registration error is an in-mold defect, caused by film indexing or pick-and-place accuracy at the trim station.
- Color variation shows up as spray-to-spray drift in paint and as film-lot-to-film-lot drift in-mold.
- Sink marks are a tool and packing problem. Paint partially masks them; in-mold decoration shows them honestly.
- Scratches on a painted part can often be buffed. A scratched graphic film cannot.
Inspection standards should be written before the process is chosen, not after. Typical references are cross-hatch adhesion per ASTM D3359, gloss per ASTM D523, and a color delta E limit agreed with the customer. If a part will be seen at arm’s length under retail lighting, set the inspection standard to match that and hold the process to it.
Cost and Production Economics
Paint adds cost to every single part. Film adds cost mostly once, at tool build. That difference is the whole economic argument, and it scales with volume.
Line items to count on the paint side: paint and clear material, prep chemistry, primer, masking and fixturing, booth and oven energy, direct and indirect labour, changeover time, rework, and the scrap rate that comes with handling a finished part several more times before assembly.
One widely cited trade estimate, from a CompositesWorld article published in 2005, put painting and associated operations at 30 to 50 percent of a part’s cost. That number is old and it was written about composites, so treat it as an order-of-magnitude warning rather than a budget line. The direction of it has held up, though: finishing is expensive, and it is expensive per part, forever.
On the in-mold side: a higher mold cost, film tooling, film material per shot, indexing equipment or robot time, a longer qualification run, and a higher scrap rate at start-up while the process settles. Running scrap during ramp is normal and should be budgeted as a cost, not treated as a surprise.
Where the breakeven sits
No single number works, because paint line cost per part varies so much with part size, labor rates and automation. The useful way to look at it: film cost per part is roughly fixed per shot, so it drops as volume rises, while paint cost per part is roughly flat. A rough industry rule of thumb is that in-mold decorating starts winning somewhere in the low tens of thousands of parts a year for a small cosmetic part, and earlier for a simple large part where paint labour and handling dominate.
Test that against your own numbers rather than trusting the range. Multiply annual volume by the all-in per-part paint cost, compare it against annual volume times film cost plus the amortized tool increment, then add the value of the cycle time you recover. For automotive programs running hundreds of thousands a year, the answer is almost never close. For a specialty tool with 3000 units a year, it is almost never in-mold.
Recyclability belongs in the same conversation. A painted part is a coated multi-layer piece, and the coating changes what the regrind loop can accept. An in-mold decorated part is a thin laminate on a mono-material body, which most recycling streams handle more easily. If your customer has an end-of-life requirement, that requirement can decide the process before cost does.
Cycle Time, Automation, and Production Scale
Neither route slows the molding machine much. The difference is everything that happens downstream, and how many times the part gets touched.
A painted part gets handled at molding, prep, coating, cure, trim, inspection and assembly. In-mold decorating removes most of that. On a high-volume line, the recovered hours are the reason most in-mold programs show up as a labor reduction even before the material saving.
Automation reality check, because this is where in-mold programs get oversold. Film handling is genuinely automatable: robots pick pre-cut films, and indexed webs are standard on long runs. It is not free. Indexing accuracy is the constraint, and a misindexed film is a scrapped part, not a reworked one. Budget for a start-up scrap allowance and a first-article plan on every new film revision.
Batch flexibility runs the other way. Paint handles a high-mix, low-volume schedule well. In-mold decorating rewards predictability: the same film, the same tool, thousands of shots, few changes. If your program changes colors or artwork weekly, you are paying the setup cost every week.
Painting vs In Mold Decorating for Specific Plastic Parts
Housings for consumer electronics are usually in-mold. Flat panels, consistent geometry, high volume and graphics that need to survive years of handling.
Automotive interior trim is the strongest in-mold case, especially grain-textured surfaces where the texture comes from the tool. Exterior trim with a high-gloss, class-A target is more contested, because the gloss standard and the defect exposure are both stricter than most in-mold programs can hold on a large, complex tool.
Appliance and white-goods control panels often go either way. Painted panels give free design flexibility across many models; in-mold panels win when a single model runs long enough to amortize the film.
Medical devices and personal care devices usually specify in-mold, because cleanability, chemical resistance and the absence of a secondary coating operation are all easier to argue in an audit. Complex geometry and a need to change color frequently can still push them toward paint.
Packaging and pails are the clearest in-mold application of all. Large surface area, one or two colors, enormous volume, and a graphics surface that takes constant handling.
Large molded components with deep 3D forms, complex spoke patterns or tight internal geometry are where paint still wins. Two-shot tooling for those shapes is demanding, and engineers describe it as a serious undertaking for good reason.
Handheld tools and grips are the classic two-shot or overmolding case rather than a paint or IML case, because the soft-touch feel has to be a real material layer, not a coating pretending to be one.
Which Should You Choose?
Start with the cosmetic target, because it eliminates half the options before you look at cost.
If the part must read flawless under retail lighting, in-mold decoration raises the bar on the tool. If the part is textured, has deep 3D geometry, or sits at arm’s length, paint gives you more ways to reach a good look. If the part is a flat panel with a graphic and runs in volume, in-mold decorating is the better answer and is usually not close.
Then check four things:
- Volume. Steady, repeatable, tens of thousands a year favors in-mold. Low volume, prototypes, or a program you expect to cancel favor paint.
- Change rate. Frequent color or artwork revisions favor paint, because the setup cost is measured in hours rather than tooling revisions.
- Geometry. Draft, radii, uniform walls and no deep undercuts. If the film cannot follow the shape reliably, paint is the honest answer.
- Capability. Painting needs a prep line, a booth, an oven and someone who can hit a consistent film thickness. In-mold needs a press with reliable film handling and a supplier who can hold a film spec. Pick the one you can run well rather than the one that sounds better on paper.
There is a hybrid worth considering. Mold the part in color with masterbatch to get a base shade, then in-mold label only the surfaces that need graphics. Or paint a molded-in-color part in a single tone to hide tool defects. Both split the cost of each route and both are common in real programs.
One more honest caveat. Whichever route you pick, define the cosmetic standard in writing before the tooling is cut, not after the first shot. The disagreements that cost money in finishing are almost always about what “good enough” means, and that conversation is much cheaper before the steel is ordered.
Frequently Asked Questions
Is in-mold decorating always cheaper than painting plastics?
No. In-mold decorating usually wins on cost per part at steady volume because the finish is applied during the molding shot instead of through a separate paint operation. At low volume, or for a part whose color and artwork change often, the higher tool cost and the cost of new film can outweigh the saving. Compare your own annual volume times all-in paint cost against amortized tooling plus film cost before deciding.
What is the difference between in-mold labeling and in-mold decorating?
In-mold labeling places a printed film behind the part surface during molding, so the graphic is buried under the resin and cannot scratch off. That also means the artwork is effectively flat. In-mold decoration leaves the film at the surface and can texture it in the same operation, which allows tactile surfaces but limits how deep the texture can go. IML buys durability, IMD buys texture.
Can in-mold decorating be used on complex 3D plastic parts?
Yes, but with limits. Reverse-printed 3D formable films and injection-compression processes handle complex shapes, though registration on deep features and around tight radii is where failures happen. Parts with sharp undercuts, heavy draft dependence, or very uneven wall thickness are difficult. For those shapes, paint with masking and fixtures remains the more reliable route, and two-shot overmolding is often the better third option.
Which method gives better scratch and chemical resistance?
In-mold decorating generally wins on scratch resistance, because with labeling the graphic sits below the surface and the resin itself is the wear layer. Paint performs comparably when it uses a 2K epoxy primer and a 2K clear, fully cured, but degrades faster when film thickness is low. Chemical resistance in both routes is decided by the clear coat or film chemistry, so check the supplier data against your actual cleaners and oils.
Is painting suitable for high-volume plastic production?
It can be, and many automotive programs run painted lines at very high volume with robotic application. The cost is that every part is handled several extra times, and a defect means a reworked or scrapped part rather than a simple pass. In-mold decorating suits high volume better when the part is stable, because it removes the downstream handling entirely. The deciding factors are automation capability and how predictable your production schedule is.
Can painted or decorated plastic parts be repaired or recolored?
Painted parts can often be repaired. A scuffed or mis-coated part can be sanded, refinished and shipped, which is a real advantage during ramp. Recoloring a painted part is straightforward. In-mold decorated parts are the opposite: a scratched, misprinted or misindexed part is usually scrap, and a color change means new film and requalification rather than a booth recipe adjustment.
Conclusion: Choose the Process Around the Product
Painting and in-mold decorating both work. They fail in opposite ways, and that is the whole decision. Paint is flexible, forgiving of a mediocre tool, easy to change and easy to repair, but it costs you on every part and hides less than people think. In-mold decorating is cheap per part at volume, tougher than paint, and completely unforgiving of a tool that is not class-A.
Before you specify either one, write down five things: the geometry, including draft and radii; the cosmetic standard and viewing distance; the exposure to chemicals, UV and wear; the annual volume and how predictable it is; and the total finished-part cost, not the molded-part cost. Most programs that go wrong on this decision picked a process on part cost alone, or picked a cosmetic target after the tooling conversation had already happened.