
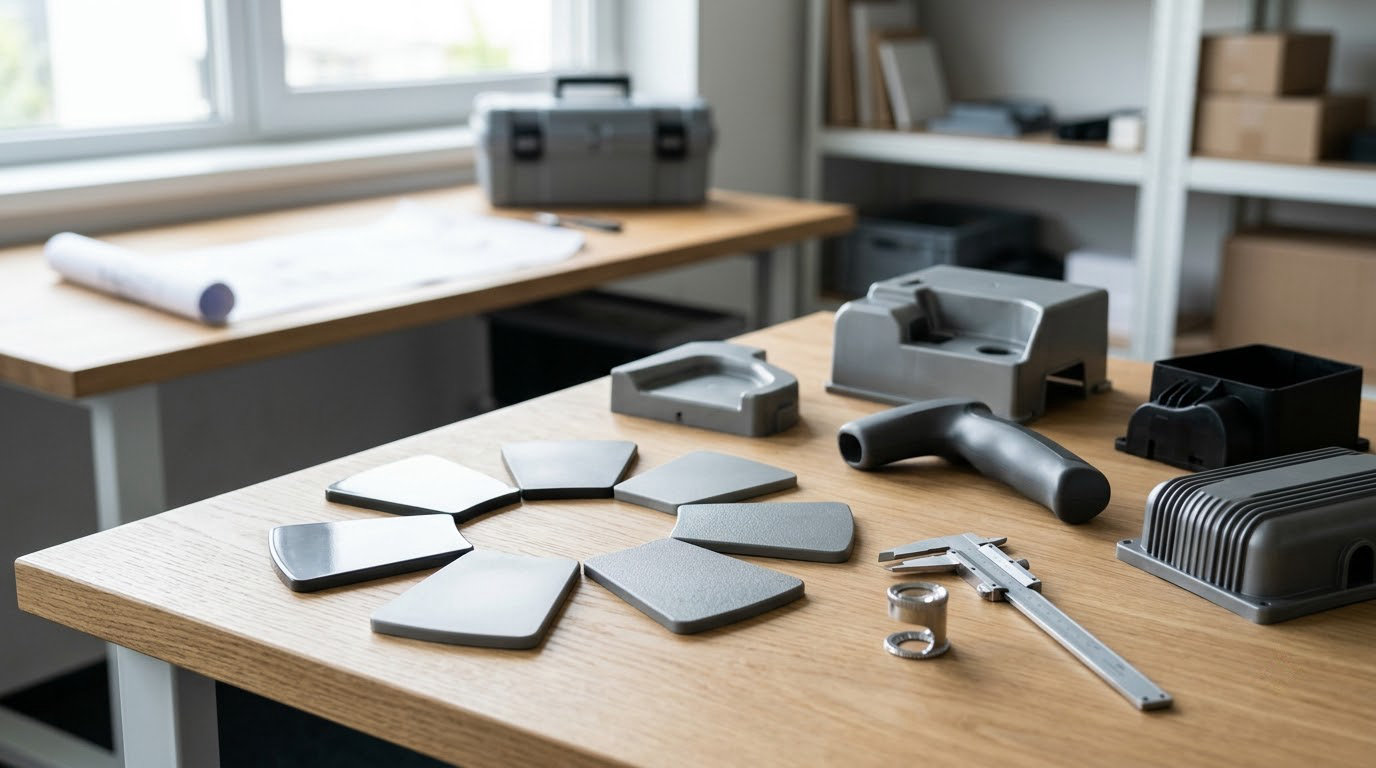
How to choose surface finish for molded parts comes down to one idea: the surface you specify on the drawing is the surface you get out of the tool. Pick a finish family by function first, then confirm it against your resin, draft angles and production volume, and write it down as a number rather than an adjective. That takes about an hour with a reference chart and takes two weeks out of the schedule later.
The reason it matters is timing. A finish transfers from the cavity to every part the tool makes, so it is a one-time tooling decision rather than a per-part operation. Deciding it after the tool is cut means new steel, new polishing hours and a new lead time.
Table of Contents
What You Need to Choose Surface Finish for Molded Parts
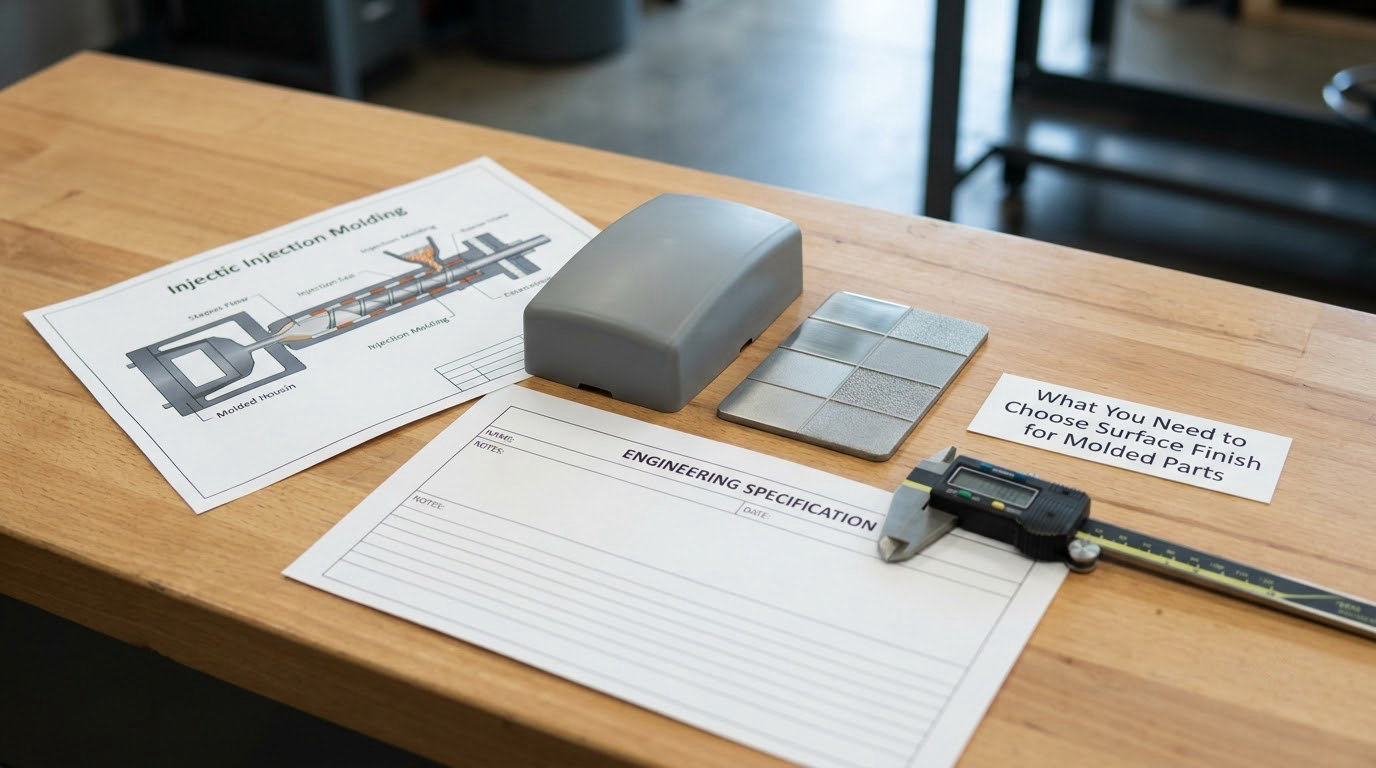
Most people arrive at a finish decision with an image in mind and nothing else. Gather these inputs first, and the choice gets much easier to defend to a molder, a purchasing team and yourself six months later.
- Resin and grade. ABS, acrylic, polycarbonate, nylon, polypropylene and polystyrene each read texture differently. Color and filler content matter as much as the base resin.
- Molding process. Injection molding, compression molding and silicone rubber each reach their finishes through different tooling methods.
- End use and visibility. Which faces a person touches, sees, or never sees at all.
- Functional demands. Grip, cleaning exposure, wear, sealing, optical clarity, or fingerprint hiding.
- Draft and geometry. Existing draft on vertical walls, plus any thin ribs or deep detail the texture must reach.
- Tolerances and cosmetic limits. Whether witness lines, flow lines or parting-line appearance are acceptable.
- Production volume and cycle-time expectations. A one-off tool and a 500,000-piece program justify different spend.
- Per-part cost target. The number that decides how much polishing and texturing is reasonable.
On the desk side, you want three things: a copy of the SPI finish standard chart, a Mold-Tech or VDI 3400 texture chart if your supplier uses one, and a way to judge gloss. A handheld gloss meter is nice, but for most programs a controlled light box and a signed-off physical coupon do more work than a number.
Step-by-Step: How to Choose a Surface Finish
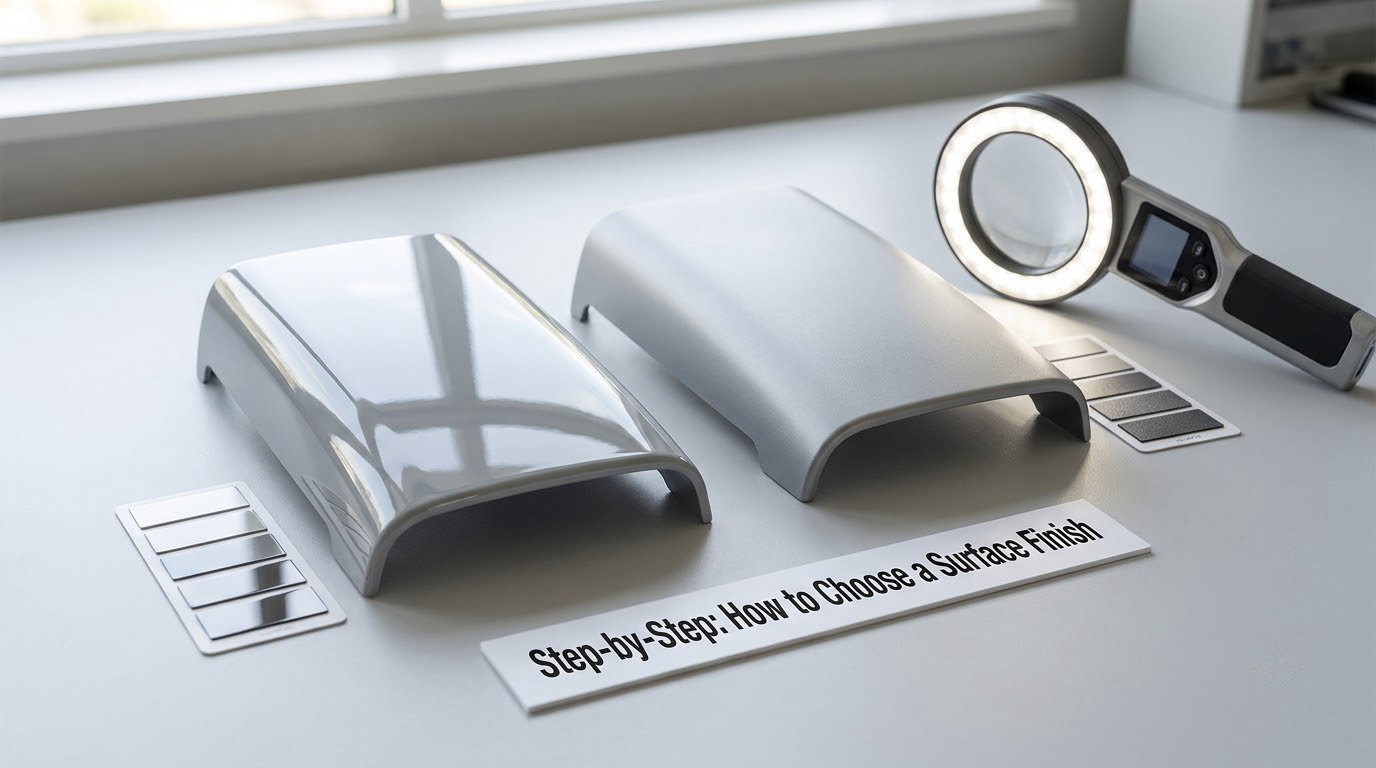
1. Define what the surface finish has to do
Start by separating measurable function from preference. Grip, cleanability, wear resistance, seal contact, optical clarity and hiding a molding defect are things you can test. Gloss level and color contrast are taste, and taste belongs in a separate conversation.
The Society of the Plastics Industry, now the Plastics Industry Association, defines twelve finish grades grouped into four families. This table is the one to keep on your desk.
| SPI grade | Finish type | Finishing method | Appearance |
|---|---|---|---|
| A-1 | Gloss | Diamond buff, near-mirror | Maximum gloss, optical clarity |
| A-2 | Gloss | Diamond buff | High gloss |
| A-3 | Gloss | Fine grit paper and buff | Gloss, very fine tool trace |
| B-1 | Semi-gloss | 6000 grit paper | Semi-gloss |
| B-2 | Semi-gloss | 3000 grit paper | Semi-gloss, industry default |
| B-3 | Semi-gloss | 1200 grit paper | Semi-gloss, visible tool marks |
| C-1 | Matte | 600 grit paper or light bead blast | Matte, few marks |
| C-2 | Matte | 400 grit paper or bead blast | Matte |
| C-3 | Matte | 320 grit paper or media blast | Matte, more visible marks |
| D-1 | Textured | Fine mechanical texture | Subtle grain |
| D-2 | Textured | Medium texture, EDM capable | Grain, better defect masking |
| D-3 | Textured | Coarse texture | Deep grain, aggressive masking |
Two other systems describe the same finishes differently, and mixing the vocabularies is the fastest way to get a quote you cannot compare. Mold-Tech, the commercial system sold by Standex Engraving, assigns serial numbers such as MT-11010 to graded textures. VDI 3400, published by the Verein Deutscher Ingenieure, uses numbered EDM texture values.
| System | Standard body | Process | Code format | Best for |
|---|---|---|---|---|
| SPI A through D | Plastics Industry Association | Polishing, grit paper, blast | Letter-number, A-1 to D-3 | General reference and purchasing language |
| Mold-Tech | Standex Engraving | Mechanical and chemical texturing | MT serial numbers | Picking a named texture with a known depth |
| VDI 3400 | Verein Deutscher Ingenieure | EDM surface texturing | Numeric values | European tooling shops and repeatable grain |
Rough equivalencies come up constantly. VDI 12 sits near SPI C-1, and SPI D-3 lands close to VDI 33 and MT-11020. Treat these as starting points for a conversation, not as interchangeable codes.
Resin decides how well you can hit the target. ABS takes a high polish readily and shows the result clearly. Polycarbonate holds a gloss but is prone to stress marks, and industry guidance advises against the coarser D-2 and D-3 textures on it. Glass-filled nylon hides fibers better under a medium texture than under a polish. Polypropylene is hard to polish because of its low surface energy. If the resin choice is still open for a housing, our guide to choosing between ABS and polycarbonate for enclosures covers the tradeoffs that carry through to the finish callout.
2. Match the finish to the molding process and resin
As-molded is the cheapest option: the cavity stays as machined and the part comes off the tool with tool marks. That is a legitimate choice for hidden structural parts, and it is the condition you get when nobody specifies anything.
Polished finishes, A-1 through A-3, take the most labor. The cavity is worked through graded diamond buffs and fine papers until it reflects cleanly. That effort buys optical clarity and a bright surface, and it also leaves very little tooth for paint or adhesive to grab, which is a real problem if the part gets coated later.
Matte finishes, C-1 through C-3, come from coarser paper or dry blast media such as glass bead or aluminum oxide. Matte is the workhorse for housings and enclosures: it hides fingerprints, it scatters light so flow lines and tool marks stop reading as shiny streaks, and it gives paint and pad printing something to adhere to.
Textured finishes, D-1 through D-3, are applied mechanically, chemically or by EDM. They are the best choice for grip surfaces and for parts that have to look clean despite visible weld lines. The cost is that texture holds and hides dirt, which matters in food-handling and medical environments.
Compression molding and silicone rubber reach the same destinations differently. Silicone parts are frequently left with a very fine matte or no finish at all, since soft durometer elastomers eject easily and hold no hard polish.
3. Price in tooling, cycle time and wear
Tooling spend is the obvious cost, and it is front-loaded. Polishing hours on a cosmetic shell can add more to the tool bill than the steel itself. The less obvious cost is cycle time and wear: aggressive textures can increase ejection force and can pick up dirt, and abrasive finishes dull with cycles.
Draft is the constraint people miss. As a rule of thumb, add about 1.5 degrees of draft for every 0.001 inch of texture depth, and keep a minimum of roughly 3 degrees on walls that get a light bead blast. Texturing a wall that sits at 1 degree does not work, and no amount of process adjustment fixes it later.
Geometry decides which finish you can have. Deep, thin detail and near-parallel walls need a shallow finish, and a deep texture simply will not reach into the bottom of a narrow rib. A textured surface also reads much more strongly on a dark color than on a light one, which surprises people who specified grain without checking a part in black.
4. Turn appearance into measurable criteria
Smooth, premium-looking and high quality are not specifications. A supplier cannot quote them, and quality cannot reject against them. Replace them with a texture grade, a gloss range, and a list of the defects that are acceptable and where.
Surface roughness Ra is the number behind most of those callouts. Ra is the arithmetic mean of the deviation of the surface profile from its mean line, expressed in micrometers, so a lower number means a smoother surface. An as-machined mold cavity runs about Ra 3.2 micrometers with visible tool marks, which is the condition of a cavity nobody polished.
Write down which faces get which grade, and name the A-side and B-side explicitly. If part of the tool is masked or left as-machined, say so on the drawing rather than hoping the molder infers it. Where nothing is specified, the industry default finish is SPI B-2. Remember that a finish callout is a geometric requirement as much as a cosmetic one, and it has to coexist with everything else on the print; GD&T basics for plastic parts covers how those callouts interact with datum and modifier symbols.
5. Approve a sample made the real way
A sample molded in a different resin, on a different tool, at different process settings, tells you almost nothing useful. Ask for a sample made with the intended resin and color, on production-intent tooling, with the actual surface preparation.
Judge it under the lighting the end user will see. Hold it at the distance it will be viewed from, in the orientation it will be installed, and look at it from the angles people actually hold it at. Then touch it, clean it, and run the functional test: grip, wipe-down, coating adhesion or label durability.
Sign the sample physically and keep it in the file. A signed coupon ends more disputes than any clause you can write.
6. Write it into the spec and control revisions
Your finish specification should carry: finish family and grade, texture depth if the supplier uses one, gloss target, molding method, resin grade, the approved sample reference, inspection method, acceptable defect limits, any secondary operations, and revision control.
Keep the callout short and unambiguous. Something along the lines of surface finish SPI B-2 on all cosmetic surfaces, A-side and B-side, as-machined on internal ribs is a complete instruction a shop can price without a call.
Common Mistakes
Most finish problems trace back to a decision made without information, then frozen into tooling. These are the ones that come up repeatedly, with the fix attached.
- Choosing by appearance alone. A photo shows the texture but not the wear, the cleaning load or the draft it needs. Fix: write the functional requirement first, then let the finish follow.
- Ignoring the texture standard. Saying matte or satin gets you a different answer from every shop. Fix: cite an SPI, Mold-Tech or VDI grade by number.
- Overlooking cleaning and wear. Deep texture on a part that gets washed daily traps dirt, and a mirror gloss on a part handled constantly shows every scratch. Fix: match texture depth to the cleaning regime.
- Requesting a finish the draft cannot support. Texture needs draft, and shallow-draft walls cannot carry it. Fix: check draft early, before the steel is cut.
- Paying for a polish nobody will see. Internal covers and hidden frames do not need A-1. Fix: tier the finish by visibility and spend the budget on the face a customer touches.
- Judging samples under the wrong light. Overhead shop light flatters gloss and hides grain. Fix: view at the real viewing distance, in the real installation orientation.
- Leaving parting lines and gate areas undefined. A good finish everywhere still looks wrong next to an ugly gate area. Fix: call out the parting line and gate appearance in the drawing.
- Forgetting secondary operations. A polished surface has little tooth for paint and labels, and deep grain can break fine pad print. Fix: confirm the coating or print process before locking the finish.
Two habits keep this honest. Ask your molder to review the finish callout before tooling is released, because they will flag problems for free at that point and charge to fix them later. And decide whether a texture problem is really a process problem, since weld lines and flow lines caused by poor filling will not disappear under any finish. Our piece on what causes sink marks in injection molded parts is a good reminder that the thick-section defects you are trying to hide usually need a gate or packing change first.
Frequently Asked Questions
What are the standard surface finishes for injection molds?
The Society of the Plastics Industry defines twelve standard finishes, A-1 through D-3, grouped into four families. A grades are glossy, achieved with diamond buffs. B grades are semi-gloss, finished with fine grit papers. C grades are matte, from coarser papers or bead blasting. D grades are textured by mechanical, chemical or EDM methods. Where nothing is specified, the industry default is SPI B-2.
What does a 3.2 surface finish mean?
Ra 3.2 micrometers describes an as-machined mold cavity that was machined but never polished. Tool marks remain visible, and the molded part comes off the tool with that same surface. It is the cheapest possible finish and a normal choice for hidden structural parts. If you want a cleaner surface, you need at least a semi-gloss grade such as SPI B-2.
What does a Ra of 25 mean for surface finish?
Ra 25 micrometers is an extremely rough surface, far coarser than any polished mold cavity. A number that high typically describes an as-cast, unmachined or heavily blasted surface rather than a finished tool. Molded parts are specified with SPI, Mold-Tech or VDI grades instead, so if you see Ra 25 quoted for a molded part, ask what it is meant to describe.
What is the standard surface finish for machined parts?
Machined metal parts use Ra values instead of SPI grades, and common conventions include Ra 3.2, Ra 1.6 and Ra 0.8 micrometers. As-machined steel runs about Ra 3.2. Molded plastic parts do not follow that convention because the cavity surface is finished by polishing or texturing rather than by the cutting tool, which is why SPI, Mold-Tech and VDI grades exist.
Which SPI finish should I specify if I am not sure?
SPI B-2 is the safe default and the most widely specified finish in the industry. It gives a clean semi-gloss surface, hides minor tool marks reasonably well, and offers enough tooth for paint, labels and pad printing. Specify a glossier A grade for optical or display surfaces and a matte or textured grade for grip surfaces or parts that must disguise molding defects.
What draft angle do I need for a textured finish?
Texture needs draft to be applied and to release the part cleanly. As a working rule, add roughly 1.5 degrees of draft for every 0.001 inch of texture depth, and keep at least about 3 degrees on any wall receiving a light bead blast. Walls below that will not hold the texture, so check draft before tooling rather than after the first textured sample disappoints you.
Start with the function, not the picture. Decide whether the surface needs grip, cleaning resistance, optical clarity or defect hiding, pick the finish family that delivers it, then confirm the resin, draft and volume support it. If the answer is still unclear, specify SPI B-2, review the callout with your molder before tooling is released, and approve a production-intent sample before the tool ships.