
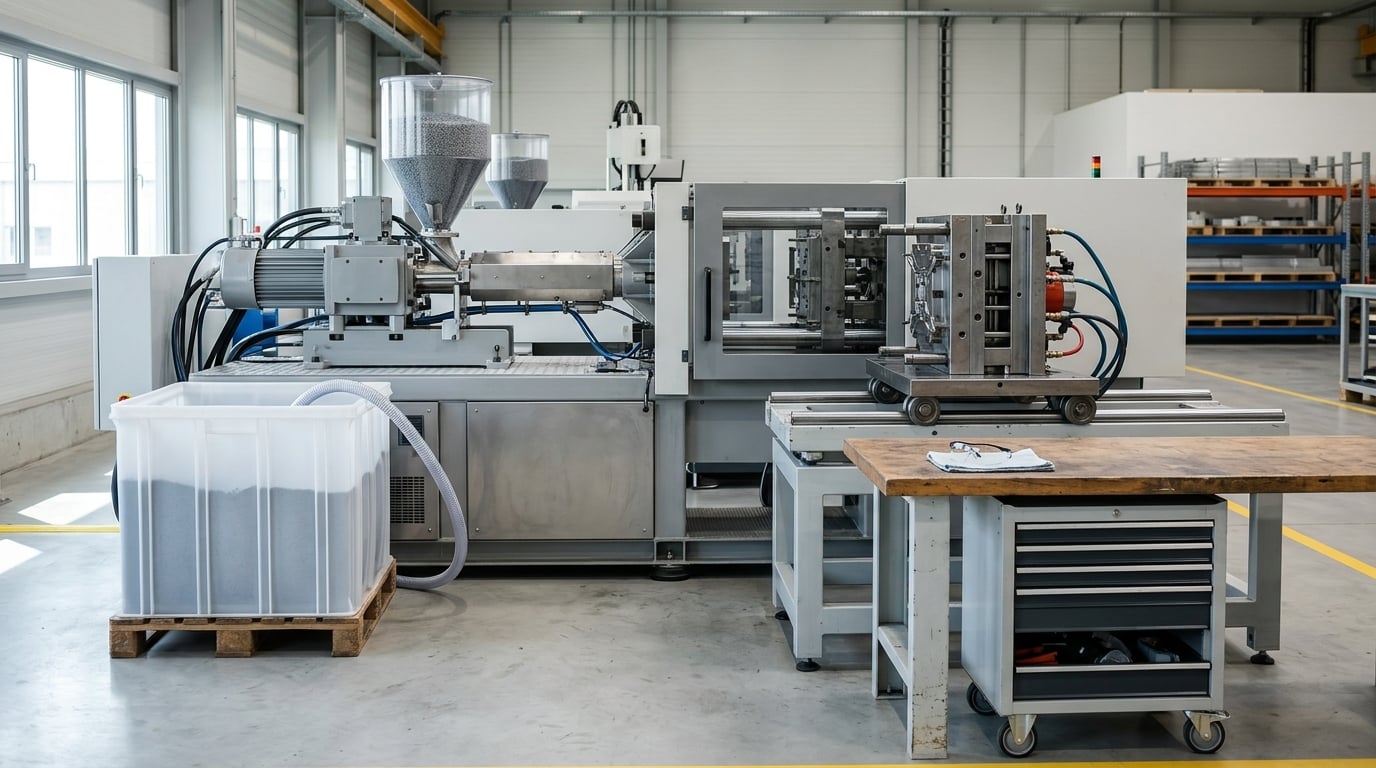
To reduce changeover time on molding presses, measure the real gap from the last good part of one run to the first good part of the next, split every task into internal work (press stopped) and external work (press running), push as much as possible into the external column, then standardize the kit, the sequence, and the checks. Shops that follow this method usually take a swap that ran one to three hours and bring it under an hour.
The whole approach takes one improvement cycle, not a capital project. You can start on the next changeover and have a real baseline by the end of the shift.
Table of Contents
What You Need
Before you change anything, you need a baseline. Without timestamps you cannot prove a change worked, and improvement projects without a baseline die quietly after a month.
Start with operational data. Pull the last 20 to 30 changeover records and note the start and end time of each one. Record the machine, the mold going in and coming out, the number of water lines, the operator, and whether anything unusual happened such as an alarm or a leak. If your schedule shows changeover frequency, capture that too, because quick change capability only pays off above a certain number of changes per month.
The boundary matters more than the tooling. Define changeover time as the elapsed clock time from the last good part of the outgoing run to the first good part of the incoming run. That includes waiting for material, waiting for quality approval, and waiting on a crane. If you only time the mechanical swap you will miss a large slice of the real cost.
Next, documentation. You need one written mold change procedure for the press, a changeover checklist that the setter actually ticks, and standard work for hookup that names each connection in order. If the knowledge only exists in one setter’s head, the second and third changeovers of every week run long.
Roles matter too. Name who does the swap, who stages material, who runs the checklist, and who approves the first article. Changeovers get slower when two people wait for each other because nobody owns the handoff.
On the equipment side, most shops already own the essentials: an overhead crane or die cart with rated lifting fixtures, a mold change table or staging area at dock height, a torque wrench, feeler gauges, and a purge container. Quick-change hardware is a later step, not a prerequisite.
Safety equipment is non-negotiable during the study. Lockout and tagout for the press, guards in place, safety glasses, gloves, and a crane with a current inspection sticker. You are watching a changeover, not rushing one.
Finally, improvement tools. A stopwatch or phone timer works, a shared spreadsheet is better, and a video of two or three changeovers is the fastest way to spot the waiting. Video usually finds the delays that the setters themselves stop noticing.
Step-by-Step: Reduce Changeover Time on Molding Presses
The sequence below moves from measurement to standardization to hardware. The whole point is to remove avoidable internal and external work without touching safety, mold protection, or part quality.
Throughout all seven steps you use one measurement method: timestamp the last good part, timestamp the first good part, and log the intermediate stops as named tasks. That gives you a total changeover time plus a task-by-task breakdown, and it stays comparable between the before and after runs.
1. Measure the Current Changeover
Write down where the boundary starts and stops before you time anything. Last good part to first good part is the standard most shops settle on, and it is the number to keep using for the whole project.
Break the changeover into named tasks rather than one block. Typical rows: purge and material switch, mold cooling and disconnection, unclamp and crane in, mechanical hookup, electrical and thermocouple connection, mold heating, first shot and stabilization, and first article approval. Time each one separately for at least ten changeovers.
Sort the tasks by minutes lost, not by how annoying they feel. In most plants the mechanical swap is not the biggest cost. Waiting for the crane, heating the mold to temperature, purging, and sitting around for quality sign-off frequently add up to more than the unclamping and clamping together.
Mark each task as internal or external once you have the timings, which is the next step. Also record delays that interrupt the work, such as alarms during hookup, because they are part of your real number even when they are not planned.
Expect a wide spread. A setter with about a year of experience described averaging 2.5 to 3 setups a day in one r/InjectionMolding thread, and tied the variance to water line complexity and clean-up effort. That variance is a clue: complex cooling circuits are where your biggest wins are hiding.
How you know it worked: after the changes, ten consecutive changeovers show a lower median and a tighter spread than the baseline ten, and no step grew to hide the savings.
2. Separate Internal and External Work
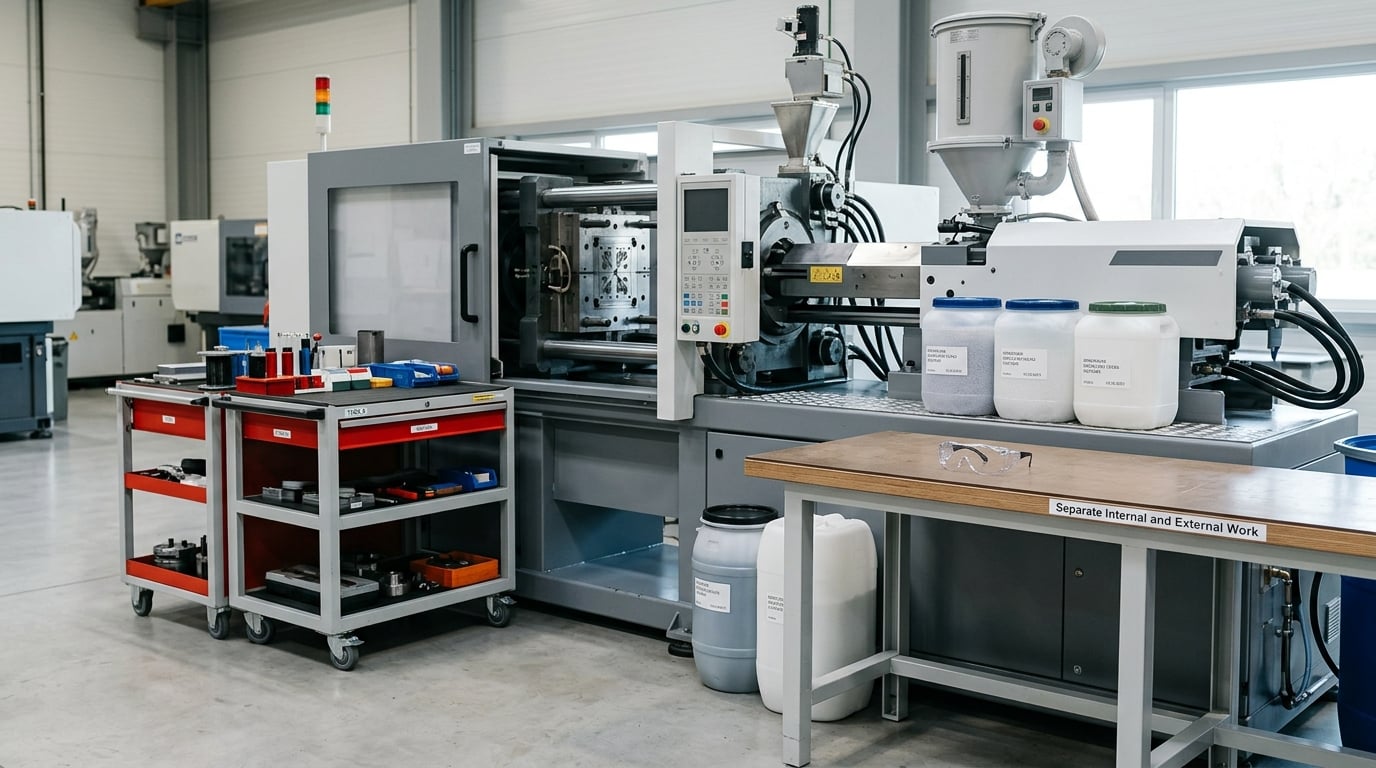
Internal work can only happen with the press stopped. External work can happen while the press is still running the previous part. The entire method depends on knowing which is which, task by task, because only the internal work is truly dead time.
Most of a press changeover is external work in disguise. Cleaning the mold face, wiping the platen, staging resin and colorant, pre-staging inserts, printing or reviewing the work order, getting the gauges and torque wrench to the machine, and preparing the inspection paperwork can all happen while the old job runs.
The jobs that must stay internal are shorter than people expect: unclamping, the crane swap, connecting lines and power, and the physical first shot. Once those are isolated on the timeline, the remaining minutes are the target.
Move the work, not just the task label. If a task moves external, something has to change in the process, usually staging it during the last 30 minutes of the previous run. Otherwise you have simply moved the work into a new hidden queue.
How you know it worked: every task in your sheet has a column for internal or external, and each external task has a named place and time where it happens. No row says “prepped somewhere”.
3. Create a Standardized Changeover Kit
Put everything the swap needs in one kit per press. Fixtures, tooling, gauges, feelers, torque wrench, spare thermocouples, purge material, labels, cleaning supplies, seal tape, and printed work instructions all live together, not scattered across the tool crib.
Visual control does most of the work here. A shadow board with a marked outline for each item, or labeled bins, tells a new setter in two seconds that something is missing. Color-coded bins for one press, one mold family, or one product line prevent the wrong kit from being wheeled to the machine.
Pre-stage quantities. If a changeover needs three of a fitting, have six on the cart. Hunting for a part while the press is cold is pure waste, and it is the single most common delay found in changeover videos.
Keep the kit stocked like a working tool, not like storage. Assign one person ownership of restocking after each change, and make missing-item recovery part of the checklist so the kit rebuilds itself.
How you know it worked: two different people can run the swap from the same kit without asking a third where anything is.
4. Apply SMED to the Remaining Tasks
SMED, the Single-Minute Exchange of Die method, is the framework for this step and it has three stages. First, observe and record the changeover as it is actually performed, not as the procedure says it should be. Second, separate internal work from external work, which you have already done. Third, convert what is left, by redesign, tooling, or pre-staging, into work that can be done outside the stopped-press window.
Practical conversions on a molding press are straightforward. Thermocouple and heater wiring that can be pre-installed while the mold is still on the change table moves external. Hose connections that can be made on the table rather than at the platen move external. Inserts and small components pre-counted and pre-checked against the drawing move external. Checks of mold function that do not need the press move external.
Some tasks can be shrunk rather than moved. Pre-set the platen height and centering before the mold arrives. Pre-stage a photo or drawing of the hookup point layout at the machine. These take minutes out of the internal window without changing the process.
How you know it worked: your internal task list is short, every remaining internal task has a reason it cannot happen externally, and each conversion is written into the standard work so the next crew repeats it.
5. Improve Tool Handling and Setup Sequence
Tool handling is where a well-run 10-minute change and a 90-minute change diverge. A crane lift that has to be searched for, a mold that lands 20 degrees out of square, and dock height that does not match the press table all add minutes that never appear in anyone’s estimate.
Set dock height and staging position so the mold travels on a straight, guided path into the platen rather than being walked in and adjusted. A change table with guides or rollers that brings the mold to platen height converts a two-person lift into a controlled slide. Alignment guides on the platen remove the guesswork in centering.
Use quick-release interfaces where the physics allow it. Multi-coupler plates connect several thermo and water lines in a single motion and, more importantly, make the connections in the same order every time. Quick-connect electrical boxes remove the terminal-by-terminal wiring. Pneumatic or magnetic clamping removes the manual clamping ring. A vendor such as EAS reports its own installed figures of clamping steps falling from 30 to 45 minutes to seconds and coupling from 15 to 20 minutes to under a minute, which is the order of magnitude a well-executed quick change reaches.
Standardize the connection points themselves. Fixed position for the coupler plate, a standard distance from the platen for the electrical box, and a marked location for the purge bucket mean the setter works from memory instead of from search.
Then fix the sequence. A written order for hookup, with a photo, removes the back-and-forth that happens when two people are unsure who connects what. Whatever the crew’s skill level, they follow the same path.
How you know it worked: the mold goes in on the first attempt, the connections go on in a fixed order, and nobody walks away from the platen mid-sequence.
6. Use Error-Proofing and Parallel Work
Error-proofing turns a repeated mistake into a physical impossibility. Color-coded thermo couplers, keyed fittings, and labeled hoses that only reach the matching port stop the cross-connected water line, which is expensive in both scrap and valve damage. Poka-yoke style trays that will not accept a mis-sized insert, bins that only open at the correct machine, and presence detection that will not let the cycle start with a mold half-seated all remove the same class of error.
Digital checklists beat paper when the checklist is the fix itself. A tablet or a fixed terminal at the machine that requires a tap per connection, in order, turns an undocumented swap into data you can trend. The data is worth as much as the compliance.
Labeled bins and defined roles cut the waiting. A named material handler who has the resin and colorant at the machine before the crane leaves the tool crib removes a queue that is invisible in most estimates.
Parallel work is where a second trained operator pays off, and it needs a clear rule. Two people can safely work in parallel during mold installation and commissioning, when the mold is in motion or being landed, and during electrical connection once the mold is secured. They should not work in parallel during unclamping, or near the platen while it is moving. Define the split in the procedure and train to it.
How you know it worked: rework after a changeover drops, and a repeat of the same connection error stops appearing in the log.
7. Verify, Standardize, and Monitor the Improvement
Verification is the step that gets skipped to save time, and it is the reason some plants cannot hold a fast changeover without paying for it in scrap. Approve the first article, verify critical dimensions and process settings, and sign it before the run goes back to schedule.
The better fix is to make approval fast rather than to skip it. Have the inspection kit staged and the first-article form printed before the swap starts, put the person who will approve on the notification list, and define in advance which dimensions and settings actually require checking. A 20 minute approval on a 30 minute changeover tells you the changeover is not the bottleneck. The approval is.
Log defects, delays, and interruptions against each changeover, not just the total time. Record the root cause of every exception so the next update targets the right problem.
Update the standard work after every change, and review it monthly. What you standardize is the fastest sequence, the kit contents, the hookup order, the safety steps, and the verification gate, all in one document the crew can run from.
Track five measures: changeover time by product family and press, first pass yield after a change, scrap in the first hundred parts, recordable injuries, and repeat work on the same connection. A changeover program that improves the clock and worsens injuries or first pass yield is not an improvement.
How you know it worked: the new median holds for a quarter, first pass yield after changeover is stable or better, and the checklist is being used without reminders.
Common Mistakes
Mistake one: timing only the press. Measuring from unclamp to hookup hides the crane wait, the material wait, the heat-up, and the quality approval, which is often more than half of the total. Fix: keep the last good part to first good part boundary and never move it.
Mistake two: cutting safety or quality steps to hit a number. A hurried mold landing, a skipped leak check, or a first article approved without inspection is a changeover that will be paid back in damage. Fix: define the fixed, non-negotiable steps, then attack only the variable work around them.
Mistake three: calling something external without redesigning the process. Moving a task to the external column on paper just relocates the queue into the previous run, where it competes with production. Fix: for every external task, name the person, the place, and the minute in the previous run when it happens.
Mistake four: changing five things at once. New clamps, new couplers, a new sequence, and a new crew in the same month produce a result nobody can attribute. Fix: run one controlled pilot on the highest-delay activity, hold everything else constant, and measure.
Mistake five: leaving the knowledge undocumented. Infrequent operators take much longer than the person who does the swap every day, which quietly sets your worst-case number. Fix: standard work with a photo for every connection, then have a second person run the swap from the document alone and fix the gaps they hit.
Mistake six: chasing quick change hardware before you have a baseline and a kit. Capital equipment is the cheapest part of the fix and the most expensive part to buy twice. Fix: stabilize the process and the kit first, then buy hardware aimed at the task that is still slow.
One implementation tip: pick the single task with the largest measured delay, run the pilot on it, and publish the before and after median to the crew. Visible numbers on one task are what make the next four steps stick.
Frequently Asked Questions
What is SMED and how does it apply to molding presses?
SMED stands for Single-Minute Exchange of Die, a method for cutting changeover time by separating work into internal tasks, which need the machine stopped, and external tasks, which can happen while it runs. On a press it means moving mold cleaning, material staging, wiring, and pre-staging off the stopped-press window, then redesigning what is left.
What is the difference between internal and external setup work?
Internal work requires the machine to be stopped, such as unclamping, the crane swap, connecting thermo and water lines, and making the first shot. External work can be done while the press is still producing, such as cleaning the mold, staging resin, reviewing the work order, and preparing inspection paperwork. Only internal work counts as true changeover time.
How long should a mold change take?
It depends on the tool handling and connection method more than on mold size. A crane swap with hand-connected lines and a full hookup commonly runs 60 to 180 minutes. With quick clamps, multi-coupler plates, guided change tables, and a preheated mold, shops reach 10 to 30 minutes. Set your target from your own baseline for one specific mold, not from a brochure.
How do I measure changeover time on my press?
Define the boundary as the time from the last good part of the outgoing run to the first good part of the incoming run. Time at least ten changeovers task by task, mark each task internal or external, and record interruptions such as alarms or waiting on quality approval. Compare medians, not averages, because one bad changeover will skew an average badly.
What is a quick mold change system, and is it worth the cost?
A quick mold change system combines quick-release clamps, multi-coupler plates for thermo and water lines, quick-connect electrical boxes, and a guided mold change table so the swap becomes a controlled, repeatable motion. It is worth it when you run several changeovers per day or per week. With few changes and long runs, a good crane setup and a solid kit deliver most of the benefit far cheaper.
Conclusion
Reducing changeover time on molding presses comes down to four things: measure the full gap from last good part to first good part, split every task into internal and external, standardize the kit, sequence, and checks, then buy hardware only for whatever is still slow. Move one task at a time and keep the safety and quality steps fixed.
Start today by timing one recent changeover in detail, sorting the tasks into internal and external, and picking the largest delay activity for a controlled pilot. Publish the before and after medians to the crew, and the rest of the method follows from there.