
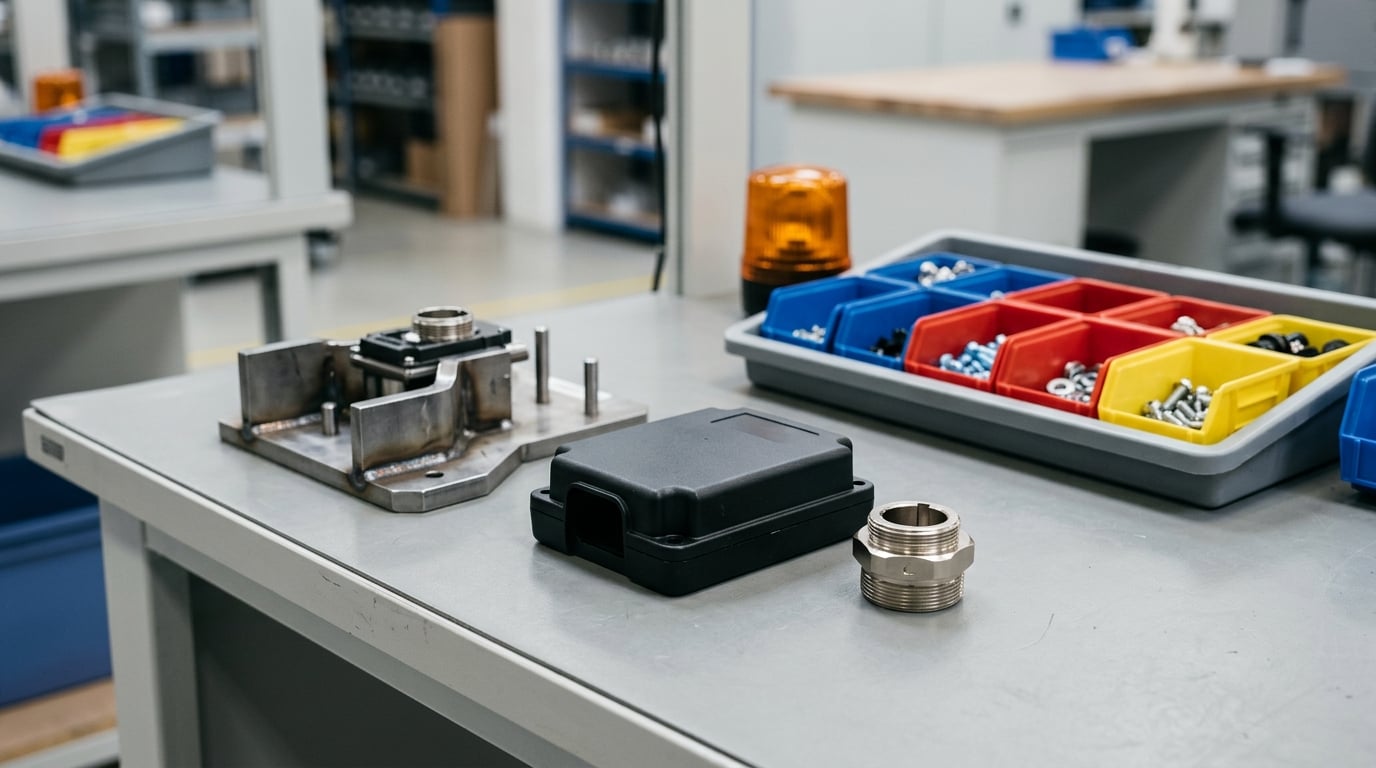
Poka yoke examples in manufacturing all answer one question: what happens when the operator is distracted, the drawing on the floor is out of date, or the wrong revision comes off the rack? A poka yoke removes the opportunity for that mistake instead of catching it at final inspection. Shigeo Shingo, an engineer at Toyota, named the idea in the 1960s, combining poka (an inadvertent mistake) with yokeru (to avoid).
This guide covers twelve of the devices that show up most often on real lines: keyed housings, mating connectors, color-coded stations, presence sensors, sequencing fixtures, go/no-go gauges, tool detection, orientation jigs, pour-direction checks, closure matching, weld-cap sensing and count verification. Each one names the failure it prevents, whether it is a control or a warning, how you confirm it actually works, and what it takes to build.
Written for manufacturing engineers, quality managers, lean practitioners and production supervisors. Last reviewed October 2026.
Table of Contents
- Poka Yoke Examples in Manufacturing at a Glance
- 1. Asymmetric Part Orientation
- 2. Connector Polarity and Gender Mating
- 3. Color-Coded Assembly Stations
- 4. Component-Presence Sensing
- 5. Error-Proofed Assembly Sequence
- 6. Dimension and Gauge Poka Yoke
- 7. Tool-Presence and Incorrect-Tool Detection
- 8. Keyed Jigs and Fixtures
- 9. Pouring-Direction and Container-Orientation Checks
- 10. Packaging Cap and Container Mismatch Prevention
- 11. Weld-Cap and Joint-Position Detection
- 12. Packaging Count Verification
- Frequently Asked Questions
- Conclusion
Poka Yoke Examples in Manufacturing at a Glance
| Manufacturing application | Common error | Mistake-proofing mechanism | Primary benefit |
|---|---|---|---|
| Final assembly | Part fitted 180 degrees out | Offset tab or keyed hole in the housing | Zero rework for reversed assemblies |
| Wire harness and PCB | Connector mated backwards | Male/female shells keyed to one orientation | No polarity damage at final test |
| Kitting and assembly stations | Component delivered to the wrong station | Standardized color coding and fixed bin location | Fewer wrong-part picks at the line |
| Automated stations | Cycle runs with a part missing | Photoelectric, weight or fixture switch sensing | Stops the defect being produced at all |
| Multi-step assembly | Step skipped or repeated | Fixture exposing only the next open position | Correct sequence every cycle |
| Machining and incoming | Oversize, undersize or misaligned part | Go/no-go gauge and fixed stop | Wrong part rejected before use |
| Machining centers | Wrong tool or no tool in the spindle | Keyed tool pockets, RFID and tool-presence switches | Collisions and scrapped work avoided |
| Welding, molding, inspection | Workpiece loaded in the wrong position | Asymmetric locating pins and shaped pockets | Setup done correctly on the first try |
| Chemical and resin handling | Material poured into the wrong container | Offset opening and position-sensed keyed caps | No cross-contamination or runaway reactions |
| Packaging lines | Wrong cap, pump or nozzle fitted | Neck-keyed closures and label-backed sensors | Leak-free packs, fewer line stops |
| Welding and sealing | Weld cycle runs without the joining feature | Visible tabs, locator ribs and presence sensors | No weak or leaking joints released |
| Kitting and shipping | Wrong quantity in the carton | Fixed-count cartons, dividers, weight and vision checks | Fewer customer credits and returns |
How These Poka Yoke Examples Prevent Manufacturing Errors
The phrase gets used loosely, so it helps to separate two things. Detection controls catch a mistake once it has been made. Prevention controls make the mistake impossible to complete in the first place, and those are the ones that pay for themselves fastest.
A control-type device physically refuses the wrong action: the connector does not latch, the part will not seat, the fixture pocket will not accept it. A warning-type device lets the process run but flags the mistake immediately, usually with light, tone or a message on the terminal. Warnings work when the error is rare and obvious; controls are what you want when the error is repeatable and dangerous.
Shingo’s own grouping is more mechanical. Contact methods detect a physical state, fixed-value methods detect that a correct value has been supplied, and motion-step methods remove the possibility of skipping or reordering steps. Several devices on this list satisfy more than one grouping at once, which is normal.
One bit of disambiguation, because these three get used interchangeably on the floor. Jidoka is the ability of a machine to detect an abnormal condition and stop without a human touching it. Andon is the visual signal a person pulls or triggers to call for help. A poka yoke is the design change that stops the error from occurring. Andon and jidoka respond to trouble; poka yoke removes the chance of it.
1. Asymmetric Part Orientation
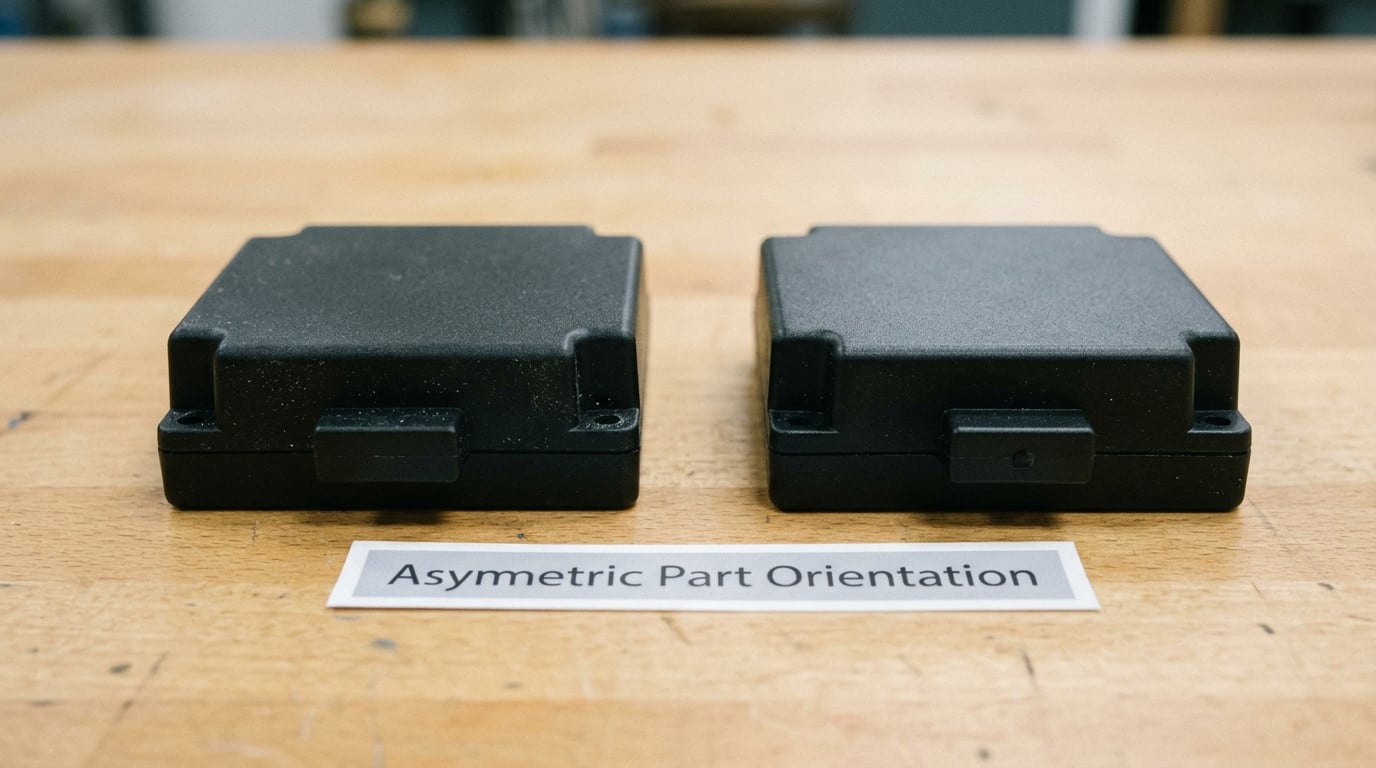
The cheapest way to stop a reversed part is to make the part itself un-symmetric. A round housing gets one flat, an offset mounting boss or a single keyed hole, so the 180 degree error simply has nowhere to go.
Automotive connectors and molded control boxes are the classic case. Add a keyway on one edge and a 180 degree misassembly becomes physically impossible; the operator discovers it at the point of assembly rather than at end-of-line test. This is a control-type device in every sense, and it needs no power, no sensor and no operator training beyond picking the part up.
Verification is simple and physical: take a good part, try to fit it the wrong way, and confirm it will not seat. Then check the failure mode has disappeared on the line. Build cost is a tooling change on an existing mold, which is why this example is worth checking before you spend money on sensors.
2. Connector Polarity and Gender Mating
Electrical errors are expensive because the damage often appears far from the cause. Keyed connector shells, gender-coded housings and deliberately unique pin arrangements move that failure to the connector.
If the mating face has a key rib that only aligns one way, or the pins are arranged asymmetrically, the harness cannot be plugged in reversed. Deliberate polarization, where pin 1 is enlarged or moved, is used where a reversed plug would otherwise latch and damage a board. Both are control-type devices, and both are specified at the design stage, which makes them nearly free once a part number exists.
To verify, walk to the line and offer the reversed connector to the operator. If it latches, the design has a gap. Note that a warning-style check, a label reading “this way up”, is a poor substitute here; labels get folded, covered and read under poor lighting, while geometry does not care about any of that.
3. Color-Coded Assembly Stations
Color coding is the most visible and most abused poka yoke device in manufacturing. Done properly it works, and it works cheaply. Done casually it becomes decoration that everyone ignores within a month.
The rule is that a color means exactly one thing across the whole plant. If blue is used for one component family in assembly and something else in kitting, the system fails quietly. Stations get a floor-marked footprint, bins get matching color, and the component that belongs there is the only one that fits the space or the holder shape. In a kitting operation, a color-coded tray that will only accept one part code removes the pick decision entirely.
This is a warning-type device that behaves like a control when the color is backed by shape. Verify by asking an experienced operator to pick from the wrong station; a well-built system makes the mistake feel awkward rather than possible. Cost is paint, laminate and holders, so it suits a plant with no budget for automation.
4. Component-Presence Sensing
Sensing turns presence into a fact rather than an assumption. A photoelectric sensor across a nest, a weight check on a hopper, a fixture switch under a locating pad: each one answers “is the part there” without asking the operator.
The control version blocks the cycle. The PLC will not release the station until the signal is present, so a missing part never becomes a partially assembled unit. Warning versions sound a tone or light a stack light but still allow the cycle, which is acceptable when the consequence is minor and a stop would cost more than the error.
Light curtains are the safety version of the same idea, and they matter for people rather than parts. Verify by removing the part on purpose during a live cycle and confirming the machine refuses to advance. Watch the station’s false-stop rate during the pilot: a sensor mounted too close to the part will stop the line often enough that operators will find a way around it.
5. Error-Proofed Assembly Sequence
Assembly errors are rarely random. They are almost always a skipped step, a repeated step or two operations swapped, because the sequence lives in someone’s memory rather than in the equipment.
A sequencing fixture removes the memory. Components arrive in a carrier that presents only the next open position, so once one is placed the following position opens and the previous one closes. Assembly cannot move out of order because the wrong position is not available. This maps directly onto Shingo’s motion-step grouping and it is a control, not a warning.
For longer sequences, a shuttle or trap design can trap any component not yet used and release them one at a time in the correct order. Verify by asking a new operator to assemble one without the work instruction. If they can still reach the sequence from memory, the fixture is not finished.
6. Dimension and Gauge Poka Yoke
Inspection at the end of a process is expensive, because you have already added material, cycle time and handling to a part that will be thrown away. A gauge that stops the part earlier does the same job at a fraction of the cost.
A go/no-go gauge accepts only the correct range. A shaft that is oversize will not enter the ring, one that is undersize will not fill it, and the operator knows immediately without a measurement being recorded anywhere. On a machining cell, a fixed stop that the part physically cannot pass removes setup error from the equation entirely. A check fixture on an incoming inspection bench keeps a bad batch from reaching the line in the first place.
All of these are controls. Verify them against known good and known bad samples, then re-check after a tool change or a shift swap, because a stop that has been quietly filed down is no longer a stop.
7. Tool-Presence and Incorrect-Tool Detection
Machine crashes are the most expensive defect on most metalworking lines, and they usually begin with the wrong tool or no tool in the spindle. Tool presence detection has become standard for exactly that reason.
Three layers work together. A tool-presence switch confirms something is actually in the spindle before the cycle starts. A keyed holder or keyed socket means the wrong tool physically will not fit, so an incorrect tool cannot enter the process at all. RFID or embedded identifiers on the tool confirm that the tool in the machine is the tool the program expects, catching the case where a keyed tool of the wrong length still fits.
Verify by pulling the program for tool 4 and loading tool 7, then confirming the machine refuses to run. Record the run time of the changeover when you add these: an interlock that adds a minute to every tool change will be worked around, and a control that gets bypassed is worse than no control.
8. Keyed Jigs and Fixtures
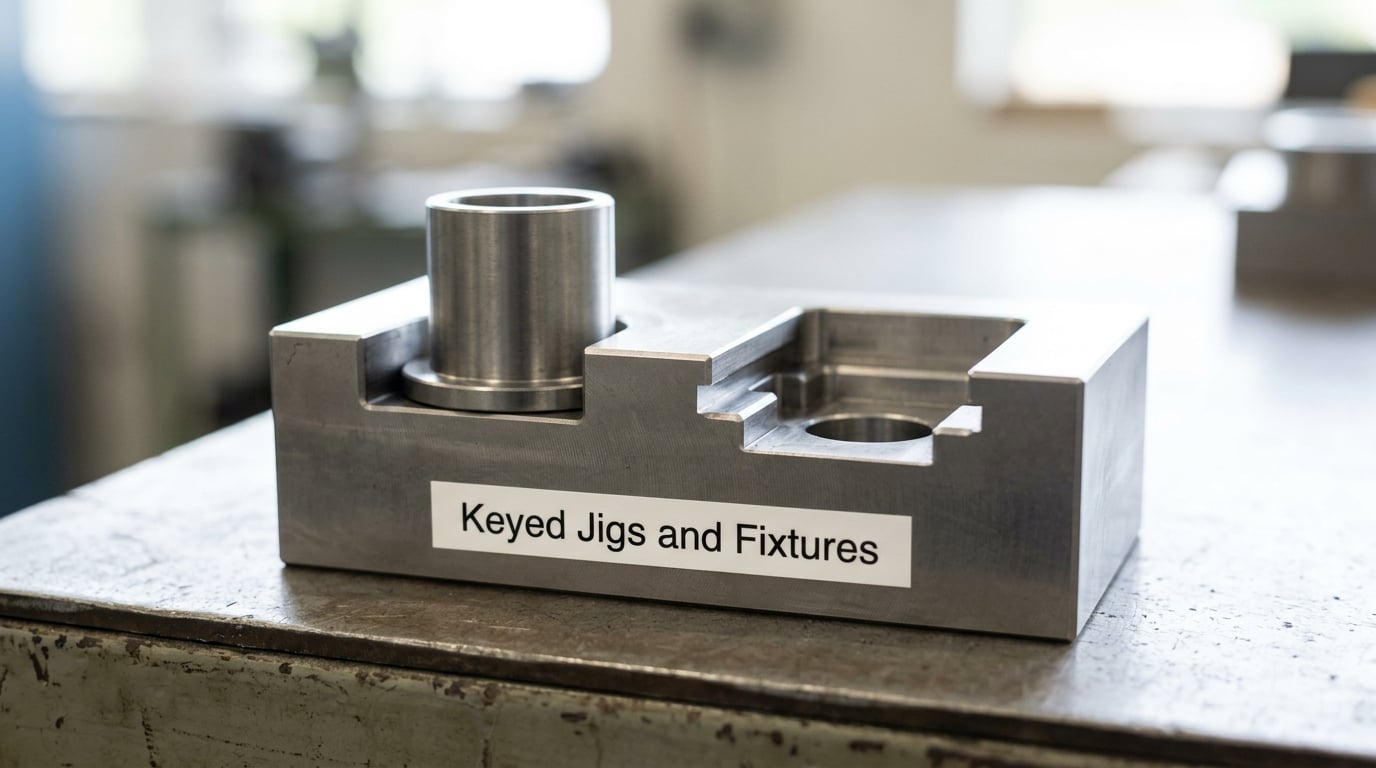
A jig that accepts only the correct workpiece is the cleanest control in this whole list, because it never relies on attention at all. Loading a part becomes a physical question with one answer.
Asymmetric locating pins, a pocket shaped to the part’s outline, or two pins spaced so only one component can straddle them will reject an incompatible part on contact. The same principle applies to welding positions, insert molding, CNC nests and inspection stations. Where the workpiece is symmetrical, the fixture breaks the symmetry deliberately, usually with a small non-critical feature that only exists to key the part.
Verify by offering two different part numbers to the same nest and confirming only one seats. These are control-type devices, usually built in-house from plate and standard pins, which makes them one of the cheapest real improvements available to a small manufacturer.
9. Pouring-Direction and Container-Orientation Checks
Chemical and resin handling has a failure mode that no amount of training removes: the operator tips the wrong drum into the wrong vessel. The consequence ranges from a scrapped batch to a runaway reaction.
Offset openings solve it physically. A drum fitted with a pouring spout that only aligns with one position on the receiving vessel cannot be poured in upside down, and a diagonal rib on the rim mates with a matching notch on the funnel. Position sensors confirm the drum is seated the right way round before the valve opens, and a keyed cap prevents the connection from being made at all if orientation is wrong.
Directional labels are the weak version, and they belong here only as a backup to geometry. Verify by attempting a pour from an inverted drum and confirming the system refuses. These are controls when the geometry does the work and warnings when only a label or beacon is involved.
10. Packaging Cap and Container Mismatch Prevention
Closure errors are easy to make and slow to find. A cap that fits but leaks shows up in the customer’s hands, days after the pallet left the building.
Neck-keyed caps with a thread configuration or a bayonet pattern that does not match the bottle make the wrong cap impossible to fit. Pump and dispenser sizes are specified so that a pump from one product line physically will not screw onto a container from another. On a filling line, a label-backed sensor confirms that the correct label is applied and that the correct cap is present before the pack is released.
These are control-type devices and they are chosen at packaging design time. Verification is fast: attempt to fit each cap to every container on the line and confirm only the intended combinations go on.
11. Weld-Cap and Joint-Position Detection
On a welding, sealing or overmolding station, the weld cycle is committed the moment the trigger is pulled. If a cap, seal or joining rib is missing or turned the wrong way, nothing downstream will catch it in time.
Visible positioning tabs and fixed locator ribs on the fixture place the cap correctly every time instead of relying on the operator to spot it up square. A presence sensor confirms the cap is in position before the cycle releases, and a fixture switch confirms the joint is closed. Where the joint is safety-relevant, the interlock stops the weld rather than warning about it.
Verify by running a cycle with the joining feature deliberately omitted and confirming the machine will not weld. Then watch for bypasses: a control that has tripped three times on a false signal teaches operators to defeat it, and the fourth defeat is the real one.
12. Packaging Count Verification
Count errors are the least glamorous and the most expensive errors to defend against, because they generate customer credits, returns and shipping charges that nobody budgets for.
Fixed-count cartons solve the problem by design: the box physically holds the quantity, so a missing or duplicated item is obvious before the lid goes on. Alternating dividers make even counts automatic. Weight checks catch a short or long fill when the tolerance is tight, and vision counting catches the cases where the items differ in shape and no divider will work.
Any of these that halts the pack is a control; one that flags the pack for a checker is a warning, and on low-value items that is usually the right trade. Verify by deliberately shipping a short pack to the pack-off station and confirming it does not reach dispatch.
Frequently Asked Questions
What is poka yoke in manufacturing?
Poka yoke is a mistake-proofing method developed by Shigeo Shingo at Toyota in the 1960s. Instead of asking operators to remember the correct action, a poka yoke redesigns the process so the wrong action cannot be completed, or blocks the next step until the correct one is done. The name combines the Japanese words poka, meaning an inadvertent mistake, and yokeru, meaning to avoid.
Is poka yoke the same as quality inspection?
No. Inspection finds defects after they have been made, and poka yoke stops them from being made. A go/no-go gauge sits between the two: it rejects a part that is out of specification without recording a measurement. The distinction matters commercially, because inspection cost scales with volume and cycle time, while a poka yoke removes the rework, scrap and recovery work that follow a defect.
What is the difference between mistake-proofing and error-proofing?
In practice the two terms are used interchangeably, and so is fool proofing. Shingo’s original distinction is that a mistake-proofing device prevents an error from being made, while error proofing detects an error immediately after it happens and stops the process. Most plants call any control designed to remove the opportunity for a mistake a poka yoke, regardless of which label is preferred.
Where should a manufacturer implement poka yoke first?
Start with the failure that is most frequent, most expensive to recover from, and most likely to repeat. In many plants that is a wrong part picked from stores, a missing component in a kit, or a fastener torqued outside specification. Avoid starting with the most dramatic defect. Map the process, rank the error modes, and pilot the simplest physical control on the top-ranked one before spending on sensors or software.
How much does implementing poka yoke controls cost?
The range is wide because the devices differ in kind. A keyed housing or color-coded station is largely a design and materials change. A poka yoke jig or fixture is usually built in-house from plate and standard hardware. Sensors, interlock logic, barcode or RFID verification and integrated digital instructions carry hardware and software cost, but they scale across stations rather than repeating per line. Judge each one on the recovery cost it removes.
Conclusion
The twelve examples above share one property: each one removes a decision. A keyed tab, a shaped pocket, a fixed stop and a blocked connector do not rely on anyone remembering anything, which is why they hold up on a night shift as well as on a training video.
Begin with a single error rather than a program. Map the process, rank the failure modes by frequency and recovery cost, decide for each whether it can be prevented outright or only caught, and pilot the simplest physical control that answers that question. Then verify it by trying to defeat it, measure the defect rate before and after, and write the control into the work instruction and the control plan so it survives the next changeover.