
Resin contamination in a plastics plant is any foreign material, cross-grade polymer, absorbed moisture, or thermally degraded resin that reaches the melt and shows up in the finished part as black specks, color streaks, gels, bubbles, or lost mechanical properties. Here we mean thermoplastic pellets in an injection molding, extrusion, or compounding plant — not ion-exchange resin used in water treatment, and not botanical resin.
The way to prevent resin contamination in the plant is to control every link in the material chain: goods-in, storage, dryer, feed hopper, screw and barrel, and nozzle. Once degraded polymer reaches the melt it rides through every shot until the barrel is cleared, so cleaning only at the press leaves you chasing the same specks next week.
Most plants do not need expensive equipment to fix this. They need written limits, physical segregation, a changeover procedure people actually follow, and a rule that every suspected event gets investigated rather than quietly re-run.
Table of Contents
- What You Need
- Step-by-Step
- Common Mistakes
- Frequently Asked Questions
- What is resin contamination in a manufacturing plant?
- How can a plant detect resin contamination before production?
- What is the best way to clean equipment between resin types?
- Can recycled resin be used without causing contamination?
- How should a plant handle black specks or mixed resin in a production lot?
- How do you prevent resin contamination from returning after a corrective action?
- Conclusion
What You Need
Before you write a procedure, gather the pieces you already have. A contamination program that starts with a purchase order and a target contamination limit is far easier to run than one that starts with a mandate from the plant manager.
- A resin list with grades and colors. Every polymer, grade, color, masterbatch ratio, and recycled-content level you run, with the supplier and lot number format for each.
- Written contamination limits. What you will accept per resin family and per product: particle count, gel tolerance, color variation, and moisture target.
- Supplier quality records. Certificates of analysis, change notification terms, and a documented way to quarantine a suspect lot.
- Storage hardware. Closed or lined containers, sealed silo fill and discharge points, desiccant or dry-air systems, and dedicated racks for opened material.
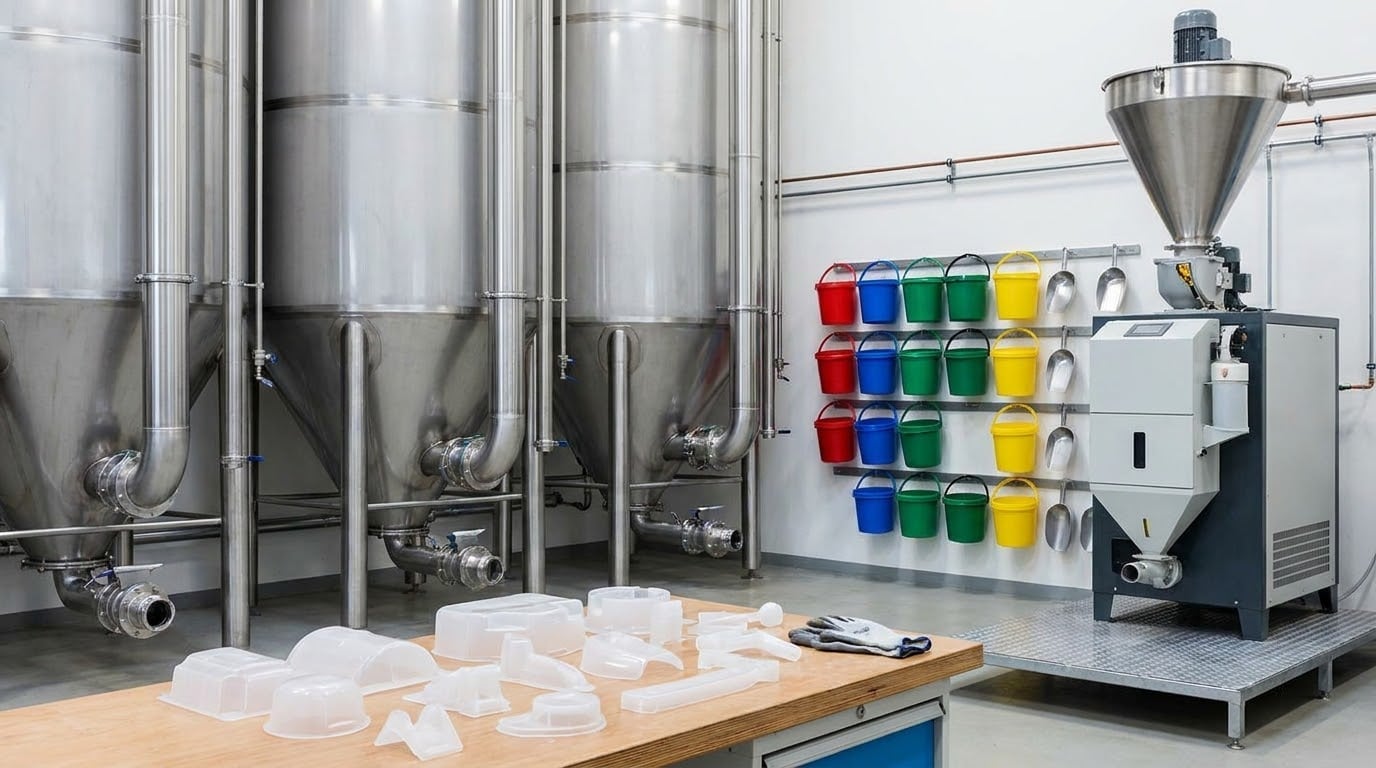
- Dedicated handling tools. Color-coded buckets, scoops, hoses, and vacuum lines per material family — not per shift.
- Cleaning and purge supplies. A mechanical purging compound, a chemical purging concentrate for hard residue, and a documented shot or volume basis for each machine.
- Inspection capability. A filtered residue plate or screen pack check, first-article inspection at startup, and access to a lab that runs moisture and gel counts.
- Records and a hold rule. Lot traceability from silo to shipment, plus a written policy that anyone can quarantine product without asking permission.
Training is the ninth item and it is the one that decides whether the rest works. One hour on the press room floor, showing the actual scoop and bucket layout people use, beats a laminated procedure nobody has read.
Step-by-Step
1. Define acceptable resin contamination limits
Limits come before inspection, because without a number nobody can decide whether a lot is bad. Set them by resin family, then tighten them for cosmetic and food-contact parts where a speck that would pass on a pallet tote will fail a customer audit.
Cover at least four categories in writing: foreign material such as paper, dust, or other polymers; mixed or off-grade resin; moisture content against the resin family; and recycled material content and variability. Most plants find they can reuse the supplier’s specification for moisture while still owning their own limits for specks and gels, which suppliers rarely commit to.
2. Control incoming resin and supplier quality
Incoming control is the cheapest place to catch contamination, because the cost of rejecting a pallet is far lower than the cost of a contamination outbreak. Inspect every lot on receipt, not just the first lot from a new supplier.
Verify the certificate of analysis against the purchase specification, check bag or silo seals for tampering, and sample from the top, middle, and bottom of the delivery rather than a single surface sack. A quick sieve of the sample catches metal and oversized contamination; a moisture test on hygroscopic grades catches the more common failure. Assign a lot number at receipt and carry it forward to the silo and then to the shipment.
Quarantine anything that fails, and reject anything with an unknown lot history — unreceipted returns, unlabelled sacks from a previous job, or material decanted into an unlabelled tote. Set up the physical hold area before you need it, because the pressure to use the material is always highest at the moment you should be holding it.
3. Store resin in protected, dedicated locations
Good storage is the difference between a resin that arrives clean and one that picks up dust, moisture, or a neighbor’s polymer. Keep fill and discharge points sealed, keep silos closed, and keep vents filtered rather than open to the building air.
Rotate by first expire, first out, and record the date on every opened container. Once a bag is opened or a tote is filled, treat that material as having a shortened life and a lower cleanliness grade than the sealed pallet it came from — label it accordingly rather than returning it to general storage.
Watch temperature and humidity in the resin room, and keep material away from chemicals, lubricants, and other polymers. If you run post-consumer recycled (PCR) alongside virgin material, segregate them physically and label the racks. Dry air or nitrogen blanket on silos that hold hygroscopic grades buys real protection against moisture pickup, and so do desiccant dryers for material that will sit for weeks before use.
4. Prevent cross-contamination during handling
Most cross-contamination happens in the fifty feet between the silo and the barrel. Scoops that get reused, bins that are stacked on top of each other, and hoses shared between a black and a natural material are the usual culprits.
Assign one set of scoops, buckets, and hoses per resin family and color code them. Keep them on a rack, not in a pile on the floor. Run one resin at a time through a shared vacuum line, and if you cannot segregate the line, empty it completely at every changeover and purge the line itself with dry material before refilling.
Clean conveyor belts, chutes, and hopper interiors on a schedule rather than when someone notices a streak. When operators grab the wrong bucket under time pressure, the fix is layout and signage, not a reminder at the shift meeting.
5. Control equipment, tooling, and housekeeping
Between material changes, clean the hopper, the spreader cone, and the discharge assembly, and do it before the new material is charged rather than after. Lining the hopper floor with residue and then running clear or natural resin over it guarantees tint and specks in every part that follows.
Purge before you run, not after defects appear. Mechanical purging compound works by absorbing and carrying off residue; chemical purging concentrate works by lowering the melt viscosity so residue releases from the wall — use it for stuck carbonized material and layered buildup. Purging volume should be a set multiple of the machine’s barrel capacity, written down per machine, not improvised by whoever is on shift.
Then control the rest of the plant. Keep floors around presses, silos, and grinders clean. Schedule preventive purges by machine hours and shots rather than by calendar, so a machine running light still gets its cycle. Give the same attention to the molding tool: degradation deposit on a hot tool surface is a steady source of black specks that operators usually blame on the resin.
Give shutdown and restart their own procedure. Purge or empty the barrel at end of run, seal the feed throat, close silo valves, and leave dry air or desiccant running where the resin needs it. After unplanned downtime, treat the machine as contaminated until a purge shot proves otherwise.
6. Inspect, trace, and respond to suspected contamination
Suspected contamination gets one rule: hold the material and investigate. Quarantine the resin in the hopper, quarantine product made since the last good check, and trace both back to a lot, a machine, and a changeover time.
Confirm before you tear anything down. Take purge-shot samples and pull a filtered residue plate through the screen pack to see whether the residue is carbon, another polymer, or metal. A pressure-rise trend on the screen pack differential tells you the material is loading faster than it did last run, which often flags a regrind ratio or dryer problem before parts look wrong. Compare a screw pull or residue plate against your standard.
Write the investigation up while it is fresh: what was held, what the residue was, which lots are affected, the disposition of the product, and the corrective action with an owner and a date. Then run a root cause that asks why the previous corrective action did not hold. If the same specks returned, the original cause was a symptom. Verifying the fix at the next changeover is the part of how to prevent resin contamination in the plant that most programs skip.
Common Mistakes
These are the practices that keep contamination coming back, with the correction that actually works. Each one is a shortcut that shows up in how to prevent resin contamination in the plant and costs more than the control it replaces.
Relying on visual inspection alone. A speck that is not visible yet is still in the barrel. Add a filtered residue plate check and a documented startup first-article inspection at each changeover, not just at the start of the shift.
Mixing resin types in the same scoop, bin, or hopper. Give each resin family its own labeled tools and storage position. If shared equipment is unavoidable, add purge steps to the changeover record so the sequence is followed, not remembered.
Leaving bags open and returning opened material to general storage. Date and label every opened container at the moment it is opened, keep it on a designated opened-material rack, and set a defined use-by window.
Skipping changeover cleaning to save time. Count what a single contamination event costs — scrap, purge compound, downtime, and the customer complaint — against the ten minutes the cleaning takes. The cleaning is always cheaper, and it is the only one of the two that is repeatable.
Failing to record lots. If nobody wrote down which lot ran at 02:00, the hold becomes the entire inventory. Make lot capture a required field at the press, not an optional note at end of run.
Treating regrind as equivalent to virgin. Screen it, keep the addition rate documented, and watch screen pack pressure as a leading indicator. Recycled feedstock needs its own incoming inspection standard because it arrives with a wider variability than virgin material.
Clearing the symptom, not the cause. Re-drying a barrel that already holds carbonized polymer does not remove the carbon. Purge it, then change whatever allowed the carbon to form — excess residence time, a hot idle machine, or a failing dryer.
Frequently Asked Questions
What is resin contamination in a manufacturing plant?
Resin contamination is any foreign material, cross-grade polymer, absorbed moisture, or thermally degraded resin that enters the melt and appears in the finished part. In a plastics plant it shows up as black specks, color streaks, gels, bubbles, splay, or a loss of physical properties. The term does not refer to ion-exchange resin used in water treatment, which contaminates a different way entirely.
How can a plant detect resin contamination before production?
Catch it at three points. On receipt, sieve and moisture-test samples drawn from the top, middle, and bottom of the delivery. At startup after every changeover, run a purge shot and inspect a filtered residue plate against your standard. During production, watch the screen pack differential pressure trend, which rises as contamination loads the filter. Visual inspection of finished parts alone finds too late.
What is the best way to clean equipment between resin types?
Clean cold and mechanical first: the hopper, spreader cone, discharge assembly, feed throat, and any chute or conveyor the material touched. Then purge with a mechanical purging compound at a documented volume based on barrel capacity. Reserve chemical purging concentrate for carbonized or layered residue that a mechanical purge will not release. Run the full sequence before the new material is charged, not after.
Can recycled resin be used without causing contamination?
Yes, within limits. Regrind and post-consumer recycled material need documented screen size, a wash and dry step, and a maximum addition rate per product. Screen incoming recycled lots more often than virgin, since variability is wider, and track screen pack differential pressure as a leading indicator of loading. Physically segregate recycled material from virgin in storage, bins, and handling tools.
How should a plant handle black specks or mixed resin in a production lot?
Hold the lot and the resin feeding the machine, then quarantine everything made since the last confirmed good check. Trace the held material to a lot number, a machine, and a changeover time. Sample with a purge shot and a filtered residue plate to identify whether the residue is carbon, another polymer, or metal, then decide disposition before restarting. Write the root cause up while it is fresh.
How do you prevent resin contamination from returning after a corrective action?
Verify the fix instead of assuming it. Confirm the line is clean with a residue plate or screw pull, then re-check at the next changeover rather than the next week. Update the written procedure, the tooling or dryer maintenance schedule, and the operator training so the same failure cannot happen quietly. Any repeat of the same defect means the original cause was a symptom, not the cause.
Conclusion
Start with the limits. Write down what you accept for each resin family and product, because every other control depends on having a number to judge against.
Then do four things this month: identify and physically segregate every resin and color on site, close and label your storage so opened material is dated and tracked, standardize the changeover cleaning and purge sequence on paper with a set purge volume, and make lot capture mandatory at the press. Add a startup residue check after every changeover and a hold-and-investigate rule for any suspected event.
None of that requires new equipment. It requires deciding that contamination is a process with controls, not a mystery that gets cleaned up on a Friday afternoon.