
Choosing an adhesive for a plastic assembly comes down to four variables: the plastic’s chemistry and surface energy, the joint geometry and the stress it carries, the service environment, and your production constraints. Get those four right and one or two adhesive families fall out of the process on their own. Get one wrong, and even a top-rated structural adhesive will let the joint go.
That is the honest headline. Most plastic bond failures are surface problems before they are adhesive problems. A contaminated mold release film, an untreated polyethylene surface, a butt joint loaded in peel — none of those get fixed by a stronger glue.
Table of Contents
- Adhesive Selection Guide for Plastic Assemblies: Key Factors
- How to Match an Adhesive to the Plastic Substrate
- Cyanoacrylate, Epoxy, Silicone, and Other Adhesive Families
- How to Choose Between Structural, Threadlocker, and Sealant Adhesives
- Joint Design, Surface Preparation, and Application
- How to Validate an Adhesive Before Production
- Frequently Asked Questions
- How do you choose an adhesive for plastic?
- What is the best adhesive for bonding plastic to plastic?
- How do you bond low surface energy plastics like polyethylene and polypropylene?
- Do I need a primer before bonding plastic?
- What is the difference between epoxy, acrylic and cyanoacrylate adhesives?
- How strong should a structural plastic bond be?
- Start With a Structured Adhesive Trial
Adhesive Selection Guide for Plastic Assemblies: Key Factors
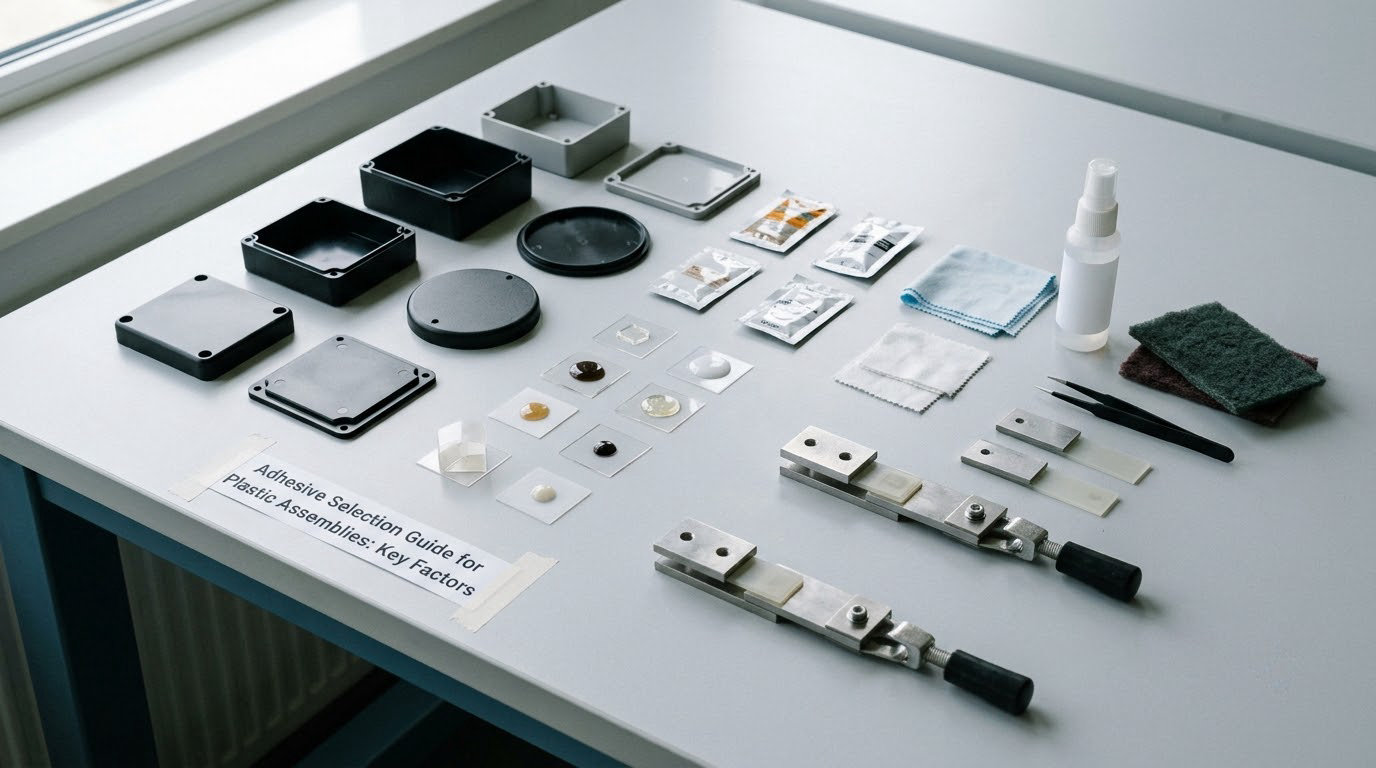
Four questions decide almost every plastic bonding job, and asking them in order saves weeks of trial and error.
What is the plastic, and how energetic is its surface?
Surface energy is the reason bonding works at all. A high-energy surface invites adhesive into intimate contact; a low-energy surface repels it, so the adhesive beads up instead of wetting out. Polyethylene and polypropylene sit at the bottom of that scale, which is why they defeat most conventional adhesives.
What does the joint actually carry?
Shear, peel, tension, impact and vibration each reward a different property. Shear favors stiffness, peel favors thickness and energy absorption, impact favors toughness. An adhesive chosen for the wrong stress type looks excellent on a datasheet and fails in the first month of service.
Where does the assembly live?
Temperature swings, moisture, UV, chemicals, fuels and sterilization each knock out different chemistries. A rigid epoxy on a high-CTE plastic housing may survive static loading and then crack internally after repeated cold cycles.
How is it actually made?
Cure time, fixture time, pot life, viscosity, mixing tolerance, dispensing method and shelf life are not secondary. An adhesive that needs careful manual mixing is a poor answer for a line running 4,000 parts a day, however well it bonds.
How to Match an Adhesive to the Plastic Substrate
Start by identifying the actual resin, not the trade name on the parts drawing. Reading a resin spec sheet properly tells you the base polymer, the filler or fiber content and the grade, all of which change bondability.
The selection matrix: resin to adhesive family
This table answers the most common selection question: for each common plastic, how hard it is to bond and which adhesive families are realistic.
| Plastic | Bonding difficulty | Adhesive families that work | Surface treatment |
|---|---|---|---|
| ABS | Easy to moderate | Epoxy, acrylic/MMA, cyanoacrylate, hot melt | Clean and dry; abrasion optional |
| Polycarbonate (PC) | Easy | Epoxy, acrylic/MMA, cyanoacrylate, polyurethane | Clean; avoid aminated primers that stress crack |
| PMMA (acrylic) | Easy | Cyanoacrylate, acrylic, epoxy | Clean and dry; avoid solvents that craze |
| PC/ABS blend | Easy | Epoxy, acrylic/MMA, polyurethane | Clean and dry |
| Polyamide (nylon 6, PA66) | Moderate, moisture sensitive | Epoxy (drying or anaerobic), polyurethane | Dry the part; moisture weakens the bond |
| Polybutylene terephthalate (PBT) | Moderate to difficult, crystallinity varies | Epoxy, acrylic/MMA | Clean; annealing may help on high-crystallinity grades |
| Polyoxymethylene (POM) | Difficult, low surface energy and slippery | Primer plus epoxy, polyurethane | Primer mandatory; test carefully |
| Polyvinyl chloride (PVC) | Difficult, plasticizer migration | Epoxy, polyurethane | Clean; rigid PVC needs a primer |
| Polystyrene (PS) | Easy | Cyanoacrylate, epoxy, acrylic | Clean and dry |
| Polycarbonate blends (ASA, SAN) | Easy | Acrylic/MMA, epoxy | Clean and dry |
| TPU and TPE | Moderate | Acrylic/MMA, polyurethane, epoxy | Clean; confirm grade — some TPEs are polyolefin-based |
| Thermoplastic olefin (TPO) | Very difficult, low surface energy | Polyolefin-reactive acrylic, polyurethane on primed surfaces | Plasma, corona or flame treatment plus primer |
| Polyethylene (PE, HDPE, LDPE) | Very difficult, low surface energy | Polyolefin-reactive acrylic, hot melt, polyurethane | Flame or plasma treatment; never bond untreated |
| Polypropylene (PP) | Very difficult, low surface energy | Polyolefin-reactive acrylic, hot melt, cyanoacrylate with treatment | Corona or flame treatment; bond within hours |
| Polyphenylene sulfide (PPS) | Difficult at high temperature | Epoxy (high temp), aromatic acrylic | Clean; consider heat aging |
| Polysulfone (PSU) | Moderate, thermal sensitive | Epoxy, acrylic | Clean; watch for stress cracking |
| Glass fiber reinforced plastics | Difficult — fibers are the problem | Epoxy, polyurethane | Mechanical abrasion to expose fibers; then bond |
The contaminants that fool everyone
Two assemblies made from the same resin grade can behave completely differently because of what is on the surface. Mold release agents and silicone oils leave an oleophilic film that looks like low surface energy but will not respond to more aggressive treatment. Pigments, glass or mineral filler, and recycled content or regrind all raise or lower surface energy and change the wetting behavior of the adhesive you picked.
Practitioners in this field consistently treat bonding plastics as a surface problem at least as much as a chemistry problem. Adhesion problems are often traceable to fillers and additives in the compound rather than the base resin, which is exactly why two batches of the same part number can disagree with each other.
Cyanoacrylate, Epoxy, Silicone, and Other Adhesive Families
No family is best. Each one wins on a different combination of strength, gap filling, cure speed and environmental tolerance, and this table maps those trade-offs for plastic work.
| Family | Strength on plastic | Gap filling | Cure speed | Flexibility | Temperature and chemical notes |
|---|---|---|---|---|---|
| Epoxy | High, especially in shear | Poor to moderate | Slow; 12 to 24 hours typical | Rigid, can be toughened | Good solvents and heat; poor UV unless formulated for it |
| Acrylic / MMA | High, tolerant of low-energy surfaces | Moderate | Fast; seconds to minutes | Moderate, some grades flexible | Best-in-class acrylics bond PP and PE with minimal prep |
| Polyurethane | Moderate to high | Good | Moderate to fast | Very flexible, high elongation | Excellent impact and vibration; short shelf life, moisture sensitive |
| Cyanoacrylate | High in shear, weak in peel | Very poor — no gap filling | Fastest; fixture in seconds | Very rigid, poor impact | Blooms on moisture-exposed surfaces; fumes; limited shelf life cold |
| Hot melt | Moderate to high | Excellent | Cools in seconds, no chemical cure | Depends on the polymer | Excellent for high volume; limited heat resistance in many grades |
| Silicone / sealant | Low structural | Excellent | Skin in minutes, full cure hours | Extremely flexible | Best UV and weather resistance; wrong choice for structural shear |
| Anaerobic | Moderate to high | Poor, small gaps only | Fixtures without air exposure | Rigid | Designed for threads and small clearances, not lap joints |
Three terms engineers mix up constantly
Fixture time is when the joint can be handled without shifting. Cure time is when it reaches full strength. Pot life is how long a mixed two-part epoxy stays workable. A two-part epoxy with a 20-minute pot life and a 24-hour cure is a fixture-time problem on a fast line, not a chemistry problem.
As a rough rule of thumb, many reactive adhesives cure roughly twice as fast at 88°F as they do at 72°F, and roughly twice as slowly at 52°F. Cold weather on a receiving dock in winter is a real cause of line slowdowns. Viscosity also climbs sharply as temperature drops, which changes dispensing pressure and bead shape.
UV curing and UV resistance are two different things. UV curing uses the lamp as part of the cure mechanism, which is fast and leaves no shadow zones only if the joint geometry lets light reach it. UV resistance describes how well the cured adhesive survives sunlight. A UV-curable adhesive is not automatically UV-stable.
How to Choose Between Structural, Threadlocker, and Sealant Adhesives
Start from the job, not the chemistry. Ask what the joint has to do.
Load-bearing molded joints
Structural adhesives — epoxy, acrylic/MMA, polyurethane — carry real shear and tension. They also load the joint continuously, so geometry matters more than the label.
Threaded plastic fasteners
A threaded plastic fastener needs an anaerobic threadlocker or a pre-applied locking patch, not a structural epoxy. Epoxy on a plastic thread risks cracking the boss during thermal cycling. Anaerobics need the absence of air to cure, so they belong in threads, not lap joints.
Pressure and waterproof sealing
Fluid-handling and outdoor enclosures want a sealant or gasketed joint. A silicone or polyurethane sealant keeps water out; an epoxy that was never designed as a sealant can absorb pressure and creep.
Cosmetic and visible assemblies
Cyanoacrylates and optical epoxies are appropriate here, with one caveat: cyanoacrylate cures from moisture in the air and that same moisture causes a white haze, known as bloom, hours later. On a clear PMMA face or a black glossy housing, use a low-bloom cyanoacrylate or a two-part epoxy that cures chemically rather than by moisture pickup.
When bonding is not the right answer
Adhesives distribute load across a joint and eliminate the stress concentration a fastener hole creates, but they add no disassembly path. Where you need repeatable removal or where the joint carries shock, a fastener, snap fit or ultrasonic weld may serve better. Comparison data across joints matters on tolerance grounds too; plastic part tolerance standards explained covers why an adhesive can mask a gap that a weld will not tolerate.
Joint Design, Surface Preparation, and Application
Design usually decides whether the bond works, and preparation usually decides whether the design is achievable.
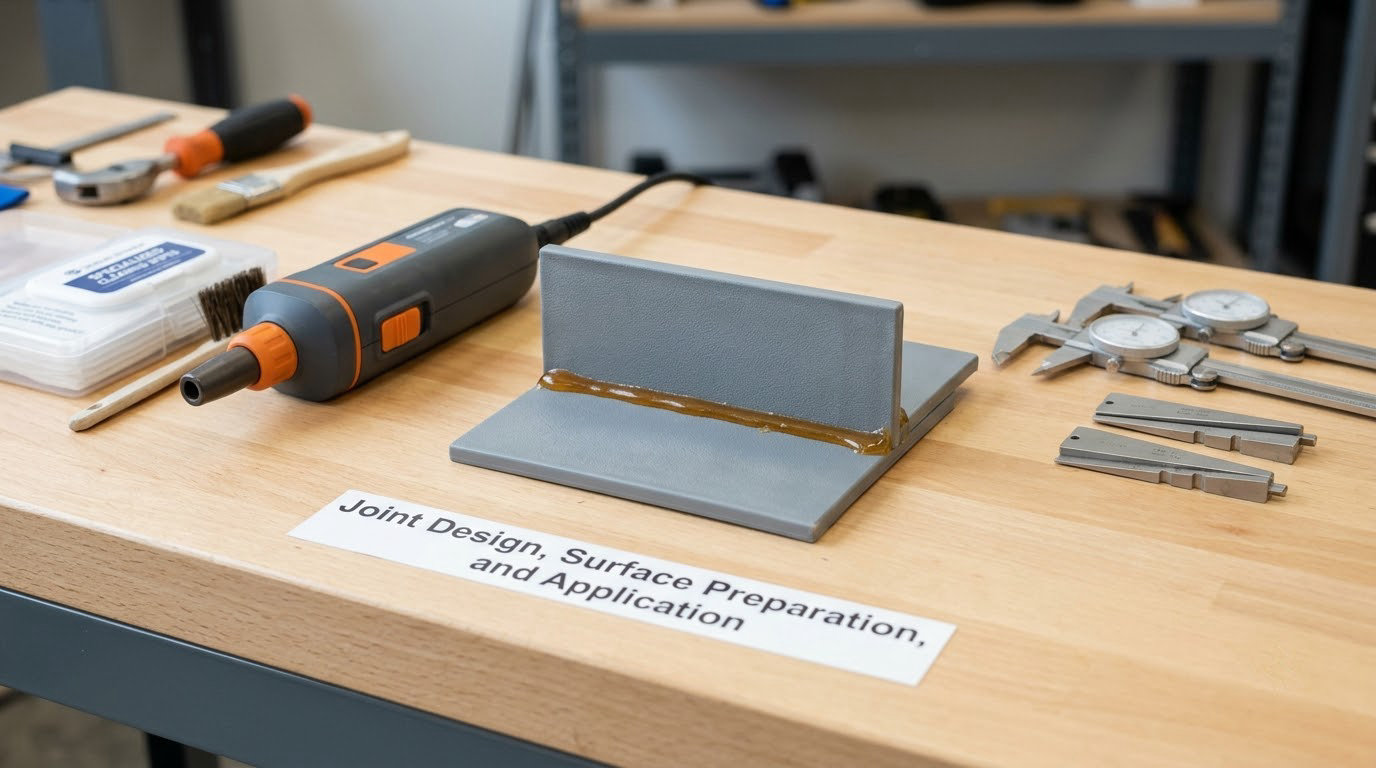
Geometry preference order, best to worst
- Filleted corner joint — carries load in shear and tension, highest peel resistance.
- Tapered lap joint — thickens toward the loaded edge, close to a fillet in performance.
- Scarf or beveled joint — reduces peel by spreading the load.
- Tongue-and-groove — good stiffness, adds assembly alignment.
- Flat lap joint — workable, watch the edges for peel initiation.
- Flat butt joint — weakest; almost pure tension with an edge peel trigger. Use a bevel or a cover plate.
Bond line thickness
Most structural epoxy and acrylic adhesives are strongest near 0.1 to 0.2 mm. Too thin and the adhesive cannot develop its full crosslinked structure. Too thick and it cures unevenly, develops voids and internal stress at the edges, and creeps more under sustained load. Match the gap with the product’s specified range rather than guessing.
Surface treatment options, ranked
This table answers when each treatment is worth its cost and how long the effect lasts.
| Method | What it does | Best for | Appearance risk | Longevity of effect |
|---|---|---|---|---|
| Wipe and clean | Removes oil, dust and fingerprints | ABS, PC, PMMA, PS | None | Immediate only |
| Mechanical abrasion | Roughens and exposes fresh surface, helps glass fiber | FRP, filled plastics | Matte or scuffed patch | Hours to days |
| Flame treatment | Oxidizes the surface to raise surface energy | PE, PP, TPO containers and films | Chalking or scorch on thin walls | Hours to weeks |
| Corona treatment | Electrical discharge oxidizes the surface | PE, PP, PET film and sheet, extrusion lines | Minimal | Days to weeks; decays fast on reverts |
| Plasma treatment | Strongest oxidation, high surface energy | Injection-molded PP, PE, TPO, complex parts | Minimal, uniform | Best — still bond within hours |
| UV-ozone | Photo-oxidizes a clean polymer surface | Small parts, lab and low-volume work | Minimal | Hours |
| Primer | Chemically bridges adhesive and low-energy surface | POM, rigid PVC, threaded and lap joints | Can yellow or mar | Shelf life on the part |
Treated surfaces revert. That is the under-documented production risk: plasma or corona treatment is not permanent, and a treated part that sits for two days before bonding may bond worse than an untreated one handled immediately. This is why the cure time question, and how long treated parts can sit, is worth asking your supplier a direct question about.
Application practice
Clean with an approved cleaner and air-dry completely, then assemble within the open time. For two-part systems, verify mix ratio accuracy and dispensing volume, because off-ratio epoxies never reach full crosslinking. Thixotropic grades hold position then flow under clamp pressure, which is what you want on vertical surfaces. Apply consistent bead volume and use fixtures that set a defined bond line rather than clamping parts metal-to-metal, which starves the joint.
How to Validate an Adhesive Before Production
Manufacturer spec sheets narrow the field. They do not make the final determination for your part. Test your own coupons and your own production parts.
The test sequence
- Lap shear coupons to ASTM D2559 — the baseline comparison between candidates, reported in psi or MPa.
- Peel coupons to ASTM D1002 — 90 degree or floating roller. This is what catches a bond that is strong in shear and worthless in peel.
- Butt tensile to ASTM D2095 — confirms the joint handles pure tension.
- Environmental conditioning — heat aging, humidity, thermal cycling, and exposure to the actual chemicals the assembly meets.
- Retest after conditioning. Initial strength tells you very little about a bonded plastic joint.
Run at least five specimens per condition. Report the mean and the spread, not the best number, and record the failure mode for every broken specimen.
What the failure mode tells you
Adhesive failure, where the joint parts cleanly at the interface, means the bond never formed well — suspect the surface, contamination or treatment. Cohesive failure, where the adhesive itself tears, means the bond was stronger than the adhesive and the process is sound. Mixed failure usually means you are between a good process and a bad one.
This table maps the common symptoms to their root causes.
| Symptom | Likely cause | Corrective action |
|---|---|---|
| Clean separation at the interface | Release agent, oil, dust or low surface energy | Improve cleaning, add treatment or a primer |
| Delamination starting at an edge | Peel load, bond too thin, poor geometry | Add a fillet, thicken the bond line, choose a tougher adhesive |
| White haze appearing hours later | Cyanoacrylate bloom from humidity | Use a low-bloom cyanoacrylate or a two-part epoxy |
| Bond cures soft or never hardens | Off-ratio mixing, expired material, contaminated nozzle | Audit dispensing and mix ratio, check material age |
| Edge cracking after temperature cycling | CTE mismatch between rigid adhesive and high-CTE plastic | Move to a more flexible adhesive |
| Fishtailing voids at the edge of the bead | Fast cure pulling on a shrinking wet bead | Reduce dispense rate or slow the cure |
| Part-to-part inconsistency on a good lot | Recycled content, regrind or filler variation between batches | Lock the resin grade, tighten incoming inspection |
Then check the process, not just the material. Run a small capability study on the real line to confirm dispense volume, mix ratio and cure are stable enough to hold the strength you measured on the bench. Document the acceptance criteria in writing before the trial, not after a failure.
If you are running the risk analysis for the line, FMEA for injection molding processes shows where adhesive and surface-preparation steps belong in the same document as the molding operation.
Frequently Asked Questions
How do you choose an adhesive for plastic?
Work by elimination in a fixed order: identify the resin and its surface energy, rule out adhesive families that cannot wet or adhere to it, match the surviving families to the dominant stress type and service environment, then filter by cure time, dispensing method and shelf life. Shortlist two candidates and test lap shear and peel coupons on representative parts before specifying either one.
What is the best adhesive for bonding plastic to plastic?
There is no single answer, because the resin decides it. Epoxy and acrylic work well on ABS, polycarbonate, PMMA and nylon. A structural acrylic with polyolefin reactivity is the practical choice for polypropylene, polyethylene and TPO. Silicone and polyurethane suit flexible joints, vibration and outdoor exposure. Always confirm against the specific resin grade in hand.
How do you bond low surface energy plastics like polyethylene and polypropylene?
Treat the surface first, because untreated PE and PP will not accept a conventional adhesive. Flame, corona or plasma treatment raises surface energy enough to wet, and a polyolefin-reactive acrylic or suitable polyurethane then bonds to it. Treat the parts and bond them within hours, because treated surfaces revert toward their low-energy state and lose bondability.
Do I need a primer before bonding plastic?
On ABS, polycarbonate, PMMA and polystyrene, cleaning alone is usually enough. You need a primer on POM, rigid PVC and other hard-to-bond grades, and on polyolefins a primer works best as part of a treatment-plus-primer system rather than on its own. Mold release agents and oils mimic low surface energy, so suspect contamination before you change chemistry.
What is the difference between epoxy, acrylic and cyanoacrylate adhesives?
Epoxy offers the highest shear strength and good chemical and heat resistance, but cures slowly over 12 to 24 hours and handles only small gaps. Structural acrylics cure in seconds to minutes and bond low-energy plastics with minimal preparation. Cyanoacrylates set fastest of all, are brittle, cannot fill gaps and bloom on moisture-exposed surfaces, which makes them a repair choice.
How strong should a structural plastic bond be?
The bond should exceed the working load with a safety factor, and it should fail in a controlled way. Aim for a cohesive failure in the adhesive rather than a clean release at the interface, since that tells you the surface step worked. Compare bonded joints against the alternative, because a well-designed lap joint often carries more per unit area than the screws it replaces.
Start With a Structured Adhesive Trial
Find the resin grade for both parts, including filler and recycled content. Write down the load, the environment and the cycle time your line can actually absorb. Screen the adhesive families that survive those constraints, then build lap shear and peel coupons from the real parts rather than clean plaques.
Read the failure mode on every broken specimen, because that single piece of information tells you whether you have a chemistry problem or a surface problem. Conditioning and retesting is the step most people skip, and it is the step that catches a bond that only looked good on day one.
Once the shortlist holds up on aged parts, document the surface preparation, dispense volume, bond line thickness and cure conditions as a process window. That written process, not the adhesive name, is what makes the assembly repeatable in 2026 and every year after it.