
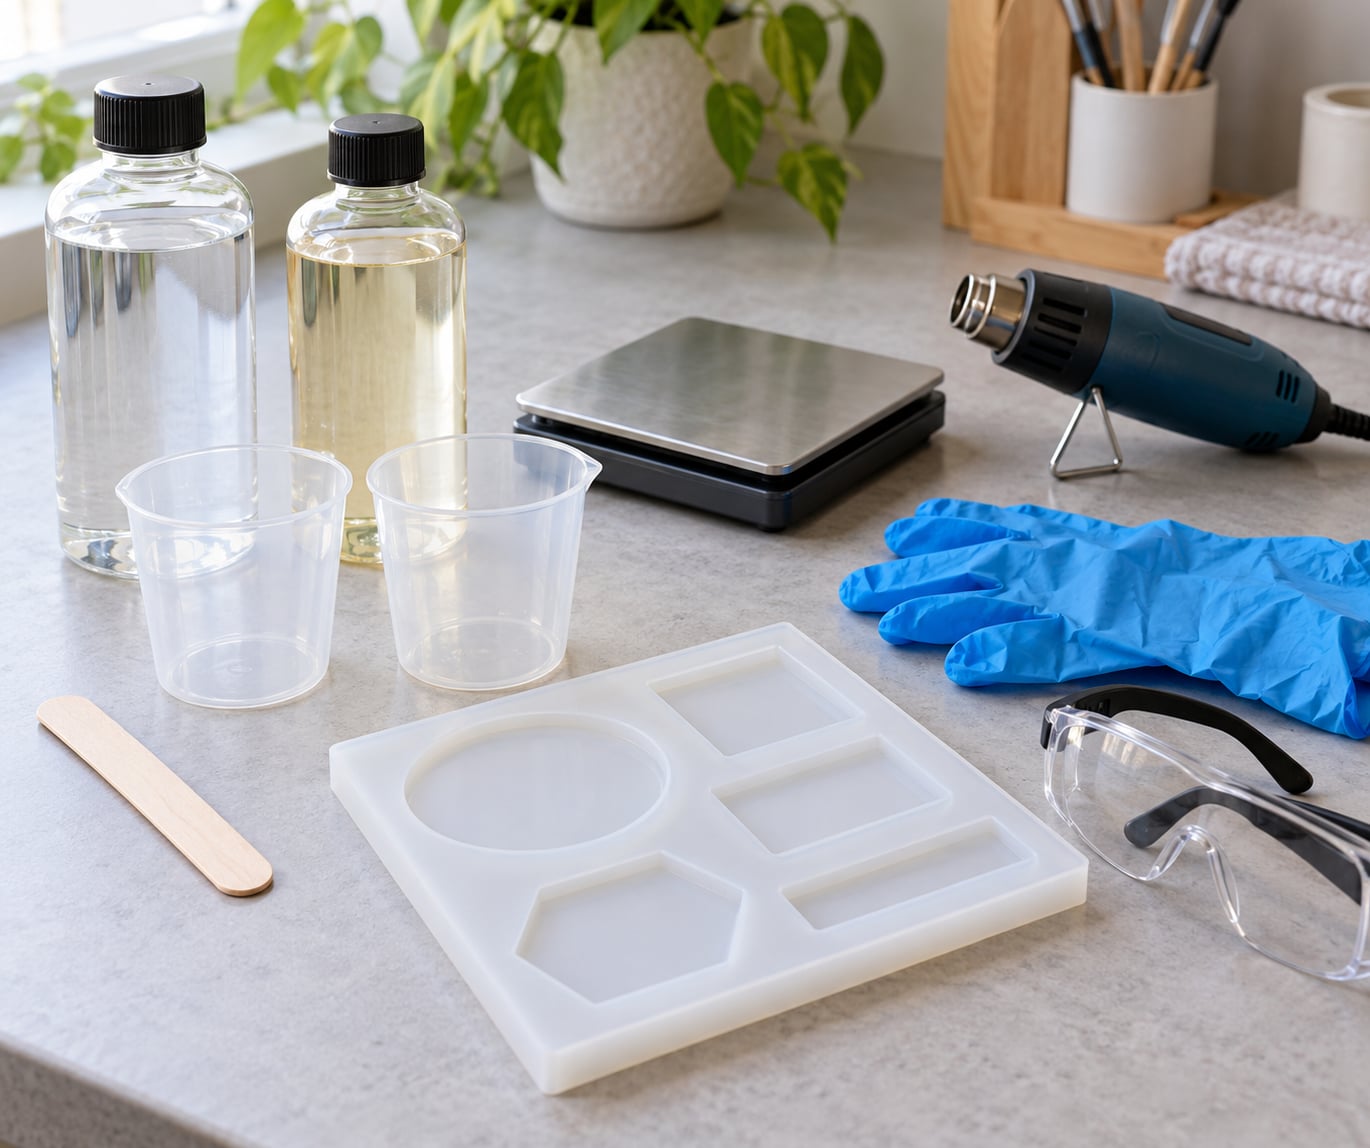
Resin casting for beginners comes down to four things: exact measuring, thorough mixing, a clean mold, and patience while it cures. A first coaster or charm takes about 15 minutes of active work and a day of waiting. The chemistry is simple once you stop treating it like a guessing game.
Here is the version I wish someone had handed me before my first pour, including where craft resin casting stops being a hobby and starts looking like the processes we cover on this site for manufacturing work.
Table of Contents
What You Need to Start Resin Casting
Resin casting is the process of mixing a two-part liquid resin (a base and a hardener), pouring it into a mold, and letting it cure into a hard, clear plastic part that is later pulled out of the mold. On their own, Part A and Part B are stable liquids. Combined at the exact ratio on the data sheet, they run an exothermic chemical reaction that turns the mixture into a rigid, water-resistant solid, usually within 24 to 72 hours.
One clarification before the supplies list. The two-part epoxy used for coasters, jewelry, and dice is not the same material as the polymers fed through industrial resin processing equipment, and it is not the same chemistry as molded or cast polyurethane. Different catalyst systems, different cure kinetics, different tolerances. The workflow below is for craft-scale casting, where a kilogram of mixed resin is the whole batch.
Here is the supply list. Six items, and only one of them is optional.
- Two-part epoxy resin and hardener — pick a low-viscosity casting or art formula, not a thick coating epoxy.
- A silicone mold — flexible, reusable, and the only mold material I trust for a beginner pour.
- Measuring and mixing tools — a digital scale for gram ratios, disposable plastic cups, and flat wooden stir sticks.
- Nitrile gloves and safety glasses — uncured resin is an irritant, and it will find your skin eventually.
- A heat gun or small torch — the cheapest bubble-removal tool that actually works on surface voids.
- Mold release agent — a spray or liquid release that keeps the part from fusing to the mold walls.
Ventilation belongs on that list too, even though it is not a tool. A window fan or a room fan pointed out an open window does more for your comfort than any respirator you would buy for the job. Larger operations treat this as a fixed design requirement; how to prevent resin contamination in the plant covers the same logic at production scale.
Step-by-Step: How to Do Resin Casting
1. Choose a Resin System for Your First Resin Casting Project
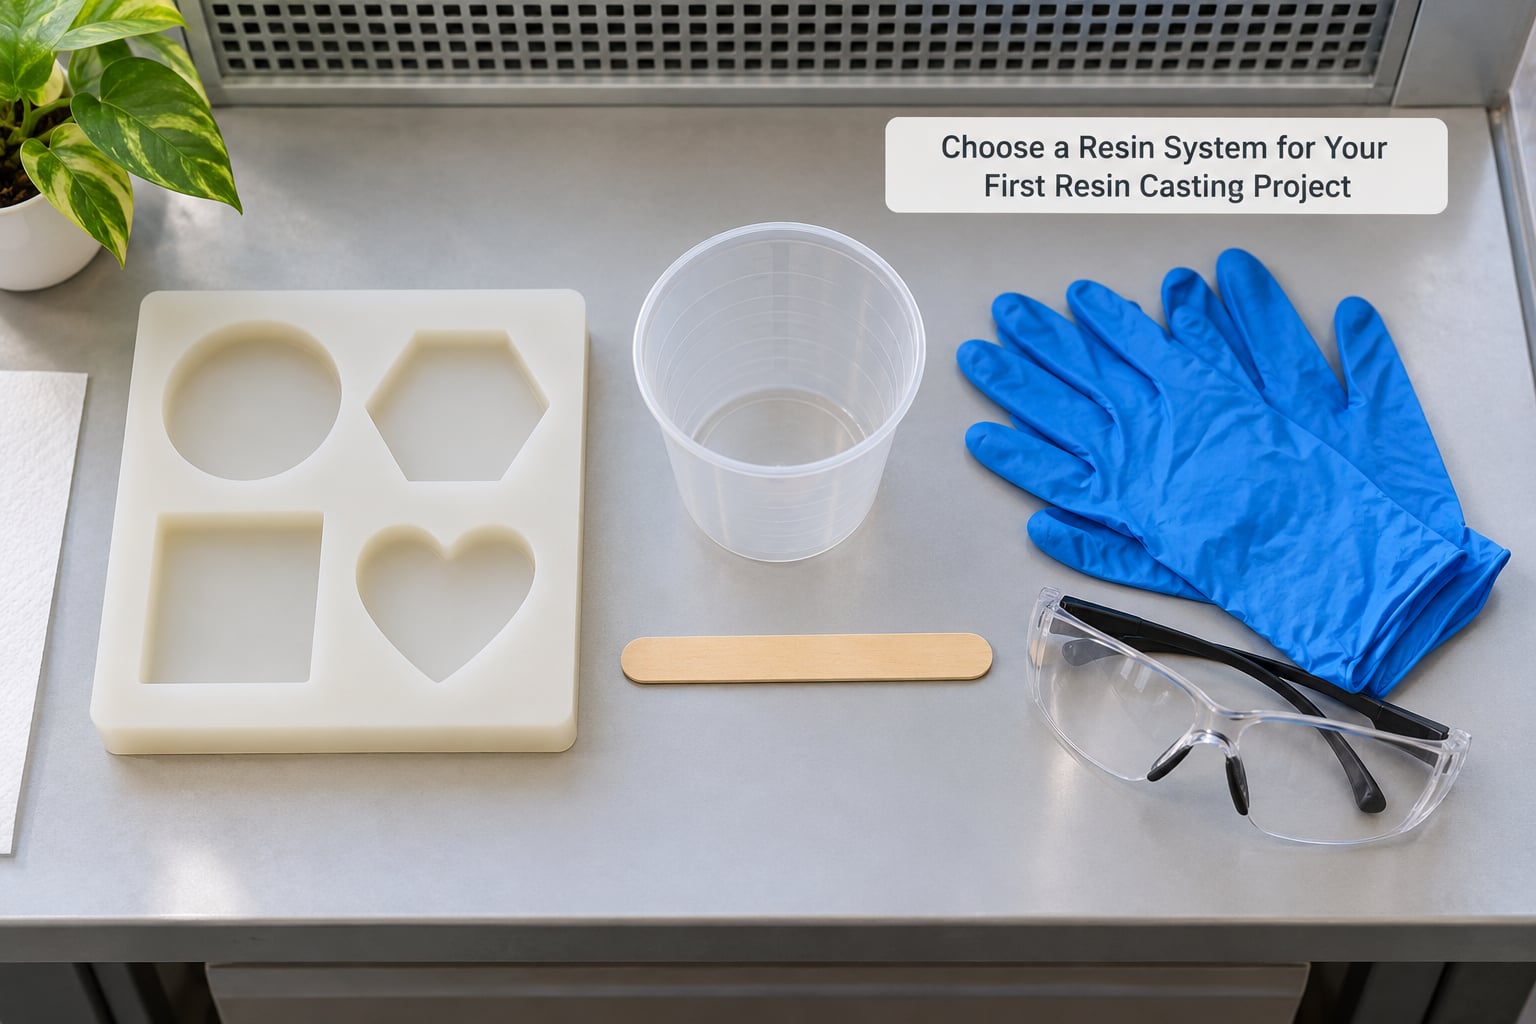
Start with a slow, forgiving system. A 1:1 epoxy with a 20 to 40 minute working time gives you room to fix a streak, scrape a wall, or pour a second layer without racing the clock.
| Resin type | Mix ratio | Working time | Demold time | Beginner fit | Watch out for |
|---|---|---|---|---|---|
| Epoxy (casting / art) | Usually 1:1 by volume or mass | 20 to 40 minutes typical | 24 to 72 hours | Best first choice | Thick coating epoxies trap bubbles |
| Polyurethane | 100A to 100B by weight | 2 to 3 minutes | About 10 minutes | Advanced precision work | Almost no time to correct anything |
| Polyester | Resin to catalyst, small ratio | 5 to 15 minutes | Several hours | Not recommended first | Strong styrene odor, moisture sensitive |
| UV resin | Single part | Not applicable | Minutes under a lamp | Small pieces only | Shallow cures, tacky underside if under-exposed |
Fast-cure polyurethane is genuinely useful, but only once you can pre-plan a pour completely. If you are still learning what a good mix looks like, it is the wrong tool. When to use urethane casting instead of molding breaks down the cases where that trade makes sense.
2. Prepare the Mold and Workspace
Inspect the mold under good light. Any nicks, scratches, or release agent already on the surface will print onto your cast. Wash a new silicone mold with dish soap and water, let it dry completely, then hit every surface with release agent and wipe off the excess. A damp mold turns a clear cast into a milky one.
Before you mix anything, fill the empty mold with water to confirm it is leak-free, then pour that water out and dry the cavity. Set the mold on a level shelf, not on the edge of a table, and confirm the level with a small spirit level if you have one.
Clear the room of dust first, not after. Turn off any air handler that pushes air across the work surface, mist the air lightly to settle particles, then cover the cured piece when you walk away. Keep children and pets out of the room until the resin is fully hardened; nothing else in this list matters if that one is wrong.
3. Measure the Resin and Hardener Accurately
Follow the ratio printed on your specific product, and note whether it is by mass or by volume. They are not always the same number, and they are never interchangeable. A kitchen scale reading grams is the reliable path when the data sheet says by weight.
Do the arithmetic before you pour. For a 1:1 system making a batch that fills a coaster mold, measure equal weights of Part A and Part B into two separate cups. If your data sheet says 100A to 100B by weight and you want 200 g total, that is 100 g and 100 g. If a mix ratio looks off to you after measuring, remix from fresh material rather than trying to correct it.
Keep mixing discipline tight. Wipe the rim of each container and replace the lid immediately after measuring, using a fresh paper towel each time, because a trace of Part A in the Part B cup starts the reaction early and leaves you with a thick, unusable remainder.
4. Mix the Resin Thoroughly
Pour Part B into Part A and stir with a flat wooden stick, scraping the walls and the bottom corner deliberately. Hold the stick against the cup floor so the heavy pigment at the base actually moves. Keep the streak-free look as your finish signal; when no pale ribbons remain, mixing is done.
Most beginners stir for roughly one to two minutes, which is usually right for an art epoxy. Beating the mixture aggressively at the end whips in extra air, so slow down once the streaks clear. Stay inside the pot life printed on the data sheet, and remember that pot life shortens as room temperature rises. A garage in July is not the same clock as a kitchen in October.
5. Add Color, Pigments, or Reinforcement
Add mica powder, translucent pigment, or resin dye to the second of the two parts before mixing, so the color distributes evenly rather than streaking. Start with a very small amount. A pinch that looks sensible in the powder pile can overwhelm a small batch entirely.
Fillers and reinforcing material change the finished part more than most beginners expect. Mica adds shimmer but can cloud a crystal-clear formula, heavy fillers can settle during a long cure, and some pigments interfere with cure performance. Anything you add is worth testing in a small cup first, then discarding per the manufacturer’s instructions rather than pouring it down a drain.
6. Pour, Degass, and Cure the Resin
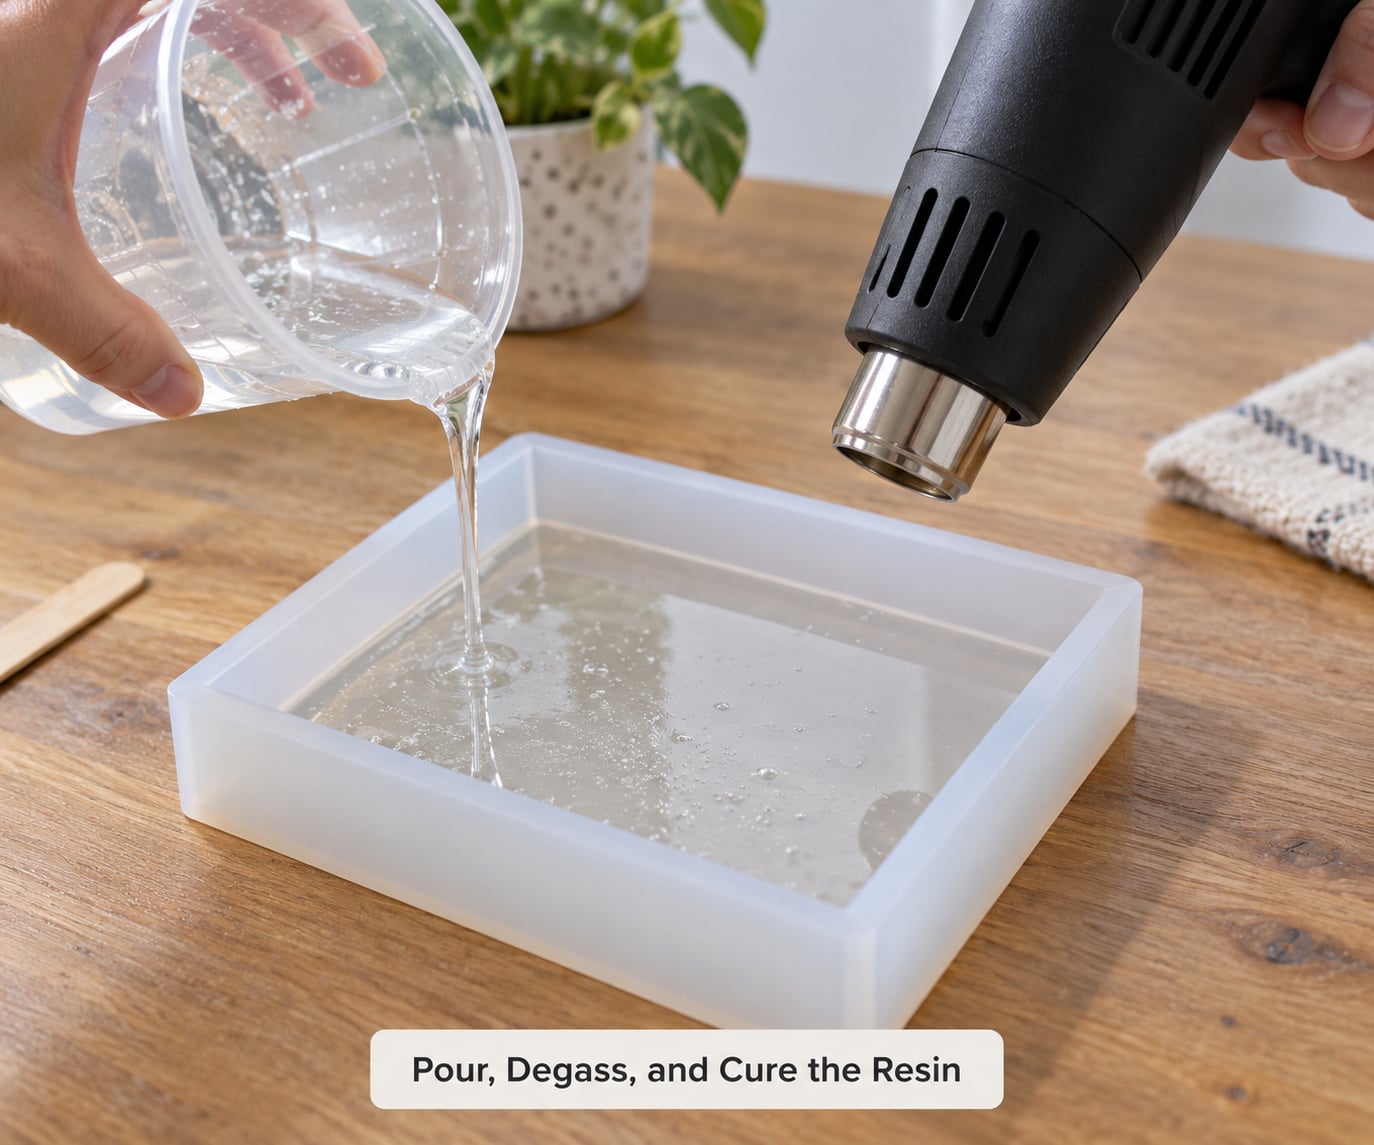
Pour slowly from a low height, letting the resin flow rather than splash. Height and speed create the foam you then spend time chasing. Stay inside the maximum pour depth printed on your product; deep pours generate heat faster than they shed it, and a mass that overheats in a small mold can smoke or crack the container.
For surface bubbles, hold a heat gun or small torch 10 to 15 cm above the resin and sweep it across the surface in one direction. The bubbles pop and rise. Check again over the next hour or two as the resin thickens and traps any that were hiding.
Then leave it alone. Level cure, out of drafts, covered from dust. Note the cure and demold times from the data sheet rather than guessing from touch; full cure commonly takes 24 to 72 hours, and a part demolded early can flex permanently. If you want to move from hobby quantities to repeat runs, material handling systems for resin explained covers how that scales.
7. Demold, Finish, and Inspect the Piece
Flex the silicone mold gently and peel it back from the widest part of the part first, working toward the thin sections. Pulling from a thin edge is what tears a mold and cracks a cast. If it resists, the part is probably under-cured rather than stuck.
Trim or sand off any flash, then wet-sand in stages through progressively finer grit while wearing a respirator and using local exhaust or a wet method. Dry sanding epoxy puts fine dust in the air that gloves will not stop. A finer grit followed by a polishing compound gives a clear part a glassy finish.
Finally, look at the piece in good light. Small bubbles along the surface mean the degassing pass was rushed. A soft or tacky spot means the cure was inhibited. Cloudiness traces back to moisture or an incompatibility, and a yellow tint over months is usually missing UV protection rather than a bad mix.
Common Mistakes
Nearly every first-cast failure shows up as one of five symptoms. Here is the short version of what causes each one and what to change.
| Symptom | Cause | Fix |
|---|---|---|
| Bubbles and foam | Fast pouring, vigorous mixing, cold resin | Pour low, stir gently, warm the components to room temperature first |
| Cloudy or milky cast | Moisture in the mold, humidity, incompatible additive | Dry mold and containers completely, test additives separately |
| Tacky or soft patches | Cure inhibition from silicone residue, latex, wax, or moisture | Keep the mold free of contamination, throw out inhibited batches |
| Part stuck, mold torn | Skipped release agent, thin section pulled first, early demold | Apply release, demold wide-to-thin, wait for full cure |
| Yellowing over time | No UV stabilizer, or thin sections over time | Choose a UV-stable formula and avoid casting paper-thin walls |
The mistake that costs beginners the most material is a wrong mix ratio. Measure by mass when the data sheet says by mass, and never eyeball. Second is skipping the leak test on the mold, which turns a twenty-minute pour into a lost batch and a sticky workbench.
Before your next pour, run this checklist: mold clean, dry, and sealed; release applied; scale calibrated; ratio read off the bottle this session; workspace ventilated and dust-free; pets and kids elsewhere; cure time noted before you pour. Most of those take under five minutes, and they prevent almost every failure I have seen.
Frequently Asked Questions
Can beginners use any epoxy resin for resin casting?
No. Some epoxies are formulated for thin coatings, not for casting, and a thick coating epoxy poured into a mold will trap bubbles and can overheat. Choose a low-viscosity casting or art epoxy for your first project, and check the maximum pour depth on the data sheet. Adhesive and coating epoxies belong on a bonding job, not in a coaster mold.
What happens if water gets into epoxy resin?
Water interferes with the cure. A small trace trapped in the mix can cause cloudiness, and enough of it can leave the part soft or uncured in spots. Water on the mold walls is the usual culprit, which is why molds should be washed and fully dried before release agent goes on. Keep measuring cups and stir sticks completely dry, and discard any batch you suspect got wet.
Do resin molds need to be sealed before pouring?
A quality silicone mold is sealed by its own cured surface and normally does not need a separate seal coat. What it does need is cleaning, thorough drying, and mold release before every pour. If your mold is porous, chipped, or home-made from a different material, seal and test it with a water fill first. A leaking mold is the fastest way to waste a batch.
Is polyester resin suitable for small beginner projects?
Technically yes, practically no. Polyester resin needs a much smaller catalyst ratio, cures fast, and gives off a strong styrene odor that makes it unpleasant to work with in a home space. It is also moisture sensitive during cure. Epoxy is the far more forgiving first choice for a home workshop, and it handles small parts without the odor problem.
When should a beginner use molding or casting polyurethane instead of epoxy resin?
Move to polyurethane when you need fast, rigid, dimensionally stable parts and you can pre-plan the entire pour in advance. Typical systems give you two to three minutes of working time and roughly a ten-minute demold, which leaves no room for mistakes. Beginners should master epoxy timing first, then treat polyurethane as a precision tool for scale modeling and repeat production.
Conclusion
Resin casting rewards discipline more than talent. Pick one slow 1:1 epoxy system and read its data sheet end to end, measure by mass, scrape the cup walls and bottom, pour low, sweep the surface with a heat gun, and leave it undisturbed until the printed demold time has passed.
Start with a small silicone mold, something coaster-sized. Get one clean cast under your belt, then change one variable at a time. Once you have a few successful pieces and a system you understand, faster polyurethanes and pressure equipment stop being expensive guesses and start being obvious choices.