
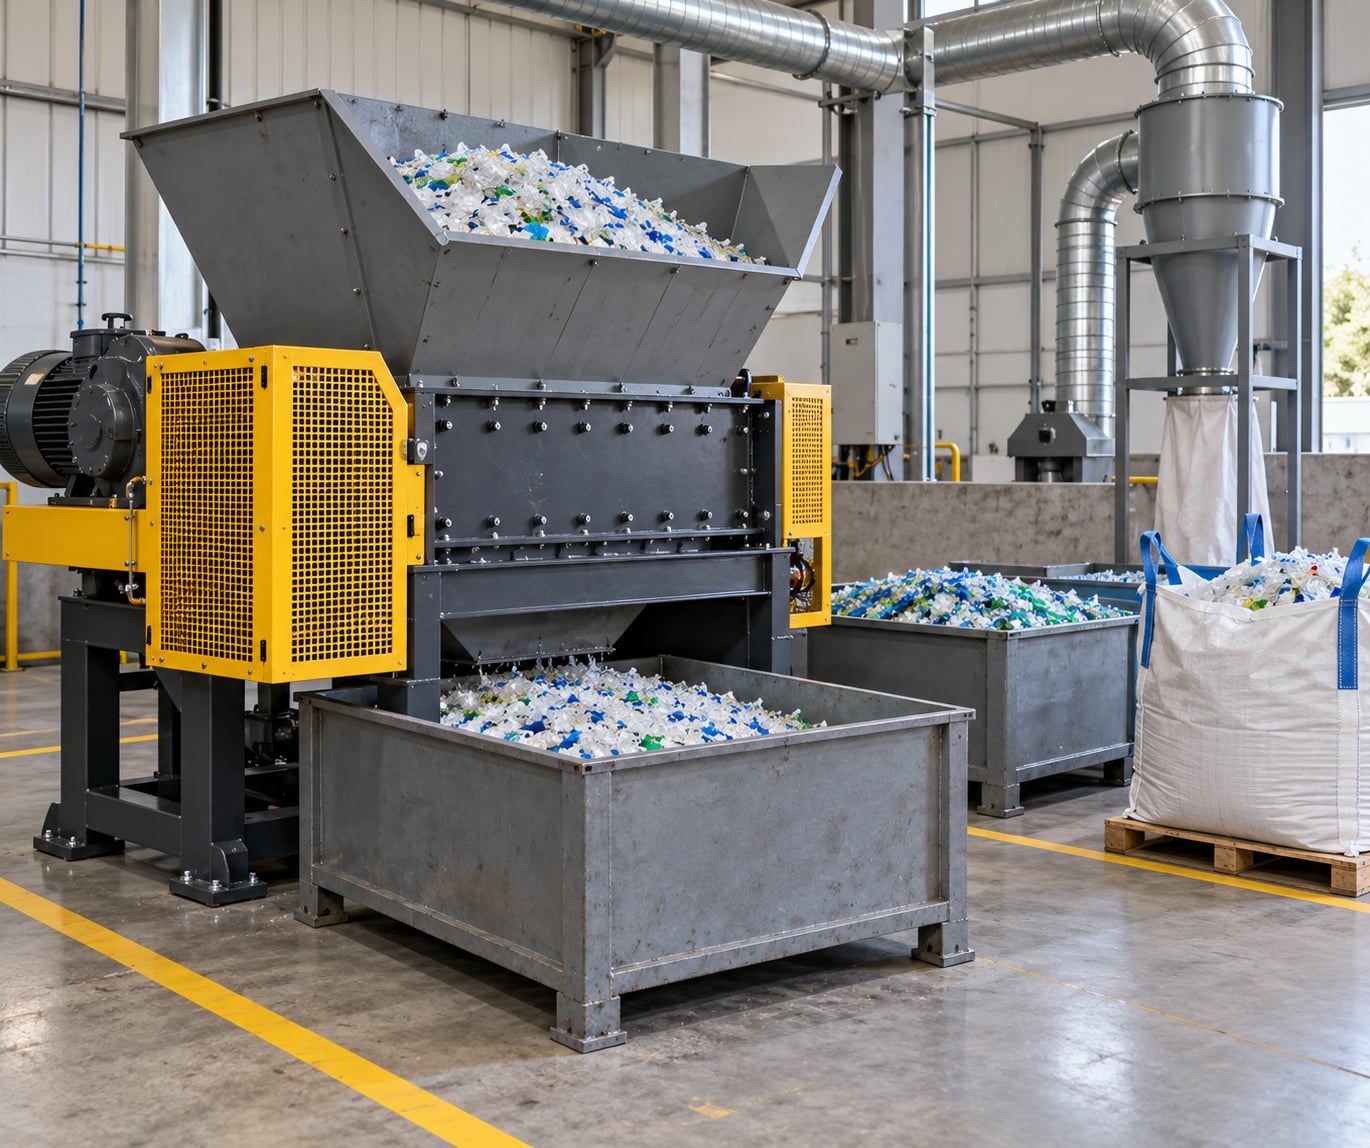
Shredding plastic for recycling is controlled size reduction with three governing decisions: know the resin, match the machine to the material, and hold the output to a particle size spec. Everything else on the floor is production discipline around those three. When they line up, plastic scrap becomes uniform flakes a recycler will pay for; when they don’t, you get chewed rotors, dull blades, and batches that get downgraded.
The full process takes an afternoon per batch once the setup exists. Standing it up properly takes longer: guarding, dust extraction, lockout points, a screening station, and a labeling system for the finished flakes.
This guide is written for plant and manufacturing environments. If you’re running a small workshop or dealing with 3D print failures, the same sequence applies at lower throughput, just with hand tools instead of a two-shaft rotor.
Table of Contents
What You Need
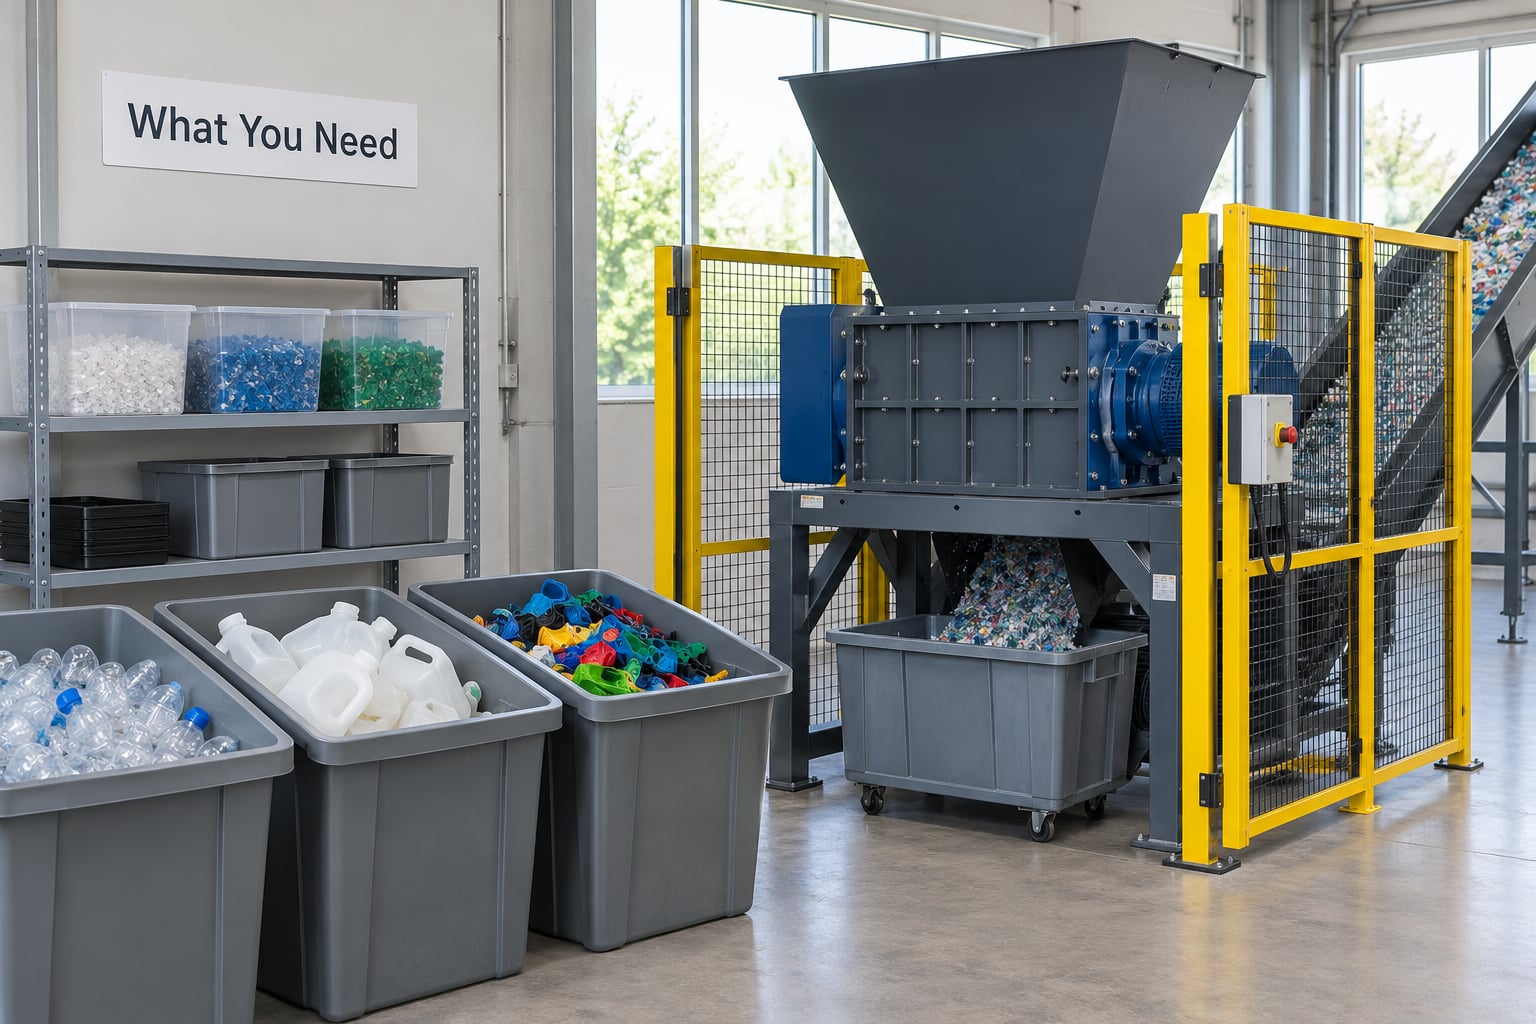
The list below covers what to have on hand before the first batch. A small operation can borrow from this and skip the parts that don’t apply yet; a full recycling plant needs all of it.
Equipment
- Primary shredder — a single-shaft machine with a screen for controlled flake size, or a two-shaft machine for dirty, bulky, or mixed feed streams.
- Secondary granulator — only if you run extrusion or injection molding in-house. Primary shredding alone rarely produces material fine enough to melt.
- Pre-cutting shear or baler opener — bales, bags, and film have to be opened before they reach the feed hopper.
- Magnet and manual picking station — ferrous contamination damages blades faster than anything else in the stream.
- Dust extraction — shredding produces fine polymer dust, and a fibrous bag of flakes will not flow properly without air handling.
- Screening station — a vibratory sifter or a set of test sieves for particle size verification.
- Scale — batch weights are how you prove what you shipped and reconcile yield.
Safety gear
- Full guarding on rotors, shafts, and belt drives, with interlock switches that stop the machine when a guard opens.
- Emergency stop buttons within reach of the feed opening and at the discharge side.
- Safety glasses plus a face shield for anyone at the hopper when opening bales or feeding bulky material.
- Hearing protection — shredder rotors and gearboxes run loud enough to damage hearing in a shift.
- Cut-resistant gloves for handling blades and sharp flake edges. Never wear gloves near a rotating shaft or inside a feed opening.
- Respiratory protection if the material is dusty, dry, or has been sitting, and local exhaust ventilation at the hopper and discharge.
- A written lockout/tagout procedure with each energy source isolated and verified before any guard comes off.
Material checks
Before anything is fed, you need three documents or answers: the resin identity for each batch, the particle size and contamination tolerance from the receiving recycler, and the list of materials your facility refuses. Without the second one you’re making flakes to guesswork.
Storage and documentation
- Closed, rigid containers or lined bulk bags — loose shredded plastic is light, static-prone, and impossible to keep clean on a bare floor.
- Resin and batch labels that survive weather and handling, attached at the container, not to a loose sheet.
- A covered staging area so flakes stay dry and free of dust, insects, and forklift debris between batches.
- A batch record: date, resin, source, input weight, output weight, blade hours, screen size used, and operator.
A note on facility size. A small shop running failed 3D prints can manage with hand tools, a bench granulator, and careful sorting. A mid-size manufacturer with steady scrap needs a guarded primary shredder and dust extraction. A commercial recycling line adds a granulator, a sifter, and magnetic separation upstream.
Step-by-Step
Step 1: Identify and Inspect the Plastic
Confirm the resin before you size-reduce anything. The mark on the part or bottle, the product record, or a simple density check settles most cases; a manufacturer spec sheet settles the rest. Guessing wrong here is expensive, because a batch of mixed resin can’t be un-mixed downstream.
Next, remove everything that isn’t plastic or that will break downstream: labels, caps, gaskets, metal clips, fasteners, and any battery or electronic component. Pull ferrous metal with a magnet before the hopper. If PVC shows up in a PET stream, isolate the whole container, not just the visible piece.
Then check condition. Wet plastic, ice, and frozen material crack blades and throw chunks; cords, rope, and long straps wrap the rotor within seconds. Flexible film and bags need pre-cutting into short lengths, because they are the single most common cause of a wrap jam.
Finally, match the material to a recycling stream and to the resin-handling reality of your chosen process. If your downstream partner is doing mechanical recycling, the rules on contamination and melt processing are the ones that matter to you; mechanical versus chemical recycling explained is worth reading before you commit a batch.
How you know it worked: the batch is single-resin, visibly free of metal and labels, dry, and pre-cut to a length the machine can pull in rather than bridge over.
Step 2: Prepare the Shredder and Work Area
Inspect the machine before the motor starts. Look at rotor knives for nicks, rolled edges, and uneven gap; look at the screen for holes and distortion; check the counterknife clearance. A clearance that’s too tight raises motor load and generates heat, and too loose lets flakes through oversized.
Verify every guard is in place and every interlock functions. Walk the emergency stop buttons and confirm the machine trips on each one. Confirm the dust extraction is running and the discharge chute is clear.
Clear the work area. Loose film, wood, banding straps, and spilled flake underfoot are a slip hazard around a machine that needs a wide swing space to open a chamber.
Then apply the lockout procedure before anything goes near the blades: isolate power, verify zero energy, and confirm the rotor can’t turn. Blade changes, clearing a jam, and screen changes all happen under lockout, never with the machine in a service mode.
How you know it worked: guards closed, interlocks live, knives and screen in good condition, clearance set, dust extraction running, area clear, energy isolated for any blade work.
Step 3: Choose the Right Shredding Method
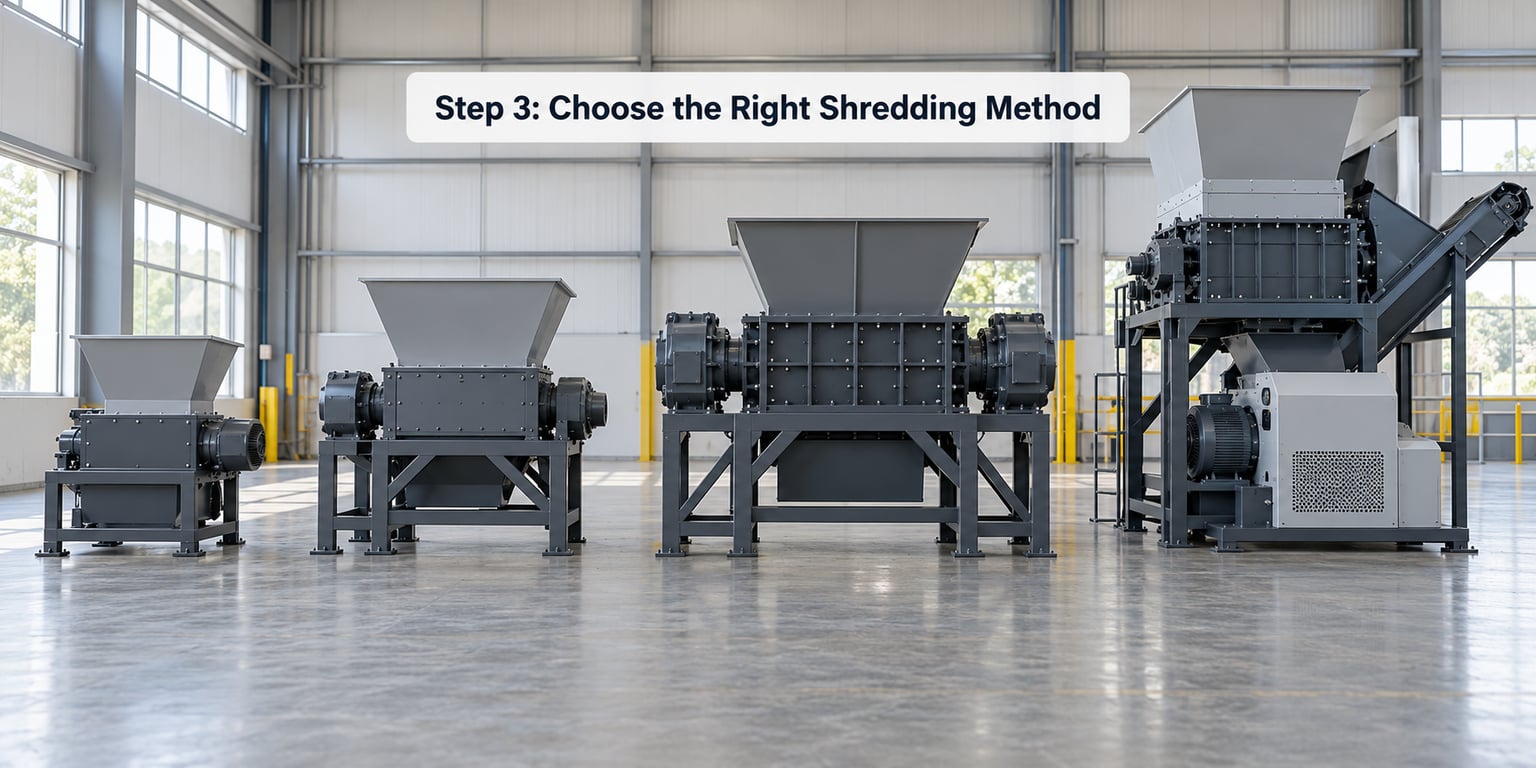
The machine choice follows the material and the particle size your recycler specified. Pick the rotor for the toughness and contamination level, then pick the screen for the output.
- Single-shaft shredder — a slow, high-torque rotor with knives cutting against a stationary counterknife. The screen mesh sets the particle size, so this is the machine for consistent flakes for extrusion. Best for clean, single-resin streams.
- Two-shaft shredder — counter-rotating intermeshing shafts with cutters between them. It eats contamination, belts, and mixed bulky material that would stall a single shaft, and it holds up when metal slips through. Heavier and costlier, and overkill for a clean stream.
- Four-shaft shredder — more aggressive pre-reduction on very tough or thick-walled material such as pipe and thick housings, often used before a granulator.
- Granulator — high-speed, fine reduction that produces granules rather than flakes. It belongs downstream of the shredder, not instead of one, and it needs rigid, pre-cut feed.
- Cryogenic embrittlement — chilling elastic or tacky material until it becomes brittle enough to crush. Effective for rubbery plastics like TPU and TPE, and impractical as a general production method.
One more variable decides it: what the downstream process needs. For injection molding, flakes in the region of 2-5mm are typical; for extrusion you want consistent, screened material that feeds evenly through the throat. Ask the recycler for their number, then set your screen to match it.
How you know it worked: a first handful of flakes from each material looks even, with minimal dust and no long strips.
Step 4: Feed Plastic at a Controlled Rate
Start the machine first, then feed. Reverse or jog the rotor to clear the chamber, run it up to speed, confirm the extraction and discharge are moving material, and only then introduce plastic. Feeding into a stopped rotor is how fingers get hurt and blades get bent.
Keep the feed steady and light. A continuous, moderate stream is far better than a heavy dump — the rotor pulls material in at its own pace, and anything it can’t grab immediately bridges at the hopper mouth. Bulk feed to a two-shaft machine is fine; bulk feed to a single-shaft machine is a stall.
Keep hands, tools, and loose clothing out of the feed opening. Use a pusher or feed ram for anything below the hopper lip, and keep the area around the opening clear so nobody leans in to help. Never reach in to free a bridging problem while the rotor is turning.
Listen and feel. A rising whine means the load is climbing. A change in the sound pattern — a clunk, a rhythmic thump — usually means an object that isn’t plastic. Stop the feed, run the rotor down, isolate, and investigate rather than pushing through.
How you know it worked: motor current stays steady, the discharge flow looks continuous, and there’s no bridging at the hopper or pressure spikes at the motor.
Step 5: Check Particle Size and Output Quality
Sample the output at the start of a batch, at the midpoint, and again at the end. Sampling only at the start is how you ship a batch with a fines problem discovered by the recycler.
Run a sample through a test sieve stack or a vibratory sifter and weigh what’s in each fraction. You’re looking for three things: a dominant size fraction, an acceptable dust and fines level, and no unmelted chunks larger than the spec allows. Very high fines mean the screen is worn or the blade clearance is too tight. Oversized pieces mean the screen is missing a section or the blades are dull.
Inspect for contamination that a sieve won’t catch: labels, metal flecks, rubber, and any foreign polymer pulled in by the magnet’s failure. Check the flakes for heat damage — glossy, brown, or fused material means the rotor was generating more heat than the material could absorb, usually from dull knives or a jam.
If you’re measuring anything to a tolerance, the discipline behind inspection basics for plastic parts applies here too: defined sampling, a written acceptance threshold, and a recorded result rather than an eyeball call. Also weigh input against output. A yield noticeably below expectation is the earliest signal of something going wrong upstream, usually contamination or feed moisture.
How you know it worked: the size distribution sits inside the recycler’s window, dust is low, no chunks above spec, no discoloration, and the batch record carries the numbers.
Step 6: Package, Label, and Store the Shredded Plastic
Transfer shredded plastic by conveyor, chute, or closed container — not by shoveling it across open floor, which mixes in grit and dust. Keep flake transfer as enclosed as you can manage; loose flakes travel on air.
Use closed rigid containers for rigid flake output and lined bulk bags where the recycler accepts bagged material. Don’t double-bag, and don’t leave a partly filled container open overnight — it collects humidity, dust, and anything walking past.
Label every container at the container: resin, batch number, date, net weight, and screen size used. Put the same information on the bill of lading or transfer paperwork. When material moves between two sites, an unlabeled container is an untraceable batch.
Store under cover, off the ground, away from direct sun and heat, and never next to a source of ignition. Static is a real consideration with dry flake; anti-static measures matter more as humidity drops. Rotate stock so the oldest material ships first, because plastic flake held too long picks up moisture and contamination that hurt your next melt.
How you know it worked: every container is sealed, legible, traceable, and sitting in a dry covered bay, and the recycler accepts the paperwork without a phone call.
Common Mistakes
These are the errors that show up again and again, each with the fix that actually works.
- Shredding mixed plastics together. Different melting points don’t blend; they degrade the batch. Fix: segregate by resin at the picking station, and if you truly cannot, accept that the output is a low-grade mixed stream and price it that way.
- Ignoring moisture. Wet plastic dulls blades, throws chunks, and makes poor flakes. Fix: drain or dry before feeding, and keep stored flake covered.
- Running dull or mismatched knives. Blades cost more per hour than electricity ever will. Fix: a scheduled sharpening or replacement interval tracked in blade hours, not calendar time, with matched knives on both rotor and counterknife.
- Overfeeding. A jammed rotor stalls the motor, overheats the blades, and can snap a shaft. Fix: feed at the rate the rotor pulls, keep current draw steady, and stop when it climbs.
- Film and cords entering the hopper whole. Flexible material wraps the rotor within seconds and can pull a knife loose. Fix: pre-cut film, bags, and straps into short lengths, and keep rope out of the line entirely.
- Poor dust control. Fine polymer dust coats surfaces, fouls screens, and is a respiratory hazard. Fix: extraction at both the hopper and the discharge, with filters changed on a schedule rather than when visible.
- Storing flakes too long. Moisture, dust, and slow inventory turns degrade the batch before you ship it. Fix: FIFO rotation and a target of days in storage, not months.
- Skipping the magnet pass. One ferrous item can wreck a blade set. Fix: magnet after every transfer step, and inspect the belt and hopper for metal at the start of each shift.
- Clearing jams with the rotor turning. Fix: stop, run down, isolate, verify zero energy, then clear it with a tool — every time, with no exceptions for small jams.
Frequently Asked Questions
What machine should a factory use to shred plastic for recycling?
A single-shaft shredder with a screen is the usual choice for clean, single-resin scrap because the screen sets a consistent particle size. Use a two-shaft shredder when the stream is bulky, contaminated, or mixed. Add a granulator only if you melt or extrude the material in-house, since primary shredding alone rarely produces granules fine enough.
What plastics can be shredded for recycling?
Most common thermoplastics shred well, including PET, HDPE, LDPE, PP, PVC, ABS, polycarbonate, and nylon. Thin film and bags need pre-cutting to prevent wrapping, and rubbery materials such as TPU or TPE are far harder to reduce. Glass-filled and heavily pigmented plastics abrade blades quickly. PVC needs dedicated equipment and ventilation because of the fumes it releases when heated or cut.
How fine should plastic be shredded for recycling?
Ask the receiving recycler for their specification rather than guessing. Flakes in the region of 2-5mm are common for injection molding, while extrusion wants screened, evenly sized material that feeds predictably. Going finer than needed wastes motor hours and generates dust, and going coarser risks the batch being rejected or requiring a second reduction step.
Can plastic be shredded without recycling it?
Yes. Shredding is useful for size reduction, storage space, transport efficiency, and destroying confidential or branded material, regardless of whether it goes into a recycling stream. In that case keep the same discipline anyway, because contaminated mixed flakes are hard to sell and blending them into a lower-grade stream only pays a fraction of a clean single-resin batch.
Is it safe to shred plastic indoors?
Only with proper ventilation and separation. Shredding fine polymer dust and, with PVC, fumes that should not be breathed in an enclosed space. Run machines in a dedicated area with local exhaust at the hopper and discharge, keep PVC processing separate, and equip anyone nearby with eye, hearing, and respiratory protection. Never feed a machine by hand while its rotor turns.
Conclusion
Start by doing one thing: identify the resin for a single batch and get the particle size spec in writing from the recycler who will take it. Those two answers decide the machine, the screen, and whether the batch is worth processing at all.
From there, the work repeats in a fixed order — inspect, prepare, feed at a steady rate, screen the output, package and label — with the safety steps done the same way every batch rather than when something feels wrong. Sharp blades tracked in hours, dust extraction running, and containers sealed and labelled are what turn plastic scrap into material a recycler will take.
If you’re weighing this against other recycling routes, running a lifecycle assessment on a plastic product is the next sensible piece of work. It puts the energy and material you’re recovering into numbers you can compare against the alternatives.