
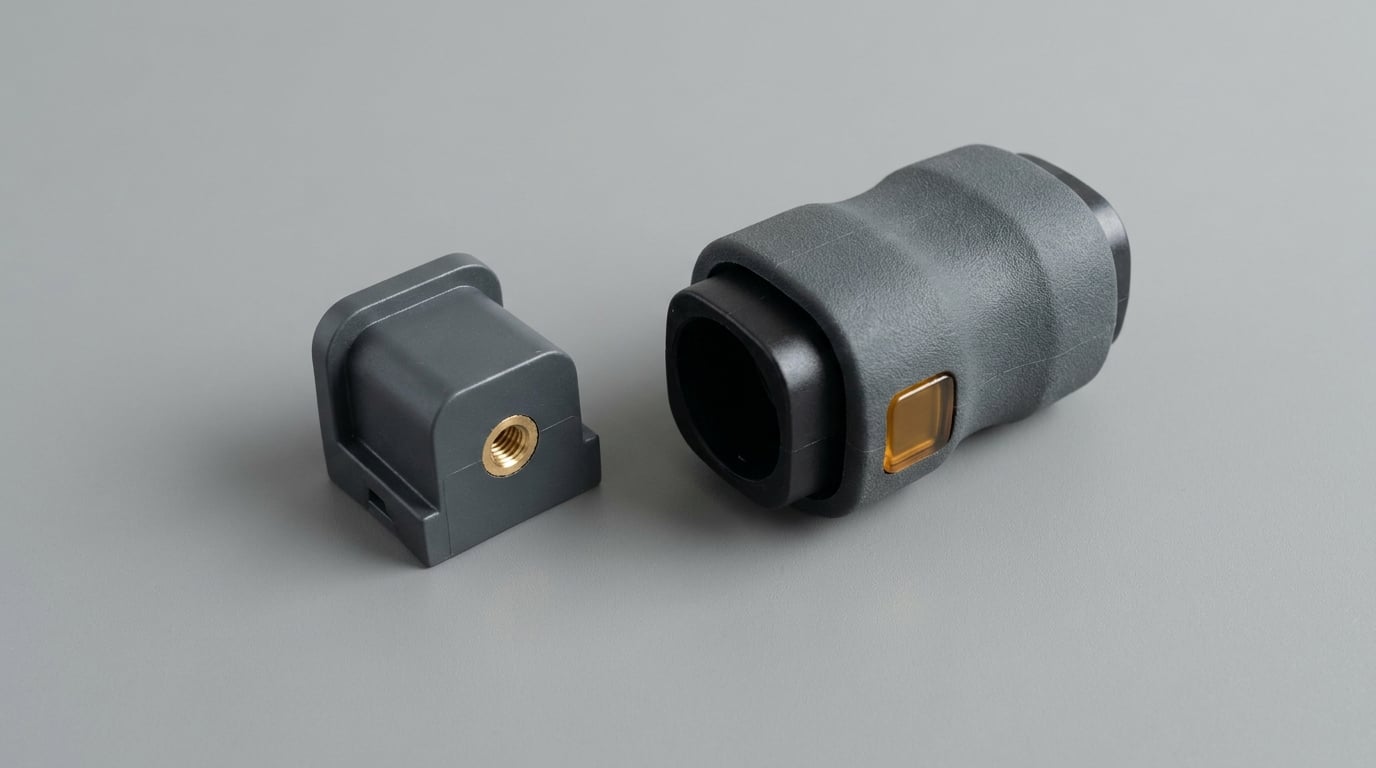
If you need a metal thread, a magnet or a rigid core captured inside a plastic part, you want insert molding. If you want a soft-touch grip, a seal or a weatherproof skin laid over an existing part, you want overmolding. Both run inside injection molding, and both combine two materials into one piece without adhesive, but they differ in what the second material is doing.
The insert molding vs overmolding differences that actually matter on a quote are tooling count, cycle time, how the two materials are held together, and how much of the part each process can control. Get the choice wrong and you pay for a second tool you did not need, or you get a delamination problem in the field.
- Insert molding captures a preformed component inside the plastic, so the insert becomes a functional core.
- Overmolding coats a finished substrate with a second polymer, so the second material is a surface or interface layer.
- Insert molding usually needs one tool. Overmolding usually needs two, plus a way to load the substrate.
- Insert strength comes from a chemical bond plus mechanical keying. Overmold strength comes from adhesion to the substrate surface, or from undercut geometry when adhesion is poor.
- They are not rivals. Plenty of production parts use both on the same component.
Table of Contents
- Insert Molding vs Overmolding Differences at a Glance
- How Insert Molding and Overmolding Work
- Materials and Part Design
- Tooling, Equipment and Production Setup
- Cost, Cycle Time and Scalability
- Quality, Defects and Process Control
- Best Applications for Each Process
- Which Should You Choose?
- Frequently Asked Questions
- Can insert molding be used instead of overmolding?
- Can insert molding and overmolding be used in the same part?
- What materials work best for insert molding versus overmolding?
- Which process is faster or cheaper for low-volume production?
- How is an insert kept from moving during molding?
- How do I choose between insert molding and overmolding for a supplier quote?
- Conclusion: Choose the Process That Matches the Part
Insert Molding vs Overmolding Differences at a Glance
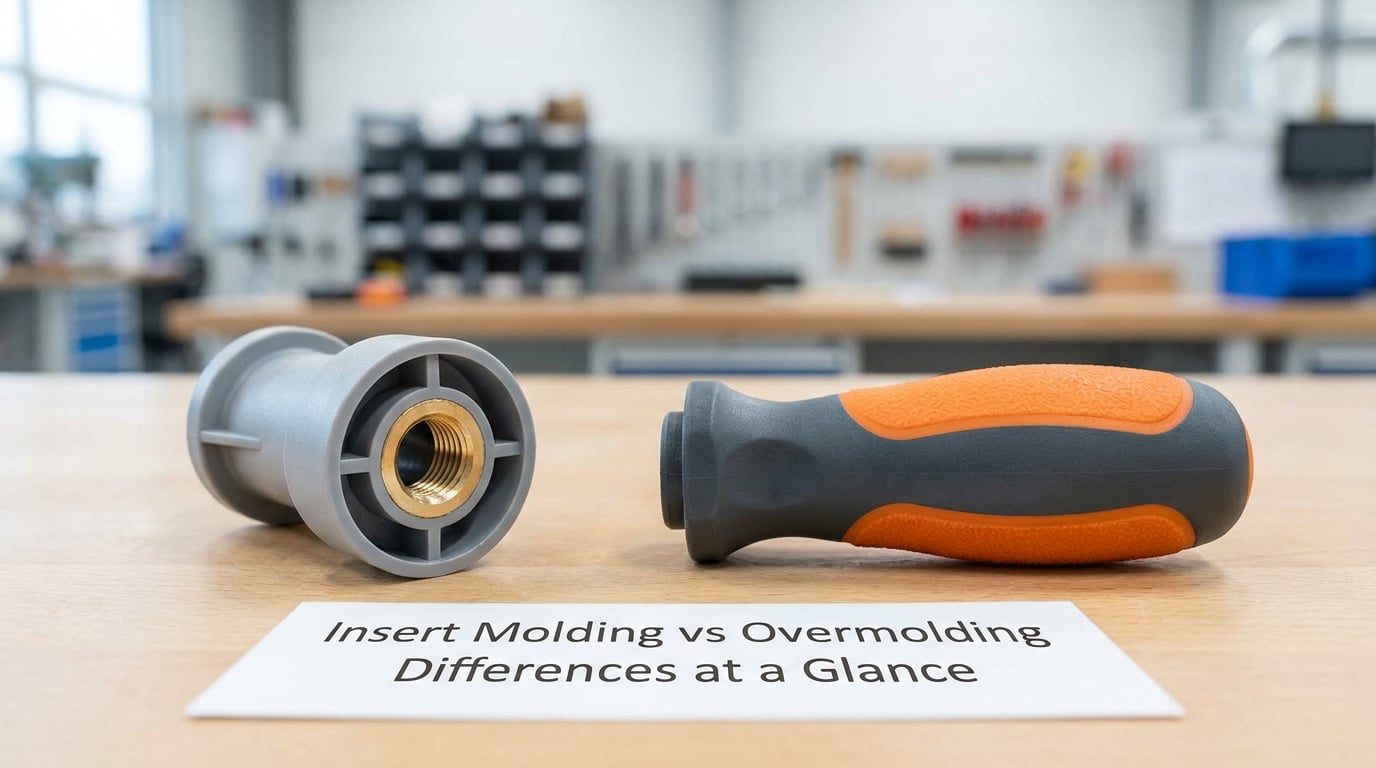
The table below is the fastest way to separate the two. Read the “what goes where” and “how it is held” rows first; they explain most of the other differences.
| Criterion | Insert molding | Overmolding |
|---|---|---|
| What gets added | A preformed component: metal, ceramic, magnet, sensor or even a 3D-printed core | A second polymer over a finished base part, the substrate |
| Role of the added material | Functional core, thread, bushing, weight, stiffness or sensing element | Surface layer: grip, seal, soft touch, impact or weather protection |
| How it is held in place | Melted plastic flows around it; retention comes from knurls, barbs, undercuts and a snug pocket | Chemical adhesion to the substrate, plus undercut or groove keying where adhesion is weak |
| Tooling | One tool with insert pockets, ejector pins and often side actions | Two tools, or a rotating-platen two-shot tool, plus substrate handling |
| Cycle time | Single cycle, but inserts must be loaded by hand or robot on every shot | Longer: a substrate is produced or placed first, then a second shot runs |
| Typical materials | Brass, stainless steel, aluminum, ceramic into ABS, polycarbonate, nylon or PEEK | TPE, TPU or silicone over ABS, PC, nylon or polypropylene |
| Wall and thickness limits | Plastic must cover the insert completely, usually 1.0 to 1.5 mm minimum around it | Overmold layer is thin, often 0.5 to 3 mm, and must fill the whole interface |
| Main defect risk | Insert float, misalignment, sink marks beside the insert, insert corrosion | Delamination, incomplete coverage, trapped bubbles, flash at the parting line |
| Where it wins on cost | Simpler parts and moderate volume, one tool amortizes fastest | High volume, where cycle efficiency offsets two tools, or when it kills an assembly step |
| Typical parts | Threaded housings, connector bodies, IV luer components, magnet mounts | Tool and appliance grips, phone bumpers, door handles, sealed housings |
| Decision rule | Choose it when the part needs something functional built in | Choose it when the part needs a second material on the outside |
How Insert Molding and Overmolding Work
Both processes are subsets of injection molding. Overmolding is a special case: every overmolded part involves something preformed being placed in a mold, so in the broadest taxonomy all overmolding is insert molding, but not every insert molding run is overmolding. The distinction that matters on the floor is whether the preformed piece is a functional core or a surface layer.
How insert molding works, step by step
- The insert is loaded into a pocket in the mold. It is held by gravity, by a tight pocket, or by a rail and ejector arrangement.
- The mold closes and the cavity is filled with molten resin that surrounds the insert.
- The plastic cools, shrinking slightly onto the insert surface, which is what creates part of the mechanical lock.
- The insert is encapsulated in one piece, and the part is ejected as a single unit.
The insert is present before the melt ever arrives, and it never leaves. That is the whole idea.
How overmolding works, step by step
- A substrate is molded, machined, printed or bought in as a separate part.
- The substrate is placed in a second mold, usually in a fixture or nest that locates it.
- A second resin, typically a TPE or TPU, is injected over a defined area of the substrate surface.
- After cooling and ejection, the result is a single part with two materials and no adhesive joint.
Some shops compress the last three steps into one operation with a two-shot, or 2K, tool, where a rotating platen swaps cavities between shots. The term overmolding is used loosely for both that and the two-tool version.
What the insert molding vs overmolding differences mean for how the part is built
Because the substrate in overmolding must exist first, the process adds a whole production step and a handling step. Insert molding keeps the count low but pushes complexity into the tool, where pockets, vents and cooling have to be worked around a fixed piece of metal. One adds steps to the cycle, the other adds difficulty to the steel.
There is a third and fourth term worth separating. Multi-shot molding means three or more injections, usually for handles with a core plus two soft zones. Two-shot describes exactly two injections in one coordinated tool. Manufacturers often use overmolding, two-shot and 2K interchangeably on quotes, so ask a supplier directly whether a single tool or two tools are being quoted.
Materials and Part Design
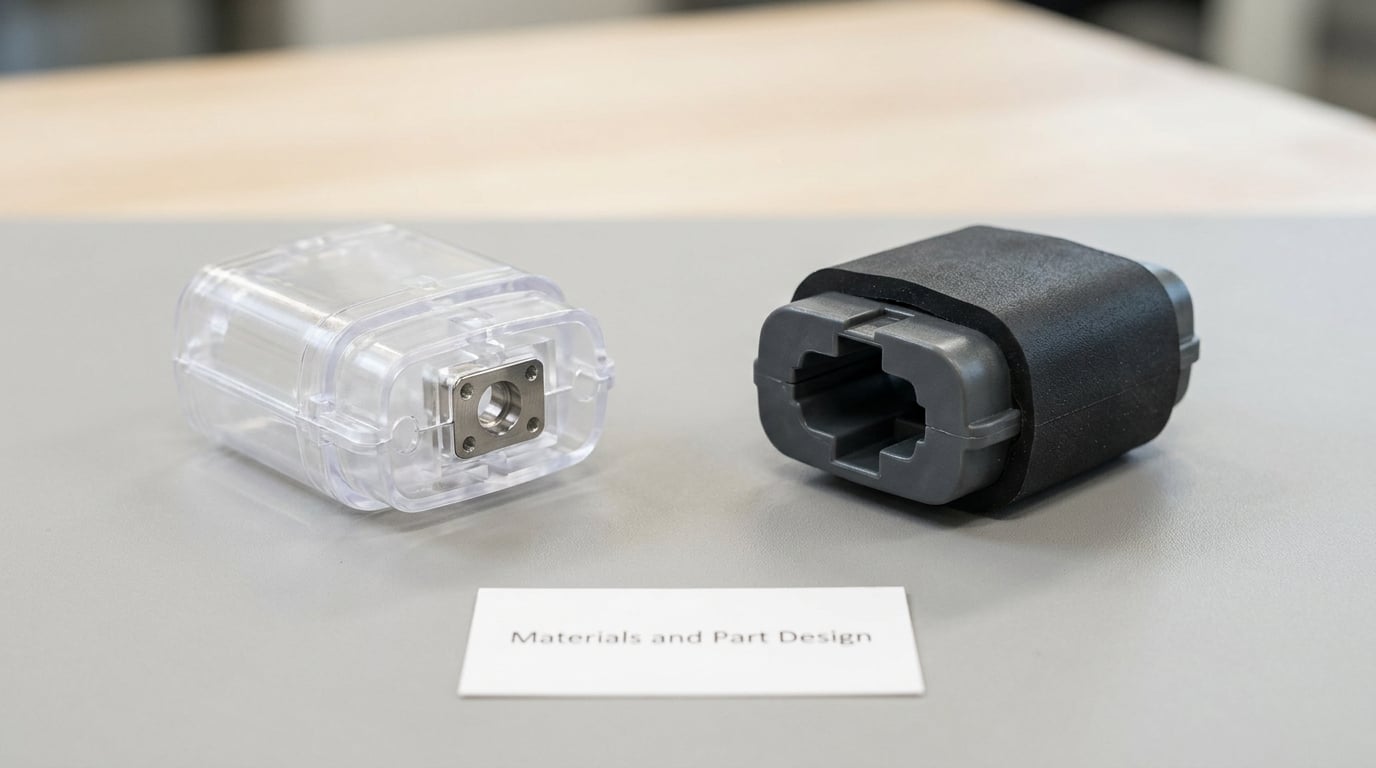
Material pairing behaves very differently in the two processes. Insert molding puts a metal part against a hot, flowing resin, so the risk is thermal expansion mismatch, not adhesion failure. Overmolding puts two polymers or a polymer against a substrate, where the risk is that they simply will not stick.
Material combinations that work
- Insert molding: brass or stainless steel threaded inserts into ABS, polycarbonate, nylon or PEEK. Aluminum is common for light weight. Magnets and ceramic sensors behave the same way.
- Overmolding: TPE and TPU over ABS or polycarbonate bond reliably, partly because the elastomer wets the engineering surface. Silicone is usually applied with a different process entirely, so ask how it is being laid down.
- Overmolding that fights you: TPE over polypropylene is a known trouble pair, because the two polyolefin families dislike each other. When adhesion is weak, engineers add a textured substrate surface, a groove or an undercut so the joint is mechanical rather than chemical.
Silicone and thermoset rubbers are not thermoplastic, so they are not injection molded over a part. They are often printed, cast or transfer molded onto an insert-molded plastic substrate, which means the part still started life as an insert molding job.
Design rules for insert molding
- Keep the insert-to-part size ratio moderate. A large insert in a thin wall creates a sink mark right next to the metal.
- Round the insert edges, or at least chamfer them. Sharp corners on the preformed part stress the plastic and trap melt.
- Provide retention geometry: knurling, barbs, grooves or a cross-hole. Smooth cylindrical inserts rely entirely on friction.
- Check the coefficient of thermal expansion difference between insert and resin, especially on stainless in nylon.
- Plan draft and venting around the insert pocket, not just the part walls.
Design rules for overmolding
- Hold the overmold layer within roughly 0.5 to 3 mm. Thin at the edges, thicker over ribs, and never thicker than the substrate can carry without distortion.
- Make sure the substrate can survive the second shot’s melt temperature. A low-melt substrate with a high-melt overmold will distort or slump.
- Add undercuts or grooves wherever you need a mechanical interlock, so bond failure is not the only thing holding the layers together.
- Avoid sharp substrate corners under the overmold, which concentrate stress and trap gas.
- Account for shrinkage: the overmold shrinks onto the substrate, and the two shrink at different rates.
Tooling, Equipment and Production Setup
An insert molding tool carries pockets machined directly into the cavity steel, plus rails, ejector pins and often side actions to release the part. Venting has to be routed around the insert, and cooling channels compete with the pocket for the same space. That is the main reason insert tools cost more to build than a plain single-shot tool of the same part size.
Overmolding setup depends on which route you take. With two separate tools, the substrate arrives from a molding cell, a purchase order or an operator’s hands, and the second tool has to locate it repeatably, usually with a nest. With a two-shot tool, a rotating platen swaps the substrate cavity and the overmold cavity, and the second station carries its own hot runner or valve gate.
Either way, load method is the hidden variable. Hand-loaded inserts mean an operator at every cycle, and operator attention is where misalignment comes from. Automated loading with vision is the usual answer at higher volume. On the r/InjectionMolding boards, shop-floor accounts of two-shot adoption centre on exactly this: a new rotating platen, a 450-ton press and operators who had never run the process before.
Validation is heavier than it looks. Insert molding needs insert seating verified on every cycle. Overmolding needs bond strength tested on real parts, usually by peel or pull-off, not by visual approval.
Cost, Cycle Time and Scalability
The insert molding vs overmolding differences show up first in tooling. Insert molding needs one tool. Overmolding needs two unless you buy a more complex two-shot tool, so the capital outlay is larger, and the second tool has its own maintenance, cooling and upkeep costs.
Piece cost tells a different story at volume. Every overmolded part pays for two shots of machine time, two cooling cycles and a substrate handling step, so the per-part cost is higher and it only competes when that second cycle is fast or when it deletes an assembly operation that was costing more. Buyers have noted the same pattern from the other direction: two-shot pays off at higher volume, while a simpler overmold on a simpler part can suit lower volumes.
Insert molding carries labor in the same place. An operator or robot must place every insert, and at high volume that handling time can rival the injection time itself. Tooling amortizes faster against a single tool, which makes insert molding the friendlier economics for moderate volumes and for parts that are large but not complex.
Low-volume reality check: for a few hundred parts, a four-cavity insert tool usually beats a two-tool overmold setup on both capital and piece price. For tens of thousands, the calculus flips, especially if the overmold removes press-fit, adhesive or snap-assembly work downstream.
Quality, Defects and Process Control
Insert molding failure modes cluster around position and heat. An insert that floats during fill gives you a part with a thread in the wrong place, and in a multi-cavity tool one bad shot is not one bad part, it is a whole bad batch. Sink marks appear on the wall beside a thick insert. If the resin and the insert expand at different rates, you get stress cracks around the interface months later in service, not at the moulding machine.
Corrosion is the insert-specific problem. Moisture trapped in a nylon part around a steel insert can produce rust staining that shows up in the customer, not in your building. Stainless or a properly plated insert plus careful drying are the usual mitigations.
Overmolding failure modes cluster around the interface. Incomplete coverage shows up as a dry patch, a short shot or a flash line at the parting line. Delamination is the headline risk when adhesion is not designed in, and it usually appears after thermal cycling or after a solvent attack in the field. Trapped bubbles and knit lines come from poor venting of the second shot across a large substrate surface.
Process control differs accordingly. On the insert side, a manufacturing professional described setting up Cognex vision cameras purely to confirm that inserts were properly seated and correctly labelled before the shot, which tells you how seriously shops treat insert alignment as the top in-line risk. On the overmold side, the checks are bond strength pulls, fill-pattern verification and measure-and-record of the bond line around the full perimeter.
One habit worth stealing from both: pull a first-article from every cavity, not just one. Multi-cavity tools hide a bad insert in cavity three, and you want to know that at the sample bench rather than at the customer’s dock.
Best Applications for Each Process
Insert molding wins whenever the part needs a function that plastic cannot deliver. Electrical connector bodies with brass contacts, sensor housings with a magnet or a coil seat, threaded knobs and instrument housings where you want real metal threads rather than molded plastic ones, and medical connectors such as luer-style components where a metal bore has to be dimensionally stable.
Automotive interiors lean on both. A door handle can be a rigid overmolded core with a soft insert, while a wiring harness bracket or a control-panel fastener mount is a pure insert molding job. Aerospace and drone structures use insert molding for carbon composite and metal hybrid parts, where the insert provides load paths a molded rib cannot.
Overmolding wins when the value is in the surface and the feel. Power tool and appliance grips, bike handlebars, racquet handles, remote controls and headset grips where vibration dampening and tactility matter, phone and tablet bumpers, and outdoor or marine housings where a TPE skin keeps water out and takes the scuffs.
A sealed enclosure is a hybrid: an insert-molded rim or bolt boss under an overmolded gasket. The most common production pattern I see is a metal insert providing stiffness and a threaded feature, with a soft overmold on the grip end of the same part.
Which Should You Choose?
Start from the function, not from the process name. Ask what the second material has to do once the part is in service, and the answer picks the process for you.
| Situation | Choose insert molding when | Choose overmolding when |
|---|---|---|
| Thread or fastener feature | You need a real metal thread, or a boss that must take repeated torque | You do not need a thread; the part is a sealed cover or a grip |
| Feel and ergonomics | Not the goal, or the contact surface is a separate molded part | Soft touch, grip geometry and vibration dampening are the point |
| Sealing | An insert provides a rigid sealing surface or a bore | The elastomer layer itself is the seal |
| Volume | Moderate, and the tool is the main capital cost | High volume, or it removes an assembly operation |
| Part complexity | Geometry is defined by the resin around the insert | Geometry is defined by the substrate, with a skin added on top |
Choose insert molding when the part needs an embedded functional component. Choose overmolding when the requirement is a second material on the outside. When a part needs both, the honest answer is a hybrid: insert mold the core in one tool, then overmold the grip in a second, or combine them in a two-shot tool if the volume supports it.
Before requesting quotes, decide three things: whether the second material is functional or cosmetic, what volume you actually need, and which material pair you are committing to. Suppliers quote very differently once those three are answered, and a quote for a two-tool overmold is not comparable to a quote for a single insert tool.
Frequently Asked Questions
Can insert molding be used instead of overmolding?
Only if the part genuinely needs a functional component built in rather than a surface layer. If the goal is a soft grip, a seal or a second color and texture, insert molding will not deliver it without a second operation. Some teams do combine them, insert molding a rigid core first and overmolding the grip zone in a second tool, which gives the part both functions from a single assembly.
Can insert molding and overmolding be used in the same part?
Yes, and it is common. A part can carry a metal threaded insert for stiffness and mounting while a soft elastomer overmold covers the grip end, so the two processes land on one component. Doing it in a single two-shot tool suits high volume. At lower volume, running the two processes on separate tools and joining them later is often simpler and cheaper.
What materials work best for insert molding versus overmolding?
Insert molding pairs metal or ceramic with engineering resins: brass, stainless steel or aluminum into ABS, polycarbonate, nylon or PEEK. Overmolding pairs polymers, and TPE or TPU over ABS or polycarbonate bond reliably, while TPE over polypropylene is a poor match. Where adhesion is weak, engineers add grooves or undercuts so the joint is mechanical rather than chemical.
Which process is faster or cheaper for low-volume production?
Insert molding is usually both faster and cheaper below a few thousand parts, because it needs one tool and one cycle. Overmolding needs two tools and two shots, so its per-part cost starts higher. Overmolding becomes competitive at high volume, or whenever it removes a separate assembly, adhesive or sealing step that was costing more than the extra cycle.
How is an insert kept from moving during molding?
By geometry and by support. Designers add knurling, barbs, undercuts, grooves or a cross-hole so the insert cannot shift, and the tool provides a pocket with a locating pin, a rail and ejector pins that push the part off the insert. Pushing a loose insert in by hand during fill is what causes float and misalignment, so inserts are usually preloaded on a rail or by a robot.
How do I choose between insert molding and overmolding for a supplier quote?
Tell the supplier what the second material must do, the material pair, your annual and total volume, and the tolerance on any metal feature. Ask for one tool or two, and whether the quote includes insert loading labor. A two-tool overmold quote and a single insert tool quote are not comparable, so a clear answer on tooling count is the first thing to check.
Conclusion: Choose the Process That Matches the Part
Insert molding vs overmolding differences come down to intent. Insert molding embeds a functional component so the part gains a thread, a weight, a magnet or a rigid bearing surface. Overmolding adds a second material to the outside so the part gains grip, sealing, protection or a second look.
Start by writing one sentence on what the second material must do in service. Then confirm the material pair will actually hold together, count the tools, and check whether your volume supports them. Send that to suppliers and ask for the tooling count in writing, because a one-tool and a two-tool quote are not the same purchase.
If the part needs both, say so in the brief. The hybrid is standard practice and the molder will price it either way.