

Box size decides a big share of your shipping bill. Carriers charge the greater of actual weight and dimensional weight, and dimensional weight comes straight from length times width times height. The carton sizing mistakes that raise shipping costs are rarely dramatic; they are ordinary packing decisions made without a tape measure. Get the carton right and the rate falls out of the math. Get it wrong and you pay for the air around your product on every single order. Here is how to stop doing that, in the order a packaging team would work through it.
I have watched sellers chase a mystery rate increase for weeks, only to find one oversized box in a catalog item master that nobody had updated since launch. The fix took an afternoon. The savings showed up the following month.
Rates, DIM divisors, and surcharge thresholds change, usually at each annual general rate increase, so treat every carrier figure in this guide as the current published value and confirm it against your own account before you rebuild a packing spec. This was last checked against carrier-published service guides in October 2026.
Table of Contents
- What You Need
- Step-by-Step: How to Size a Carton So You Pay for the Product
- 10 Common Carton Sizing Mistakes That Raise Shipping Costs
- Choosing an Oversized Box for Easier Packing
- Measuring the Product Instead of the Packaging
- Ignoring the Box’s Dimensional-Weight Rating
- Leaving Too Little Space for Protection
- Forgetting That Carton Dimensions Affect Thresholds
- Selecting a Box That Is Too Weak for the Load
- Using One Carton Style for Every Product
- Adding Layers of Boxes to Solve a Sizing Problem
- Failing to Account for Bulky or Uneven Products
- Optimizing Carton Size Without Measuring the Real Shipping Rate
- Tips for Preventing Repeat Mistakes
- Frequently Asked Questions
- Conclusion
What You Need
You cannot size a carton from memory or from what the packer thinks the product looks like. Gather these six things first and the rest of the process runs in minutes per SKU.
- Measured product dimensions as packed, including packaging, not the bare item. A 12 inch glass bottle is not a 12 inch object once its molded insert is on.
- Packed weight for each configuration, measured on a scale rather than estimated from the spec sheet.
- The carton range you can actually buy, with the inside dimensions and the box maker’s weight rating printed on the carton.
- Shipping zone data for the destinations you actually serve, since a dimension break in Zone 8 costs more than the same break in Zone 2.
- Current carrier rate rules: DIM divisor, oversize and large package thresholds, and any fuel or demand surcharge percentages in effect.
- Packing materials and a calculator: a tape measure, a digital scale, edge protection, void fill, and a dimensional weight calculator or spreadsheet template.
A dimensional weight calculator saves the arithmetic but not the judgment. It will happily give you a DIM weight for a box that fails a drop test, which is why the protection step comes before the rate step in the workflow below.
Step-by-Step: How to Size a Carton So You Pay for the Product
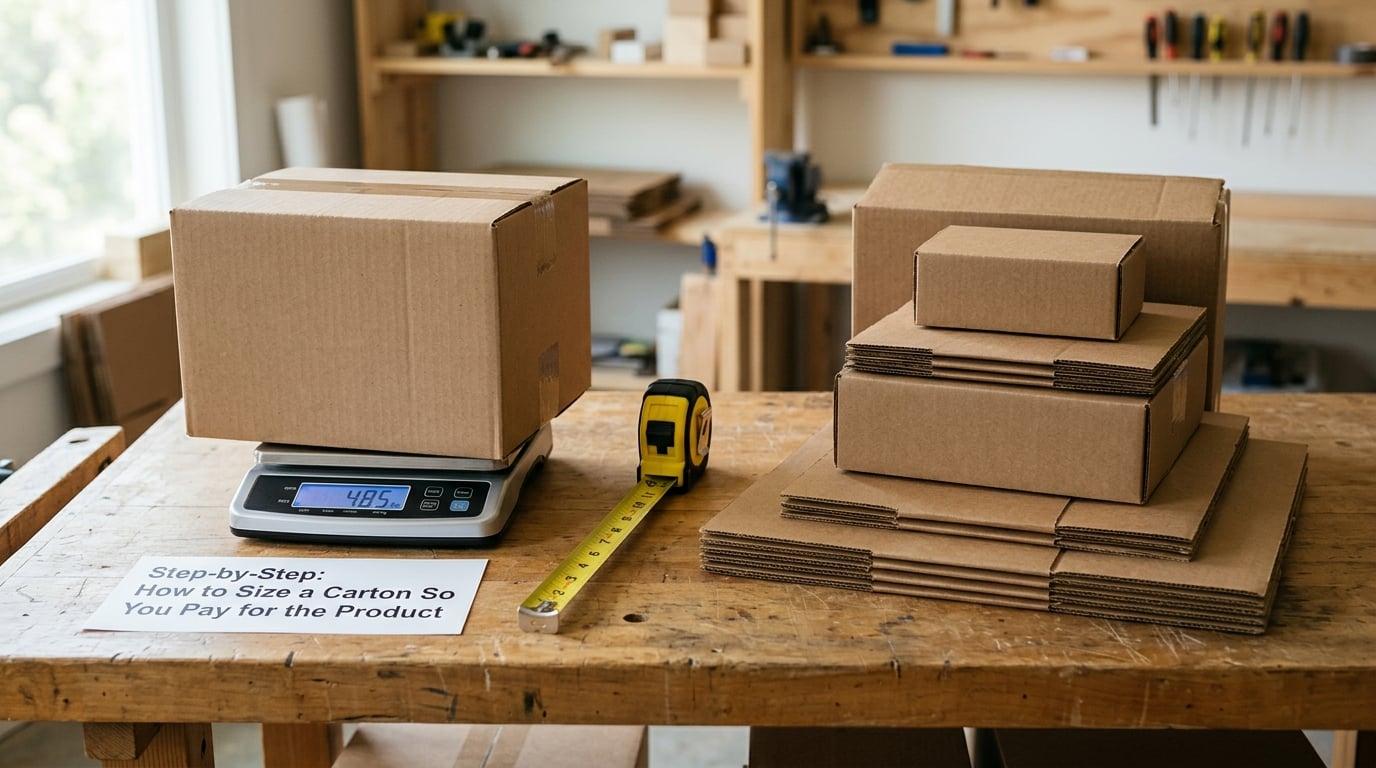
Eight steps, in this order, produce a carton spec you can hand to a packer without a conversation. The order matters: measuring and protecting come before any rate math, because a rate calculation on a box that fails in transit is wasted work.
- Measure the product as it will be packed. Longest point, widest point, tallest point. Add the thickness of the retail packaging, insert, and any accessory that ships with it.
- Weigh the packed unit on a scale. Write the number down. Round-ups on shipping charges are applied to billable weight, so a rounded-up estimate compounds across every order.
- Add clearance, not slack. Half an inch of movement room on the longest and tallest axes is enough. A full inch on each axis adds real cubic inches, and cubic inches are what you are billed on.
- Pick the smallest carton that passes a protection test. Fill the product, close the flaps fully, and drop the box from waist height on a hard floor. If it survives that once, test a few more. Boxes that crush or split here get replaced and reshipped anyway.
- Calculate dimensional weight. Multiply inside length by inside width by inside height, then divide by the carrier’s DIM divisor. USPS, UPS, and FedEx commonly use 139 for standard small-package service, while some services and mail classes use 166. Check your account for the value that applies to your lanes.
- Compare billable weights and check the break. Billable weight is the greater of actual and dimensional weight, rounded up to the next whole pound. Then look at where the parcel lands: a carton whose longest side passes 48 inches typically draws a large package surcharge, and one that passes 108 inches in length, or 130 inches in length plus girth, crosses into oversize.
- Document the spec in the item master. Record the exact carton inside dimensions, the packed weight, and the date measured. Wrong catalog data is the single most common reason a packer grabs the wrong box.
- Review the real invoice a month later. Compare the billed DIM weight to your calculated one. Any gap usually means a bulge, a rounding issue, or a packer substitution, and it is the fastest way to find the carton spec that still needs fixing.
Here is what two candidate cartons do to the bill for a product packed to 9 pounds.
| Carton inside dimensions | Cubic inches | DIM weight at 139 | Actual weight | Billable weight |
|---|---|---|---|---|
| 18 x 12 x 8 in | 1,728 | 12.4 lb, rounded to 13 lb | 9 lb | 13 lb |
| 22 x 14 x 10 in | 3,080 | 22.2 lb, rounded to 23 lb | 9 lb | 23 lb |
The product did not change. The rate roughly doubled, entirely on volume, and the extra volume bought nothing except packing convenience. A third of the weight in that second carton was air and corrugated board.
10 Common Carton Sizing Mistakes That Raise Shipping Costs
Every one of these is a decision someone made at a packing station, usually a reasonable one at the time. Here is the list of carton sizing mistakes that raise shipping costs: choosing an oversized box for easier packing, measuring the product instead of the packaging, ignoring how the box scores on dimensional weight, leaving too little room for protection, forgetting that dimensions push you into surcharge tiers, choosing a box too weak for the load, using one carton style for everything, adding layers of boxes to solve a sizing problem, overlooking bulky or uneven products, and optimizing size without checking the real rate.
Choosing an Oversized Box for Easier Packing
An oversized box makes packing faster, and packing speed has a real cost. But the charge follows volume, so a carton chosen for convenience bills like a carton of air. A rigid 9 pound product in a 22 x 14 x 10 box pays on 23 pounds of billable weight where an 18 x 12 x 8 box pays on 13. Fix: size to the product’s measured bounding box plus a thin clearance layer, and treat packing convenience as a tiebreaker, not the first criterion.
Measuring the Product Instead of the Packaging
Catalog dimensions usually describe the item alone, and the packed unit is what goes in the box. Foam, molded pulp, glass bottles in trays, and retail-ready packaging each add an inch or two, and those inches compound. Bulging soft goods are worse, since a stuffed bag measures larger filled than the flat spec suggests. Fix: measure the packed unit on a bench, at three axes, and store that number rather than the bare product dimension.
Ignoring the Box’s Dimensional-Weight Rating
Some packers think a bigger box is safer and stop there. The rate system does not reward caution. Divide the carton cube by the divisor for your lane, round up, and compare that to the packed weight. When the numbers land close, you are near the density break, and shaving an inch off the longest side is worth real money. When they land far apart, you are paying volume for a dense product and should look for a smaller carton or a poly mailer instead.
Leaving Too Little Space for Protection
Compressing a box until nothing moves looks efficient and shows up later as a damage claim and a return. Useful void fill and edge protection do take up room, and that room is doing a job. The distinction is intent: two inches of corner and edge cushioning protects the product; eight inches of loose air pillows in the middle protect nothing. Fix: protect the edges and the voids that matter, then leave the rest of the cube empty.
Forgetting That Carton Dimensions Affect Thresholds
The DIM weight is only part of the bill. Parcels whose longest side runs past 48 inches typically pick up a large package surcharge, and length plus girth past 130 inches, or any side past 108 inches, moves it into oversize territory. That is a step change, not a slope. A 46 inch carton and a 50 inch carton hold the same product, and the second one costs a different order of magnitude. Fix: check the thresholds before you check the divisor.
Selecting a Box That Is Too Weak for the Load
An under-rated board gives you a low material cost and a box that crushes in a stack or a trailer. Then you pay twice, once for the replacement product and again for the freight to send it. Flute type, board grade, and the edge crush rating printed on the carton all matter more for a 60 pound box than for a 2 pound one. Fix: match the rating to the heaviest realistic load, including moisture and stacking, not to the average.
Using One Carton Style for Every Product
Standardizing on a single box size feels tidy and wastes cube on nearly every order. Small products float in a large carton, and a pallet built from mixed sizes is unstable in ways a uniform stack never is. A small family of accurate sizes, six or eight, covers most catalogs and packs tighter on pallets. Fix: look at your order history, group SKUs by packed volume, and define one carton per cluster.
Adding Layers of Boxes to Solve a Sizing Problem
Double-boxing a fragile item feels thorough. It also adds two sets of dimensions, more material, and more handling time, and a nested box that pushes past a length or girth threshold can jump the parcel into a surcharge tier that the inner box alone would have avoided. Fix: build the protection inside one correctly sized carton, with edge cushions and a tight internal void, and test it before you ship at volume.
Failing to Account for Bulky or Uneven Products
Curved, soft, or oddly shaped goods break the mental model of a rectangle. A duffel bag packed firm measures longer than its flat spec, a curved panel measures wider at the middle than at the ends, and a protruding accessory can add inches to whichever axis it sticks out of. Carriers measure the bulged and irregular shape, not the box you were aiming for. Fix: compress and restrain the product, then measure the bounding box of the packed result.
Optimizing Carton Size Without Measuring the Real Shipping Rate
The smallest theoretical box is not always the cheapest one. Rates are per zone, per service, and per package type, and a smaller box can move you out of an eligible tier, into a different surcharge band, or into a mail class with its own rules. Rates also change at the general rate increase, so a spec built last year may no longer be optimal. Fix: cost out your top three carton candidates at current rates, then pick.
Tips for Preventing Repeat Mistakes
Sizing errors come back because nothing makes them visible. A short routine stops that: store measured specs in the item master rather than in someone’s head, write carton selection criteria into the packing instructions, verify a packed sample per new SKU, audit billed DIM weight against calculated DIM weight monthly, and reopen the spec whenever carrier rules or product design changes. Treat the invoice review as a standing task rather than something you do when a rate jumps.
Frequently Asked Questions
What size boxes are cheapest to ship?
The smallest carton the product fits in with a thin clearance layer and enough protection to survive a drop test. A box chosen for packing convenience bills on the extra volume, so measure the packed product at three axes and subtract from there. If a carton falls below roughly 1 cubic foot per pound, check whether a poly mailer or a tighter insert removes the box entirely.
How do I calculate dimensional weight?
Multiply the longest dimension by the width and the height, then divide by the carrier’s DIM divisor. USPS, UPS, and FedEx commonly publish 139 for standard small-package service, while some services use 166. Round the result up to the next whole pound and compare it to actual weight: the greater of the two is what you pay. Verify the divisor on your account, since it changes at the annual rate increase.
How do I know if my box is strong enough for the weight inside it?
Read the weight rating printed on the carton and compare it to the heaviest realistic load, not the average one. A 60 pound product needs a rating well above 60 pounds, and heavier loads need more margin because of moisture, stacking, and handling. Test by filling, closing, and dropping from waist height. A crushed carton costs you the replacement product and the freight to send it again.
Is it cheaper to ship one large box or two smaller boxes?
It depends on whether dimensional weight is driving the charge. If volume sets billable weight, two snug boxes often win, because two tight cubes hold less air than one loose one. If actual weight drives the charge, one box avoids a second label, a second zone charge, and a second delivery. Cost out both options at your real rates before you commit, and check that the pair of boxes does not cross a surcharge threshold the single box avoided.
Do I need to calculate shipping cost for every product?
Yes, for anything you ship in volume. Weight and dimensions differ per SKU, and the rate depends on the destination zone and the service level, so one blended average hides the SKUs that cost the most. Start with your top twenty shippers by order count and run the calculation for each. Most teams find a handful of SKUs driving most of the freight bill, and those are the ones worth re-engineering first.
Conclusion
Pick your highest-volume SKU this week and run the same calculation on it: measure the packed product, weigh it, size the smallest carton that passes a drop test, then compare its dimensional weight to the box you are shipping now. Of the carton sizing mistakes that raise shipping costs, the oversized box is the expensive one, and it is the easiest to fix. One SKU is a few hours of work, and the gap between those two numbers is usually where the savings are.