
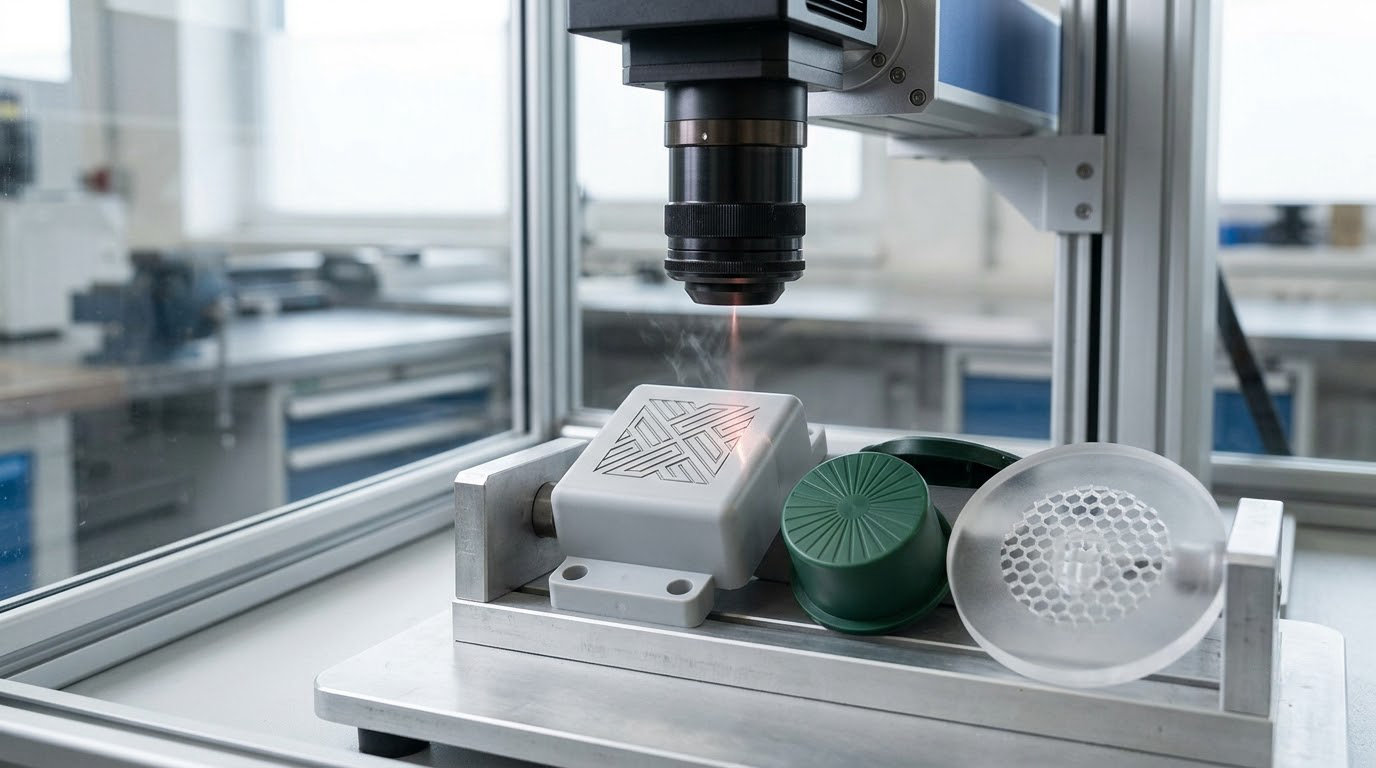
There is no single best laser for plastic. CO2 at 10.6 µm gives the cleanest marks on acrylic and other amorphous polymers, a fiber laser at 1064 nm works engineering plastics that carry laser-sensitive additives, and UV at 355 nm marks heat-sensitive parts with almost no heat-affected zone. Match the source to the resin, and accept that some polymers will never take a direct laser mark at all.
One more thing before anything else: never laser PVC or vinyl. Polyvinyl chloride releases hydrogen chloride gas and corrosive hydrochloric acid when it decomposes, and it will eat your extraction system and your operator’s lungs. If nobody on the floor can name the material, nobody can say what it off-gasses, so pull the safety data sheet before you power up.
Table of Contents
- Laser Marking Plastics: What Works Best?
- How Does Laser Marking Plastic Work?
- Which Laser Works Best for Common Plastic Resins?
- CO2 vs. Fiber vs. UV Laser for Plastic Parts
- How to Get High-Contrast Marks on Plastic
- What Laser Marking Settings Should You Start With?
- Laser Marking Plastic: Problems and Fixes
- How to Choose a Laser for Production Requirements
- Frequently Asked Questions
- Conclusion
Laser Marking Plastics: What Works Best?
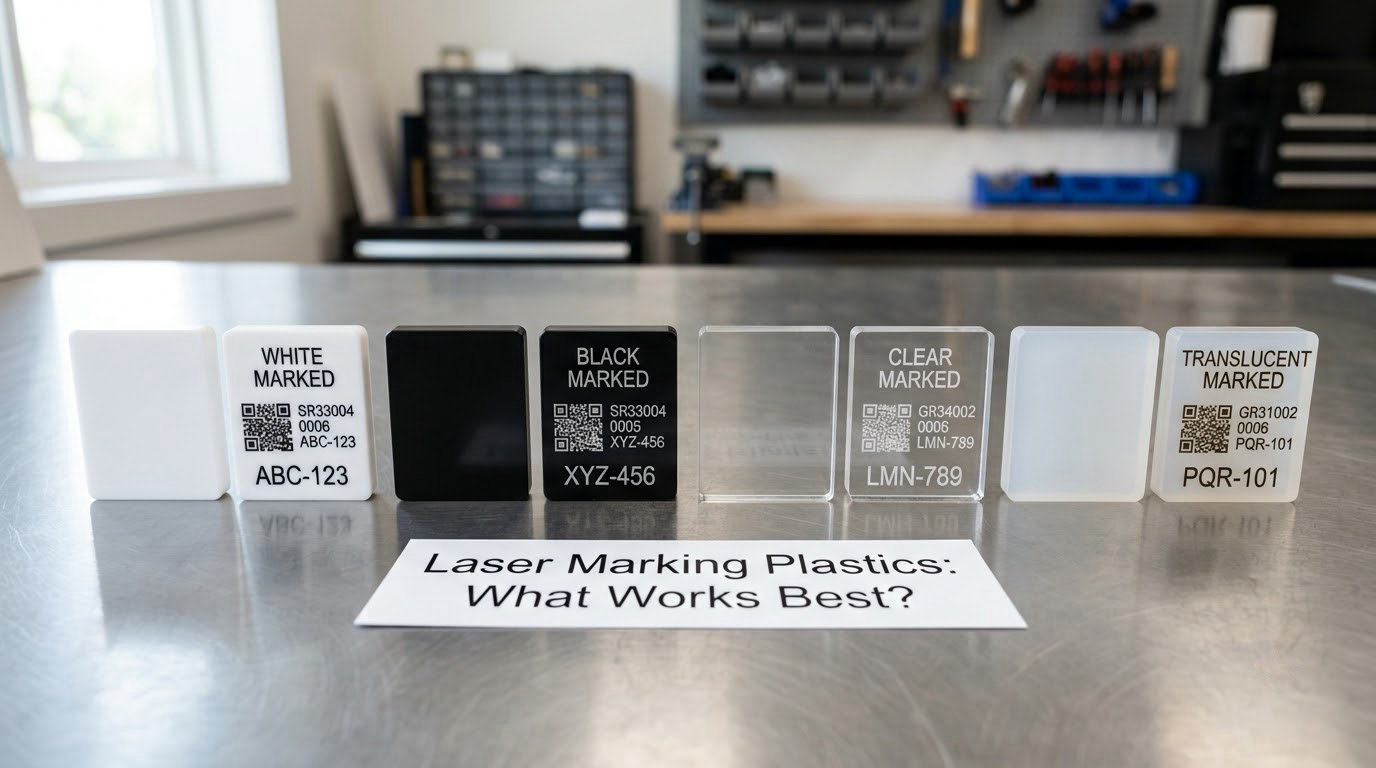
Laser marking plastics works best when the marking mechanism matches the resin. That means the answer depends on four things: what the polymer is, what colour and pigment formulation it carries, how much thermal mass the part has, and whether the mark has to survive contact with solvents, UV, and wash cycles.
| Plastic | Recommended process | Typical appearance | Key caution |
|---|---|---|---|
| PMMA (acrylic) | CO2, vector marking | Bright white frost, crisp edges | Melts and re-solidifies at the cut edge; cast and extruded behave differently |
| PC (polycarbonate) | Fiber with additive; UV for fine detail | White to light grey, often with a yellow halo | Yellows badly; excessive energy scorches and clouds the panel |
| PC/ABS | Fiber or MOPA | Light mark on dark coloured resin, even on textured walls | ABS phase softens and gives a gummy edge if energy is too high |
| ABS | CO2 or fiber | Dark charring or a light surface change | Melt rather than vaporise; gummy edges ruin fine characters |
| POM (acetal) | Fiber or UV | Clean, slightly dark mark | Formaldehyde fume; marks can creep if overheated |
| PE (HDPE, LDPE) | Laser-sensitized grade only | Dark mark on light coloured resin | Standard grades barely respond; natural PE is effectively unmarkable |
| PP | Laser-sensitized grade, or UV on some grades | Dark mark, or faint on natural | Polyolefin, so it behaves like PE; wanders when overheated |
| PA6 (nylon) | Fiber or UV | Dark brown to black mark | Absorbs moisture; marking before drying leads to inconsistent contrast |
| PPS | Fiber or UV | Light mark on dark compound | Very high temperature grade; dull tooling if you cut before marking |
| PEEK | UV preferred, fiber with care | Amber to dark mark | Expensive part; marks are permanent but heat input must stay low |
| Fluoropolymers (PTFE, PVDF) | CO2 at low energy, UV, or a marking surface treatment | Surface whitening | PTFE creeps and distorts; prefer a surface treatment or laminate |
| Thermosets (phenolic, epoxy, melamine) | CO2 or fiber | Light mark, shallow relief | Cannot be re-melted, so overruns crack rather than heal |
| Glass- or mineral-filled compounds | Fiber or UV | Contrasting mark, sometimes reveals filler | Filler creates a sand-blasted look and heavy tool wear; dust is a respiratory hazard |
| Elastomers (TPE, TPU, EPDM) | Fiber or UV, low energy | Faint dark or light mark | Soft surface deforms under the beam and the character edges spread |
| PVC and vinyl | None. Never laser | Not applicable | Hydrogen chloride gas; corrosion of the machine and fume system |
Two rows deserve emphasis. Polyethylene and polypropylene are extremely common industrial marking targets and the two resins that most reliably fail under a laser, because they absorb almost nothing at any of the standard marking wavelengths. And PVC is the one you must rule out before you start.
How Does Laser Marking Plastic Work?
A polymer only marks when it absorbs energy at the wavelength your laser emits. That single fact explains almost everything you will see in practice, including why two parts that look identical can behave completely differently.
Charring and carbonisation
When energy exceeds what the polymer can absorb as heat, the surface breaks down into carbon and leaves a dark mark. ABS and unmodified polyolefins tend to go this way. It is fast and high contrast, but it is also a thin layer of burnt material, so it can abrade away and it can flake if the mark is over-coated.
Foaming and bleaching
Some amorphous polymers vaporise gas trapped in the matrix when hit hard enough, which scatters light and turns the surface white. This is the mechanism behind the crisp white engraving on acrylic, and it is why CO2 does such a good job there. Foamed marks are mechanically weak at the surface, which matters if the part will be wiped hard or bent.
Colorant removal and pigment ablation
If the resin carries a dye or pigment, the laser can selectively remove it and leave bare light-coloured resin underneath. This is a very clean, sharp mechanism on tinted plastics, and it is how most decorative marks on consumer goods are made. It fails when the pigment is too dark or too deep, because the pigment absorbs everything and turns the mark brown.
Additive-driven photothermal marking
Engineers have solved the absorption problem by adding something that absorbs well: laser-sensitising pigments such as antimony-doped tin oxide, carbon black, or brominated flame retardant. Loadings commonly sit between roughly 0.01 and 4.0 percent by weight, supplied as granulate or as a concentrated masterbatch that the molder dilutes into the base resin. When the right additive is present, 1064 nm fiber marks the plastic crisply and quickly, and material suppliers report marking speeds 20 percent or better than the same part made from an unoptimised grade.
Photochemical change under UV
At 355 nm the photon energy is high enough to break chemical bonds directly rather than heating the bulk of the part. UV marking therefore leaves almost no heat-affected zone. On thin-wall bottles, medical trays, and films that deform near a CO2 or fiber beam, that near-zero heat zone is the deciding factor.
Engraving by melting is the failure case
What you do not want is a mark made by melting. The surface flows, resolidifies, and pulls into a rounded bead. The character looks heavy and blobby, the edge is gummy, and a scanner will not read it reliably. Almost every troubleshooting question in this topic comes back to this one mechanism.
Which Laser Works Best for Common Plastic Resins?
Resin family tells you more than any machine spec. Group the plastics into aromatics, which absorb UV and char readily; aliphatic polyolefins, which absorb almost nothing; and compounds modified with additives or fillers, which can be tuned deliberately.
| Resin family | Likely response | Contrast mechanism | Preferred source | Risk |
|---|---|---|---|---|
| PE, PP (polyolefins) | Minimal on natural grades | Carbonising dark mark | Fiber or UV on laser-sensitized grade | No visible mark at all without the right additive |
| PVC | Decomposes aggressively | Charring | None | Hydrogen chloride and corrosive fume |
| ABS | Melts before it char | Surface bleaching or char | Fiber, UV; CO2 at low energy | Gummy edges, cyanide-bearing fume |
| PC (polycarbonate) | Marks well, yellows | Light surface change | Fiber or UV | Yellowing and stress whitening around the mark |
| PC/ABS blends | Good with additives | Light mark on dark coloured resin | Fiber MOPA | Wall texture transfers into the character |
| PMMA (acrylic) | Excellent | Foaming, white frost | CO2 vector marking | Edge melting on any through-cut |
| POM (acetal) | Very good | Light to dark mark | Fiber or UV | Formaldehyde fume; dimensional drift if hot |
| PA6 and PA66 | Good, moisture-sensitive | Dark mark | Fiber or UV | Contrast varies with conditioning state |
| PET, PETG | Good, fibre-specific | Fibre ablation or light mark | Fiber or UV | Crystallisation halo on PET under excess energy |
| PSU, polysulfone | Good | Light mark | Fiber or UV | Stress crazing, very high melt temperature |
| PPS, PEEK | Very good | Light or amber mark | UV preferred on PEEK | Cost of a scrapped part is high |
| Filled PA6-GF, PBT-GF | Good with low energy | Contrasting mark | UV or fiber | Abrasive dust, rapid optics wear |
| BFR flame-retardant grades | Good | Dark mark, high contrast | Fiber | Brominated fume; check the SDS before marking |
Two resin names mislead people constantly. First, polyolefins: a supplier selling you “natural” HDPE or PP has given you the hardest possible case, and no laser setting will rescue it. Second, filled compounds: PA6-GF30 is not PA6 with a bit of glass, it is a different surface that will sandblast the mark and wear a fiber optic if you push too much energy into it.
The polyolefin problem, in plain terms
Polyethylene and polypropylene are chemically very similar, and both are nearly transparent to 10.6 µm, 1064 nm, and 355 nm. Standard CO2 and fiber machines do essentially nothing to them, which is why shops end up with a set of parts marked “well, slightly” and a bag of scrapped inventory. Three routes actually work.
- Specify a laser-sensitized grade. This is the clean answer. The additive absorbs the beam, so PE and PP mark dark on a light background with the same equipment used on the rest of the plant. Ask your supplier for the loading range and confirm it survives your processing: injection moulding, blow moulding, film extrusion, and fibre spinning each tolerate different additive packages.
- Add the sensitiser in your own process. A laser-markable masterbatch compounded into the base resin at the moulder gives you control, though it is not a task to improvise. Uniform dispersion matters, and mold flow and gate location decide whether the additive ends up where the mark will be. This is the same class of discipline you need when choosing a resin by its melt flow index, because both are properties of the process, not just the bag.
- Choose a different marking method. If you cannot change the resin, stop looking for laser settings. Pad printing, inkjet, hot stamping, and applied laser-rated laminates all mark polyolefins reliably and permanently. Choosing one of those early costs less than a year of trial runs.
Thermosets, elastomers and laminates
Thermosets cannot be re-melted, so an over-run mark cracks rather than heals. Elastomers do the opposite: the surface simply gives way and the character edges spread, which is worse for code readability than a slightly soft mark. Composite parts assembled from several polymers, or laminates with an unidentified core, should be treated as unknown materials until someone supplies the SDS.
CO2 vs. Fiber vs. UV Laser for Plastic Parts
Pick the source by wavelength and absorption, not by the label on the front panel. The three mainstream options cover almost all plastic marking work, and the honest answer is that a plant marking mixed materials usually ends up owning two of them.
| Source | Wavelength | Best plastics | Contrast and HAZ | Speed and handling |
|---|---|---|---|---|
| CO2 (9.3 or 10.6 µm) | 10.6 µm | PMMA, ABS, and other non-halogenated plastics, plus wood and paper | Excellent contrast, but a wide heat-affected zone and melting at the edges | Fast and cheap to operate; needs fume extraction and often a cooling assist |
| Fiber Q-switched | 1064 nm | Engineering plastics with additives: PC, PC/ABS, POM, PA, PBT, filled grades | Sharp mark, small HAZ on thin parts | Pulses around 100 to 120 ns, repetition capped near 80 kHz; mature, widely supported |
| Fiber MOPA | 1064 nm | Same families, plus heat-sensitive and very fine work | Variable pulse length lets you tune the thermal footprint precisely | Directly modulated up to roughly 500 kHz; higher capital cost, more process control |
| UV | 355 nm | Clear, thin-wall, and heat-sensitive plastics; medical and food-contact parts | Highest resolution, effectively no heat-affected zone | Fast on small parts; requires enclosure and fume extraction as source power rises |
| Diode (blue) | 445 nm | Pigmented and dyed dark plastics only | Scorches and browns rather than marking cleanly | Low cost, but does nothing useful on white or clear material |
Two practical notes on this table. First, the difference between Q-switched and MOPA fiber is not the wavelength, which is identical at 1064 nm, but the pulse shape: MOPA lets you dial the pulse length down for thin-walled parts where heat has to stay tiny, and push the repetition rate up when you need throughput on thicker stock. Second, the diode row is the reason so many small shops conclude laser marking does not work on plastic. A 445 nm beam is absorbed by dark pigment, and by almost nothing else.
How to Get High-Contrast Marks on Plastic
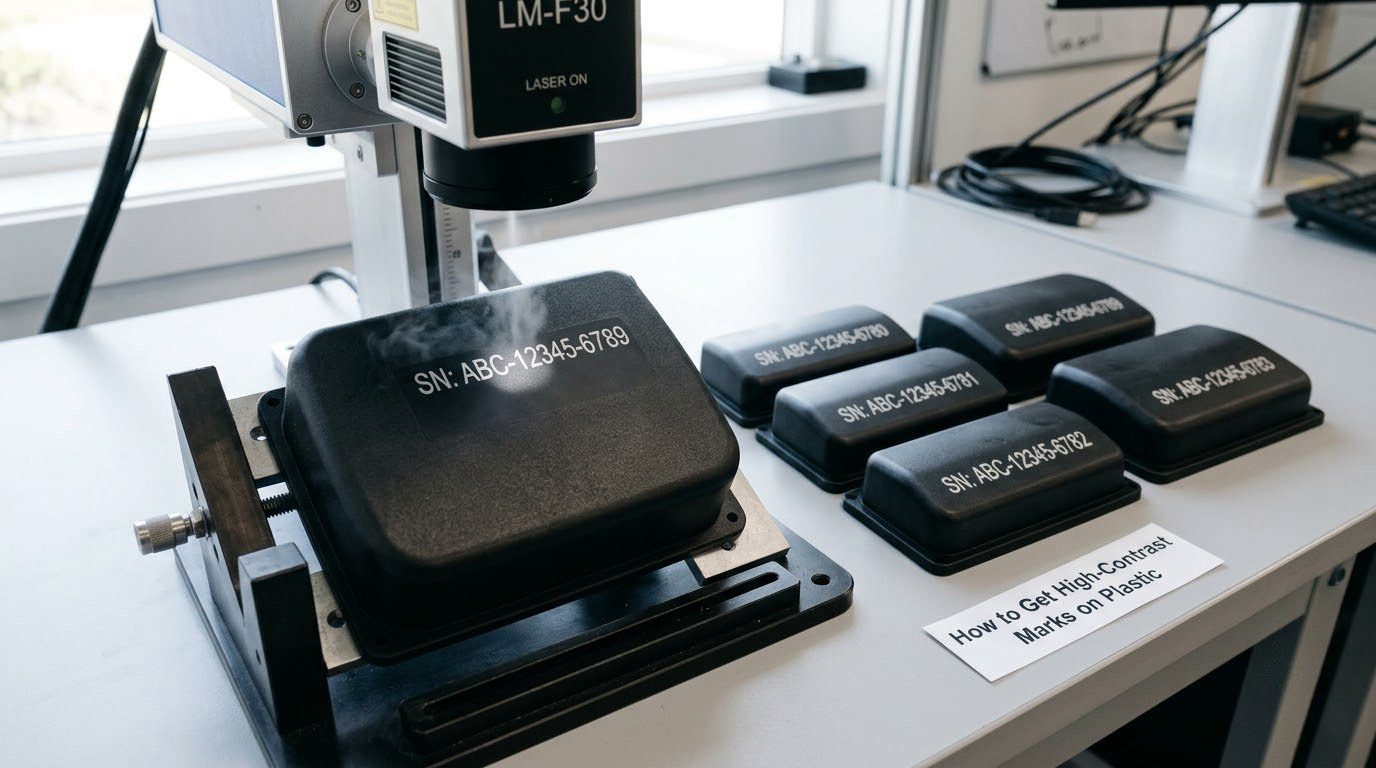
Contrast is a material property before it is a machine property. Nine times out of ten, when a mark is weak, the answer is in the resin specification or the surface condition, not in the power setting.
Surface finish and cleanliness
A dusty, oily, or release-agent-covered surface absorbs energy in the wrong place and reflects the rest. Wipe with an appropriate solvent, keep mould release and handling oils out of the marking zone, and mark the same surface the customer will touch. On textured mouldings, expect the texture to print through the character.
Pigment, filler and colorant
The colour you buy in affects the mark you get. Natural or white resin wants a dark mark, which means charring or sensitiser absorption. Black resin wants a light mark, which means foaming, bleaching, or colorant removal. Glass and mineral filler change the surface response entirely, and batch-to-batch filler variation is a common cause of inconsistent contrast across a production run. If your acceptance criteria involve measuring mark contrast on incoming parts, the process capability work behind Cpk versus Ppk for plant managers is the same argument made properly.
Focus and standoff
Refocus for every material and every change of geometry. A 1064 nm beam has a long focal depth, which means it can mark 10 mm off the surface and still look acceptable until a code fails to read. UV and CO2 need the focus on the surface. On a curved or tapered part, focus follows the geometry, so program Z or use autofocus rather than eyeballing it.
Power, speed and repetition rate
Contrast comes from a narrow window. Too little energy and you get a grey ghost; too much and you get a burn scar with a heat-affected zone. Lower the repetition rate before you lower power on a fiber laser: it keeps peak power constant and reduces the heat around each pulse, which is usually the difference between a light mark and a scorch. Speed is the other lever, and on a batch-to-batch basis a slower mark is more repeatable than a faster one.
Assist gas and extraction
Air assist keeps debris off the lens and blows the fume plume away from the surface; it also removes heat from the mark. Too much pressure on a thin part can deform it, so treat assist as a tunable, not a default. Extraction is non-negotiable and is a separate question from filtration.
Marking strategy
Vector marking follows paths and suits characters, barcodes and DataMatrix codes. Raster marking fills an area and suits logos and filled graphics. Marking the same spot twice, or halftoning a raster fill over a vector outline, gives a stronger-looking mark with no change to the underlying contrast.
Acceptance criteria you can actually hold
Write the criteria down before you qualify the process: minimum contrast ratio, verifier grade for the DataMatrix code, maximum heat-affected zone width, zero visible deformation on a critical-surface part, and durability exposure the mark must survive. Without numbers, every discussion about contrast turns into an argument about whose eyes are better.
What Laser Marking Settings Should You Start With?
There is no universal wattage, speed, or pass count for plastic. A 30 W fiber that marks one grade of ABS beautifully will scorch the next, and the machine wattage matters far less than the grade, the colour, and the geometry. What you can do is follow a disciplined development loop.
The parameter development loop
- Get a representative sample. Cut a scrap coupon of the exact production part, from the same lot and the same colour. A generic test strip from a hobby supplier tells you nothing about a filled, textured, black, or thin-wall production part.
- Set conservative power. Begin near the low end of the machine’s usable range and confirm the focus. Starting high and backing off burns the first several attempts, and on filled or flame-retardant grades it pollutes the optics.
- Lower repetition rate before power. On a fiber laser, halving the kHz while holding power constant keeps peak power and shrinks the thermal footprint. This is the single most useful habit for avoiding melting.
- Choose the slowest speed that still hits your cycle time. Scan speed is your most forgiving contrast control and the easiest one to verify.
- Add assist gas in stages. Start with low pressure, then increase until the plume clears the surface and the lens stays clean.
- Inspect for three things. Contrast, deformation, and residue. Check the far side of the part for stress whitening, and check a non-marked face for warpage in a fixture.
- Lock the parameters and prove them on a full batch. A mark that reads well on one sample and drifts across a lot is not a qualified process.
Starting points by laser source
Treat the ranges below as the first rung of the ladder, not a recipe. Every machine lists its power in a different unit, so the percentage matters more than the number.
| Source | Power | Speed | Frequency | Assist | Notes |
|---|---|---|---|---|---|
| CO2 on PMMA | Low to mid range | Moderate, single pass | Fixed | Air, adjusted carefully | Sharpest result from a vector path at low energy; avoid multiple passes |
| CO2 on ABS | Low, brief | Fast, single pass | Fixed | Air | Watch for the gummy edge that a second pass creates |
| Fiber on PC/ABS | Low to mid range | Slow to moderate | Start low, raise only if contrast fails | Air | Textured walls transfer into the character |
| Fiber on POM or PA | Low to mid range | Moderate | Low | Air | Both fume; verify the SDS before running a long batch |
| UV on clear or thin-wall parts | Low | Fast | Fixed | Extraction mandatory | The point of UV is that you can run fast without thermal damage |
One detail that gets skipped: run your first coupon with a sacrificial part that is cheap to replace. Marking a full-price connector housing before the parameters are stable is how shops learn this the expensive way.
Laser Marking Plastic: Problems and Fixes
Almost every marking problem shows up first as a visual symptom. Diagnose from the symptom rather than from the parameter list, then change one variable at a time.
| Symptom | What it means | Likely causes | What to change |
|---|---|---|---|
| No mark at all | Nothing is absorbing the wavelength | Polyolefin without additive, wrong laser, out of focus, dirty surface | Check the resin, verify focus, clean the surface, change to a laser-sensitized grade |
| Gummy or rounded edges | The surface melted instead of foaming or charring | Excess energy, too slow, multiple passes, no assist gas | Drop power or repetition rate, raise speed, add air assist, stay at one pass |
| Yellow or amber halo | Thermal degradation of the polymer | PC or PC/ABS at too much energy, poor focus, heat-soaked part | Reduce energy, shorten the dwell, move to a UV source if the part is thin |
| Weak grey or faded mark | Just below the threshold | Power too low, speed too high, focus off the surface, low additive loading | Raise power in small steps or slow the scan; refocus; confirm the additive level with the supplier |
| Mark reads on the sample, not in production | The process was qualified on unrepresentative stock | Wrong colour, wrong lot, unfilled rather than filled compound, dry rather than conditioned resin | Requalify on production parts and hold the resin specification |
| Code will not verify | Contrast is adequate to the eye, not to the verifier | Quiet zone missing, mark too low contrast, thermal distortion of cells, glare on a glossy surface | Increase contrast, add the quiet zone, matte the surface, or drop to a smaller dot pitch |
| Smoke and heavy fume | Thermal decomposition of the resin | Wrong material, excessive energy, poor extraction, long dwell | Lower the energy, increase extraction, and check the SDS for the exact compound |
| Part deforms near the mark | Clamped or thin part absorbing heat | Low thermal mass, over-tight fixturing, marks too close to a critical feature | Support the part, move to UV, mark earlier in the process before the part is stressed |
| Lens optics wear quickly | Abrasive vapour and dust | Glass or mineral filled compound, no extraction | Extraction and filtration, and budget for protective optics |
One entry deserves an extra sentence. When a part is deformed, the deformation often started before the laser ever touched it, during molding, over-molding, or a step like ultrasonic welding. Mark early in the process wherever the geometry allows, so you are diagnosing a material response rather than a mechanical one.
How to Choose a Laser for Production Requirements
Once you know the resin and the laser that marks it, the equipment decision is about production, not optics. Four variables decide the answer: how many parts, how complicated the geometry, what the mark has to survive, and who operates it.
Throughput and cycle time
Marking speed on a static part is not the same as cycle time in a cell. Add load, present, focus, mark, clear, and any indexing. A UV laser that marks in under a second can still lose to a CO2 machine if the part needs a fixture change between every two components. Where you have a mix of materials, a machine that marks two polymer families beats a faster machine that marks one.
Automation and part geometry
Curved, tapered, transparent, and painted surfaces each need something different. Curved and tapered parts need a Z axis and accurate part location; transparent and clear parts need UV or a coating strategy because they have nothing to contrast against; painted or textured surfaces need either an ablation setting or a decision to mark through the coating only. Plan fixtures early, since a laser that cannot hold the part will not hit contrast targets on a good day.
Permanence and field failure risk
Ask what the marked part does in service. A part exposed to UV, detergents, solvents, or repeated washing needs a mark proven against those exposures before launch, not after the first field complaint. Characters that lose contrast at the edges of a code are the ones that fail in the field, and that is a durability question as much as a contrast question.
Compliance
Regulated work adds constraints. Automotive traceability expectations, medical device labelling and unique device identification, food-contact rules, and environmental compliance all constrain which additives and colorants are permitted in the resin. Two practical references: 21 CFR 178.3297 governs approved colorants for polymers in food-contact applications, and any additive package your resin supplier recommends for laser marking needs to be checked against the regulation that applies to your part.
Operator workflow and total cost per mark
A marker is a production tool, so look at the operator’s day: load and present, parameter recall by material, focus recall by part, and fume extraction that runs. A machine that needs a manual focus tweak on every part will be bypassed eventually. For cost, compare on total cost per mark rather than purchase price alone: consumables and labour per mark for inkjet, pad printing, or hot stamping, against equipment capital, fume extraction, extraction filters, optics replacement on filled resins, and the scrap rate of a mis-marked part.
A decision framework
For prototypes and low volumes, a CO2 machine on acrylic and ABS plus honest expectations for polyolefins is a sensible start. For high-volume mixed-plastic production, a fiber marker with a material library and fume extraction pays for itself on cycle time and scrap alone. For regulated traceability and field durability, plan around the code verification and exposure testing first and let that drive the source. For cosmetic decoration on consumer goods, the pigment-removal mechanism usually gives the best look, and that points to fiber or UV rather than CO2.
Frequently Asked Questions
What is the best laser for marking plastic?
There is no single best laser for plastic, because the polymer decides. CO2 at 10.6 µm gives the crispest white marks on acrylic and similar amorphous plastics. A fiber laser at 1064 nm is the industry standard for engineering plastics such as PC, PC/ABS, POM, and nylon, especially grades made with laser-sensitizing additives. UV at 355 nm is the choice for clear, thin-wall, or heat-sensitive parts. Polyethylene and polypropylene only respond on laser-sensitized grades.
Which plastics can be laser marked?
Acrylic, polycarbonate, PC/ABS, ABS, acetal, nylon, PBT, PPS, PEEK, polysulfone, PET, and PETG all mark well with the right source. Filled and flame-retardant compounds mark well but generate abrasive or hazardous fume. Polyethylene and polypropylene mark only when a laser-sensitizing additive is present. Thermosets and elastomers mark, but with characteristic cracking or spreading. PVC and vinyl must never be laser marked because they release hydrogen chloride gas.
Is CO2 laser marking safe for plastic?
A CO2 laser is safe on many plastics once the material is known and the extraction is right. It is routinely used on acrylic, ABS, and other non-halogenated polymers. The safety risks come from the resin, not the beam: PVC releases hydrogen chloride and corrosive fume, ABS can release cyanide-bearing compounds, polycarbonate and flame-retardant grades smoke heavily, and glass-filled resins make abrasive dust. Read the safety data sheet for the exact compound and extract at the source before marking any production part.
Why does laser marking fade or lose contrast?
The most common cause is a mark made by melting or a thin char layer, which abrades and flakes away in service. UV exposure, detergents, solvents, and repeated wash cycles attack it further. On polyolefins, contrast drops when the additive loading is too low or when the resin was not compounded properly. Fix it by switching to a sensitized grade, lowering the energy so the mark foams or ablates rather than chars, and specifying exposure testing as part of your acceptance criteria.
Do you need paint or pigment for a plastic laser mark?
Not on most engineering plastics, but you frequently need one for appearance and contrast. A laser-sensitizing additive or pigment, commonly loaded between roughly 0.01 and 4.0 percent by weight, is what lets fiber lasers mark dark plastics and polyolefins. On dark and clear consumer parts, a light marking effect on a pigmented or tinted surface often looks better than a char mark. Paint and laser-rated laminates are another route, and they work on almost any substrate.
Can fiber lasers mark clear plastic?
Yes, but not by engraving the resin itself. Clear plastics transmit most of a 1064 nm beam, so fiber lasers rely on fillers, pigments, or additives that absorb at that wavelength, which is why a clear laser-markable grade and a clear unfilled grade behave so differently. If you cannot change the resin, UV at 355 nm or a marking surface treatment such as a coating or laser-rated laminate is the more reliable route to a permanent mark.
Conclusion
Do these three things, in this order. First, identify the exact resin and colour formulation, right down to whether it is filled and whether it carries a laser-sensitizing additive, and pull the safety data sheet before anything else. Second, choose the marking mechanism that resin supports: foaming on acrylic, additive-driven light marking on engineering plastics with a fiber laser, photochemical change under UV for thin or clear parts, and for polyolefins either a sensitized grade or a different marking method entirely.
Third, develop and validate the parameters on representative production parts. Start conservative, lower repetition rate before power, add assist gas in stages, and write the contrast and verification criteria down before you qualify anything. Laser marking plastics rewards a resin-first approach: decide what the plastic can do, then pick the source and the settings that let it do that, and the mark comes out crisp, permanent, and readable instead of melted, faded, or unreadable.