
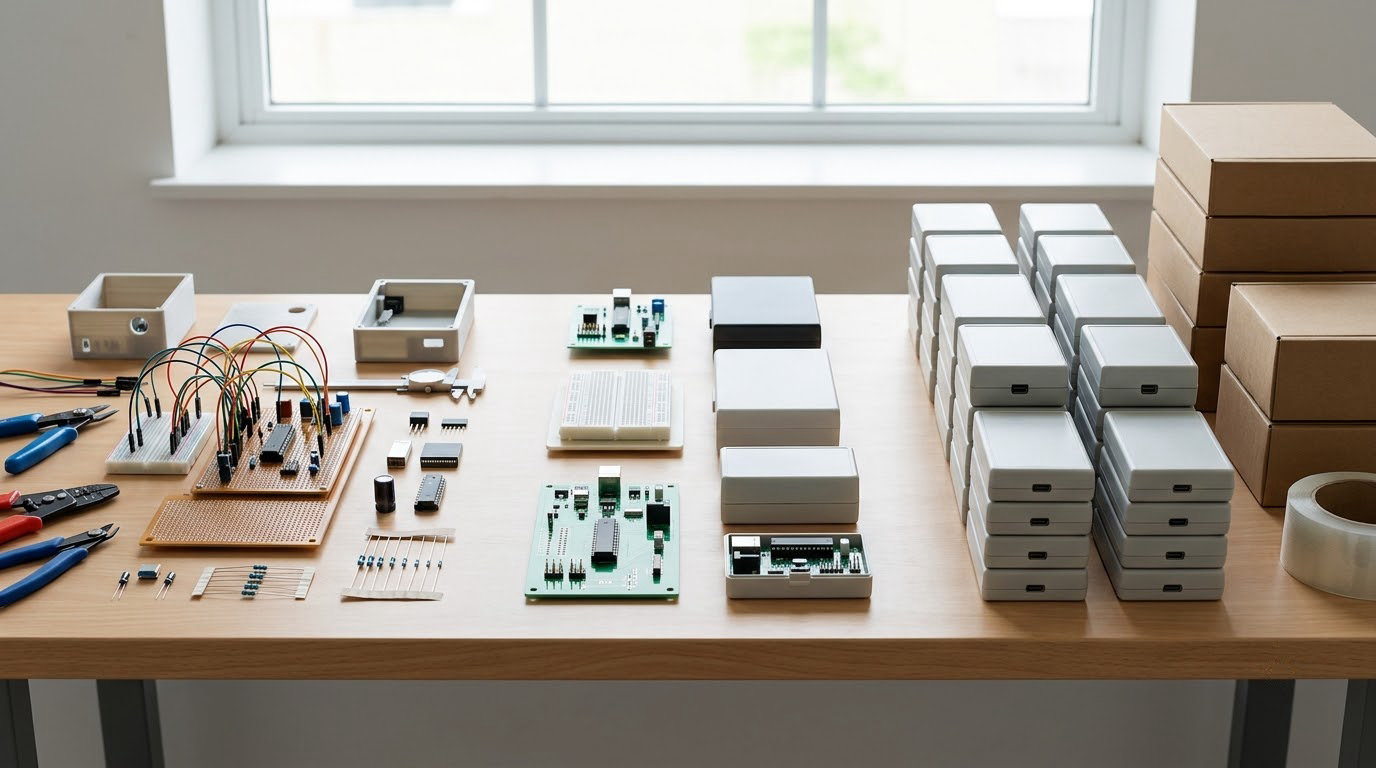
A prototyping to production transition checklist is a step-by-step list of design, material, tooling, quality, cost and compliance gates your team closes before moving a working prototype into volume manufacturing. The short version: freeze the design, prove it can be made repeatedly, and document the evidence before anyone cuts steel.
Most transitions do not fail because a part is bad. They fail because a decision made at the bench never got written down, so the production team repeated the decision differently. Hardware founders describe this pattern constantly: the prototype looked finished, everybody felt good, and then the first real order came out of the tool with different wall thickness, a different color and a shrink rate nobody had planned for.
Here is what a prototype actually establishes, and what it leaves open:
- Proven: the geometry works, the mechanism moves, the function can work at all.
- Proven: customers or test users react to it in a way that justifies further spending.
- Not proven: that the dimensions repeat, run to run, across hundreds of parts.
- Not proven: that the material grade, drying window and conditioning match production.
- Not proven: that the unit cost, cycle time and capacity work at your actual volume.
- Not proven: that the inspection, traceability and certification paperwork exists.
The rest of this guide is the sequence that closes those gaps, with an acceptance test at every stage so you know when a step is genuinely done rather than simply attended.
Table of Contents
- What You Need Before the Prototyping to Production Transition
- Step-by-Step: Prototyping to Production Transition Checklist
- 1. Confirm the production design is frozen
- 2. Convert prototype tolerances into producible specifications
- 3. Finalize materials and critical processing conditions
- 4. Validate tooling and the manufacturing process
- 5. Complete performance, safety and compliance testing
- 6. Establish the quality plan and control plan
- 7. Confirm capacity, cost, sourcing and supply risk
- 8. Run the production readiness review
- 9. Release the first production order with enhanced controls
- 10. Close the prototyping to production transition and preserve manufacturing knowledge
- Common Mistakes
- Frequently Asked Questions
- How many prototypes are needed before production?
- When should the production design be frozen?
- Is a pilot run required before full production?
- What is a first article inspection, and who approves it?
- Can changes still be made after production validation starts?
- What evidence is required for a production readiness review?
- Conclusion
What You Need Before the Prototyping to Production Transition
Assemble the documentation package first. It takes a few days of work and it is the difference between a controlled handoff and an argument about what anyone meant by “the same wall thickness.”
- Approved design package. The current CAD model, released drawing, revision letter and the approval signature or record that says this is the version production will use.
- Prototype records. Every revision with the reason it changed, plus photos and measurements from the specific build you are transitioning from.
- Drawings. A controlled drawing with datum scheme, critical dimensions called out, and a revision block that shows who last changed what.
- Material specifications. Resin family, manufacturer, grade, color standard, additive and recycled content percentage, and the supplier who will actually deliver it.
- Tolerance scheme. The functional dimensions with their real tolerance needs, separated from everything that was tight only because the prototyping process demanded it.
- Test results. What you ran, on which sample, to which standard, and how many specimens. Prototype-only results need to be flagged as such.
- Target costs. Target unit cost at your actual volume, the tooling and nonrecurring engineering budget, and the order quantity you are planning around.
- Supplier information. Capability, quality system certifications, available capacity and lead times for your volume, not just their sample shop.
- Compliance requirements. Which standards and certifications apply to your product and market, and which of them are mandatory versus customer preference.
- Production criteria. Written pass/fail conditions: what the part must achieve, who signs off, and what happens when it misses.
Two items on that list are routinely skipped and both cause pain later. The prototype revision history matters because the reason a dimension moved tells the manufacturer whether the change was functional or cosmetic. And the target cost matters, because a supplier who hears your cost target before quoting is working to a different target than one who hears it after.
Step-by-Step: Prototyping to Production Transition Checklist
1. Confirm the production design is frozen
A design freeze is a formal decision that the production baseline will not change without change control. It is not the same as “we finished designing”, and it is not the same as a revision marked final in a file name.
Reconcile every prototype revision against the official drawing, the bill of materials, the material grade, the color and finish standard, and each interface with the parts around it. A prototype that needed a slightly longer boss to clear an assembly may carry a hand-fitting workaround you never wrote down.
Acceptance test: one released revision exists, the drawing and model both show that revision, the bill of materials is revision-controlled, and the change-control process names who may authorize a change after release. If you cannot point to a document that says the design is frozen, it is not frozen.
2. Convert prototype tolerances into producible specifications
Prototyping processes are forgiving in ways production processes are not, so prototype dimensions are frequently tighter than the part needs. Take each dimension and ask whether the function depends on it or the process produced it.
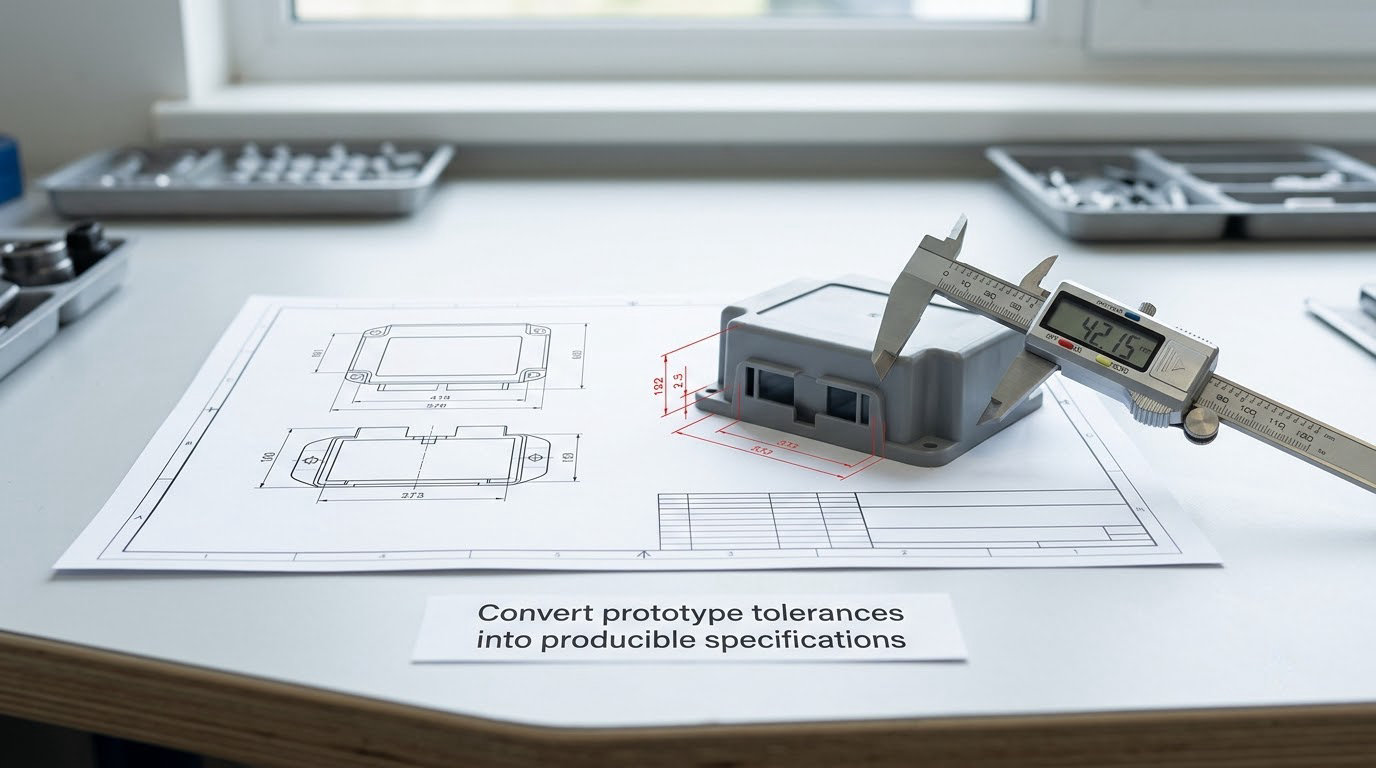
Identify the critical dimensions, the inspectable features, the datum scheme, and the tolerances that your chosen process can hold repeatably. Then set process capability targets for the characteristics that matter: a target process capability index on a critical diameter is evidence; “we measured 0.2 mm on one part” is not.
Acceptance test: every critical-to-quality characteristic has a datum, a stated tolerance and a named inspection method that a production operator can execute. If a tolerance is tighter than your process can demonstrate across a full run, widen it deliberately rather than discovering it during the first article.
3. Finalize materials and critical processing conditions
Material substitution is the most common silent change in a transition. A sheet stock, a printed resin and a production grade of the same polymer family do not behave alike, and the difference shows up in shrinkage, stiffness, impact strength and finish.
Document the exact resin, grade, masterbatch and color standard, any additives, and any recycled content with its source and percentage. Then document the processing conditions that follow from the material: conditioning and moisture limits, drying limits and time, melt temperature range, hold time, screw and back pressure, and cooling or annealing where the grade needs it.
Acceptance test: a written material specification exists with a supplier able to issue a certificate of analysis or conformance for each lot, and the processing window is recorded as ranges rather than single setpoints. Handwritten resin notes taped inside a machine are not a specification.
4. Validate tooling and the manufacturing process
For molded parts, this is where prototype experience stops helping. Review mold construction, cavity count, gating, venting, cooling layout, ejection, the cycle-time assumption, any fixture needs, tooling ownership terms, maintenance access, and the trial run results.
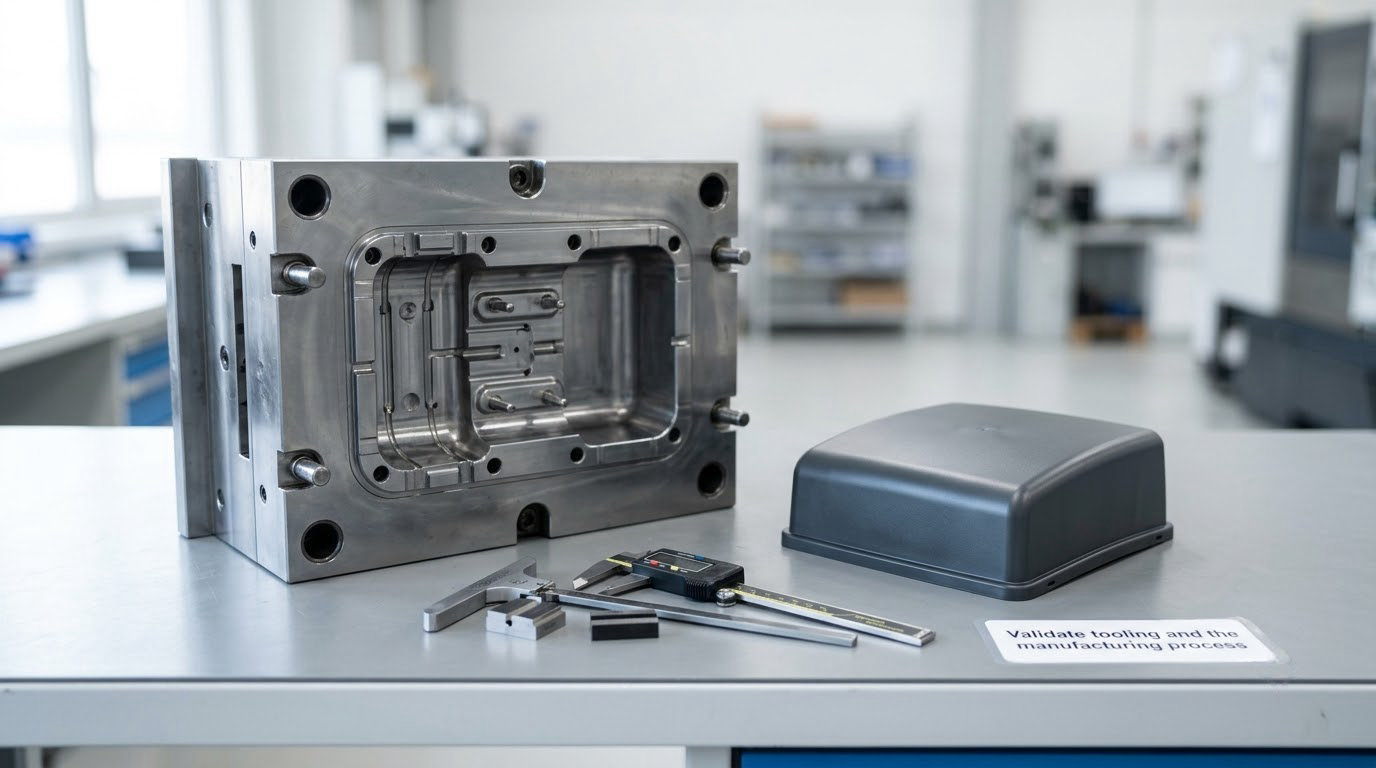
Set acceptance criteria for the defects that prototypes never had because they were machined or printed: flash at the parting line, visible weld lines, sink marks over thick sections, warpage, ejector pin witness marks, and dimensional repeatability from cavity to cavity and shot to shot.
Acceptance test: trial parts from every cavity are measured against the drawing, cycle time is measured rather than estimated, and cosmetic surfaces are approved against a physical appearance reference under agreed lighting. Confirmed yield on a representative run, not a single good sample.
Sometimes the volume does not justify a production tool yet. That is a separate decision from validation, and it comes with its own controls: our walkthrough of bridge tooling explained for low volume production covers how a temporary tool changes the tolerance and cosmetic limits you should expect.
5. Complete performance, safety and compliance testing
Build a testing matrix that links intended use and credible failure modes to specific tests. Mechanical, environmental, electrical, chemical, aging, biocompatibility and application-specific standards each have their place, and each row should name the sample type, sample quantity and acceptance limit.
Be explicit about which results require production-equivalent samples. A test on a machined prototype proves geometry strength, not molded-part strength with weld lines and residual stress present. Results from production-equivalent material, tooling and process are what authorize release.
Acceptance test: the matrix is complete against the hazard list, every row has a pass criterion, and results sit in a report tied to the released revision. An open row without a limit is an open risk, not a pending detail.
6. Establish the quality plan and control plan
Name your critical-to-quality characteristics, then define how each one is measured at incoming inspection, in process and at final inspection. Sampling plans need a written basis, and measurement systems need a documented check that the gauges themselves are capable of judging the part.
Also define defect classifications, how a nonconformance is raised and dispositioned, who can authorize a deviation, how lots are traced from material to shipment, and the reaction plan when a characteristic drifts.
Acceptance test: the control plan exists before the first production run, not after the first defect. Every CTQ has a measurement method, a sampling rule and a reaction plan with a named owner.
7. Confirm capacity, cost, sourcing and supply risk
Reconcile the prototype quote with real volume pricing. Work through tooling amortization, measured cycle time, labor, secondary operations, packaging, freight, duties, and a scrap assumption grounded in your observed yield rather than optimism.
Confirm lead times, minimum order quantities and batch size for the material and the component, then reserve capacity for the ramp window. If a second source exists, decide now whether it is qualified or merely identified, because those are very different states.
Acceptance test: a costed model at your actual volume with every assumption written down, a confirmed capacity reservation with dates, and a named contingency for single-source material or a single tooling partner.
8. Run the production readiness review
Bring design, engineering, tooling, purchasing, production, quality, logistics and finance into one meeting with the completed checklist in front of them. Each function states status against its own items, not against the project in general.
The decision is go, conditional go, or hold. Conditional go is legitimate and useful, provided every condition has a named owner and a due date. A go with unnamed follow-ups is a hold in disguise.
Acceptance test: a signed record listing every open action, its owner, its due date and the evidence that will close it, plus the explicit decision and who made it.
9. Release the first production order with enhanced controls
The first article, the startup shakedown and the first few lots run under tighter inspection than steady state. Hold parts, hold shipments and hold process changes until the criteria below are met.
Require documented approval before moving to normal output, before changing process conditions, and before shipping. A change to drying time, melt temperature, cooling time or hold time is a process change, and it needs a record and a revalidation decision, not a quiet adjustment on the floor.
Acceptance test: first article inspection passed against the drawing with a full report, measured cycle time at or better than the model, capability demonstrated on the CTQs, scrap tracked against the yield assumption, and written approval to release each held lot.
10. Close the prototyping to production transition and preserve manufacturing knowledge
The transition ends when the knowledge is stored somewhere other than the people who did it. Archive the released package, record actual costs and actual cycle times against the model, and update drawings and the control plan to match what the process really does.
Write the lessons learned while the details are fresh, including every workaround that got removed and every change that turned out to be unnecessary. Schedule tool maintenance and mold maintenance, and assign ownership of future revisions, deviations and continuous improvement. Tooling ownership, program expiry and end-of-life terms belong in this record, not in a verbal assurance.
Acceptance test: one archived folder holds the released drawing, control plan, first article report, cost model with actuals, and lessons learned, with a named owner and a review date.
Common Mistakes
These are the errors that repeatedly damage a transition, with the fix that closes each one.
Treating a functional prototype as production validation. A working sample proves the idea works once. It says nothing about repeatability, and every downstream gate built on that assumption inherits the gap. Fix: re-run the critical tests on production-equivalent samples and record which results came from which build type.
Accepting untested tolerances. Tolerances copied from prototyping output describe what one process happened to produce, not what production can hold. Fix: assign a datum, a tolerance and an inspection method to every CTQ, and demonstrate capability before the first order.
Relying on informal material notes. “Same ABS” across two builds, with different recycled content and different moisture, is the classic tolerance-drift complaint from hardware teams. Fix: a written specification with grade, color, additives, recycled content and processing window, plus lot-level certification.
Carrying a prototype workaround into tooling. Hand-fitting, nonstandard fasteners and quick adhesives get designed around in the prototype and then get frozen into the production baseline. Fix: list every workaround explicitly during the freeze review and either design it out or specify it properly.
Skipping first article approval. Production moves to normal output before the first article is measured and signed. Fix: hold the first lots until the inspection report exists and quality has signed it in writing.
Approving production before capacity or compliance is confirmed. Tooling is released with no reserved line slot or no certification plan, and the discovery arrives after the commitment. Fix: capacity reservation and certification lead times become checklist items with owners, not background tasks.
A few habits shorten most transitions. Write acceptance criteria before the work starts rather than after it fails. Bring the manufacturer in early, while the design can still move cheaply, and run a joint design review on the drawing rather than the render. Keep the prototype supplier for the pilot run if you can, so undocumented intent is not lost in the handoff. And treat any unclosed item as a date with an owner, not as a concern someone remembers to mention.
Frequently Asked Questions
How many prototypes are needed before production?
There is no fixed number, because each build should answer a specific question. Most teams need one to prove function, one to prove the design for manufacturing, and one built on production-equivalent tooling to prove repeatability. If two consecutive builds answered no new question, the prototype phase is finished. The real constraint is evidence, not piece count.
When should the production design be frozen?
Freeze as soon as the design meets its functional requirements and the design for manufacturing review is complete, which is normally before tooling is committed. Freezing earlier wastes tool revisions; freezing later means the mold is cut against a moving target. A practical trigger: no open change requests that affect geometry, material or interfaces, and a signed released revision.
Is a pilot run required before full production?
A pilot run is strongly recommended and is effectively required for anything with a tight tolerance, a cosmetic surface, a safety-critical application or a certification. It reveals cycle time, warpage, gate and ejector marks, and yield under real conditions, none of which a prototype can show. A bridge production run is different: it supplies limited volume while you ramp, and it does not replace validation.
What is a first article inspection, and who approves it?
A first article inspection measures the first production-equivalent parts against the drawing, using the same measurement equipment and methods the control plan specifies. It confirms the process can hit the drawing rather than lucking onto a good sample. Quality approves it in writing, against the drawing revision named on the report, before held lots move to normal output or ship.
Can changes still be made after production validation starts?
Yes, but they go through change control. Classify the change as one that affects the drawing only, one that affects the process, or one that affects tooling. Tooling-affecting changes usually mean a mold modification and a re-run of first article inspection and the affected tests. Record the change, the authorization, the revalidation and the date, and update the control plan.
What evidence is required for a production readiness review?
A readiness review needs a released drawing and revision-controlled bill of materials, a material specification with lot certification, a signed DFM report, recorded measured cycle time and yield from trial production, a completed test matrix with pass criteria and results, a control plan with sampling and reaction plans, a costed volume model, a capacity reservation, and a compliance plan. Each open item carries an owner and a due date.
Conclusion
A prototyping to production transition is not a meeting. It is a documented evidence chain, where each link is a gate someone signed with a measurement behind it, and where an unclosed link is visible rather than assumed away.
Start with the part that is hardest to reverse. Freeze the production design and name the released revision, because every later decision inherits it. Open the readiness checklist before anyone schedules tooling, and give every open item an owner, a due date and a written acceptance test. Then run the ten stages in order, hold the first lots until the inspection report is signed, and close the loop by archiving what actually happened rather than what was planned.
Teams that do this consistently find the same thing: the transition stops being the scary part and becomes the most predictable part of building a product.
Last updated: October 2026