
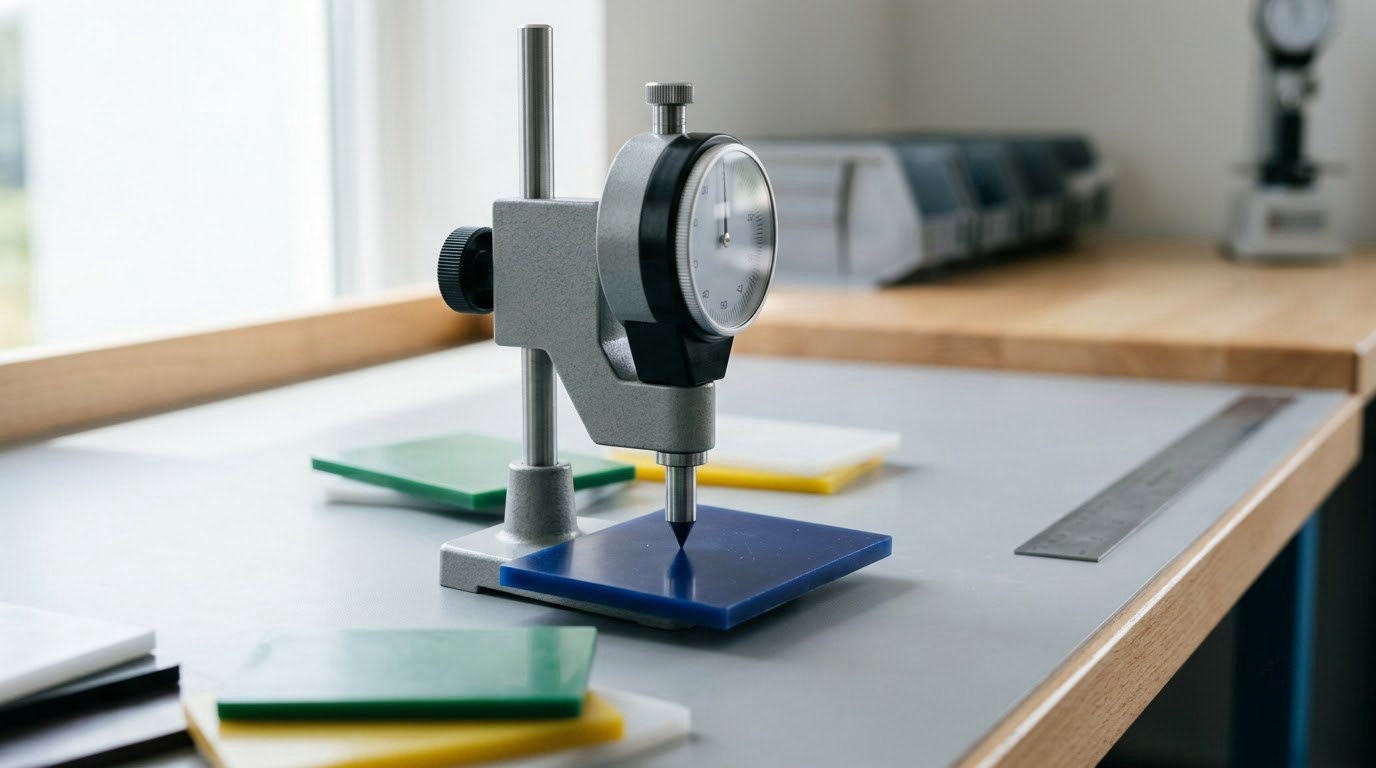
Hardness testing for plastics measures how strongly a polymer resists indentation, scratching and permanent surface deformation under a standard load. A spring-loaded indenter presses into a flat, conditioned specimen and the depth of the impression is read on a dimensionless scale, most often Shore or Rockwell. It is fast, repeatable and close to non-destructive, which is why quality teams run it on 2026 production lines. This guide walks through the methods, the standards behind them, and the mistakes that quietly skew results.
Table of Contents
- What Is Hardness Testing for Plastics?
- Why Plastic Hardness Matters in Manufacturing
- Which Hardness Test Should You Use?
- Rockwell Hardness Testing for Plastics
- Shore Hardness Testing for Flexible Plastics
- Barcol, Mohs, and Indentation Testing
- How to Prepare and Condition Test Specimens
- How to Perform a Plastic Hardness Test
- How to Read and Report Hardness Results
- Common Causes of Incorrect Hardness Results
- Frequently Asked Questions
- What is the difference between Shore A and Shore D hardness?
- Can you convert Shore hardness to Rockwell hardness?
- How thick must a plastic specimen be for a hardness test?
- Should I take an instantaneous reading or wait 15 seconds?
- What do higher Shore hardness numbers mean?
- What standards cover plastic hardness testing?
- Conclusion
What Is Hardness Testing for Plastics?

Hardness testing for plastics explained in one line: it is a measure of indentation hardness, the resistance a material shows to a shaped indenter pressed into it under a controlled load. The value you get is a dimensionless number on an empirical scale, not a physical unit.
A higher number means the material resists the indenter more. It does not mean the part is stronger, stiffer or will last longer. Hardness correlates loosely with tensile modulus and yield strength for unfilled thermoplastics, then the relationship drifts as you add glass fibre, mineral filler, plasticiser or elastomeric phase. Treat a hardness reading as a fast proxy that flags a change, not as a mechanical property that stands alone.
Hardness is also partly a process property. The same resin molded in a thin wall cools faster than the same resin in a thick wall, so the two parts can read differently even from the same batch. That is why incoming resin is often tested on a molded plaque rather than on the finished part.
Read the number as empirical rather than absolute. A Shore D 60 has no meaning outside the Shore D scale, and there is no valid arithmetic that turns it into a Rockwell value.
Why Plastic Hardness Matters in Manufacturing
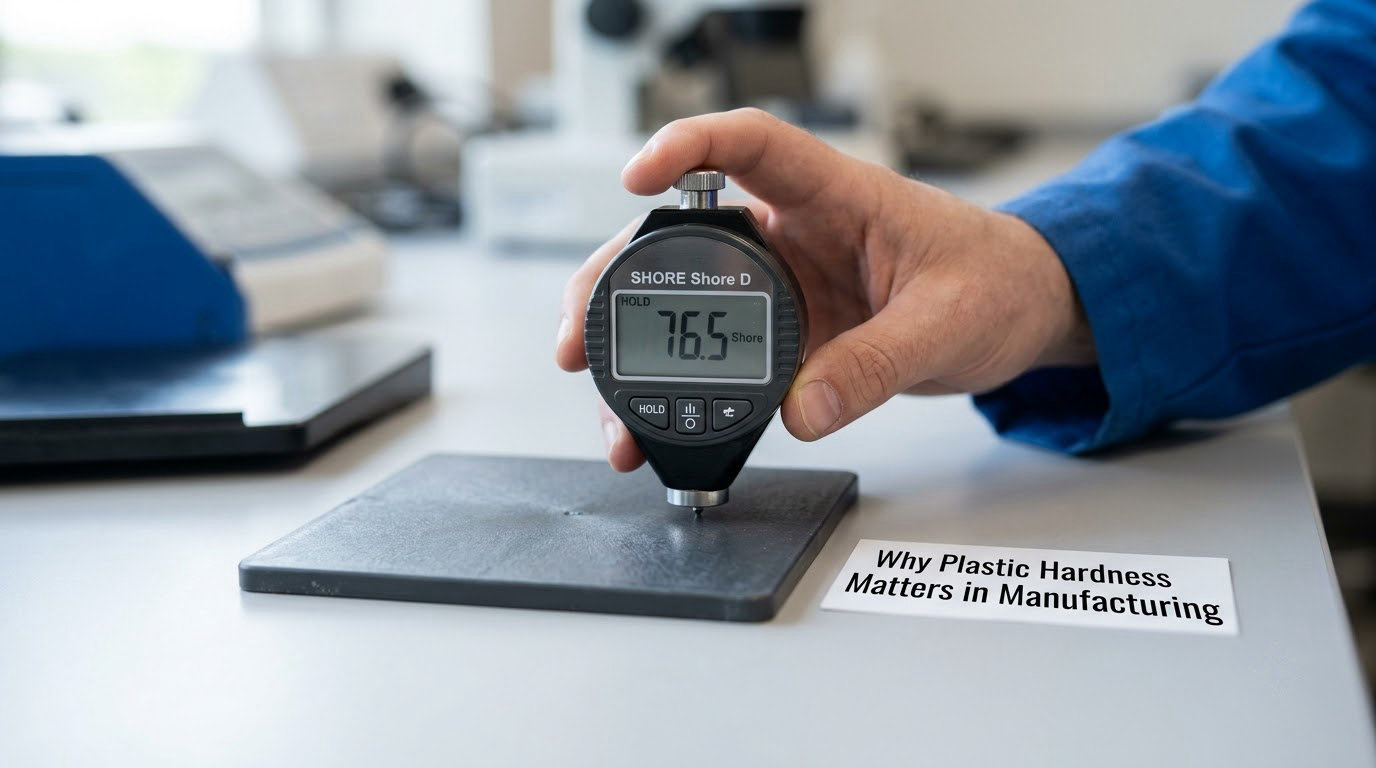
Hardness is one of the cheapest quality checks available for polymers. It takes seconds per part, needs no destructive preparation, and catches a lot of problems before they reach an assembly line.
- Material and supplier qualification. A hardness range on a purchase spec catches a resin that is off-grade before a single expensive part is molded.
- Batch-to-batch monitoring. Drift in filler loading, moisture pickup or a different resin lot shows up as a slow shift in the reading long before dimensions go out of tolerance.
- Scratch and wear screening. For housings, trim and appliances, surface appearance is a buying criterion, and hardness is the quickest way to compare candidates.
- Assembly fit. Snap fits, press fits and clip tolerances respond to how stiff the local material actually is, which is not always the stiffness on the datasheet. Pair this kind of check with our guide to plastic part tolerance standards.
- Failure investigation. A too-soft reading on a cracked part often points at a moulding or conditioning problem rather than at the design.
Hardness does not replace mechanical testing. If a decision affects safety or structural life, you also need tensile and impact data. ASTM D638 tensile testing covers strength and modulus, and shipping damage is better answered by ISTA testing protocols than by any hardness number.
Which Hardness Test Should You Use?
Match the method to the material, the thickness you have and the question you need answered. The table below is the short version; the sections after it cover each method in detail.
| Method | Standard | Indenter | Scale | Typical materials |
|---|---|---|---|---|
| Shore durometer | ASTM D2240, ISO 48-4 | Truncated cone | Shore 00 to D, 0-100 | Rubber, thermoplastic elastomers, soft and semi-rigid plastics |
| Rockwell | ASTM D785, ISO 2039-2 | Steel ball | Letter scales R, L, M, E | Rigid thermoplastics such as ABS, PC, POM, PA |
| International Rockwell | ISO 6508 | Ball or cone | HR, scales N to X | Thin sections and semi-rigid plastics |
| Ball indentation | ISO 2039-1 | Steel ball | HD, dimensional | Thermoplastics and thermosets, including sheet |
| Barcol impressor | ASTM D2583 | Flat pin | Barcol 0-100 | Glass fibre reinforced plastics and heavily filled thermosets |
| Vickers microhardness | ASTM E384, ISO 6507 | Diamond pyramid | HV, dimensional | Thin films, coatings, fibre and matrix in composites, research work |
| Instrumented indentation | ISO 7619-1 | Ball or cone | Indentation modulus and force depth | Characterising viscoelastic behaviour, thin parts |
| Mohs | Reference mineral scale | Scratching stylus | Mohs 1-10 | Coarse ranking of very hard filled plastics and laminates |
How to choose the right hardness test for plastics
- Soft elastomer, seal or gasket: Shore A on a durometer.
- Rigid moulded thermoplastic: Rockwell R or M, whichever the material datasheet names.
- Glass fibre composite or filled thermoset: Barcol.
- Part too thin for a durometer or a Rockwell specimen: International Rockwell, ball indentation, or a durometer on a supported stack only if the standard allows it.
- Surface or phase level question, such as fibre diameter in a laminate: Vickers microhardness.
Whatever you pick, check the material datasheet before you order the instrument. Most resin datasheets state a test method and scale explicitly, and a valid number only exists when it was produced by that method.
Rockwell Hardness Testing for Plastics
Rockwell indentation is a two-step test. The machine seats a minor pre-load, roughly 10 to 15 kgf, then adds a major load that pushes the total to somewhere between about 40 and 140 kgf depending on the scale. The difference in penetration depth between the two loads, read in 0.001 mm increments, is the Rockwell number.
| Scale | Ball indenter diameter | Typical plastics |
|---|---|---|
| Rockwell R | 1/16 inch (1.6 mm) | Medium and harder plastics, thin parts, ABS and PC grades |
| Rockwell M | 1/8 inch (3.2 mm) | Harder plastics and thermosets, more forgiving on rougher surfaces |
| Rockwell L | 1/4 inch (6.35 mm) | Low hardness plastics, very soft thermoplastics and elastomers |
| Rockwell E | 1/8 inch (3.2 mm) | Soft plastics, cellular and foamed material |
The larger the ball, the deeper the impression at a given load, so a big indenter reads lower on the same material. That is another reason Rockwell values are not portable between scales.
Moulding conditions shift the result. Faster cooling, higher packing pressure, thicker walls, moisture in hygroscopic grades such as nylon or polycarbonate, and undercured thermosets all change what the indenter meets. If a batch is reading high, look at cooling and hold pressure before you look at the resin supplier.
Shore Hardness Testing for Flexible Plastics
A Shore durometer is a small handheld instrument with a spring-loaded truncated cone. You press the foot flat against the specimen, the spring compresses, and a pointer shows how far the indenter has gone, from 0 to 100.
| Scale | Use it for | Notes |
|---|---|---|
| Shore 00 | Gels, soft foams, cellular material | Very low spring force, easily indented by handling |
| Shore A | Rubber, thermoplastic elastomers, soft vinyl, Shore A plastics | The default choice for anything elastomeric |
| Shore C | Mid-range flexible plastics and foams | Useful where A bottoms out and D is not yet reachable |
| Shore D | Hard and semi-rigid plastics, ABS, PC, rigid PVC | For plastics that are firm rather than rubbery |
Shore A vs Shore D: which one should you use?
Shore A has a softer spring and a more sensitive pointer, so it resolves small changes in soft material. Shore D uses a stiffer spring, which is why it stays useful on rigid plastics and avoids over-saturating the scale. Use A for anything that stretches, like elastomers and gaskets, and D for rigid mouldings such as housings, beakers and instrument covers. If a material straddles the two, check the datasheet before choosing.
Two details decide whether the number is valid. Specimen thickness matters, with 6 mm being the commonly cited minimum for a flat supported sample, and reading time matters just as much.
ASTM D2240 distinguishes an instantaneous reading taken straight off contact from a value held for 15 seconds. Soft polymers creep, so the same part can read several points apart depending on when you look. Decide which one your specification calls for, then be consistent. Handheld analog durometers also drift with temperature and use, so check them against a calibrated reference block on a schedule and keep them out of a hot molding room.
Barcol, Mohs, and Indentation Testing
Barcol hardness (ASTM D2583) uses a weighted flat pin pushed into the surface by a spring. It is the workhorse for glass fibre reinforced plastics, where it verifies that the resin has cured and the laminate has consolidated. Because it is portable, it moves from part to part in a factory without a bench.
Mohs hardness ranks a surface by the mineral it can just scratch, on a 1 to 10 scale. It tells you very little quantitatively, but it is a fast way to rank a filled compound against a laminate and confirm that a coating or surface layer is not being easily abraded.
Vickers microhardness (ASTM E384, ISO 6507) leaves a small diamond pyramid impression that gets measured across the diagonals. It resolves differences at the scale of a fibre or a matrix phase, which is why composites research and coating work rely on it. It needs a polished surface, and it says nothing about the bulk part.
Ball indentation (ISO 2039-1) presses a steel ball into a flat specimen under a controlled load and measures the recovered depth, giving a dimensional hardness value. It works on sheet and on thermosets where a Rockwell specimen is awkward to machine.
Instrumented indentation (ISO 7619-1) goes further and records the full force-depth curve, so you get an indentation modulus alongside the number. That is the tool for thin parts, and for studying how a polymer’s response changes with loading speed.
How to Prepare and Condition Test Specimens
Most bad readings start before the instrument is switched on. Work through this list before you measure anything.
- Condition the specimen. Hold it at 23 degrees C and 50% relative humidity for the period the standard requires, usually 24 to 48 hours. For hygroscopic grades, conditioning matters as much as the measurement.
- Check thickness. Aim for 6 mm or more for a durometer. Thinner parts need a rigid backing or a different method altogether.
- Make the surface flat and parallel. A warped plaque gives a high reading because the indenter touches an edge first.
- Keep machining stress low. A freshly milled plaque can be locally stressed or overheated. Finish the last pass gently and let the part rest.
- Clean the contact points. Dust, release agent, paint and fingerprints all change the reading.
- Decide plaque or part. Machined plaques are comparable between batches. Testing the moulded part tells you about the process, including skin and orientation effects, but a datasheet value will not match it exactly.
How to Perform a Plastic Hardness Test
Run the same sequence every time. Consistency across operators matters more than any clever technique.
- Identify the method and scale. Take it from the material datasheet or the purchase specification, including the standard number.
- Calibrate the instrument. Zero the durometer on its reference block, or verify the Rockwell tester against certified test blocks at the start of the run.
- Condition the specimen. Confirm temperature and humidity, and check thickness with a caliper.
- Position the indenter. Place it on a flat area clear of ribs, draft, text and gate marks, and about 6 mm from any edge.
- Apply the load. For a durometer, press the foot flat and evenly until the foot is fully seated. For Rockwell, let the machine run the minor and major load cycle.
- Take at least five readings. Move to a fresh spot for each one, spread across the part, and take the reading at the specified time.
- Record everything. Write down the value, the scale, the location, the temperature and the time after moulding. Discard readings only for a documented reason.
How to Read and Report Hardness Results
Average the valid readings and report the spread with them. A mean of 62 across five points with a range of 3 tells a very different story from a mean of 62 with a range of 15, and the second one points at a process problem rather than a material change.
The table below gives indicative ranges seen on supplier datasheets. Grades, filler content and test method move these numbers, so use your own material’s datasheet as the reference.
| Material | Typical scale | Indicative range |
|---|---|---|
| Silicone rubber | Shore A | 20 to 50 |
| EPDM and nitrile rubber | Shore A | 40 to 70 |
| Thermoplastic elastomer | Shore A | 40 to 90 |
| TPU | Shore A | 70 to 95 |
| LDPE | Shore D | 30 to 45 |
| HDPE | Shore D | 55 to 70 |
| Polypropylene | Shore D | 50 to 70 |
| Rigid PVC | Shore D | 70 to 85 |
| ABS | Rockwell R | 90 to 110 |
| Polycarbonate | Rockwell M | 85 to 105 |
| PMMA | Rockwell M | 100 to 120 |
| Acetal copolymer | Rockwell R | 95 to 115 |
| Glass fibre reinforced polyester laminate | Barcol | 30 to 55 |
Standards for plastic hardness testing
ISO 868 is the older durometer standard and has been superseded by ISO 48-4, which now covers plastics as well as rubber. If your supplier still quotes ISO 868, check which edition and which scale it refers to.
| Standard | Covers | Method |
|---|---|---|
| ASTM D2240 | Rubber, thermoplastic elastomers and plastics via durometer | Shore |
| ISO 48-4 | Durometer hardness of vulcanised rubber and thermoplastic elastomers | Shore |
| ASTM D785 | Indentation hardness of plastics using the Rockwell system | Rockwell R, L, M, E |
| ISO 2039-2 | Indentation hardness of plastics, Rockwell system | Rockwell |
| ISO 2039-1 | Indentation hardness of plastics, ball indentation | Ball indentation |
| ISO 6508 | Metallic materials, International Rockwell | International Rockwell |
| ASTM D2583 | Hardness of reinforced plastics and reinforced thermoset plastics | Barcol impressor |
| ASTM E384 | Microindentation hardness of materials | Vickers and Knoop |
| ISO 6507 | Vickers and Knoop microhardness | Vickers |
| ISO 7619-1 | Instrumented indentation for polymers and elastomers | Force-depth indentation |
A useful report names the test standard, the scale, the indenter and load, the specimen type and thickness, the conditioning environment, the time after moulding, the individual readings, the mean and the spread, and any deviation from the standard you made. On cross-scale conversion, publish a warning instead: there is no accepted conversion between Shore and Rockwell, and published charts are rough guides for comparing data sets rather than for qualifying material.
Common Causes of Incorrect Hardness Results
Most complaints about inconsistent readings come down to one of these. The fix is usually quick and costs nothing.
| Symptom | Likely cause | Corrective action |
|---|---|---|
| Readings far lower than the datasheet | Wrong scale chosen, or a thin part with no rigid backing | Check the specified scale, support the specimen, or switch to International Rockwell or ball indentation |
| Readings drift upward after contact | Reading taken too late on a creeping polymer | Fix the read time, use the 15 second hold if the specification calls for it |
| High and scattered results across a part | Curved surface, draft angle or a rib under the indenter | Test on a flat spot, or machine a plaque from the part |
| Moulded part reads different from the datasheet | Cooling rate, orientation, skin layer, packing and moisture | Specify hardness on molded plaques, and control the mould, not the resin |
| All readings shift between shifts | Temperature drift, humid material, calibration drift | Condition samples, store them sealed, verify the instrument against a reference block |
| Consistently low readings on composites | Undercure or voids in the laminate | Confirm cure with a second method before rejecting the part |
One more trap: comparing a value from one scale against a limit written for another. Set the limit in the same units the instrument reports, every time.
Frequently Asked Questions
What is the difference between Shore A and Shore D hardness?
Shore A uses a softer spring and a finer pointer, so it resolves small changes in soft materials such as rubber, seals and thermoplastic elastomers. Shore D uses a stiffer spring and stays useful on rigid moulded plastics like housings, where a Shore A durometer would simply bottom out. If a material sits between the two ranges, the datasheet for that grade should name the scale to use.
Can you convert Shore hardness to Rockwell hardness?
Not reliably. The two systems use different indenters, different load cycles and different response times, so no accepted conversion exists. Published charts are rough aids for comparing historical data sets, not for qualifying material. If a drawing states a limit in one scale, test it in that scale, and rewrite the limit before changing methods.
How thick must a plastic specimen be for a hardness test?
Six millimetres is the commonly cited minimum for a flat durometer specimen, backed by a rigid surface. Thinner mouldings need a different approach: a supported stack only if the standard allows it, International Rockwell, or ball indentation. Testing a thin wall on its own usually produces an artificially low reading because the wall deflects under the indenter.
Should I take an instantaneous reading or wait 15 seconds?
Follow whatever your specification or material datasheet says, and never mix the two. Soft polymers creep under a constant load, so the reading keeps moving after contact. ASTM D2240 recognises both an instantaneous value and one held for 15 seconds. Writing the read time into your work instruction is the simplest way to keep two shifts reporting the same number.
What do higher Shore hardness numbers mean?
A higher number means the material resisted the indenter more at the moment of reading. It signals a stiffer, harder surface, not a stronger part. Hardness correlates reasonably with tensile modulus and yield strength in unfilled thermoplastics, then diverges as fillers, plasticisers and fibre are added, so use it for screening and process control rather than as a strength specification.
What standards cover plastic hardness testing?
The main ones are ASTM D2240 for Shore durometer, ASTM D785 and ISO 2039-2 for Rockwell, ISO 48-4 for durometer hardness (it replaced ISO 868), ISO 2039-1 for ball indentation, ASTM D2583 for the Barcol impressor, ASTM E384 and ISO 6507 for Vickers microhardness, and ISO 7619-1 for instrumented indentation.
Conclusion
Start by naming the material and its specification, then use the exact method and scale that specification calls for. Condition representative specimens properly, record the read time, the environment and every individual value, and judge the result against the resin or product standard rather than a conversion chart. Get those four things right and hardness testing for plastics becomes one of the most dependable checks on your line.