
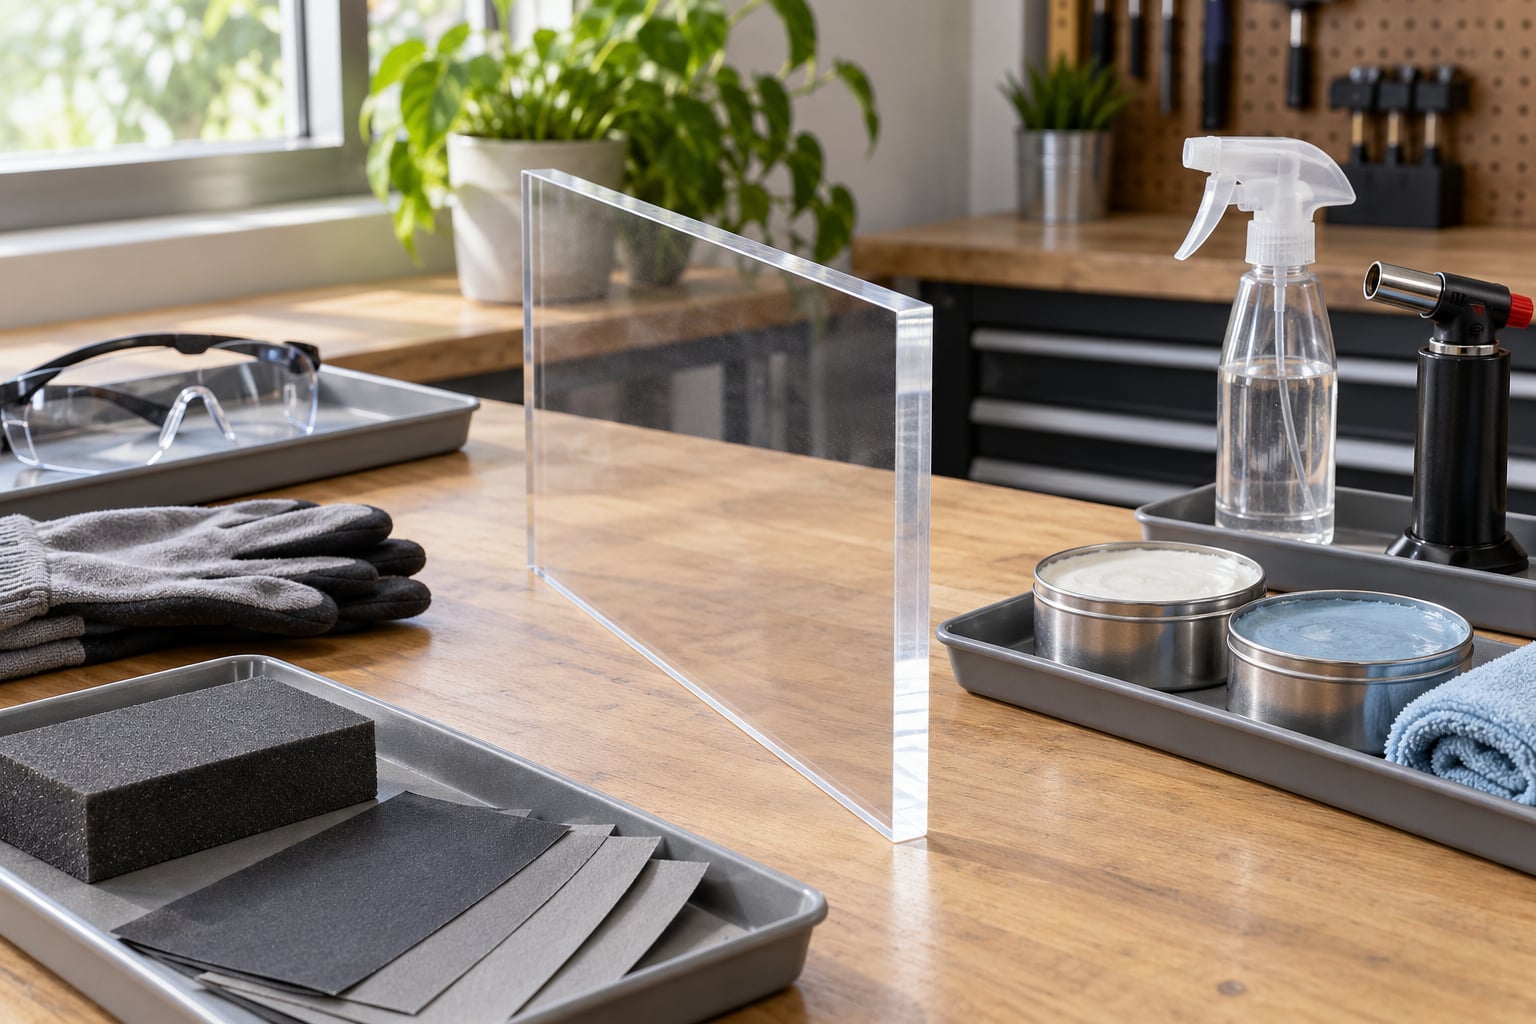
Polishing acrylic edges comes down to three jobs: make the edge flat, sand it progressively finer with water, then either buff it with an acrylic-specific compound or melt the final haze off with controlled heat. Most straight cut edges take 20 to 40 minutes of hands-on work once the tools are in front of you. The whole process is governed by one thing, heat, because acrylic scratches easily, melts at a low temperature, and holds internal stress that turns into white marks the moment you get careless.
A freshly cut acrylic edge looks frosted, not rough. That frosted appearance is a forest of micro-scratches left by whatever cut it, whether that was a knife, a saw blade, a router or a laser. You do not remove those scratches one at a time. You replace that whole scratch pattern with a finer one, over and over, until the scratches are smaller than the wavelengths of visible light and the edge stops scattering light. That is the entire trick behind learning how to polish acrylic edges well.
Before you touch your final piece, take a scrap offcut of the same material and run the whole process on it. It takes fifteen minutes and it tells you things no guide can, like how your particular sheet responds to water, to a buffing wheel, and to heat.
Table of Contents
What You Need
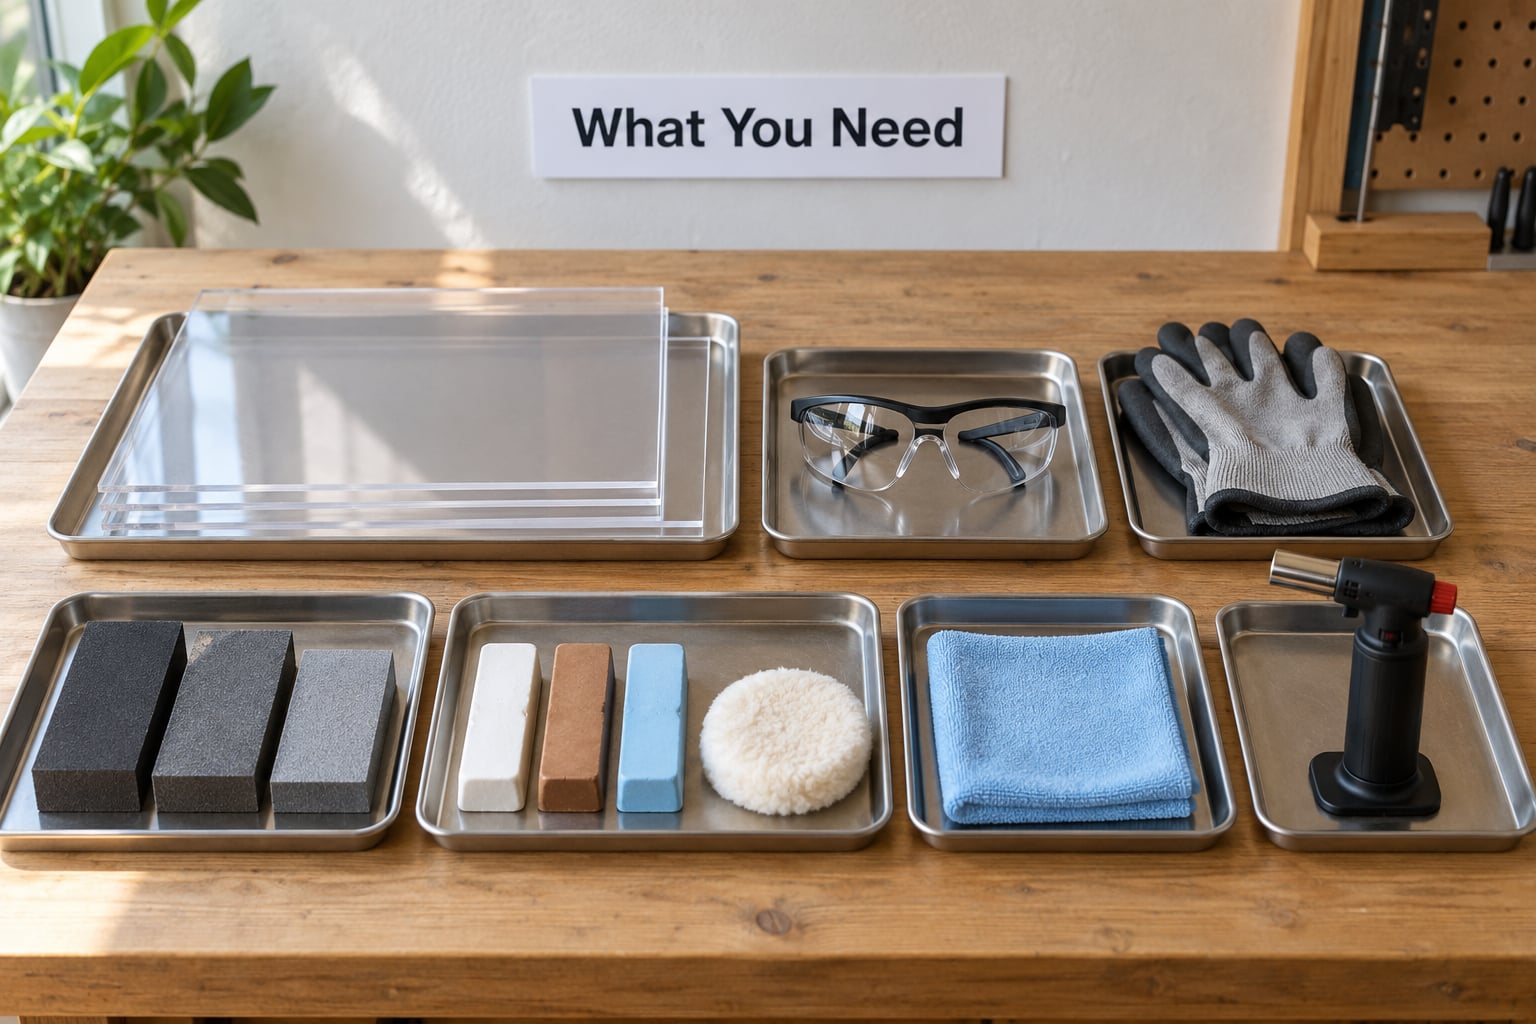
The full kit covers three routes to the same finish, and you only need the parts for the one you plan to use. Buying everything at once is the fastest way to build a shelf of tools you never touch.
Safety gear. Safety glasses with side shields are not optional; a snapping abrasive strip or a spinning buffing wheel throws material at your face faster than you can blink. Nitrile gloves keep compound and adhesive off your hands and, more usefully, keep skin oil off the edge. A respirator or a dust extractor matters once you are buffing dry compound, because the airborne dust is fine enough to breathe in. For flame work you also want a fire blanket, a metal bucket of water, and an extinguisher within arm’s reach.
Preparation supplies. A sharp draw blade or plastic scraper for the first pass, masking tape for protecting polished face corners, a spray bottle, a microfibre cloth per grit so you never carry grit forward, and a scrap sheet for practice. Isopropyl alcohol or warm soapy water and a clean cloth handle the initial clean.
Abrasives. Use waterproof sandpaper and expect to work through 180, 320 or 360, 600, 800, 1200, 2000 and 3000 grit. A rubber foam sanding block about the width of the edge keeps the stroke flat and prevents your fingers from rounding the corners. Sanding net, a stiff plastic mesh sold for this purpose, is a good second option because it cuts fast on hard edges.
Compounds and tools for machine or hand buffing. A cotton or muslin buffing wheel and a rotary or bench buffing machine for speed, or a clean soft cloth if you are finishing by hand. The compound has to be formulated for plastic. Acrylic-specific pastes, and plastic polishes built for optical clear surfaces, will not haze the way a general metal polish or an automotive compound with abrasive fillers can.
Flame equipment. A hydrogen-oxygen torch gives the cleanest, hottest, soot-free result because its only by-product is water. MAPP gas is the common alternative and reaches temperature faster than a propane torch, which runs cooler and dirtier. A small propane torch from a hardware store will work for practice and for straight edges on thin sheet, but it is the least predictable of the three.
Hand sanding needs the safety gear, block and paper. Machine polishing adds a wheel, a compound and usually an extraction system. Flame polishing adds a torch and the fire kit, and does not need the sandpaper at all beyond a light scuff.
How to Polish Acrylic Edges Step by Step
Inspect and Prepare the Acrylic
Start by removing the burrs with a sharp scraper held at a shallow angle and pulled toward you, not pushed. A saw or router cut leaves a ridge and a step on the far side of the sheet. Scrape until the edge feels continuous under a fingernail drawn lightly across it, then stop scraping.
Next, look at the edge under good light before you commit to anything. Chips, whitening along the edge, or a haze that appeared a day after cutting all point to cracks or internal stress from the cutting process, and no amount of polishing will fix a crack. That part gets replaced or you start over from the sheet.
Work out which acrylic you have, because it changes everything downstream. Cast acrylic polishes to a genuinely optical finish and tolerates flame work. Extruded acrylic carries a longer directional scratch pattern from the calendering process, clouds more readily, and does not flame-polish well at all. If you are unsure, treat it as extruded and stay away from heat.
Clean the edge with warm soapy water or isopropyl alcohol and a microfibre cloth, and leave the protective face film on until the edge work is finished. Pick your starting grit from the cut quality rather than by habit. A score-and-snap break on thin sheet often only needs 320 or 400 grit. A table saw, router or laser edge needs 180, and a rough or re-sawn edge may need to start on 120.
Sand Progressively When You Polish Acrylic Edges by Hand
Wet sanding is not a stylistic preference. Water carries the swarf away, keeps the surface cool and stops the abrasive from loading up with acrylic dust. Spray the edge, lay the paper on your rubber block, and sand with long strokes along the length of the edge rather than short circular motions.
Move through the grits in order: 180, then 320 or 360, 600, 800, 1200, 2000 and 3000. Skipping two steps is the single most common reason an edge stays cloudy no matter how long you buff it, because the deeper scratches are still there underneath the gloss. At each grit, keep going until the new scratch pattern has completely replaced the previous one, which you can check by wiping the edge with a dry microfibre cloth and looking at it against a dark background.
Wipe down and change paper between every grit. A used sheet stops abrading and starts burnishing, and a burnished edge holds a haze you cannot sand out later. Count your passes rather than working by feel: around ten to fifteen passes along each face per grit, then turn the sheet over and repeat on the other side. Counting is what stops you from rounding the corner at the third pass and telling yourself it looks fine under the lights.
Support the sheet so the edge has something firm behind it, and mask the face corners with tape before you start if those corners are already finished. After 600 grit, acrylic tends to look worse rather than better, which surprises most people, because the surface has gone from frosted to a uniform wet haze. That is normal and it clears by 2000 to 3000 grit.
If the edge feels hot to the back of your hand, stop. Keep the surface near hand temperature and well below the roughly 40°C mark where acrylic starts picking up thermal stress.
Choose a Polishing Method
Once sanding is finished, you pick the route that matches the edge, the volume and your tolerance for risk. Each one gets you clear acrylic, just with a different personality.
Hand polishing. A plastic polish on a clean microfibre cloth, worked in small circles and wiped off before it dries. Zero heat risk, no equipment beyond the cloth, and it is how you touch up a small scratch in a finished face rather than a full edge. It takes considerably longer than a wheel on a long run of edge.
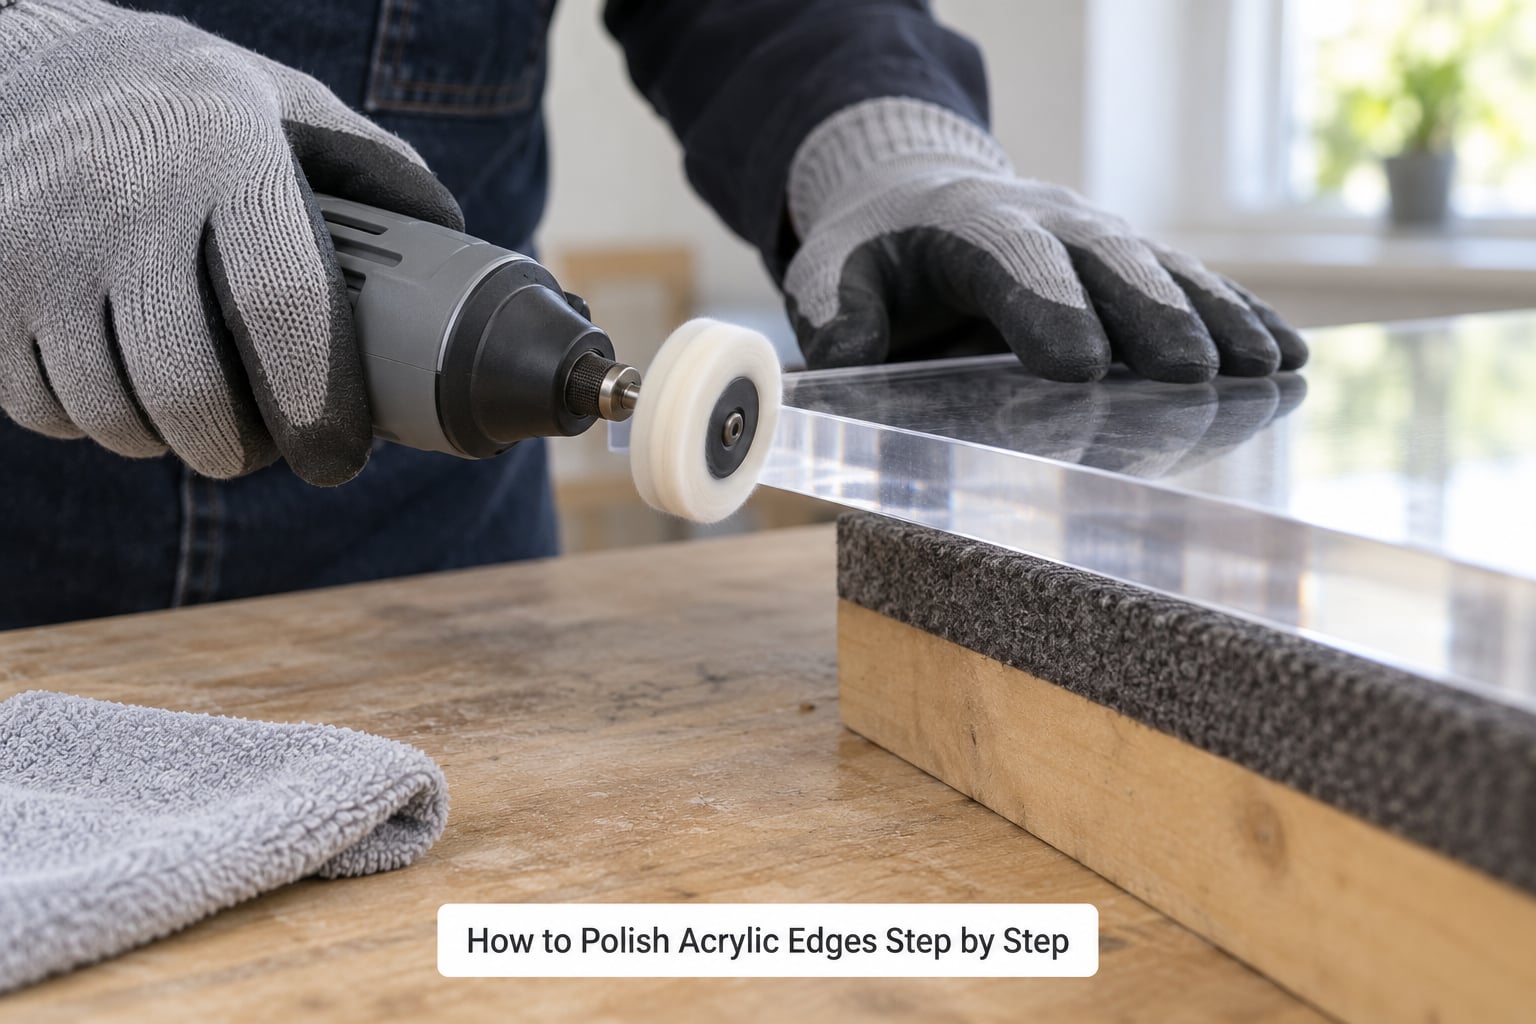
Buffing wheel. The workhorse for production and for long edges. A cotton or muslin wheel with a plastic-specific compound gives a fast, even gloss, but the wheel generates heat, and heat is what melts and marks acrylic. Keep the wheel moving, keep the part moving, and hold the wheel at a slight angle so the compound does the cutting rather than the wheel burning a stripe through it. Lift the wheel away at a tangent instead of pulling it straight off, which leaves swirl marks that need another pass. Surface speed rises with wheel diameter, so as you step up to a larger wheel, step the revolutions down.
Flame polishing. The fastest route and the one most likely to go wrong. It softens the surface so the remaining micro-scratches flow closed. Work in quick passes of a second or two, never hold the flame in one spot, allow the edge to cool between passes, and cap it at two or three passes total. Flame polishing rounds sharp corners and slightly softens the edge profile, so it suits straight single-cut edges and is a poor choice for square display edges, holes and notches. Hydrogen-oxygen leaves nothing behind; MAPP and propane leave soot that you clean off afterwards. Practise the pass timing on scrap until you can produce a gloss in one or two strokes.
Vapor or diamond polishing. Vapor polishing uses solvent vapour to swell the surface and level it, and diamond polishing uses progressively finer diamond paste on a hard wheel. Both reach a higher optical clarity than hand work and both need equipment most fabricators will not own. They are production methods, and they are where you send work you would otherwise keep redoing.
Finish and Inspect the Edge
For wheel work, load the compound sparingly, in three or four dabs around the wheel, and use four to six wheel passes before reloading. Too much compound is what creates the soft haze people spend an hour trying to remove.
Clean the residue with a damp microfibre cloth, then wipe dry. Look at the edge in two lighting setups: a dark background to expose micro-scratches, and a bright window or daylight to see the true gloss and any cloudiness. A cloudy edge that survives 3000 grit plus compound usually means an earlier step was rushed, so step back one grit rather than pressing harder with the wheel.
Decide what the edge has to achieve before you chase optical perfection. Edges that get solvent-bonded, screwed down or hidden inside a cabinet do not need a mirror finish, and polishing them first can weaken the joint. Finish the fabrication, do the bonding, then polish only the edges that stay exposed.
For a light protective film, use a plastic-safe wax or cleaner rather than a general car wax, which often contains silicones that haze the surface and attract dust. Keep the factory protective film on the faces until the part is installed.
Common Mistakes
Nearly every bad acrylic edge I have had to look at came from one of six things.
Jumping grits. Going from 400 straight to 1200 leaves the old scratches under the shine and the edge stays faintly cloudy forever. Move one step at a time and confirm each scratch pattern is gone before moving up.
Contaminated tools. Reusing a sheet of paper or a dirty block grinds the previous grit back into the surface. Change paper every few minutes, keep a separate block and cloth for the final 2000 and 3000 grit stages, and never touch the edge with your fingers between grits.
Overheating. Pressing a buffing wheel onto the edge, or lingering with a flame, melts the surface into ripples and can leave white stress marks inside the material that no amount of sanding will remove. Keep it moving, keep it cool, and if the part will not hold its hand temperature, walk away for a few minutes.
Rounding the corners. Hand sanding with fingers instead of a block rounds the edge profile and rounds off the face corners. Back the sheet on a flat surface, use a block wider than the edge, count passes, and tape the finished corners before you start.
Leaving parallel scratches. Everyone sands in one direction, and one direction of grit leaves a visible ladder of parallel lines that catch the light. At the final grit, break the pattern by rotating the part 90 degrees between passes.
Buffing an unbonded assembly, or polishing before bonding. Solvent cement wicks along a polished edge and can creep into the joint. Complete drilling, fitting and bonding first, then polish the exposed edges.
A few habits catch problems early. Check the edge under a dark background after every grit, not only at the end. Sand a scrap when the sheet is from an unfamiliar batch. And remember that extruded acrylic and cast acrylic behave differently enough that the same recipe will not serve both.
Frequently Asked Questions
How do I polish the edges of acrylic?
Flatten the edge with a sharp scraper, then wet sand it in order through 180, 320 or 360, 600, 800, 1200, 2000 and 3000 grit, moving to the next grit only when the previous scratch pattern has disappeared. Wipe with a microfibre cloth at every change. Finish by buffing with a cotton or muslin wheel and an acrylic-specific compound, or by flame polishing in two or three quick passes on a straight edge.
What can be used to polish acrylic?
Waterproof sandpaper on a rubber sanding block handles everything up to 3000 grit. A cotton or muslin buffing wheel with a plastic-specific polishing compound adds gloss fast. A hydrogen-oxygen torch gives the cleanest flame finish, with MAPP or propane as cheaper options. For hand touch-ups, a plastic polish on a microfibre cloth is enough.
Can you polish acrylic edges by hand without power tools?
Yes. Wet sanding on a foam block, followed by a plastic polish worked into the edge with a clean microfibre cloth, gives a clear satin to gloss finish with no heat risk at all. It is slower than a buffing wheel on long edges, but it is the right method for small repairs, short runs and any part where a spinning wheel would be more risk than the job deserves.
Is flame polishing acrylic safe?
It is safe when the work area is clear, you keep a fire blanket and water within reach, and you never leave the flame in one spot. Acrylic gives off irritating fumes when it burns, so ventilate the area and work outdoors or under extraction. Expect two or three short passes at most, and expect flame polishing to round sharp corners slightly.
Can you put polish over acrylic, and does it cloud?
Only use polishes formulated for plastic and optical clear surfaces. Automotive metal polishes, general household polishes and most car waxes contain abrasive fillers or silicones that leave a haze on acrylic and can never be polished out. If an edge clouds no matter what you buff it with, the usual cause is the compound you are using rather than the technique.
Conclusion
A polished acrylic edge is a predictable process rather than a talent: scrape it flat, wet sand it in single-grit steps until each scratch pattern is gone, then finish with a plastic compound or a short flame pass, keeping heat away from the part the entire way.
Start with a scrap offcut from the same sheet, choose the least aggressive finishing method that will get you the result you need, and resist the temptation to jump ahead a grit. That single habit is where most failed acrylic edges begin.