
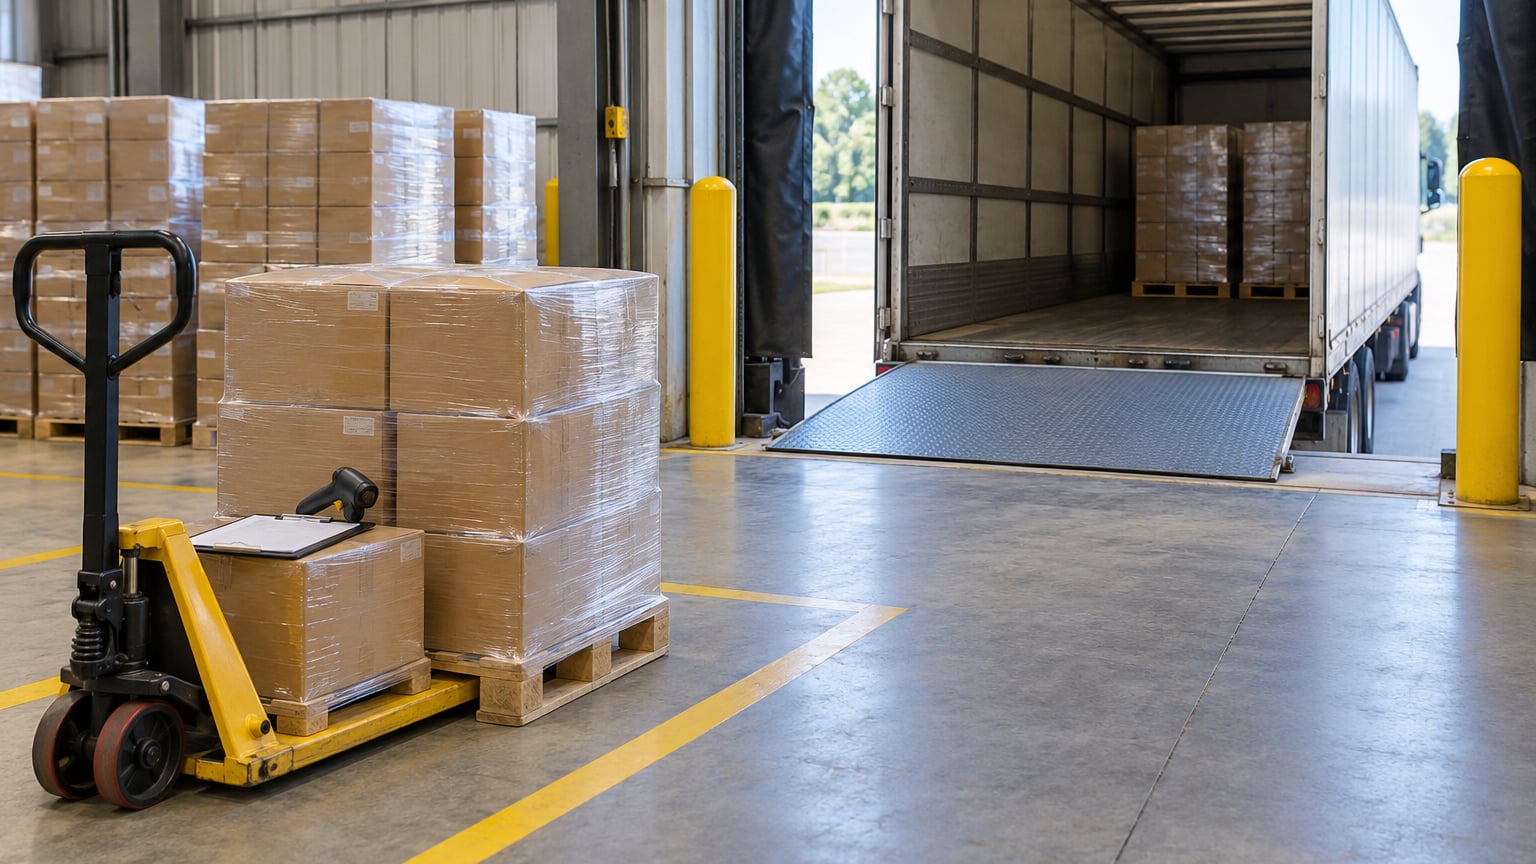
The warehouse receiving process step by step is a nine-stage control loop: confirm the paperwork before arrival, secure the load, count and inspect it, record it against the purchase order, put it away, and close the receipt. Manufacturers who run those stages in the same order, with a named owner and a completion check at each one, catch problems at the dock instead of discovering them on the production line.
Most receiving guides describe what a good process looks like in the abstract. This one describes how it actually runs on a floor: pallets coming off a trailer into marked staging lanes, a decant station where mixed cartons get broken down, quarantine tags going onto anything questionable, and a receipt that does not close until putaway is confirmed. Each step below tells you the action, who owns it, what records change, and how you know it was finished properly.
Table of Contents
- What You Need
- Warehouse Receiving Process Step by Step
- Step 1: Review the Purchase Order and Advance Shipping Notice
- Step 2: Schedule the Delivery and Prepare the Dock
- Step 3: Receive and Secure the Load
- Step 4: Verify Packaging and Physical Quantity
- Step 5: Inspect Product Condition and Compliance
- Step 6: Capture Barcodes and Update Inventory Records
- Step 7: Resolve Quantity, Quality, or Documentation Discrepancies
- Step 8: Put Away the Receipt
- Step 9: Close the Receipt and Retain the Record
- Common Mistakes
- Frequently Asked Questions
- Conclusion
What You Need
A controlled receiving workflow depends on paperwork, equipment and defined space existing before the first delivery arrives. Gather the following and the process runs on documentation rather than memory.
- Purchase orders for every open inbound line, with item numbers, ordered quantities, units of measure and any special purchase requirements written on them.
- Advance shipping notices from suppliers, listing what is on the truck, how many cartons or pallets, and the expected arrival window. Where a supplier does not send one, build the expectation from the PO and confirm it by phone.
- A dock schedule that assigns delivery windows to doors, so two trailers never arrive for the same bay at once.
- Document templates: packing list, bill of lading, delivery receipt, receiving discrepancy form and a certificate-of-analysis request.
- Inspection equipment appropriate to the goods: a count scale or counter, calipers or go/no-go gauges, a camera for damage photographs, and a thermometer probe for temperature-controlled material.
- Barcode scanning capability at master carton, case or pallet level, plus a fallback method for unscannable labels. Our guide to choosing a barcode scanner for a warehouse covers the hardware side.
- A warehouse management system, or a controlled spreadsheet where there is no WMS. Either way, one place holds the expected receipt, the counted quantity and the storage location.
- Marked staging lanes, including separate positions for special zones such as freezer, hazmat, high-value or quarantined material.
- Segregated storage rules telling the team where accepted, held and rejected material each go.
- Safety provisions: personal protective equipment, dock leveller checks, a forklift and pedestrian segregation plan, and a spotter for reversing trailers.
- Trained people who know the exception path, not just the happy path.
Warehouse Receiving Process Step by Step
The warehouse receiving process step by step runs in nine stages, from pre-arrival planning to record retention. Each stage below lists the action, the responsible role, the records to update and the condition that confirms the stage was completed correctly.
Step 1: Review the Purchase Order and Advance Shipping Notice
The receiver compares the supplier, PO number, item numbers, quantities, packaging details, expected date and shipment references against what the warehouse expects to receive. Anything that does not match — a different supplier name, an item number that was never ordered, a quantity that exceeds the open balance — gets flagged before anything is unloaded.
The owner here is the receiving clerk, with the buyer available for questions. The record updated is the expected receipt in the WMS or ERP. Completion is confirmed when the expected receipt is visible in the system and marked as inbound against the correct PO line. If a supplier ships with no PO at all, that is a blind receipt: record the arrival as unverified, quarantine it from sellable inventory, and let purchasing create the paperwork after the fact.
Step 2: Schedule the Delivery and Prepare the Dock
The receiving coordinator confirms the delivery window, trailer type, carrier, load size, special handling needs and available door with the carrier before arrival. Long loads, hazmat, temperature-controlled trailers and loads needing a forklift rather than a pallet jack each get a specific door and specific equipment reserved.
The owner is the dock coordinator or shift lead. Records updated are the appointment board and the dock schedule. Completion is confirmed when the appointment is accepted by the carrier and the assigned staging area is clear, powered and ready. A driver who shows up outside their window is either turned into the next open slot or granted an exception that someone logs, because unscheduled arrivals are what generate dock congestion and detention charges.
Step 3: Receive and Secure the Load
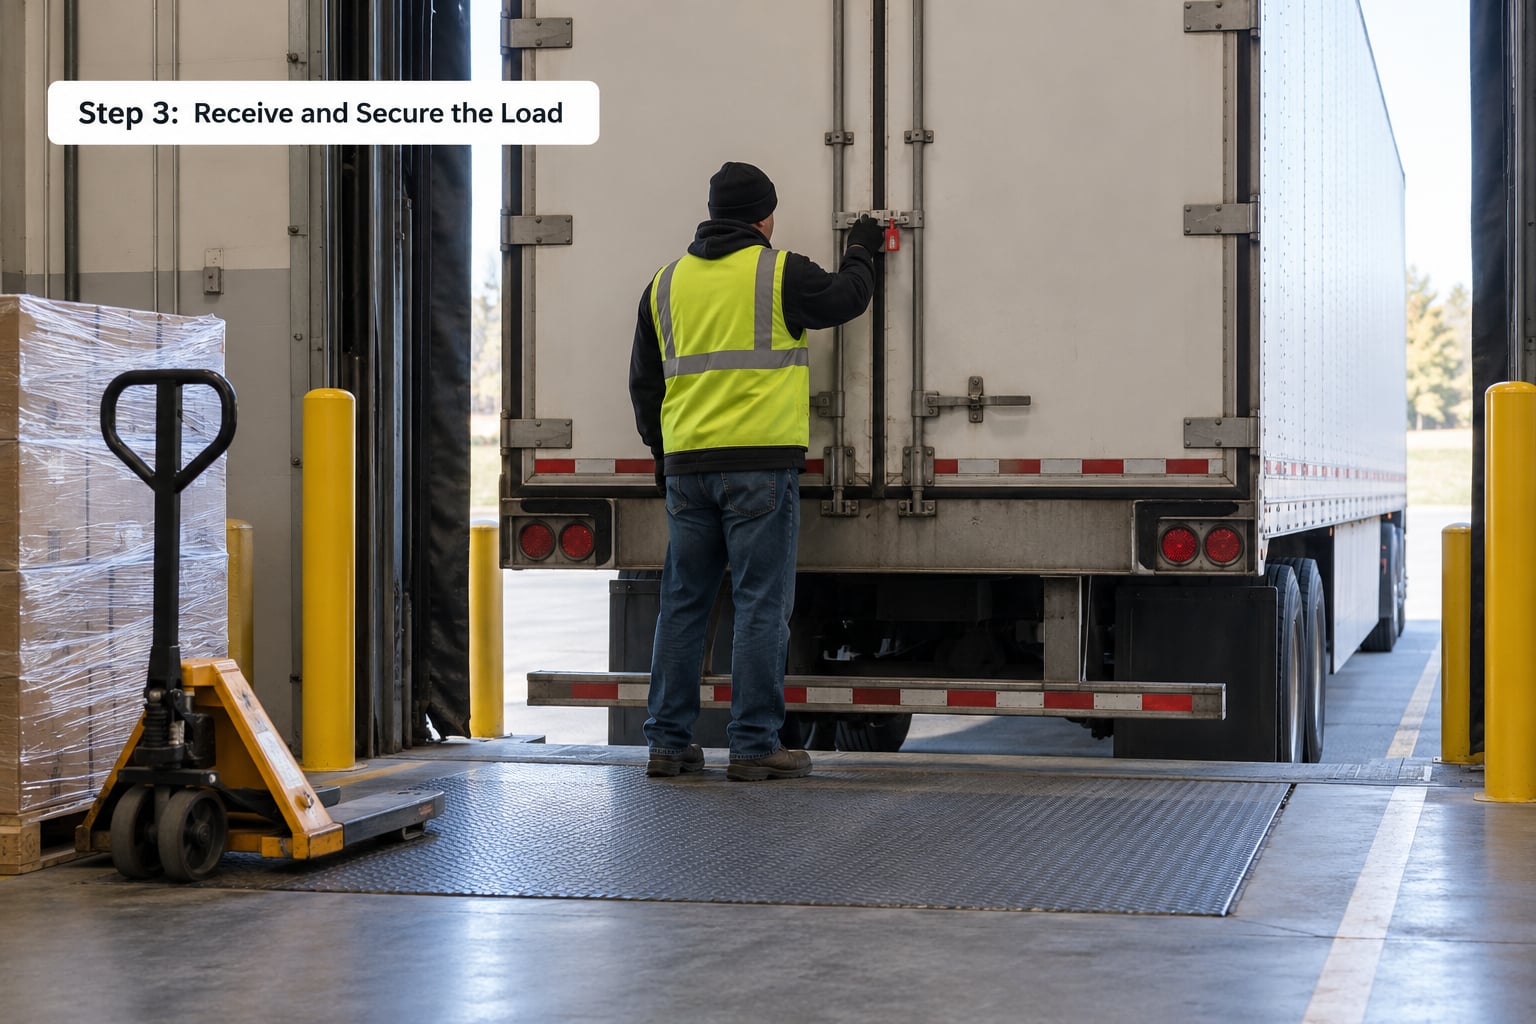
At the door, the receiver confirms the driver and carrier against the appointment, checks the trailer floor and side walls for damage, notes the seal number and confirms it matches the bill of lading, and looks at any temperature display before breaking the seal. A broken or wrong seal stops the unload until a supervisor is present.
Unloading happens with the equipment the load actually needs, and the trailer is not released until the count of pallets and the carrier signature are done. The owner is the receiver plus the spotter. Records updated are the arrival time stamp, the seal number and the proof of delivery. Completion is confirmed when the load is stable in a marked receiving lane, protected from weather and traffic, and assigned to a specific staging position rather than dropped in a corridor.
Step 4: Verify Packaging and Physical Quantity
Each shipping unit gets looked at: crushed corners, punctures, water staining, broken seals and wrong labels count as packaging exceptions. Cartons or pallets are counted against the packing list, and the count is recorded at the level the system tracks — master cartons, cases or pallets. Nothing is estimated from the manifest alone.
The owner is the receiving associate, with the shift lead resolving odd counts. Records updated are the counted quantity and a photo log for anything damaged. Completion is confirmed when the physical count and package condition are written down for every line, including the lines that came out short. In a small operation without scanning, this is the step where a disciplined spreadsheet earns its keep: date, PO number, supplier, item, expected, counted, variance and initials, in one row per line.
Step 5: Inspect Product Condition and Compliance
Inspection confirms identity and condition: the item matches the PO, the lot or batch number is legible and captured, expiry dates are recorded where they matter, and there is no contamination, moisture intrusion, odour or physical damage. Any certificate of analysis required by the PO is collected here, not later.
Inspection depth should follow risk. A consumable used directly in production may get a sample check every lot; a low-risk packaging component may only need a visual pass. The owner is the receiver for the basic check and quality for anything regulated, customer-specified or suspect. The outcome is one of four dispositions: accepted, held for further review, quarantined, or rejected with evidence. Completion is confirmed when that disposition is recorded with supporting photographs and notes.
Step 6: Capture Barcodes and Update Inventory Records
Receiving personnel scan or key in the item, lot, serial, quantity and location data, then post the receipt. Scanned quantity lands as received rather than available, and the system links the receipt to the PO line so the open balance reduces correctly. Unscannable labels are a real and common problem; the fix is to print a replacement label against the original barcode number rather than typing a new item code from memory.
The owner is the receiving associate; inventory control reviews the posting. The record updated is the on-hand and quarantine quantity in the WMS or ERP. Completion is confirmed when the system shows the right quantity in the right status and ties back to the source PO and receipt number. Scanned accuracy on the dock is what protects accuracy at the pick face, and reducing warehouse picking errors starts here rather than in the aisles.
Step 7: Resolve Quantity, Quality, or Documentation Discrepancies
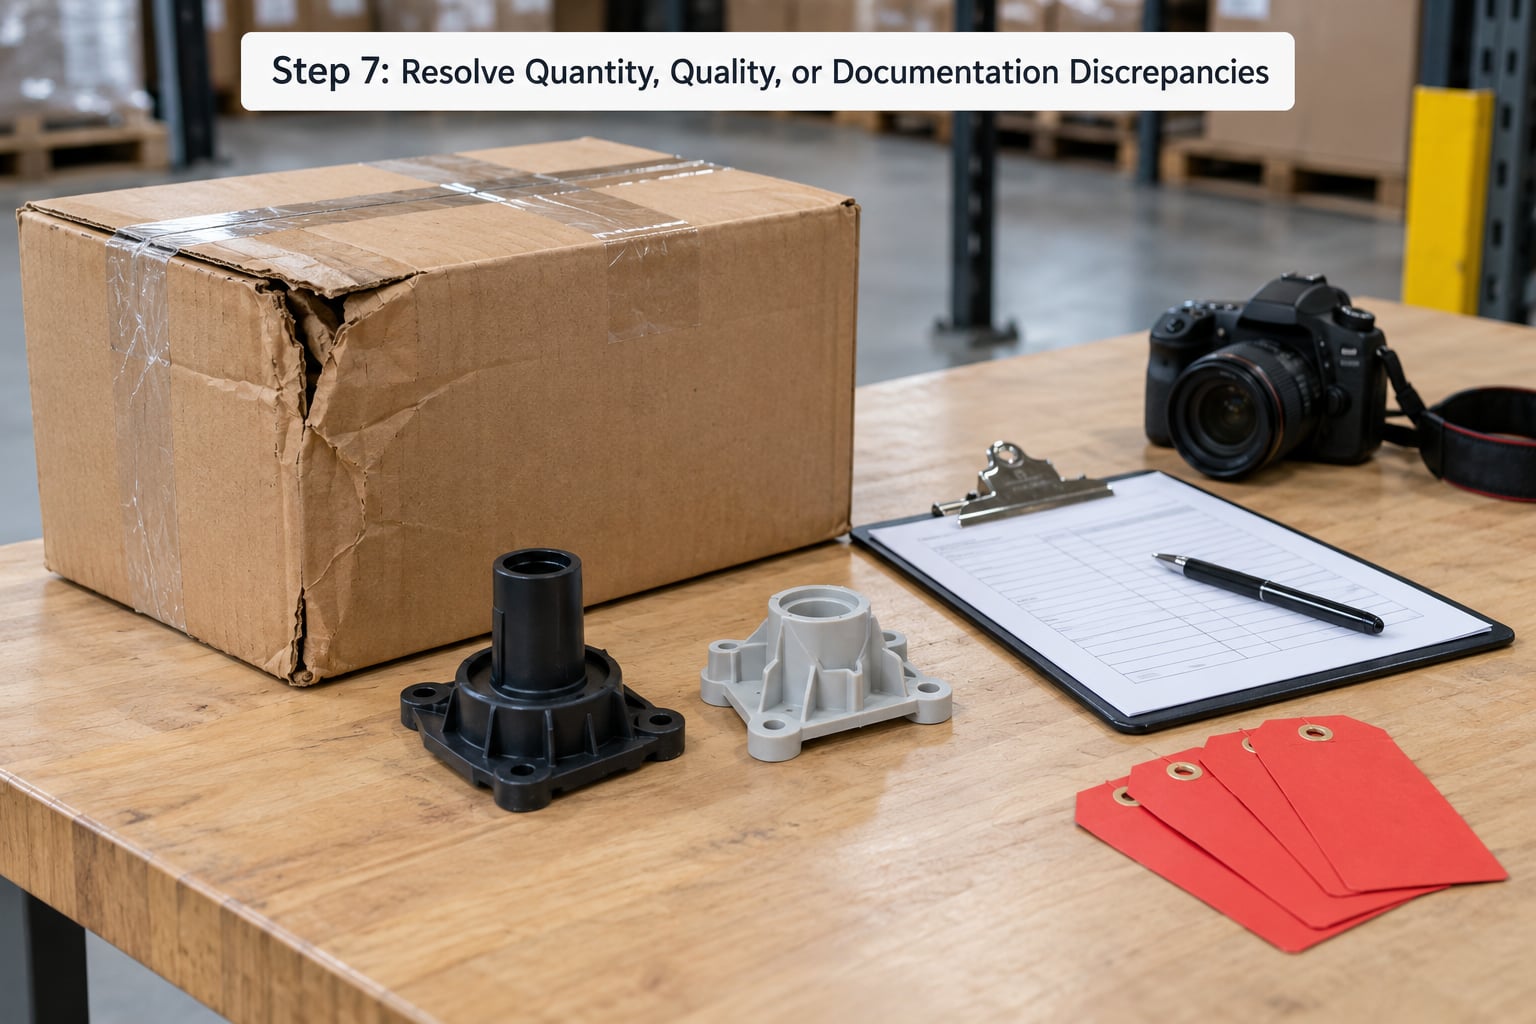
Shortages, overages, damage, substitutions, wrong item numbers and missing paperwork all follow the same six-step path: identify, document, photograph, verify against the source documents, report to the buyer, then resolve with the supplier and adjust the record. Most discrepancy forms should be rare enough to read carefully rather than processed as routine paperwork.
The owner is the receiver to document, the buyer to chase, and a supervisor to authorise any adjustment. Disputed material is tagged and moved to a quarantine position that the picking system cannot allocate from. Completion is confirmed when each exception carries a written disposition — accepted with variance, returned, scrapped, or credited — and inventory accuracy is unaffected while it sits unresolved. Once a receipt is closed with open exceptions, those exceptions tend to disappear rather than get resolved.
Step 8: Put Away the Receipt
Putaway is the move from the receiving lane to a defined storage location. The picker follows the system’s rule — fixed location, zone, slotting by velocity, or a random location with a location label — and scans both the item and the destination to confirm the move. Environmental and handling requirements decide the destination first: temperature, stackability, weight, hazmat status and how often the item will be accessed.
The owner is the putaway operator, with inventory control owning the location rules. The record updated is the item’s location. Completion is confirmed when the physical position and the system location match and the receiving lane is clear. Two shortcuts cause most putaway problems: closing the receipt before the move is finished, and putting material away before its inspection disposition is decided. Both leave stock in the system that nobody can find or trust.
Step 9: Close the Receipt and Retain the Record
The receiver reconciles final quantities, confirms remaining exceptions are resolved, and attaches the purchase order, packing list, bill of lading, delivery receipt, inspection results, lot or serial data and supporting images to the receipt record. Only then does authorized staff close it.
Returns and customer-side recovery follow their own path through the same door but a different workflow, covered in our piece on the reverse logistics process for manufacturers. Completion is confirmed when anyone can trace a given lot from the shipment through inspection to its storage location and inventory transaction. Retention periods follow what the business, customer or regulation requires; a manufacturing audit trail is usually three years or more, and lot-linked material can carry a longer obligation.
Common Mistakes
Almost every receiving failure traces back to skipping a control or letting two steps blur into one. These are the ones that repeat, each with the fix that stops it.
- Unloading before confirming the PO. The fix: no unload, no receipt. Match the appointment to an open PO line first, and treat an unmatched load as a blind receipt with quarantine status.
- Mixing accepted and quarantined material in one lane. The fix: physically separate positions with their own labels and scan status, so the pick system cannot allocate from the hold area by accident.
- Trusting the manifest instead of counting. The fix: count every line and record the variance, even when the count matches, because the recorded count is what the accuracy metric is built on.
- Deferring discrepancies to the end of the week. The fix: open the discrepancy form at the dock. Suppliers need the evidence while the trailer and paperwork are still in front of you.
- Skipping lot and serial capture. The fix: capture the lot at receipt, not at issue. Once mixed lots are in the same bin, traceability is gone and a recall becomes a full inventory search.
- Closing receipts before putaway finishes. The fix: close only after the location scan confirms the move, or split the receipt into received and put-away-complete states.
- Running receiving and putaway as one undefined task on shift change. The fix: write down which receipts are counted, which are staged and which are dispositioned at hand-off, so the incoming shift is not guessing.
Two habits do more for accuracy than any software purchase. Name the owner of each stage, and write down the completion check before the season gets busy. Teams that skip both tend to discover the gaps during the first audit, when the paperwork trail is cold.
Frequently Asked Questions
Who is responsible for the warehouse receiving process?
Receiving usually involves the dock coordinator or receiver, but purchasing, quality, inventory control and warehouse supervision share responsibility. The receiver verifies the shipment and records the count, quality decides accept, hold or reject on anything non-conforming, purchasing resolves discrepancies with the supplier, and inventory control owns the system records and location accuracy. Naming one person per stage in the SOP is what keeps the hand-off clean.
Should every warehouse delivery be inspected?
At minimum, verify shipping integrity, item identity, quantity and required documents for every delivery, no matter how routine the supplier. Deeper inspection should follow product risk and purchase requirements. High-risk, regulated or customer-specified material gets a documented check per lot, while low-risk components may only need a visual pass. The decision rule belongs on the PO so the receiver does not have to guess.
How should a warehouse handle a partial shipment?
Receive and record only what physically arrived, note the expected balance, and keep the PO open until the supplier confirms whether the balance is delayed, cancelled or split into another shipment. Do not close the PO and do not create a second PO for the balance, because that hides the original commitment. Putaway and picking continue against the received quantity, and cycle counts cover the gap in case someone forgets the line is still open.
What documents should be kept with a receipt?
Retain the purchase order, packing list, bill of lading, delivery receipt, inspection results, lot or serial data, certificates of analysis, and evidence supporting shortages, damage or rejection. Attach all of them to the receipt record in the system rather than in a separate file, so an auditor can follow one transaction end to end. Photographs of damaged packaging are the document that decides most supplier claims, so capture them at the dock.
How do you measure receiving accuracy?
Track receiving accuracy as counted quantity against the expected quantity per PO line, and report it by cause: short, over, damage, wrong item, missing paperwork. Two supporting measures matter as much: the time from trailer arrival to the item being available to pick, and the percentage of receipts closed with the putaway location already confirmed. Review them by supplier, since most variance traces back to a small number of vendors.
Conclusion
Run the nine stages in order and the receiving process step by step stops being a scramble on the dock and becomes a workflow you can hand to a new hire. Before the first delivery arrives, match four things: the appointment on the schedule, the expected receipt in the system, the inspection area with its equipment and quarantine position, and the written sequence with an owner and completion check for each stage. Write it down, walk it with the team once, and adjust it when the first real loads expose the gaps.