
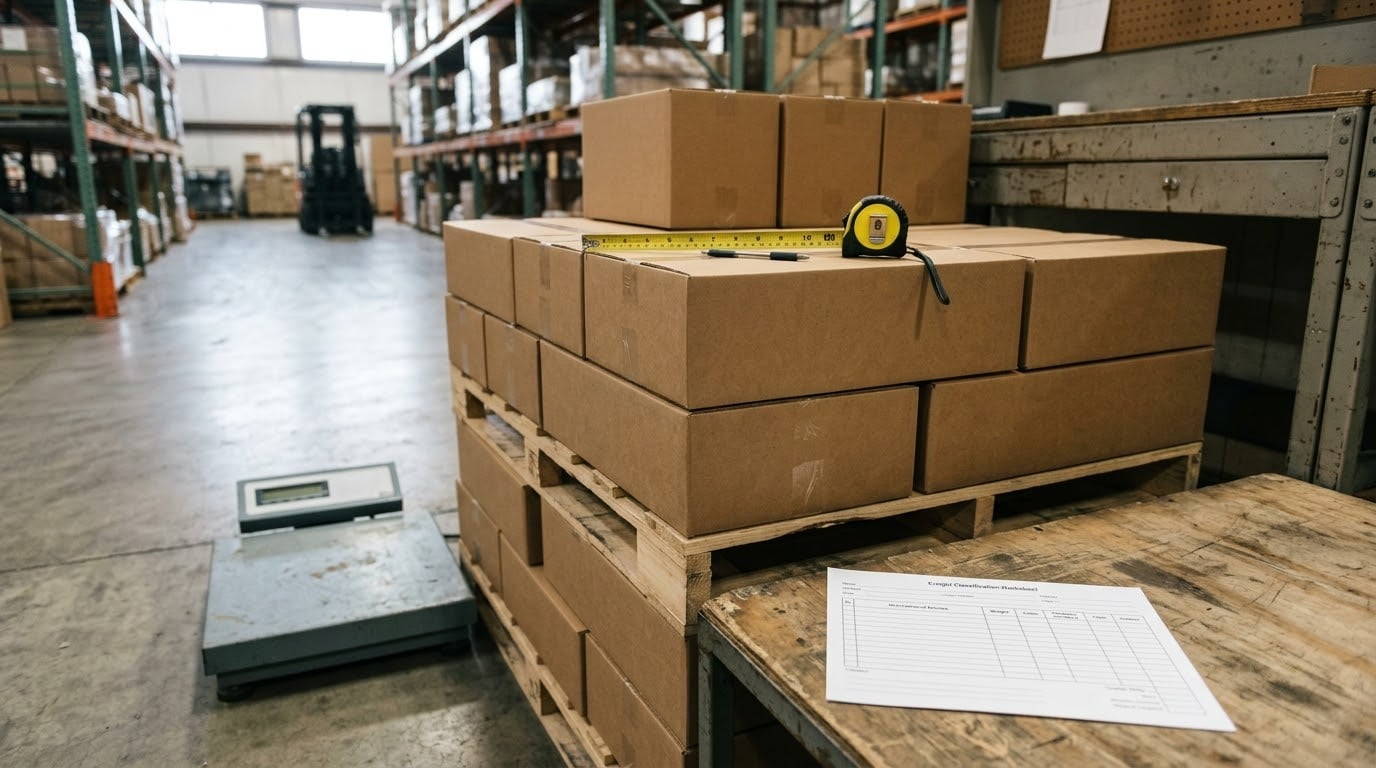
To determine freight class for an LTL shipment, measure the freight unit’s exterior dimensions, convert them to cubic feet, divide the total weight in pounds by those cubic feet to get pounds per cubic foot, then match that density against the National Motor Freight Classification chart. The commodity description and handling conditions decide which class actually applies.
Most manufacturers I talk to already have accurate weights and dimensions on paper. What they are missing is a repeatable way to turn those numbers into the class number a carrier will accept on the bill of lading.
That process takes about 15 minutes per shipment once the data exists. The harder part is knowing which measurements count and which ones quietly push a shipment into a higher class than it deserves.
Table of Contents
- What You Need
- How to Determine Freight Class Step by Step
- Step 1: Identify the Product Being Shipped
- Step 2: Determine the Packaging and Units
- Step 3: Gather Weight and Dimensions
- Step 4: How to Calculate Freight Density and Compare It to the Chart
- Worked example: one pallet
- Worked example: a pallet of many small cartons
- Freight class chart: density to class
- Step 5: Review Handling and Hazardous-Material Factors
- Step 6: Select and Verify the Freight Class
- Common Mistakes
- Frequently Asked Questions
- What is freight class and who assigns it?
- How do I calculate freight density for a shipment?
- Does freight class depend only on the product weight?
- What information does a carrier need to rate a shipment?
- How do I classify a pallet of multiple products?
- What happens if my product requires special handling?
- Conclusion: Start With One Accurate Pallet Measurement
What You Need

Assemble these before you touch a calculator. If an item on this list is missing, the class you quote will not survive carrier verification.
- A specific product description. Not “parts” or “finished goods” — name the commodity as it appears in an NMFC item description, including material and function.
- Exterior dimensions of every package. Length, width and height in inches, measured at the widest and tallest points, including any pallet overhang.
- Actual weight of every package. Product plus packaging, cartons, crates, banding, dunnage and the pallet itself.
- Packaging type. Loose carton, bundled, boxed on pallet, crated, drummed or in a rigid container.
- Units per package and packages per freight unit. This tells you whether the carrier treats the item as a single piece or a palletized lot.
- Hazardous-material status. Any regulated commodity, including batteries, aerosols, solvents and pressurised containers, gets rated separately.
- Handling requirements. Fragile, stackable, non-stackable, temperature-controlled, or not to be double-stacked.
- Delivery context. Residential versus commercial, and whether a liftgate or inside delivery is needed. Those are accessorial charges, but they affect the quote you compare against.
If you already run a scale, use an NTEP-certified one. A bathroom scale under a pallet gives you a number, but not one you can defend in a billing dispute.
How to Determine Freight Class Step by Step
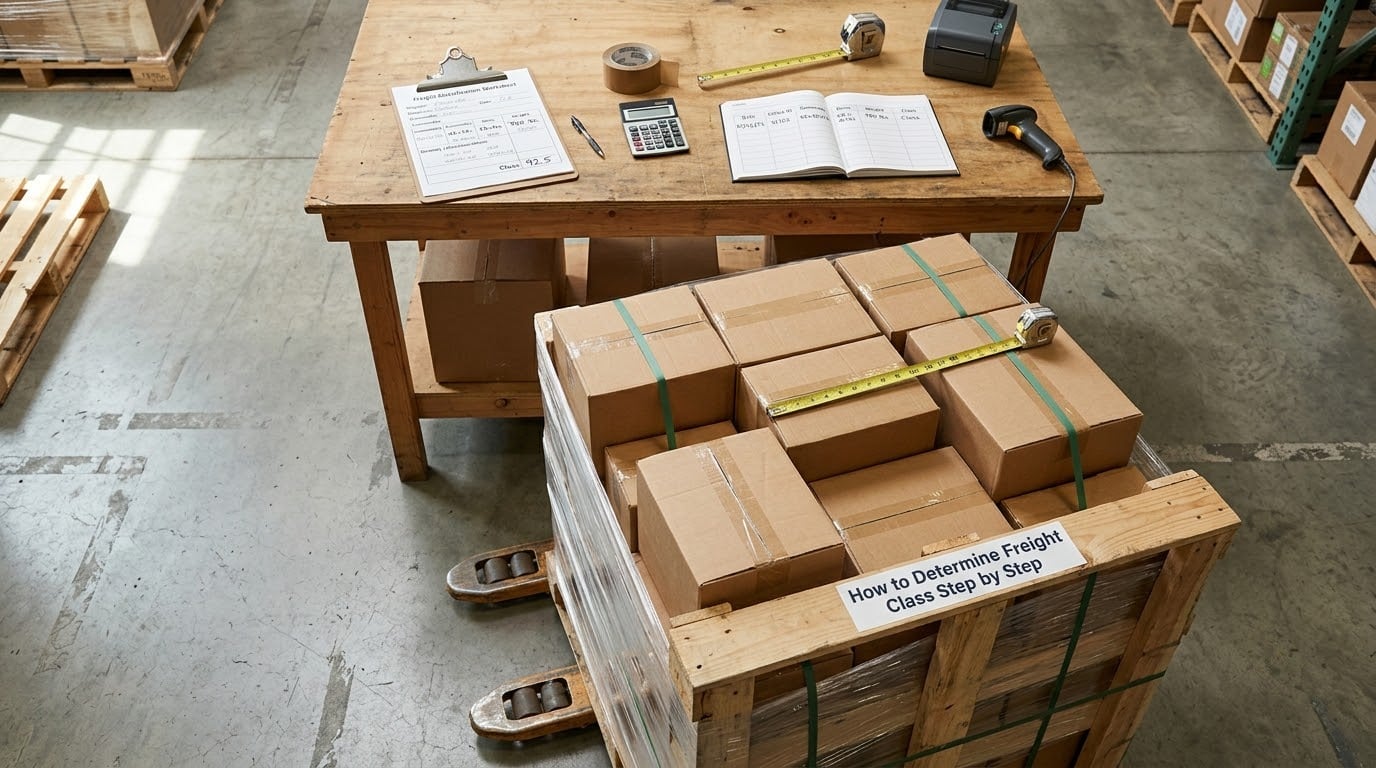
Work through these six steps in order. Each one depends on the data from the step before it, which is why shortcuts and online calculators get people into trouble when their input numbers are wrong.
Step 1: Identify the Product Being Shipped
The classification system starts with what the freight is, not how heavy it is. Every commodity in the NMFC has an item description and an item number, and that item carries a default class.
Vague descriptions are the single most common cause of a surprise on the freight bill. “Plastic parts,” “metal components” and “samples” tell a classification clerk nothing usable. What is the part, what is it made of, and what does it do in the assembled product?
Once you have a precise description, you can look up the matching NMFC item number before you calculate anything. That number, not your gut feel, is what the carrier references during review. If your product does not match any listed item cleanly, that is the point to contact a classification specialist rather than guess.
Step 2: Determine the Packaging and Units
Packaging changes the arithmetic because it adds both weight and cubic volume. A crate may protect a part perfectly and still push the shipment into a class the raw product would never have reached.
Decide and write down what counts as one shipping piece. If you ship 40 small parts in a single carton, that carton is one piece with one weight and one set of dimensions. If you ship 400 of those cartons on a pallet, the carrier may treat the pallet as the freight unit.
Two details catch people here. First, protective packaging — foam, crates, edge protectors, moisture barrier — is part of the weight and part of the cube. Second, a bundle or a pallet of identical cartons can usually be rated as a single unit, while a mixed pallet generally cannot.
Step 3: Gather Weight and Dimensions
Measure the freight unit at its extreme points, not at the carton and not at the footprint of the pallet. Length runs the longest side, width the second, and height from the floor of the pallet to the top of the load.
A standard 48 x 40 inch pallet loaded to 52 inches gives you 48 x 40 x 52 = 99,840 cubic inches. That is the measurement set the carrier uses. Rounding to 50 inches high because the load looks close saves you nothing and creates a mismatch at delivery.
Weigh the built freight unit, not the components separately. A typical GMA pallet adds 50 to 60 pounds, stringers add more, and shrink wrap and corner boards add a few more. Leave any of that out and your density comes back too high, which looks like a lower class — exactly the kind of error that triggers a reclass fee.
Step 4: How to Calculate Freight Density and Compare It to the Chart
Two formulas do all the work. There are 1,728 cubic inches in a cubic foot, so the first converts your measurements into volume, and the second turns weight and volume into density.
Cubic feet = (Length x Width x Height in inches) / 1,728
Freight density = Total weight in pounds / Cubic feet
Density always comes back in pounds per cubic foot. Higher density means denser, heavier freight for its size, which lands in a lower class. Light, bulky freight sits at the opposite end. Practitioners in the 3PL community use the brick-versus-ping-pong-ball comparison for a reason: the cube is the same either way, so the light item is rated much higher.
Be clear about which density you are using. Product density describes the material itself and tells you nothing about your freight charge. Shipping density uses the built freight unit, packaging included, and that is the number the carrier bills from.
Worked example: one pallet
A pallet of your injection-moulded housings goes out at 48 x 40 x 52 inches and weighs 1,260 pounds including the pallet and cartons.
Cubic feet = 99,840 / 1,728 = 57.78 cubic feet. Density = 1,260 / 57.78 = 21.8 pounds per cubic foot. On the chart below, 21.8 falls in the 21.5 to 24 band, so the shipment rates at class 100.
Worked example: a pallet of many small cartons
Forty cartons measuring 24 x 18 x 12 inches each ship on one pallet. One carton is 24 x 18 x 12 = 5,184 cubic inches, or 3.0 cubic feet, and each weighs 40 pounds gross.
Rated as one carton, density is 40 / 3.0 = 13.3 pounds per cubic foot, which lands at class 250. Rated as the full pallet, the load stacks to about 51 inches high, so the freight unit measures 48 x 40 x 51 = 97,920 cubic inches, or 56.67 cubic feet. Forty cartons at 40 pounds is 1,600 pounds, and a GMA pallet adds roughly 60, so the shipped weight is 1,660 pounds. Density = 1,660 / 56.67 = 29.3 pounds per cubic foot, which falls in the 27 to 31.5 band and rates at class 85.
Same goods, two different class numbers, and the difference comes down to how the piece was defined. Decide that deliberately.
Freight class chart: density to class
Use this as a lookup, not as the governing authority. The NMFC itself is the governing document, and NMFC revisions can move breakpoints between editions.
| Freight class | Density range (lbs per cubic foot) | Typical freight |
|---|---|---|
| 50 | 92.5 and up | Solid dense metals, machine parts in tight packing |
| 55 | 72.5 to 92.5 | Bagged cement, dense hardware |
| 60 | 56 to 72.5 | Steel coils, bar stock, dense castings |
| 65 | 47 to 56 | Painted automotive components, appliance parts |
| 70 | 38.5 to 47 | Paper products, packaged food, canned goods |
| 75 | 33 to 38.5 | Motor oil in bottles, bottled beverages, glassware |
| 77.5 | 31.5 to 33 | Palletised cartons of lightweight goods |
| 85 | 27 to 31.5 | Cosmetics, plastic kitchenware, light machinery |
| 92.5 | 24 to 27 | Printed matter, wooden furniture, boxed electronics |
| 100 | 21.5 to 24 | Moulded plastic components, packaged instruments |
| 125 | 18.5 to 21.5 | Clothing in cartons, mattress components |
| 150 | 16.5 to 18.5 | Furniture, bagged textiles |
| 175 | 15 to 16.5 | Loose furniture, crated appliances |
| 200 | 13.5 to 15 | Cabinetry, sheet goods in crates |
| 250 | 11 to 13.5 | Small packaged parts, boxed hardware |
| 300 | 9 to 11 | Empty cartons, light foam products |
| 400 | 7.5 to 9 | Light plastic film rolls, bulky soft goods |
| 500 | 7.5 and under | Very light bulky items, foam, air pillows |
Step 5: Review Handling and Hazardous-Material Factors
Density sets the starting point. Condition modifiers and the NMFC item description can move it. A fragile item, something that cannot be stacked, or a commodity with a high replacement cost usually rates above its density band.
Run through a short checklist for every shipment. Is it fragile or easily dented? Can the carrier double-stack another shipment on it? Does it need temperature protection? Is it liquid, powder, magnetised, or a regulated good such as lithium batteries, paint, solvents or aerosols?
Dangerous goods are not rated with a density class at all. They get their own hazardous materials rating plus accessorial charges, and they change how the carrier can handle and load the shipment. Declare them up front. Concealing a hazardous commodity is far more expensive than the extra paperwork it takes to describe it.
Step 6: Select and Verify the Freight Class
Now put the pieces together: the NMFC item number for your commodity, the density you calculated from the built freight unit, and the handling and hazardous conditions you confirmed. Where those agree, that is your declared class.
Verify it before the freight leaves. Many carriers and brokers will confirm a class in writing from your description, dimensions and weight, and that written confirmation is what you use when a reclass dispute comes back to you weeks later.
If the item number, the density band and the handling conditions point to different classes, stop and ask a classification specialist which one governs. That is a normal part of the process, not a sign that you did the math wrong.
Common Mistakes
Most reclassification fees trace back to one of a handful of measurement habits. Each of these has a straightforward fix.
Using a vague product description
“Parts,” “assemblies” and “samples” give a clerk nothing to classify against. Name the commodity the way the NMFC item describes it, with material and purpose.
Using net weight instead of shipping weight
Leave out the pallet, crates, banding and dunnage and your density comes back too high, which produces a class that looks too favourable. Weigh the loaded freight unit.
Measuring only one carton on a multi-carton pallet
The carrier measures the whole freight unit. Measure the full stack height, including the pallet, and include any overhang beyond the pallet footprint.
Confusing product density with freight density
Product density describes your material. Only shipping density, built unit against volume, produces a class. Write down which one you used.
Ignoring the pallet dimensions
A 48 x 40 pallet is a common standard, but not the only one. Measure yours, including any stringers or overhang, rather than assuming.
Not declaring special handling
Undeclared fragile or hazardous status is discovered at the terminal, where the fee is not negotiable. Disclose it during the quote.
Declaring a deliberately low class to shave a little off a quote is the fastest way to lose carrier trust, and an incorrect class can also reduce the carrier’s liability for your goods in transit. If the goal is a better freight number, start with the packaging and density levers covered in 9 freight cost reduction strategies for manufacturers instead of the class field.
Frequently Asked Questions
What is freight class and who assigns it?
Freight class is the standardized rating the National Motor Freight Classification uses to group less-than-truckload freight into 18 classes, from 50 to 500, based on density, stowability, handling and liability. The National Motor Freight Traffic Association publishes the NMFC, and carriers, brokers and shippers apply it. You declare the class on your paperwork, but the carrier verifies it at pickup and can reclassify the freight after delivery.
How do I calculate freight density for a shipment?
Measure the freight unit at its longest, widest and tallest points, including the pallet and any overhang. Multiply those three dimensions in inches to get cubic inches, divide by 1,728 to get cubic feet, then divide the total weight in pounds by the cubic feet. The result is density in pounds per cubic foot, and you match that number to the freight class chart.
Does freight class depend only on the product weight?
No. Weight only enters the calculation through density, and density only counts because the NMFC also weighs stowability, ease of handling and liability. A fragile, non-stackable or high-value commodity can rate above the band its density would suggest, and hazardous materials are rated separately altogether.
What information does a carrier need to rate a shipment?
A carrier needs the specific commodity description and matching NMFC item number, the exterior dimensions and actual weight of every package including the pallet, the number of units and packages per freight unit, packaging type, hazardous-material status if any, and any special handling such as fragile or non-stackable. Delivery details like liftgate and residential service are quoted as accessorials.
How do I classify a pallet of multiple products?
Calculate each pallet or piece separately when the pallets differ in size, weight or contents, then sum the weights and the cubic volumes to get a combined density for the shipment. Identical pallets with the same dimensions, weight and commodity can usually be rated as one unit using the combined totals. For a mixed pallet of different commodities, expect the classification clerk to split it by item.
What happens if my product requires special handling?
Declare it at quote time. Fragile, stackable, temperature-controlled and non-stackable flags are entered on the bill of lading and usually raise the class above the density band. Dangerous goods such as batteries, aerosols, solvents and pressurised containers are rated under a separate hazardous materials classification with added accessorial charges, so they never use the standard density chart alone.
Conclusion: Start With One Accurate Pallet Measurement
Pick the next LTL shipment leaving your dock, weigh the built freight unit on a certified scale, and measure it at its extreme points. Turn those numbers into density with the two formulas above, look up the class, and confirm it in writing before the driver leaves.
That one habit, repeated, is how you determine freight class accurately enough that your quotes hold and reclassification fees stop arriving as surprises. Classification is one piece of the puzzle, so fold it into a wider review of packaging, routing and freight terms once the number itself is reliable.