
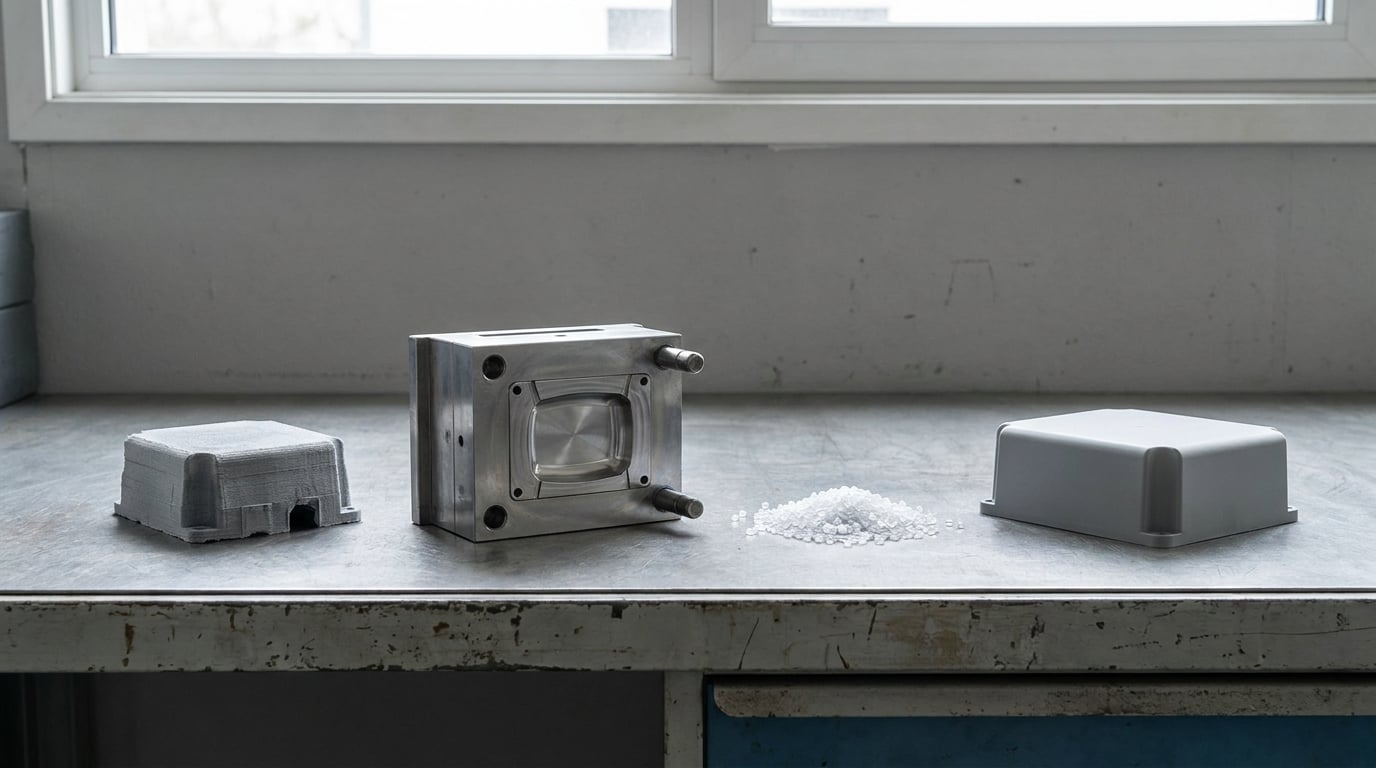
3D printing vs injection molding cost comes down to one number: the mold. 3D printing has no tooling and a per-part price that barely moves as you order more, so it wins for prototypes and short runs. Injection molding pays a large one-time mold cost and then makes each part for a fraction of the printed price, so it wins once you have enough pieces to spread that mold cost thin.
For a typical small polymer part the crossover lands somewhere between a few hundred and a couple thousand pieces. Every published number you read assumes a different part size, wall thickness, material and tolerance, which is why two credible sources can both be right and still disagree by a factor of ten. This guide breaks both cost structures down line by line, gives you a breakeven you can run on your own part, and shows which assumptions move the answer most.
Table of Contents
- 3D Printing vs Injection Molding Cost Breakdown at a Glance
- What Determines the Cost of 3D Printing?
- What Determines the Cost of Injection Molding?
- Prototype and Low-Volume Cost Comparison
- 3D Printing vs Injection Molding Cost at Production Scale
- Tooling, Labor, and Lead-Time Tradeoffs
- How to Estimate Total Cost for Your Part
- Which Should You Choose?
- Frequently Asked Questions
- Is 3D printing cheaper than injection molding for prototypes?
- At what quantity does injection molding become cheaper than 3D printing?
- Is injection molding more expensive than 3D printing?
- Is 3D printing as strong as injection molding?
- How much does it cost to make a 3D printed injection mold?
- What hidden costs do people miss on 3D printing?
- Conclusion
3D Printing vs Injection Molding Cost Breakdown at a Glance
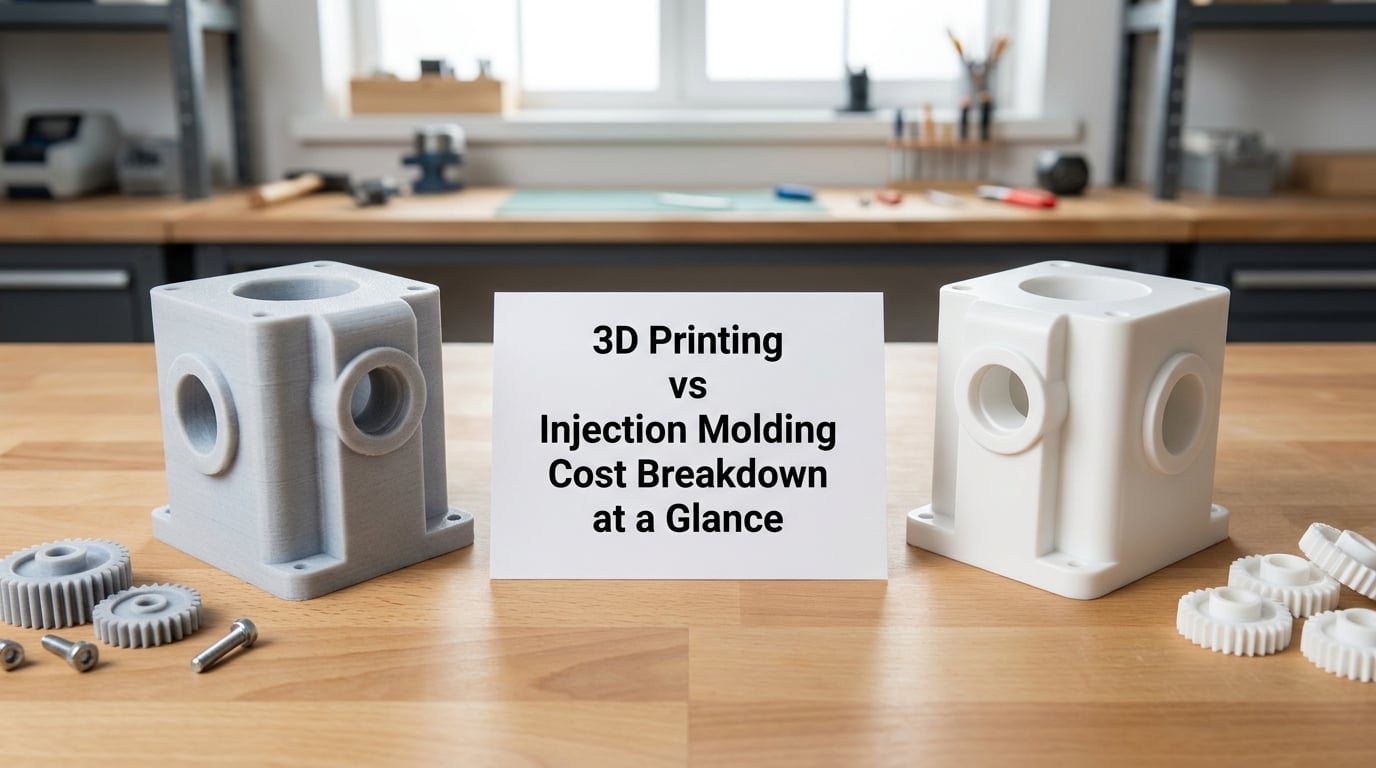
| Criterion | 3D printing | Injection molding |
|---|---|---|
| Upfront tooling | None | Large, one-time, quoted before you commit |
| Per-part cost | High and nearly flat | Low once tooling is amortized |
| Setup and changeover | File prep and support removal, minutes | Heating, purging, first-article checks, hours |
| Labor per part | Declines with nesting, never reaches zero | Near zero on an automated cell |
| Time to first part | Days | Weeks of tool building before any parts exist |
| Design changes | Free, print the new file | New tool or a costly modification |
| Repeatability | Varies with machine and orientation | Tight and consistent once the tool is settled |
| Surface finish | Layer lines visible | Smooth, cosmetic, paint-ready |
| Geometry freedom | Internal channels and lattices | Draft angles, uniform walls, no undercuts |
| Best suited to | Design validation, jigs, low volume | Repeat production and assembly |
Four volume bands settle most of these arguments before any detailed math happens.
- 1 to 100 pieces. Printing wins outright. The mold has not been paid for yet, and a printed part typically costs a few dollars to tens of dollars each depending on size and material. This band also covers design iteration, where changing your mind is free.
- 100 to 1,000 pieces. Still usually printing, but this is where bridge tooling and single-cavity aluminum prototype molds start to make sense. A DFM review that merges two molded parts into one can halve the tooling bill and pull the crossover down sharply.
- 1,000 to 5,000 pieces. Contested ground. Here the decision stops being about the printed part price and starts being about tooling scope, cavity count and how much post-processing the printed parts need.
- 5,000 pieces and up. Molding wins in almost every case, and the gap widens with each additional order. Cycle time divided across cavities, near-zero part labor and cheap resin per kilogram compound in your favor.
One rule of thumb worth keeping: a mold that runs hundreds of thousands of parts becomes irrelevant per part very quickly, so never evaluate molding on unit price alone. Evaluate it on the total program cost, which is tooling plus parts plus everything hidden in between.
What Determines the Cost of 3D Printing?
Printed part cost is machine time plus material plus labor plus the fixes. There is no fixed cost to amortize, which is exactly why the number stays flat.
Machine time. This is usually the largest line and it is billed as a machine hour rate multiplied by print hours. A production SLS or MJF machine running unattended overnight can be very cheap per hour, while a small SLA printer attended by a technician is expensive per hour even when the resin is nearly free. Build volume, layer height and infill all move the hour count more than most people expect. Halving layer height roughly doubles print time.
Material. Resin and filament priced per kilogram or per liter, with the mass of the actual part and the mass of the supports and purge material both on the bill. Engineering-grade nylon PA+GF and filled resins cost multiples of commodity PLA, and closed-system material from a printer manufacturer can carry a markup of several hundred percent over open-market equivalents. At low volume that markup is pure overhead, because you never buy enough to matter.
Labor and post-processing. Support removal, washing, curing, depowdering, bead blasting, tumbling, hand finishing and inspection. Industry guidance repeatedly puts post-processing at 30 to 50 percent of the quoted print cost, and on complex geometries with trapped powder it can be the biggest line on the invoice. Add the failed print allowance next: 10 to 15 percent is a reasonable planning number, higher if the geometry is difficult or the machine is older.
The bands that matter. Desktop and low-volume FDM printing is cheap per hour and expensive per part because a human is loading and unloading it. Industrial SLS, SLA, MJF and metal systems cost more per hour but run unattended in nests, which drops labor per part sharply. The honest read is that printed per-part cost is not perfectly flat: it does step down at volume through automation and larger machines, just nowhere near as fast as molding does.
The four inputs. Before you can compare anything you need part volume, printed cost per part, tooling cost, and molded cost per part. Everything else on this page is a way of estimating those four.
What Determines the Cost of Injection Molding?
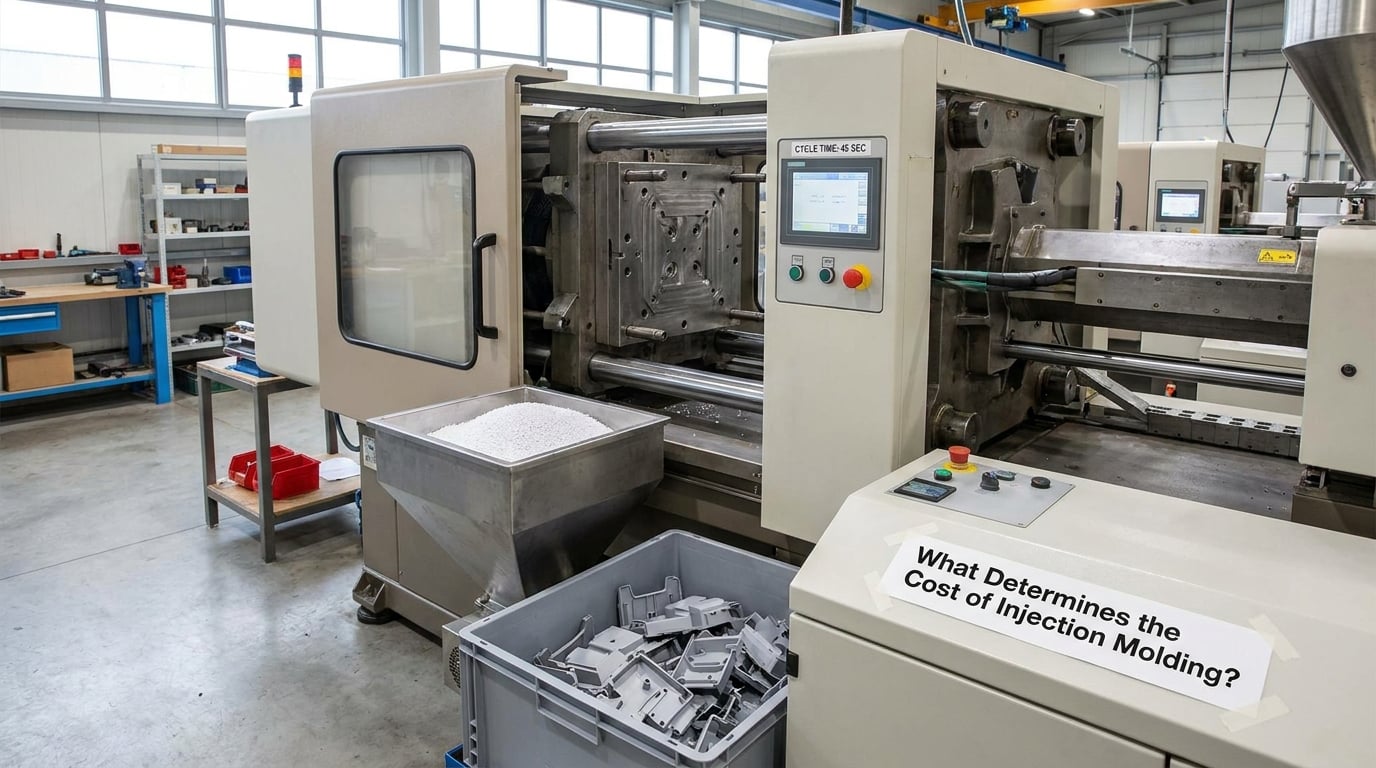
Molding cost is one big number you pay before you own anything, plus a small number you pay per part. The small number is predictable. The big number is where all the variance lives.
Tooling is the fixed cost, and geometry drives it
A production mold is machined from a steel or aluminum block, and the quote scales with how much steel has to come off it. Part size, wall thickness, cavity count, number of slides and cores, and whether you need hot runners or conformal cooling all feed directly into that figure.
| Part size | Typical tooling range | Usual mold material | Notes |
|---|---|---|---|
| Small, under 2 inches | About 5,000 to 15,000 | Aluminum or pre-hardened steel | Cheapest tooling, easiest DFM wins |
| Medium, 2 to 6 inches | About 15,000 to 40,000 | Hardened steel | Most consumer hardware lands here |
| Large, over 6 inches | About 40,000 to 80,000 and up | Hardened steel | Machine size and shipping start to matter |
Treat those as typical US ranges for a single-cavity tool with standard cooling. They move with region and they change over time, so confirm any figure with a quote rather than a blog post.
The per-part cost is cycle time over cavity count
Once the tool exists, the per-part cost collapses to a small calculation: machine hour rate multiplied by cycle time, divided by how many parts come out of that cycle, plus resin by the kilogram, plus scrap. A 25-second cycle on a four-cavity tool is 6.25 seconds of machine time per part, so a high hourly rate still lands in pennies per part.
Shot cost is a fraction of a dollar to a few dollars depending on part size and machine. Scrap rate, trimming, insert components, defect control and inspection all add small amounts. What really matters is that none of them scale with volume the way tooling does.
The lines suppliers revise upward
Buyers on hardware forums complain consistently that the headline tooling number keeps climbing after the first quote. DFM review, T1 sampling runs, tool modifications to correct shrinkage and warpage, and additional gate or gate-balance revisions are the usual reason. Build a 15 to 25 percent contingency into tooling, not because the molder is dishonest but because first-article feedback almost always changes the part slightly.
For bridge production of roughly 1,000 to 5,000 pieces, a single-cavity aluminum prototype mold or a 3D printed insert hybrid is the middle path. It gets you molded geometry and finish without the four to eight week hardened steel lead time or the full production tooling bill. It also gets you fewer shots before the wear and the questions start.
Prototype and Low-Volume Cost Comparison
All tooling ranges in this guide are in US dollars. At low volume the entire conversation is about avoiding a fixed cost, so let us start where the fixed cost is zero.
One part. Printing is the only sensible answer. A single hand-finished SLA or SLS part can run into the hundreds once setup, supports and labor are counted, and that is still far below a mold. The value here is speed and information: you learn whether the geometry works before you spend anything irreversible.
Ten parts. Printing still wins on cash. The drivers that push printing up here are print orientation, how much support material the geometry demands, hand finishing, and whether the bureau is running your job alongside other small jobs or in its own unattended batch. Requesting production-intent material for fit and finish checks raises the per-part number but saves you from validating the wrong resin.
One hundred parts. This is the band where the argument gets interesting. Printing is usually still cheaper in total, but the gap is narrowing because nobody is nesting efficiently at small counts. If the part is a candidate for a multi-cavity tool, a DFM review at this stage costs almost nothing and can move the crossover down by hundreds of units.
Molding’s problem in these bands is not the per-shot cost. It is the mold. A production steel or aluminum mold quoted at 15,000 or 40,000 to make a hundred parts means the tooling alone is 150 or 400 per part before a single pellet is melted, which is why the direct 3D printing or a prototype tool wins.
3D Printing vs Injection Molding Cost at Production Scale
Below is a normalized cost index for a small-to-medium polymer part with an uncomplicated geometry. The printed part is set to 100 at one piece, and every other number is expressed against that, which is why the table stays honest for your part even if your part is not mine.
| Quantity | 3D printing, cost index | Injection molding, index including amortized tooling | Cheaper option |
|---|---|---|---|
| 1 | 100 | Over 2,000 | 3D printing |
| 10 | 95 | Over 1,200 | 3D printing |
| 50 | 90 | About 600 | 3D printing |
| 100 | 88 | About 400 | 3D printing |
| 300 | 85 | About 190 | Injection molding |
| 1,000 | 80 | About 75 | Near tie |
| 2,500 | 78 | About 42 | Injection molding |
| 5,000 | 75 | About 27 | Injection molding |
| 10,000 | 72 | About 18 | Injection molding |
| 25,000 | 70 | About 11 | Injection molding |
Notice the shape of the printed column. It falls only 30 percent across a 25,000 piece range. That is the whole argument in one column: additive manufacturing does not have an economy of scale, it has a very high floor.
The breakeven formula
You do not need any of my assumptions. You need four numbers of your own, and then one division.
Breakeven quantity = tooling cost divided by (printed cost per part minus molded cost per part).
Worked example: tooling at 20,000, printed part at 9, molded part at 1.50 including amortized tooling, freight and inspection. The saving per molded part over a printed one is 7.50, so the mold is paid for at 20,000 divided by 7.50, or about 2,667 pieces. Order 3,000 and molding wins. Order 800 and printing wins. Note the order of operations people get wrong: molded cost per part here is the variable shot cost, not the variable cost plus tooling, because the tooling is what you are solving for.
What to change first in a spreadsheet. Printed cost per part, because it moves most with post-processing and failure allowance. Then tooling, because a DFM review that simplifies geometry can cut it in half. Then the per-part delta, which is where cycle time and cavity count act. Change quantity last, because it is the output, not an input.
Why every published crossover number disagrees
You will see 138 units, 500 units, 1,000 units and 2,500 units in different sources, and each is defensible for its own part. These are the assumptions that move the answer:
| Assumption changed | Effect on the crossover volume |
|---|---|
| Smaller part, thinner walls | Lower. Less material, faster cycles, cheaper tooling |
| Large part or thick walls | Higher. Steeper print time curve, bigger tool, more cooling time |
| Tight tolerance, controlled finish | Higher. Printing struggles to hold it consistently |
| More cavities in the tool | Lower. Divides cycle time across more parts, at higher tooling cost |
| Engineering-grade filled polymer | Higher on the print side. Dense filled feedstock and slower print speeds |
| Complex internal geometry | Lower. Molding may be impossible without redesign, or need slides and lifters |
| Heavy post-processing on prints | Lower, because the printed per-part number rises and tooling amortizes sooner |
| Overseas tool, low FOB price | Ambiguous until landed cost is added |
A 138-piece crossover comes from a mid-size housing with a simplified design and aggressive single-cavity economics. A 2,500-piece crossover usually comes from a bigger part in a tougher material with tighter tolerances. The people quoting them are not disagreeing about physics, they are describing different parts.
Total cost of ownership narrows the molding side further. Molded parts are consistent, so inspection sampling relaxes and scrap falls. You can plan inventory, hold less safety stock, and forecast cash cycle accurately. A molded part that arrives at 0.99 against a printed one at 7 is a 6 dollar difference per part, but a plan that never misses a delivery date is worth something the spreadsheet does not show.
Tooling, Labor, and Lead-Time Tradeoffs
Lead time is a cost line, not scheduling trivia. Money sitting in a tool for eight weeks has a carrying cost, and a week of delay on a product launch has a real number attached to it that nobody puts in the quote.
| Factor | 3D printing | Injection molding |
|---|---|---|
| Time to first part | Days | Four to eight weeks for the tool, then days |
| Time to a design change | Reprint and ship | Tool modification, or a new tool if geometry changed |
| Non-recurring engineering | Model prep and support planning | DFM review, tool design, T1 samples, revisions |
| Color and finish options | Any filament or resin in a small lot, no fee | Color changeovers and finishes add cost and time |
| Rework after a defect | Reprint, part is scrap either way | Rework is possible, so scrap value is higher |
| Cash at risk if demand is wrong | One batch of parts | The entire tooling bill |
The last row is the one hardware founders actually lose sleep over. A mold is a bet on demand, and several people on hardware forums describe the painful version: a design change after the tool was cut, a scrapping of the tool, and a restart. Get the design frozen and the tolerances validated in printed parts before you cut steel, because that mistake is not recoverable by negotiation.
The mirror-image risk belongs to printing too. If demand is far higher than forecast, a queue of machines becomes your throughput ceiling and your unit price never improves. Know which failure you would rather have before you commit.
How to Estimate Total Cost for Your Part
Here is the method. It takes an afternoon and it replaces every guess in this article with your own numbers.
- Get the material volume. Calculate the part envelope minus hollow sections in cubic centimeters, then convert to mass using the resin or pellet density. Write down the material grade, because it changes both density and price per kilogram.
- Get the machine time. On the print side, that is build height, layer height, and geometry-driven support volume, multiplied by your machine hour rate. On the molding side, that is cycle time divided by cavity count, multiplied by the molder’s machine hour rate.
- Price the labor. Printing needs setup, support removal, finishing and inspection per part. Molding needs setup hours per run, not per part, plus periodic inspection. That distinction alone changes the answer at volume.
- Add post-processing and failure allowance to the print side only. Post-processing at 30 to 50 percent and a failed print allowance at 10 to 15 percent are the planning figures most people leave out and then get surprised by.
- Get tooling in writing, with revisions. Ask what is included, what triggers a change, and what the tool is warranted to produce. Add 15 to 25 percent contingency. Then subtract the simplification value: fewer parts, fewer features, uniform walls, more draft, no undercuts.
- Add landed cost to both. Freight, duty, brokerage and insurance. Overseas tool quotes that ignore these are not cheaper, they are just incomplete, and per-unit landed cost also falls as the batch grows, which quietly favors molding at scale.
- Model demand in bands, not one number. Run the formula at your low case, expected case and high case. Tooling wins if it wins in the low case; printing wins if you would rather not bet.
- Request matched quotes. Same geometry file, same material grade, same quantity, same tolerance, same finish, same delivery date. Comparing a printed quote against a molded quote built on different assumptions is how people get surprised twice.
One last sanity check that almost nobody runs. Ask the supplier to walk you through the per-part math until you can reproduce it yourself. A vendor who cannot show the multiplication is asking you to trust a number, and you have no way to tell whether it is padded.
Which Should You Choose?
Choose 3D printing when the design is still moving, the quantity is small, the geometry fights molding, or each part is slightly different. That covers prototypes, design reviews, jigs and fixtures, obsolete part replacements, medical and dental geometries with internal channels, and early market validation where you want to sell a hundred units and see what happens.
Choose injection molding when the design is frozen, the quantity is repeatable, and the part goes into an assembly line. That means consistent dimensions, a controlled surface finish, tight repeatability across a large batch, and a per-part price low enough that margin survives freight and duty.
The decision path is short. If the quantity is under a few hundred, print it. If the quantity is genuinely uncertain, print the first run and buy tooling only when reorders start arriving. If the part is large, deep, has undercuts or needs tight tolerances, ask for a DFM review before quoting anything. If your expected volume clears your calculated breakeven with room to spare, and the design is stable, cut the tool. If the demand forecast carries real risk and the tool is a large fraction of your program cost, a bridge or prototype mold buys you time to learn.
And there are cases where you should not injection mold at all. One-off fixtures, impossible geometries, and parts you will only ever need a handful of are all better served by printing no matter how good the molding economics look on paper.
Frequently Asked Questions
Is 3D printing cheaper than injection molding for prototypes?
For prototypes, almost always yes. 3D printing has no tooling, so your only costs are material, machine time and finishing. A molded prototype means paying for a mold first, which can be tens of thousands of dollars before you own a single part. The exception is rapid tooling: a single-cavity aluminum prototype mold can pay off when you need identical copies of the same part in the tens or hundreds.
At what quantity does injection molding become cheaper than 3D printing?
For a small, uncomplicated polymer part, somewhere between a few hundred and a couple thousand pieces. The number moves with part size, wall thickness, material, tolerance and cavity count, which is why sources cite everything from about 138 units to 2,500. Run it on your own part with the breakeven formula: tooling cost divided by the difference between printed and molded cost per part.
Is injection molding more expensive than 3D printing?
In total, for the first few hundred pieces, yes, by a wide margin, because you are paying for the mold. In per-part terms, no, once the tooling is amortized. A molded part often costs a small fraction of a printed one at volume, which is the entire reason manufacturers tool up. The question only makes sense as a total program cost comparison at your actual quantity.
Is 3D printing as strong as injection molding?
For many polymers the material strength is comparable, and printed parts can exceed molded ones in layer-bond direction. What differs is consistency, anisotropy, and how the strength is distributed through the part. Injection molding gives uniform, repeatable properties in every direction and holds tight tolerances part to part. Additive parts vary more between builds, and a printed part is usually not drop-in cosmetic or dimensionally identical to a molded one.
How much does it cost to make a 3D printed injection mold?
3D printed inserts and SLS-printed tooling are used in hybrid tools, usually as core inserts or conformal cooling channels inside a machined aluminum or steel mold. They do not replace the whole tool, so you are paying machined tooling plus printed inserts, not one printed part. The upside is faster changes and better cooling. It is not a way to avoid tooling cost for production parts.
What hidden costs do people miss on 3D printing?
Post-processing is the big one, commonly 30 to 50 percent of the quoted price, covering support removal, washing, curing, depowdering and hand finishing. A failed print allowance of 10 to 15 percent is normal planning. On the molding side the hidden costs are DFM review, T1 sampling runs, tool modifications after first-article feedback, mold storage and maintenance, and landed cost on overseas tools.
Conclusion
The honest summary is that these are two different cost curves, not two prices for the same thing. Printing has a very high floor and almost no slope. Molding has a brutal entry cost and a very shallow one. Pick the curve that matches the stage your product is actually in rather than the one that looks better at your favorite volume.
Start by quantifying your part: material volume, machine or cycle time, labor, post-processing, tooling, packaging, freight and defect rate. Compare total program cost at your low, expected and high demand cases. Validate the geometry and tolerances in printed parts first, then request matched quotes on the same geometry, material, quantity, tolerance, finish and delivery date. Only then commit to tooling.