
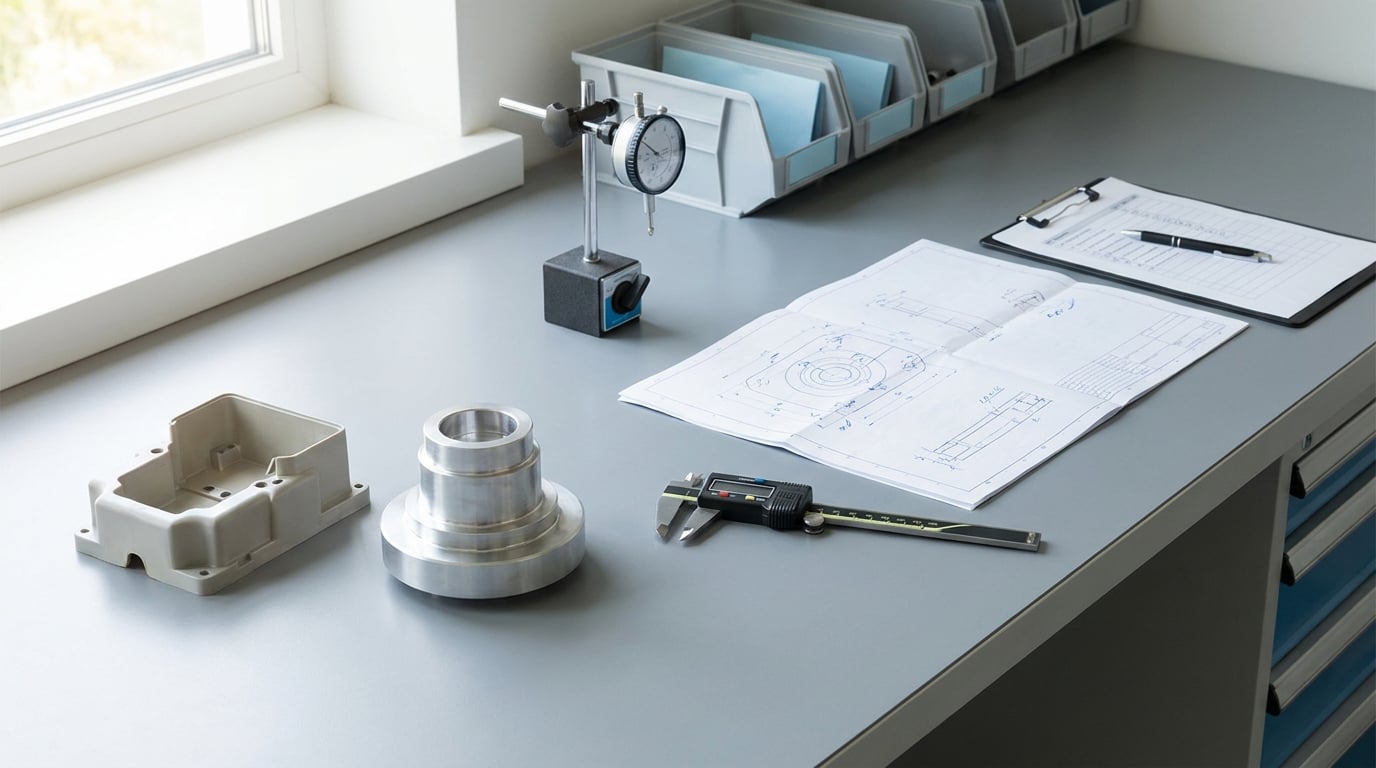
Running a first article inspection means proving, on one real part made with the real tooling and the real process, that the production setup can hold every requirement the drawing states. You plan the check, confirm the sample is the right sample, measure what matters with calibrated equipment, record what you measured, and issue a written disposition that holds up in an audit. On a machined part with 30 characteristics expect half a day; on a molded or fabricated assembly with paperwork to chase, plan a full day.
The part is not the hard part. The record is. Almost every FAI that gets kicked back was rejected on paperwork, not on metal: a superseded drawing revision, a missing material certificate, a characteristic that was measured but never written down, or a sign-off that nobody can reproduce six months later.
FAIR is the term you will hear used interchangeably with FAI, so it is worth separating. FAI is the event and the activity. A FAIR, the First Article Inspection Report, is the document that comes out of it. People say “send me the FAI” meaning the report, which is exactly why new inspectors end up signing something they were never asked to sign.
What You Need
Get the paperwork settled before the part comes off the machine. Most of the failures I have seen come down to a revision that was never locked.
The document set
The released drawing and the bill of materials, both at the current revision, are the starting point. If the drawing is a printout, check the revision block in the title corner against the release log rather than trusting the file name. Alongside those: the purchase order, the customer or internal specification, and the approved process sheet or routing that names the machine, tooling and operators the part will actually run on.
Then the inspection plan itself, which at minimum lists each characteristic you will verify, the method you will use, and who signs. A FAIR template or form belongs in the same stack. If your customer or standard dictates a specific form, use that one, not a general form with the boxes filled in approximately.
The equipment and records
You need dimensional and attribute gauges appropriate to the tolerances, and you need the calibration certificates for all of them in hand. A micrometer for a bore, a CMM program for true position, a thread gauge for a fastener, a profilometer for a surface finish callout of Ra, whatever the drawing actually demands. The gauge has to be able to resolve the tolerance. Checking a plus or minus 0.005 inch feature with a caliper is a failed inspection even when the reading looks fine.
Material records come next: mill certificates, heat treat certifications, coating or plating certifications, welding procedure qualifications, and accreditation certificates for processors such as a plating house or a NDT lab. If a special process is involved and the paperwork is only a reference to a procedure, ask for the lot-specific certificate. Reviewers reject “verified per procedure” more often than anything else on the form.
How to confirm you are on the right revision
Write the revision on the inspection plan before you measure anything, and have a second person confirm it against the release record. On long-running programs, drawings get revised between the tool build and the first article, and the tool is often the one that matches the older revision. That is a conversation with engineering, not something the inspector resolves on the shop floor.
One more practical point on critical characteristics. Before the inspection starts, mark on the drawing which characteristics actually control the function of the part and which are simply profile and appearance dimensions. Which controls shops depend on is the open question people ask most, and a sensible default is: every dimension and note on the drawing gets verified, with tight measurement effort spent on the characteristics that drive fit, function or safety. Skipping dimensions silently is what gets an FAI rejected, so verify them all and measure the important ones properly.
Step-by-Step
Here is the sequence that holds up when someone reads your file six months later. Each step names what you do, what you keep, and how you know it worked.
Plan the Inspection
Write the plan before the part exists. It should name the part number and revision, the lot or submission size, the inspection scope, the sampling level, the sequence of operations, the acceptance criteria for each characteristic, and who is responsible at each stage.
The scope decision matters more than anything else in the plan. A full inspection covers every characteristic on the drawing. A reduced or partial inspection is defensible when only part of the design changed, and a critical-characteristic review is defensible when the risk sits in one function. The four events that normally call for a new first article inspection are a brand new part, an engineering change, a change of manufacturing source, process, location or tooling, and a production lapse. In aerospace these map to specific clauses of AS9102, where a lapse of two years or more between deliveries triggers a fresh first article.
| New part introduced | Nothing has ever been made, so nothing has ever been proven. Full inspection. |
| Engineering change | Only the changed characteristics and anything they interact with need reverification. Partial inspection. |
| Process, location, tooling or supplier change | The previous evidence no longer covers the new setup. Full inspection of the affected scope. |
| Production lapse | Long gaps mean the setup, the tooling and the operators have all drifted. Full inspection. |
How you know the step worked: someone who was not in the planning meeting can pick up the plan, identify every characteristic they need to check, and know who signs it. If they cannot, the plan is not finished.
Verify Documents and Sample Identity
Before any measurement, confirm that the article in front of you is the article the paperwork describes. Match the physical part number and revision markings to the purchase order, check the packaging and labels, and confirm the material records trace back to the lot that produced this specific part.
For assemblies and kitted goods, walk the bill of materials line by line. Each item should match in part number, quantity, revision and specification, and anything bought as a standard catalog item should be identified as such rather than measured as if it were a machined feature.
Stop the inspection when identity fails. A part with an unreadable marking, a missing certificate or a drawing revision that does not match the release record is not a failing article, it is an unverified article, and the disposition is hold. Chasing the paperwork while the part is in front of you is much faster than re-inspecting a part you have already released. Buyers will often ask for a report format specific to them, which is a reasonable request, but the underlying set of facts and evidence does not change with the template.
How you know the step worked: the part number, revision, lot and material records all reconcile, and that reconciliation is written down.
Inspect and Measure the Article
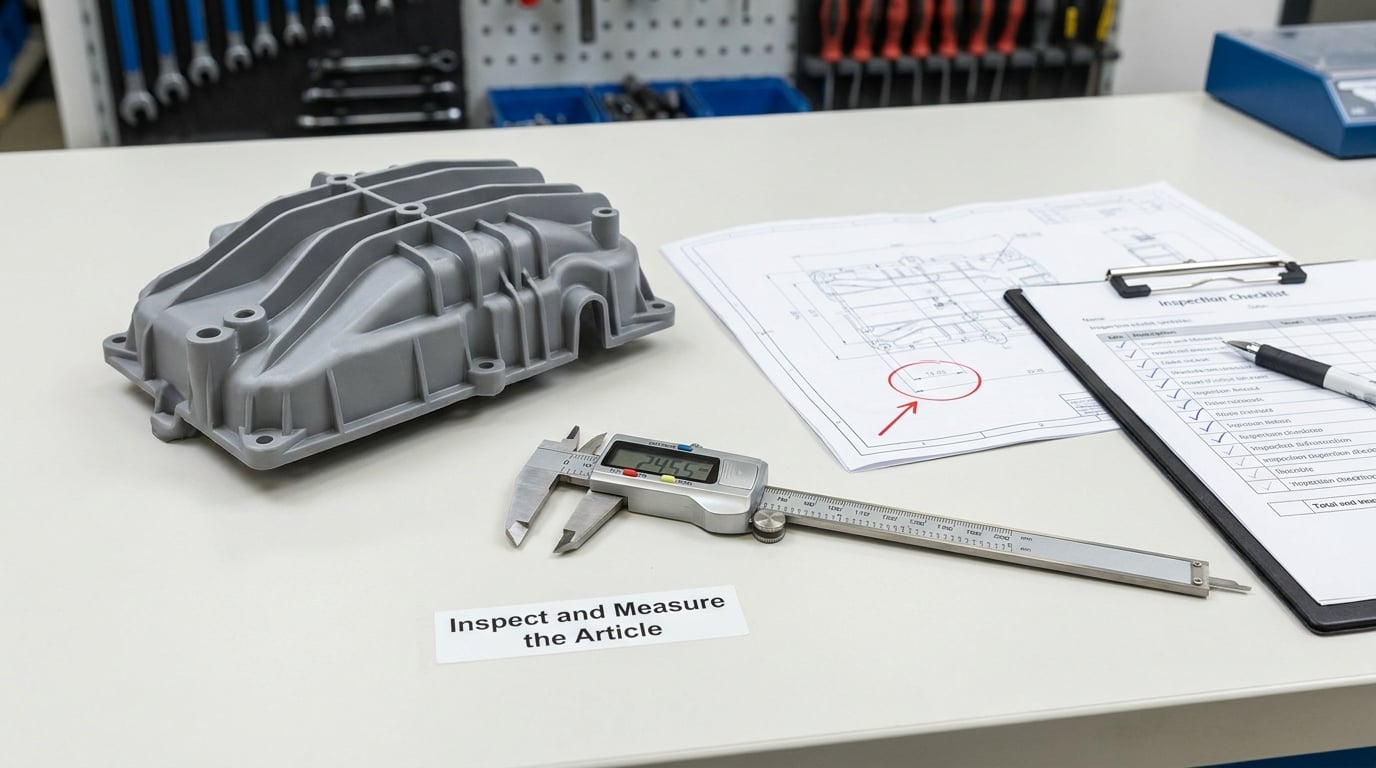
Work through the inspection in a fixed order so nothing gets skipped. Start with visual and workmanship, then dimensions, then the drawing callouts that are hard to check by eye, then material and process verification, and finish with functional testing if the specification calls for it.
Visual means more than “looks fine”. Check for flash, sink marks, weld lines in unexpected places, burrs, tool marks, scratches, incomplete fill, contamination, and print or label legibility against the drawing note. On a plastic part that list is the whole job half the time. On a weldment it becomes weld size, undercut, porosity, and a visual check against the qualified procedure.
Dimensional inspection is where most first articles are lost. Measure with a gauge suited to the tolerance and record the actual value, not a checkmark. For GD&T characteristics, read the feature control frame, confirm the datums are established in the correct order, and apply the modifiers exactly as written, including maximum material condition bonus tolerance where it is invoked. If a ballooned dimension sits under an MMC modifier, the measured value alone does not tell you whether it passes, so record the actual material condition too.
A CMM report is evidence, not a conclusion. The report should reference the program used, the calibration date of the equipment, and the environmental conditions if the tolerance is tight enough that temperature matters. An auditor should be able to pick any balloon number on the drawing, find the matching row, and see the gauge, the value and the date behind it.
Material and special process verification runs alongside the measurements. Confirm the alloy or resin grade against the specification, confirm heat treat parameters against the certificate, and confirm coating thickness or adhesion where it was called out. Where a supplier outside your own shop performed the operation, the certificate has to come from an accredited processor with the lot identified, and the process has to be one your customer accepts. A local plating shop with the right equipment is not automatically an acceptable source.
How you know the step worked: every characteristic on the drawing has a measured or verified result recorded against it, and no characteristic was assessed with equipment that cannot resolve its tolerance.
Record Results and Make the Disposition
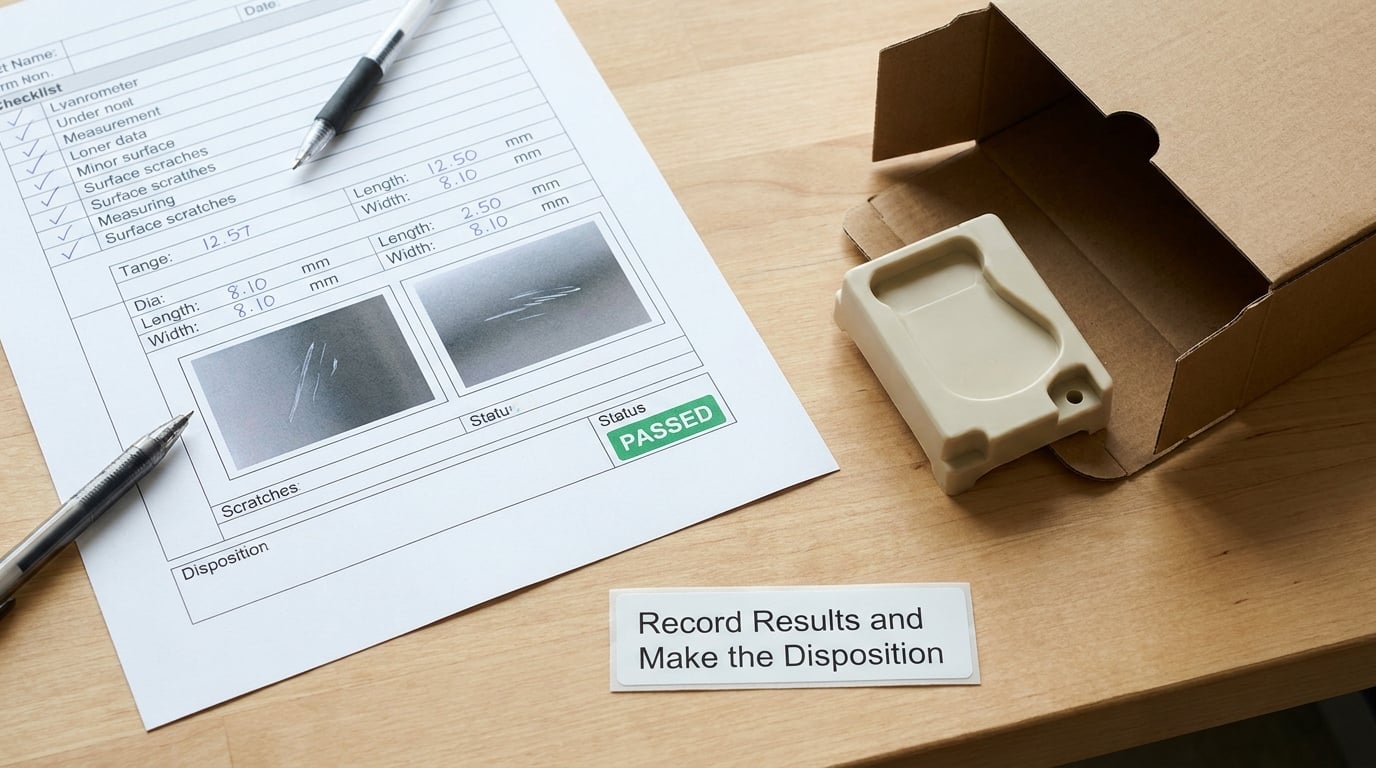
Record each characteristic as one of four states: pass, fail, marginal, or not applicable. Marginal means you measured it, it is inside the limit, and the margin is smaller than your measurement uncertainty. That is a real category and pretending it does not exist is how bad parts get through. Not applicable needs a reason, usually a characteristic that belongs to a bought-out item or a reference dimension on a sub-assembly.
Attach objective evidence. Photographs of defects, the certificate behind each material or process verification, the gauge identification and calibration date per characteristic, and the signature of the person who performed the work. Reviewers on supplier forums describe the same pattern repeatedly: a report that shows the actual measured value and names the gauge behind it gets accepted, while a report full of checkmarks gets sent back.
Classify any defects by type and severity, then issue one of four dispositions.
| Approve | All characteristics conform, records are complete, the report is signed and released. |
| Rework request | The part can be brought into conformance and re-inspected. The reworked characteristics get re-verified, not assumed. |
| Reject | The part is out of tolerance or the process cannot hold it. Scrap it and re-run first article on the corrected setup. |
| Conditional acceptance | Acceptable only with a documented deviation, a named approver and an expiry or re-inspection date. It is not final approval. |
A verbal confirmation is not a disposition, and neither is an unrecorded observation. If the result exists only in someone’s head or in a notebook that never reaches the file, the inspection did not happen as far as any audit is concerned. Controlled documents also get locked after signature. Anyone who can still edit a signed report after the fact has an integrity problem, not a convenience problem.
How you know the step worked: the report is complete, every signature is present with a date, and an auditor could reconstruct the inspection from the file alone.
Common Mistakes
Inspecting against an obsolete drawing. The corrective action is to stop and pull the current revision from the release system. The prevention rule: write the revision on the inspection plan and have it countersigned before measuring begins.
Checking appearance but skipping dimensions. A part that looks correct can be well outside tolerance on a feature nobody thought to check. The corrective action is to re-inspect against the full characteristic list. The prevention rule: derive the characteristic list from the drawing itself, balloon by balloon, rather than from memory or from what the last operator wrote down.
Using unsuitable measurement tools. The corrective action is to re-measure the affected characteristics with capable equipment. The prevention rule: match the gauge to the tolerance before the inspection starts, not after a reading looks questionable.
Inspecting an unverified sample. If the part, the labels and the paperwork do not reconcile, no measurement is meaningful. The corrective action is to place the article on hold and resolve identity. The prevention rule: identity verification is a numbered step with its own signature, not a habit.
Failing to document results. People doing this for the first time often assume the part passing is the same as the inspection being recorded. It is not. The corrective action is to reconstruct the record from gauges, notes and photographs while the evidence still exists. The prevention rule: record the value at the gauge, immediately.
Treating conditional acceptance as final approval. This is the mistake with the longest tail, because the part ships and the problem resurfaces at the customer. The corrective action is to close the deviation with a fresh inspection once the open condition is met. The prevention rule: every conditional acceptance carries an owner, a date and a closure record.
One more failure worth naming: manual transcription of balloon numbers into a spreadsheet. It is where duplicate and missing rows come from, and inspectors on shop forums have described exactly that. Enter the rows once, from the drawing, and cross-check the row count against the balloon count before submitting.
Frequently Asked Questions
What is a first article inspection?
A first article inspection is a documented check of the first part produced with the real production setup, confirming the process can hold every requirement on the released drawing before a production run continues. You review the drawing, measure the critical characteristics with calibrated equipment, verify material and process certificates, and record the results in a report. FAI is the activity, and the report it produces is the FAIR.
When should a first article inspection be done?
Run one for a new part, after an engineering change, when the manufacturing source, process, location or tooling changes, and after a production lapse. In aerospace practice a lapse of two years or more between deliveries also requires a fresh first article. If only part of the design changed, a partial inspection covering the affected characteristics is usually defensible.
Should the first article inspection sit with QC or engineering?
The inspection itself belongs to quality, but the acceptance criteria belong to engineering. Quality owns the measurement, the records and the disposition, and engineering owns the drawing revision, the tolerance interpretation and any deviation. Shops that leave ownership vague tend to end up with inspectors signing paperwork they did not agree to and engineers signing results they never measured.
How many samples and what tools do I need?
One representative article is the normal requirement, but inspect more than one when the setup is new and you are proving process capability rather than a single part. The tools follow the drawing: a micrometer for a bore, a CMM for true position, a thread gauge for a fastener, a profilometer for a surface finish callout. Each gauge needs a current calibration certificate.
How long does a first article inspection take?
A machined part with a straightforward characteristic list takes half a day to a day, most of it measuring and recording. Molded plastic, weld fabrication and electronics assemblies run longer because of paper-chasing on material and process certificates. Adding the paperwork to a first article is not unusual, and buyers who want results reported to six figures can add hours of their own.
What happens when the first article fails inspection?
Raise a non-conformance, record which characteristics failed and by how much, and hold the remaining lot. If the article is reworkable, request rework and re-verify the affected characteristics. If the process cannot hold the tolerance, reject the part, correct the setup and run a new first article. Never release the rest of the lot against a failing first article.
Start With a Controlled Sample
Everything above comes back to five actions you can finish before the part arrives. Lock the drawing revision and have it countersigned. Confirm the sample identity, its markings and its material records against the purchase order. Mark the critical characteristics on the drawing so measurement effort goes where the risk is. Choose the evidence you will keep, meaning gauge, program and calibration date per characteristic. Write the disposition down, with a signature and a date, before production continues.
Get those five right and running a first article inspection becomes a routine rather than an event. The inspection itself is mostly measurement. The file that survives scrutiny six months later is the one where the paperwork matched the part from day one.