
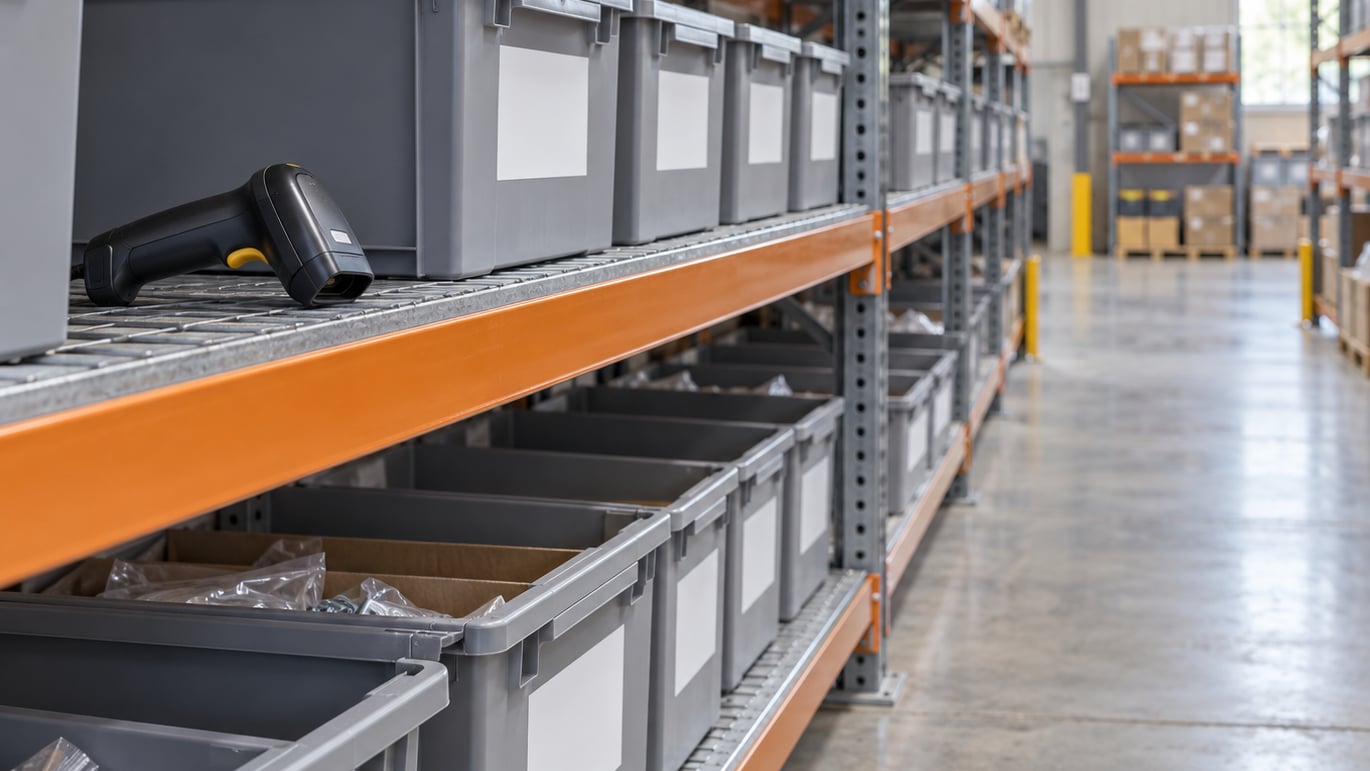
To label warehouse shelves and bins, give every storage position one short, unique location code, print that code large enough to read at arm’s length with a matching barcode underneath, and stick it in the same place on every rack in the building. The code comes from a fixed hierarchy — zone, aisle, rack, shelf level, bin — so anyone can read a location out loud and the next person can find it. Budget a weekend to map the space and build the code list, then a few hours per aisle for printing and sticking.
The part people get wrong is not the labels. It is having three slightly different formats on three different aisles, or a bin label that peels off in the first month and leaves a picker guessing. A consistent scheme with durable stock and one agreed code standard beats a clever scheme every time.
Table of Contents
- What You Need
- Step-by-Step
- 1. Map the Warehouse Location Hierarchy
- 2. Create a Simple Location Naming System
- 3. Design Labels for Fast Visual Recognition
- 4. Select Materials That Survive the Warehouse
- 5. Install Labels in Consistent, Visible Positions
- 6. Label Every Storage Bin and Container
- 7. Test the System Before Release
- 8. Label, Audit and Improve the System
- Common Mistakes
- Frequently Asked Questions
- Should warehouse bin labels use barcodes, QR codes, or both?
- Where should labels be placed on warehouse shelves and bins?
- What is the best label material for a warehouse environment?
- How do I create unique location codes for a large warehouse?
- Should warehouse shelf labels match the inventory management system?
- How often should warehouse shelf and bin labels be inspected?
- Conclusion
What You Need
You need four things before anything gets stuck to a rack: a map, a code list, label stock, and a way to print it. Everything else is a refinement.
- The location map. A sketch or spreadsheet of every zone, aisle, rack, level and bin position. Count the bins per shelf level while you walk, because the count is what tells you how many labels to order.
- A code list. One row per position, with columns for the code, the description if you need one, and the barcode value. This spreadsheet becomes the single source of truth for reprinting.
- Label stock sized to the surface. Shelf-edge and bin labels usually land between 1 by 2.5 inches and 2 by 4 inches. Aisle and rack placards go larger, 4 by 6 inches or wider, because they are read from further away.
- A printer and a scanner. A thermal printer covers barcodes; the phone camera covers many QR and Data Matrix codes for a small operation. If you plan to label anything that moves, a handheld scanner pays for itself quickly.
- Cleaning supplies. Isopropyl alcohol and a rag. Adhesive bonds to powder coating and plastic far better when the surface is clean and dry.
When choosing stock, ignore the word “durable” on the box and look at the substrate instead. Direct thermal paper smudges and fades, which is fine for a carton in a climate-controlled office and useless on a rack face in a forklift aisle. Synthetic stock with a permanent adhesive holds up to abrasion, moisture and cleaning chemicals for years, and it is the default for anything at eye level or below.
Step-by-Step
1. Map the Warehouse Location Hierarchy
Fix the order your identifiers appear in before you print anything, because the code on the label has to match the field in your inventory system. The usual order runs from the largest structure to the smallest container: building, zone, aisle, rack or bay, shelf level, bin.
Format each part so it cannot be misread. Use two digits for anything countable, pad with a leading zero, and keep every component the same length across the whole building. A1, A01 and A001 are three different aisles to anyone reading the label at speed.
How to verify: pick three random positions in the building, read each one aloud, and confirm the components match the map you drew. If any part of the code cannot be traced back to a physical location, the hierarchy is wrong. If you have never set out an aisle-to-slot plan from scratch, slotting optimization in a warehouse is worth reading before you fix the code format, since the layout drives how many levels you need.
2. Create a Simple Location Naming System
Build the code from fixed-width parts joined by one separator. Zone-aisle-rack-level-bin is the most common working format because every part is countable in the order a picker walks the floor.
Worked examples:
- A simple one: A1-R03-S02-B04 — aisle A1, rack 3, shelf level 2, bin 4.
- A fuller one: WH1-A03-B12-L2 — warehouse 1, aisle 3, bay 12, level 2.
- A bulk one: DK-A02-P01 — dock A02, pallet position 1, for staging areas that never hold bins.
Use one separator character across the entire site. Hyphens work because they are not used in any component name. Avoid dots, colons, slashes and spaces: they get read as decimals, cut off in print dialogs, or truncated in a WMS field.
Keep the code under about 18 characters. Longer codes mean smaller text, and the printed text is what people fall back on when a scanner fails.
How to verify: sort the finished code list and look for duplicates before printing. Then check that every code resolves to exactly one physical position, and that no physical position is missing a code.
3. Design Labels for Fast Visual Recognition
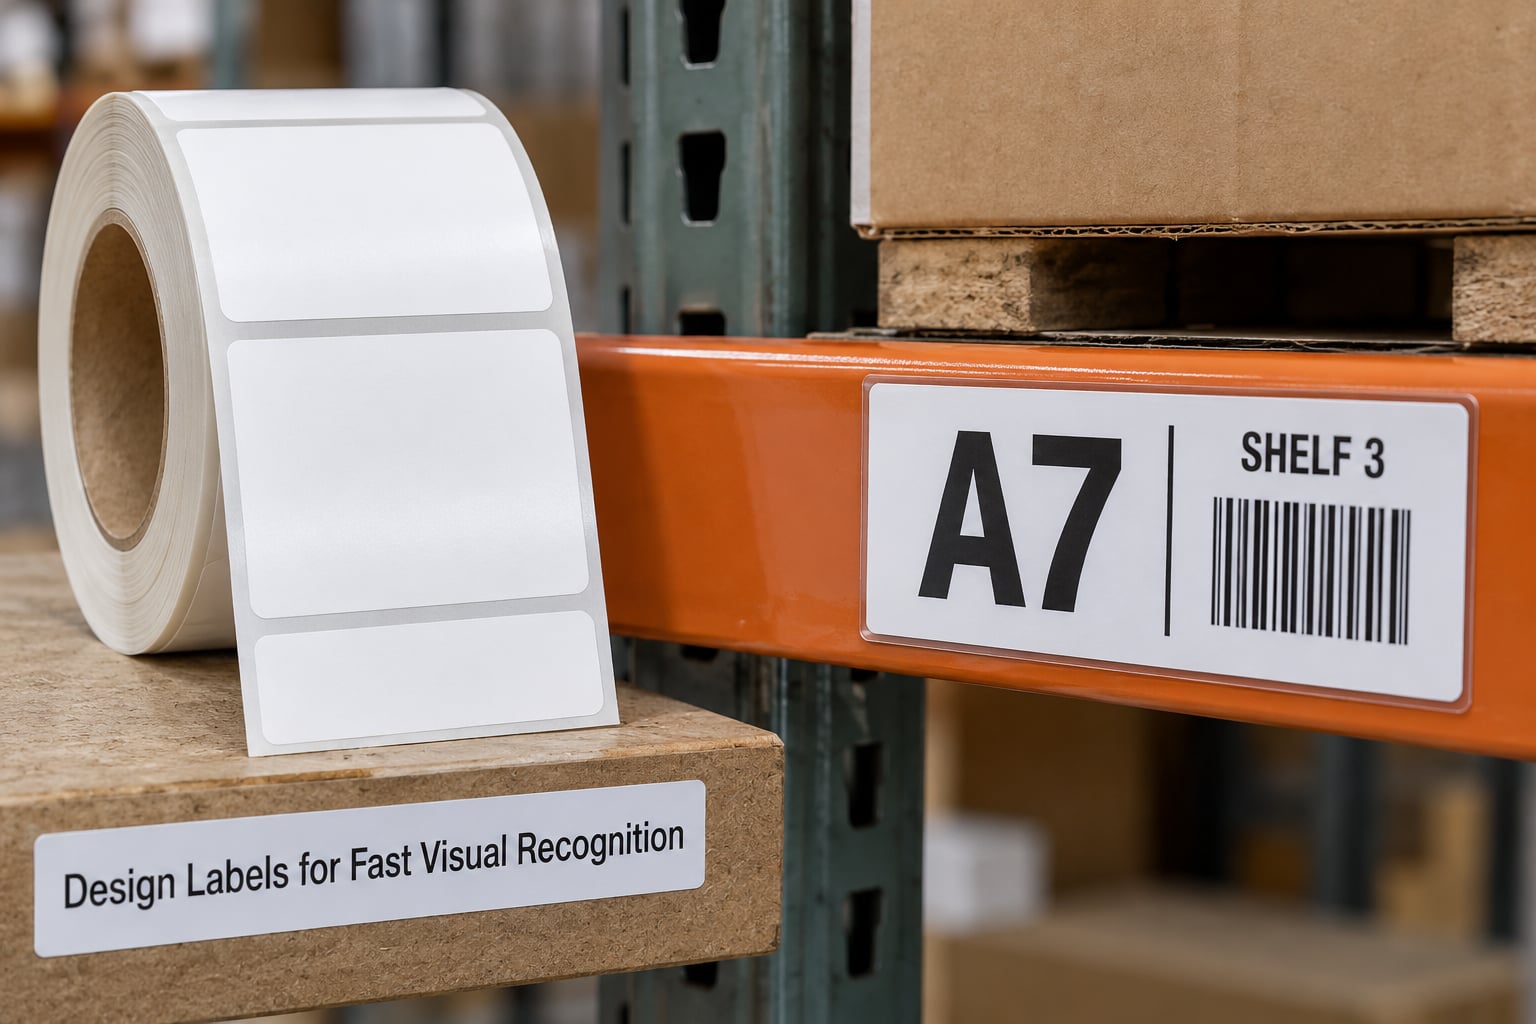
Split the label into a human half and a machine half. The human-readable text is what a person reads from four feet away in bad light, and it has to work even when nobody has a scanner in their hand.
- Location code in the largest type on the label, 18 to 24 point, high contrast black on white or white on black. This is the element people actually read.
- Short description in 10 to 12 point below it — a category or SKU family, not a paragraph.
- Barcode underneath the text, quiet zone included, with the code repeated as human-readable digits beneath the bars so it can be keyed in when a scan fails.
- Capacity or status color as a solid bar along one edge: a colored strip for FIFO/FEFO stock, quarantine, or returns.
Skip glossy finishes. Under fluorescent fixtures a gloss label throws glare that stops reads, and a matte label scans more reliably from an angle.
On symbology: Code 128 is the safe default for variable-length alphanumeric location codes and scans on almost any hardware. Code 39 is more forgiving of dirt and low-quality print and is the right call when an older scanner fleet is still in service. QR codes and Data Matrix carry more data in a small square, which helps when the label is crowded, and QR is the easier of the two to read from a phone camera.
How to verify: hold the printed sample at arm’s length, read the code out loud without squinting, then scan it ten times from different angles. If it fails twice, the problem is the print contrast or the label size, not the scanner. If you are choosing scanners at the same time, how to choose a barcode scanner for a warehouse covers the ergonomics that decide whether people actually scan or work around it.
4. Select Materials That Survive the Warehouse
Match the material to the exposure, not to the budget. Typical lifespans in a normal warehouse environment:
| Material | Realistic lifespan | Weak against | Use it for |
|---|---|---|---|
| Standard paper | Weeks to a few months | Moisture, abrasion, smudging | Office shelves, temporary overflow storage |
| Direct thermal paper | 6 to 12 months | Heat, UV fade, solvents | Cartons, pallets, low-wear areas |
| Thermal transfer synthetic | 3 to 5 years | Long-term UV if printed with a wax ribbon | Rack beams, shelf edges, bin labels |
| Polyester (PET) | 5 years and up | Nothing realistic; needs a resin ribbon | Cold storage, wash-down areas, high-abrasion aisles |
| Polypropylene | 5 years and up | Sharp edges can lift a corner | Reusable totes and containers |
| Vinyl or laminated | 3 to 5 years | Heat at the adhesive line | Asset tags, equipment, floor and rack signage |
Pair the adhesive with the surface. Powder-coated and painted steel beams take a standard permanent acrylic adhesive cleanly. Bare galvanized steel and stainless are slicker and want a higher-tack adhesive. Plastic totes and bins need an adhesive rated for polypropylene or polyethylene, since a standard adhesive will peel off in cold weather. Wire decking and corrugated shelving have no flat face, so use a rigid tag holder or a wrap-around strip instead of trying to stick a flat label to an edge.
How to verify: stick a sample of the exact stock on each surface type in the building, leave it for a week of normal handling, then try to lift a corner by hand. If it comes off without stretching the surface, move up a grade.
5. Install Labels in Consistent, Visible Positions
Consistency beats perfection. One agreed position per surface type, applied the same way every time, means people develop the habit of looking in one place.
- Shelf-edge labels go on the front edge of the beam, flush to one end, all facing the aisle. Keep the same end every time so a picker scanning left to right never misses one.
- Rack upright placards go at eye level on the upright facing the main aisle, one per bay, not one per rack end where it is hidden behind the first load.
- Bin labels go on the front face of the bin, low enough to read without pulling the bin out, and clear of the lip where a label gets sliced by a neighboring tote.
Height matters more than most guides admit. Somewhere between waist and shoulder height is the band a person reads without bending or reaching, and it is also the band that survives a forklift driving past. Below the waist, labels get scraped by pallet loads. Above shoulder height, new staff have to climb to read them.
Leave the barcode zone clear. Nothing overhangs it, no shrink wrap crosses it, and no second label overlaps its quiet zone. If a scanner needs a stretch or a two-handed grip to read a label, it is in the wrong place.
How to verify: walk the aisle at normal picking speed without slowing down. Anything you have to stop and hunt for is mislabeled by your own standard. When you are labeling warehouse shelves and bins across a whole building, this walk is the fastest diagnostic you have.
6. Label Every Storage Bin and Container
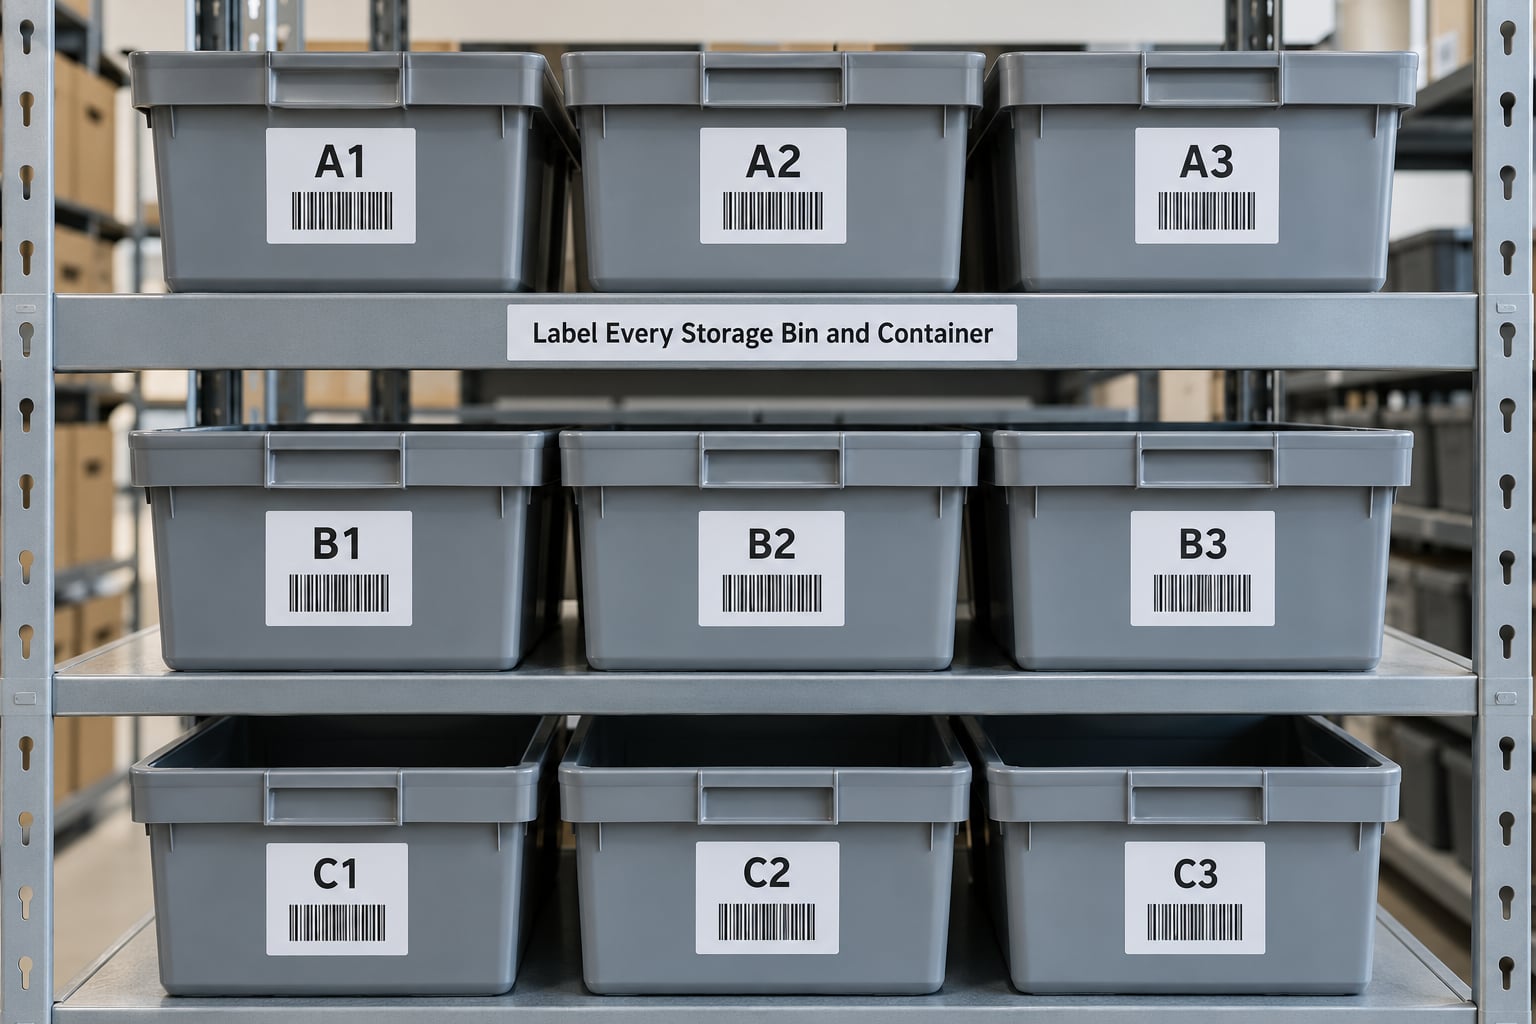
A shelf label tells you where you are. Bin labels tell you what a specific container holds, and both are needed once more than one item shares a shelf.
Keep one item family per bin location. The moment two SKUs share a bin, every pick from it becomes a search, and the bin label can no longer describe what is inside. Move the overflow to a second bin rather than splitting a location.
Distinguish the containers that travel from the containers that stay. Reserve bins and shelf positions get permanent codes. Totes that move to a workbench, a packing station or a customer carry a removable sleeve or a reusable adhesive label that gets stripped and reattached on every move, so the label never claims a location the tote is not in.
Leave a ghost label behind. When you pull a bin off a shelf to refill it elsewhere, the empty slot still gets its label, so the next picker sees an empty labeled position rather than an unlabeled gap they have to investigate.
For returns, quarantine and inspection areas, give those locations their own prefix rather than reusing active codes. A blocked item sitting in a live pick face is how quarantine stops meaning anything.
How to verify: confirm that every bin in the building carries a code that matches its physical position, and that no bin holds more than one item family.
7. Test the System Before Release
Run the whole system before it runs your operation. Pick one aisle in each zone, walk the pick path someone would actually walk, and scan every label you pass.
Match physical to system as you go. Scanning a location code should return the location your inventory system holds for it, and scanning it again after an item is put away should return that item. Any code that returns nothing, or returns the wrong row, is a defect to fix that day, not next quarter.
Test the awkward cases specifically: the top shelf level, the lowest bin, the bin behind a full pallet, and the label printed at the smallest text size you plan to use. Failure almost always shows up at the extremes, not in the middle of the aisle. If misses are the real problem rather than labels, the scan workflow matters more than the stock, and how to reduce warehouse picking errors covers the verification habits that build on a working code.
Document every ambiguous code, every scan failure and every surface where the adhesive lifted. Then re-test only those fixes.
How to verify: a clean pass means every code in the test aisle is unique, every code returns a valid system record, and every label reads first time from working distance.
8. Label, Audit and Improve the System
Roll out in phases, one zone at a time, and train staff on the format before the first label goes up, not after. Ten minutes with the actual sample labels in hand prevents most of the format drift that shows up months later.
Write down who owns the naming standard. One person or one role decides that a new zone uses an existing format rather than inventing a new one. Without an owner, every reorganization quietly creates a second standard.
Put label checks on a schedule and fold them into the cycle count. When someone counts a location, they read the label and compare it to the record at the same time. Missing, faded or mismatched labels then get caught by work you are already doing instead of by a separate inspection round.
Keep a printed copy of the location map in the office and a spare roll of the labels you use most. If a printer fails at peak, staff can still write a temporary code and hand-write a replacement rather than reverting to no labels at all.
When inventory or slotting changes, print new labels before the move, not after. Relabeling cascades: change one bin and the shelf label above it may no longer describe what it holds.
How to verify: a monthly audit should return a near-zero rate of mismatched labels, and the fix rate on found defects should be inside a week.
Common Mistakes
Formats drift between zones. Aisle A reads A1-R03-S02-B04 and aisle B reads B-03/2/4. The same physical action produces different codes, so nobody can learn the pattern. Fix: freeze one format, reissue the code list, and re-label the odd zones first.
Too much on the label. Descriptions, weight, supplier, SKU list and a barcode squeeze the location code down to unreadable size. Fix: keep the code large, move detail to a second label on the bin interior, or to the system.
Labels sit too low or face the wrong way. Pallet loads take out anything below waist height, and a barcode on the rack end is invisible from the aisle. Fix: measure and standardize one height per surface type.
The wrong material for the aisle. Direct thermal paper in a high-traffic rack aisle fades to grey within a year and stops scanning. Fix: synthetic thermal transfer for anything permanent and handled.
Duplicate or reused codes. Two bins end up with the same code after a move, or the same tote is reassigned without a new label. Fix: sort the code list for duplicates before printing, and change the code when the position changes — never recycle an old one.
Adhesive and surface mismatch. Standard adhesive on a polypropylene tote peels off in cold storage. Fix: test each surface for a week before committing the whole order.
Labels that never made it into the system. The rack reads WH1-A03-B12-L2 but the inventory record stores the code as two fields, so nothing matches. Fix: confirm the code lives in the system in the same single format you print, and check one location end to end.
Frequently Asked Questions
Should warehouse bin labels use barcodes, QR codes, or both?
Use a Code 128 barcode for warehouse bin locations, because it encodes letters and numbers, scans on almost any handheld hardware, and is the default most inventory systems expect. Add a QR code only when you need to carry a URL or extra data, since it takes more label space and reads best with a camera. Printing both is fine as long as the human-readable code stays large enough to read without scanning.
Where should labels be placed on warehouse shelves and bins?
Shelf-edge labels go on the front edge of the beam, flush to the same end, facing the aisle. Rack placards go on the upright at eye level facing the main aisle. Bin labels go on the front face, clear of the lip, low enough to read without pulling the bin out. Keep everything between waist and shoulder height, where it survives passing pallet loads. Test a small run first, because the cost of labeling warehouse shelves and bins twice is real.
What is the best label material for a warehouse environment?
Thermal transfer synthetic stock is the best general choice for rack beams, shelf edges and bin labels, lasting three to five years and resisting abrasion, moisture and cleaning chemicals. Polyester lasts longer and handles cold storage and wash-down areas but needs a resin ribbon. Direct thermal paper suits cartons and low-wear areas only, since it smudges and fades within a year.
How do I create unique location codes for a large warehouse?
Fix a hierarchy first, usually zone, aisle, rack, shelf level and bin, then format each part as fixed-width digits with a leading zero. Join the parts with one separator and keep the whole code under about 18 characters. Sort the finished list to catch duplicates before printing, and confirm every code maps to exactly one physical position and every position has a code.
Should warehouse shelf labels match the inventory management system?
Yes, character for character. The printed code must exist in the system in the same single format, or a scan returns nothing and pickers stop trusting the label. Store the full code in one field rather than splitting it across several. Verify by scanning a location on the floor and confirming the system returns the same row the label describes.
How often should warehouse shelf and bin labels be inspected?
Fold label checks into the cycle count so they happen every time a location is counted, and add a full walk-through quarterly. Look for fading, peeled corners, scuffed barcodes and codes that no longer match the inventory record. Replace anything failing rather than leaving it, and re-print labels before stock moves instead of after.
Conclusion
A labeling system that works is simple to describe: one hierarchy, one code format, one position per surface type, durable stock, and a monthly audit folded into counting you already do. Everything complicated after that is refinement.
Start with three things this week. Map your location hierarchy and write the code list to a spreadsheet. Standardize one full shelf or one bin row — every position labeled, same format, same placement — so you have a real sample to show staff. Then walk that aisle with two people who did not build it and see whether they can find six locations without asking you anything.
That test takes twenty minutes and tells you more than any template. Working out how to label warehouse shelves and bins is mostly a set of decisions you settle before the printer runs — hierarchy, format, placement, material — and each one is an afternoon. When your real labels pass the walk-through, you have a standard worth rolling out zone by zone.