
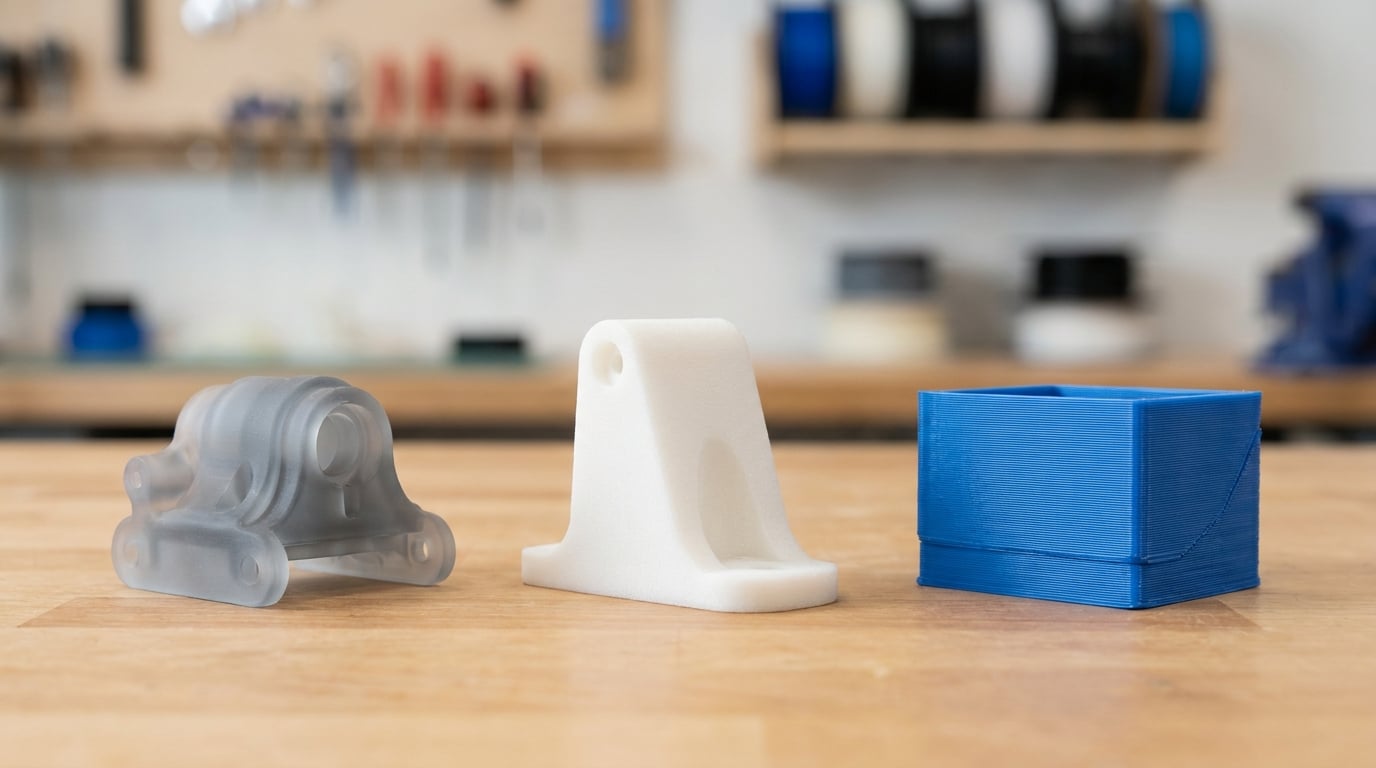
SLA wins when surface finish and fine detail matter, SLS wins when the part has to survive load and heat, and FDM wins on cost, scale and repeatability. That is the whole rule of thumb. Almost every SLA vs SLS vs FDM decision collapses into three questions: how small are your features, how many pieces do you need, and what happens to the part after it leaves the printer.
If you only remember one thing: FDM is a plastic extrusion process, SLA is a liquid resin process, and SLS is a powder bed process. Each one builds the same CAD file with completely different physics, which is why the same part quoted on three machines can come back with three different costs and three different lives.
Table of Contents
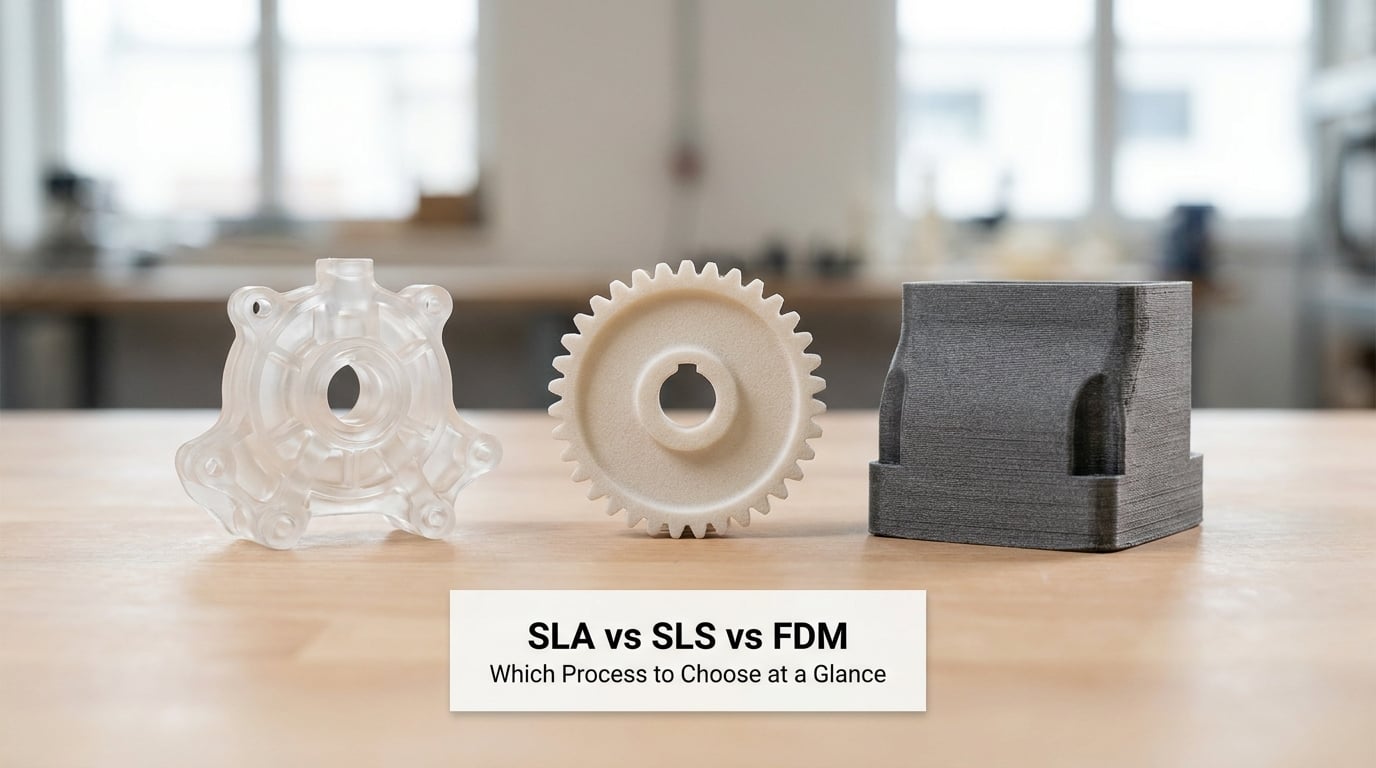
- SLA vs SLS vs FDM Which Process to Choose at a Glance
- Stereolithography (SLA): Best for High Detail and Precision Prototypes
- Selective Laser Sintering (SLS): Best for Durable Functional Parts
- Fused Deposition Modeling (FDM): Best for Practical Low-Cost Production
- Materials, Strength, and Surface Finish Compared
- Cost, Lead Time, and Production Volume Compared
- Accuracy, Geometry, and Design-for-Manufacturing Differences
- Which Should You Choose?
- Frequently Asked Questions
- Is SLA stronger than SLS or FDM?
- Can SLS parts be reused, and how much powder can be reused?
- What is the most accurate plastic printing process: SLA, SLS, or FDM?
- Why do FDM parts have different strength along different directions?
- Which process is best for moving from a prototype to low-volume production?
SLA vs SLS vs FDM Which Process to Choose at a Glance
| Criterion | SLA | SLS | FDM |
|---|---|---|---|
| Building principle | 405nm laser cures liquid photopolymer resin | CO2 laser sinters nylon powder in a heated bed | Nozzle extrudes melted thermoplastic filament |
| Typical material | Photopolymer resin (rigid, tough, flexible, castable) | PA12, PA11, TPU, PA-CF, Alumide | ABS, PLA, PETG, ASA, nylon, TPU, PC |
| Layer height | 25 to 100 microns | 60 to 150 microns | 100 to 300 microns |
| Achievable tolerance | Plus or minus 0.1 to 0.2 mm | Plus or minus 0.15 to 0.3 mm | Plus or minus 0.3 to 0.5 mm |
| Surface finish | Smooth, glass-like straight off the machine | Matte, slightly grainy | Visible layer lines |
| Minimum feature size | 0.2 to 0.5 mm | 0.3 to 0.6 mm | 0.6 to 1 mm |
| Minimum wall thickness | 0.5 to 1 mm | 0.7 to 1 mm | 0.8 to 1.2 mm |
| Strength behaviour | Stiff and strong in tension, brittle long term | Isotropic, tough, load bearing | Strong in plane, weak along Z |
| Supports needed | Yes, for overhangs and islands | No, powder supports the part | Yes, and they scar the surface |
| Typical heat resistance | Low to moderate, varies by resin | PA12 around 170 C heat deflection | PLA low, ABS and nylon higher |
| Relative cost | Medium | Highest | Lowest |
| Best for | Visual models, dental, jewellery masters, fit checks | Functional end-use parts, ducting, housings, hinges | Jigs, fixtures, brackets, large parts, short runs |
One more column worth adding on your own spreadsheet: post-processing. SLS needs the least hand work, FDM sits in the middle, and SLA needs the most cleaning and curing labour per part.
Stereolithography (SLA): Best for High Detail and Precision Prototypes
SLA cures liquid photopolymer resin with a 405nm laser, one thin layer at a time, pulling the part upward out of a vat. Because the laser is focused and the resin is liquid, there is no nozzle width limiting your detail and no layer-line texture on the surface. That makes SLA the default choice for visual models, dental and medical models, and anything where a person will look at the part up close.
The material range is wider than most buyers expect. Beyond standard rigid resin there are tough and impact-resistant grades, flexible rubber-like resins, high-temperature resins, translucent resins, and castable burnout resins for lost-wax investment casting of metal parts. The trade-off is chemistry: photopolymers cross-link in the laser, and long-term UV exposure can make an otherwise fine part craze and go brittle months later.
The workflow is the part most people underestimate. A printed part comes out of the vat tacky, then needs an isopropyl alcohol wash, a UV post-cure, support removal, and usually bead blasting or sanding. Skip the post-cure and the part stays soft and never reaches rated strength. Forum threads on r/AdditiveManufacturing describe exactly this failure repeatedly, and the answer is always the same: wash, then fully cure, then test.
How SLA vs SLS vs FDM Changes the Production Decision
Because SLA needs supports, every overhang and every unsupported island adds labour and leaves a mark you have to sand. Fine lettering, thin ribs under 0.5 mm, snap-fit arms with visible witness lines, and dental models with sub-millimetre detail all push you toward SLA. If your part is going on a shelf or into a presentation, that smooth surface is worth the extra finishing step. If your part is a bracket that gets bolted to a frame, that finish is wasted money.
Selective Laser Sintering (SLS): Best for Durable Functional Parts
SLS fires a CO2 laser at a bed of nylon powder held just below the material’s melting point, fusing particles together a thin layer at a time. Loose powder supports the part from all sides, so there are no support structures, no support scars, and no second operation to remove them. That single fact changes what is manufacturable.
Because the part is built from powder in every direction, SLS parts are essentially isotropic. There is no weak Z-axis to worry about, which is the single most common complaint about FDM. PA12 is the workhorse material, sitting around 45 to 50 MPa tensile with roughly 170 C heat deflection, and it absorbs far less moisture than extruded nylon. Toughened grades, carbon-filled PA, and TPU are widely available.
The other thing SLS does well is throughput. Since parts can be 3D nested, many small components can be built in one cycle with the powder holding each other up. A shop running a 300-piece bracket run will get a far lower per-piece figure on SLS than the per-piece figure for the same part on FDM, once finishing labour disappears from both quotes.
Two real caveats. Printed threads come out slightly rough and usually need chasing or tapping before a screw will run smoothly. And SLS carries the highest fixed overhead per build cycle of the three, which is why it is a poor choice for a single one-off part.
Fused Deposition Modeling (FDM): Best for Practical Low-Cost Production
FDM melts thermoplastic filament in a heated nozzle and lays down a bead of plastic, then another layer on top. It is the oldest and most widely available process, the machines are the least expensive, and the material list covers almost everything you would actually want on a desk: PLA for quick looks, ABS and ASA for heat and UV, PETG for tough general use, nylon for real mechanical parts, TPU for gaskets and bumpers.
Layer height is the biggest lever. Print thin at 100 microns and FDM parts look respectable; print thick at 300 microns for speed and you can see every line from across the room. Visible layer lines are unavoidable, so parts headed for a customer presentation are usually printed in SLA instead.
Strength is the honest weak point. A good FDM part carries roughly 60 to 75 percent of its in-plane strength along the Z-axis, and the failure looks like a clean snap across a layer line under vibration or sustained load. If your part lives in a car, a tool, or anything that shakes, either orient the layers away from the load or change material and process.
Nylon adds its own running cost. It is hygroscopic, so filament has to be dried before printing and a dry box has to run continuously in humid months. Warping on large ABS and ASA prints usually means a closed chamber, which is another machine you may not own yet.
Materials, Strength, and Surface Finish Compared
Material choice limits more than the datasheet numbers. A process can only print what it can bond layer to layer, and the polymer chemistry dictates how the part ages.
| Property | SLA | SLS | FDM |
|---|---|---|---|
| Typical tensile strength | 35 to 60 MPa depending on grade | 45 to 50 MPa in PA12 | 30 to 50 MPa in ABS and PETG |
| Elongation at break | Low, often 2 to 8 percent | Moderate, roughly 10 to 20 percent | Varies widely by polymer |
| Directional behaviour | Mostly uniform | Isotropic | Anisotropic, Z weaker than XY |
| Moisture sensitivity | Low | Low for PA12 | High for nylon, moderate for PETG |
| Impact behaviour | Brittle, worsens with UV exposure | Tough, snaps rather than cracks | Ductile with ABS and nylon |
| Achievable finish | Gloss straight off the machine, vapour polish available | Matte grain, dyeable and paintable | Layer lines, sandable and paintable |
| Heat resistance | Limited by resin grade | PA12 around 170 C deflection | PLA low, ABS and PC higher |
The finish column matters more than buyers expect. SLS powder can be dyed black or coloured before or after sintering, and a dyed SLS part often looks better than a raw FDM print for a consumer product. SLA can be vapour polished for a gloss finish, though the layer lines come back if the part is abraded later.
Cost, Lead Time, and Production Volume Compared
Quoted per-part prices move for three reasons: machine time consumed, material used, and hands-on post-processing. Only the third one is under your control, and it is the one most often left out of a quote.
At low volume FDM wins on price. One part on a shared FDM queue costs less than one part on an SLS bed, because the SLS cycle still has to run for hours whether your part is large or small. At higher volume the ranking flips because SLS nests and FDM does not.
| Run quantity | FDM relative cost | SLS relative cost | SLA relative cost |
|---|---|---|---|
| 1 to 10 pieces | Lowest | Highest | Medium to high |
| 10 to 50 pieces | Low | High | Medium |
| 50 to 100 pieces | Medium | Medium | Medium |
| 100 to 500 pieces | Medium | Lowest per piece | Medium |
Lead time follows the same curve. A single SLA model is often back in a few days. A 200-piece SLS batch has a longer build cycle but ships as one consolidated delivery, so the elapsed time is usually still shorter than 200 separate FDM jobs. Ask for quotes broken into machine time, material, and finishing labour separately, so you can see which line is driving the number.
If you are weighing buying a machine against buying service time, the break-even maths is simpler than most sellers suggest. An industrial SLS system is a five-figure machine that also needs powder handling, a chiller, and an operator. Unless you are consuming machine hours consistently year round, outsourcing the first few runs and buying later is usually the cheaper path.
Accuracy, Geometry, and Design-for-Manufacturing Differences
Accuracy is where the three separate cleanly. SLA holds the tightest tolerances because the laser spot is far smaller than a nozzle orifice. SLS comes next, and FDM sits last because bead squish and thermal contraction push walls outward slightly.
| Design rule | SLA | SLS | FDM |
|---|---|---|---|
| Minimum wall | 0.5 to 1 mm | 0.7 to 1 mm | 0.8 to 1.2 mm |
| Minimum hole or slot | 0.4 mm diameter | 0.5 mm diameter | 0.8 mm diameter |
| Overhang limit | About 30 degrees without support | No limit, powder supports | About 45 degrees without support |
| Threads | Possible, often post-cut | Usable, chase and tap after printing | Coarse, usually machined after printing |
| Internal channels | Yes, needs drain holes and dual pour | Yes, no supports required | Yes, needs support removal access |
| Snap fits and living hinges | Flexible resin only | PA12 works, tolerant designs needed | Printed-in hinges work well in PLA and PETG |
| Tall thin geometries | Good, fully solid | Good, fully solid | May need a brim or reinforcement |
Two more geometry notes. First, any process with a thermal step shrinks as it cools, so tight mating features need compensation in the CAD file, and SLS shrinkage is roughly uniform while FDM shrinkage is not. Second, drafts matter: a 0.5 mm detail on an FDM print is a rumour, and adding a 2 to 3 degree draft usually makes the part stronger and the print cleaner.
Which Should You Choose?
Match the process to the job description rather than to the material name on your CAD file.
- Visual and concept models, art, miniatures, display pieces — SLA, because the finish is smooth and the cost of a single part is manageable.
- Dental and medical models, surgical planning — SLA, for fine detail and dimensional stability in the mouth or on a scan.
- Jewellery masters and investment casting patterns — SLA with a burnout resin, which leaves no ash residue in the furnace.
- Snap-fit enclosures and clip assemblies — SLS in PA12, because the part is isotropic and needs no support scars on the visible surface.
- Ducting, air handling and fluid channels — SLS, since fully dense internal passages are support-free.
- Jigs, fixtures and shop tooling — FDM in PETG or nylon for prototypes, moving to SLS when the tool starts taking real loads.
- Large parts and sectioned assemblies — FDM, which scales up in size far more cheaply than a powder bed.
- End-use parts in a real product — SLS, unless a specific feature forces you to SLA or a low quantity and a tight budget force you to FDM.
- Bridge production of 100 to 500 pieces — SLS, because nesting collapses the per-piece figure and there is no finishing labour.
- High-volume production beyond roughly a few hundred pieces — none of these three; get an injection moulding or tooling quote in parallel.
Before you request quotes, write down four things and send them with the CAD file: the smallest feature you actually need, the material environment the part lives in, the quantity for the first release, and whether anyone will handle the finished part. Those four lines eliminate most of the back-and-forth, and they are exactly what a good supplier needs to quote honestly rather than optimistically.
Frequently Asked Questions
Is SLA stronger than SLS or FDM?
Not in the way most buyers assume. SLA resin is stiff and can show a respectable tensile figure, but it is brittle and its long-term strength drops as UV exposure breaks down the cross-linked polymer. SLS PA12 is tough, isotropic and far better under impact and vibration. FDM in ABS or nylon matches SLS on tensile but loses roughly a quarter of its strength along the Z-axis, so loaded parts need reorientation or a process change.
Can SLS parts be reused, and how much powder can be reused?
Uncured powder is reusable and most shops recycle the large majority of it, refreshing the powder bed with fresh material each cycle. What is not reusable is powder that has been through the part, the build chamber and the depowdering station, because fine powder and degraded polymer change the flow and the surface of the next part. In practice expect a high recycle rate for the bulk powder and a smaller discard fraction each build. Always ask your supplier what ratio they actually run.
What is the most accurate plastic printing process: SLA, SLS, or FDM?
SLA, and it is not close. A focused laser spot is far narrower than an extrusion nozzle, which lets SLA hold features of around 0.2 to 0.5 mm and tolerances of plus or minus 0.1 to 0.2 mm. SLS comes next at roughly plus or minus 0.15 to 0.3 mm, and FDM trails at plus or minus 0.3 to 0.5 mm because bead squish and thermal contraction move walls slightly. Accuracy also depends on layer height and machine calibration, not just the process.
Why do FDM parts have different strength along different directions?
Because each layer is welded to the one below it only where the bead touches. Within a layer, the plastic is continuous and strong; across layers, the bond depends on how hot and slow the print was. A typical FDM part retains only about 60 to 75 percent of its in-plane strength along the Z-axis, so it can snap cleanly along a layer line under vibration. Raising layer height temperature, slowing the print, or orienting the part so the load runs in-plane all help.
Which process is best for moving from a prototype to low-volume production?
Start in FDM if the part is large, simple and low risk, because iteration is cheap and the lead time is short. Start in SLA if surface finish and fit accuracy are what you are testing. When the design freezes and you need functional parts in the dozens to hundreds, move to SLS PA12 and re-quote, because nesting and support-free printing usually lower the per-piece figure below FDM at that volume. Ask for the cost at both volumes before you commit the design.
Start with the smallest feature and the quantity, then check what happens to the part in service. Small features and a visible finish point to SLA. Real load, heat or volume points to SLS. Size, cost pressure and simple geometry point to FDM. Get quotes that separate machine time, material and finishing labour, and the choice usually makes itself within a day.