
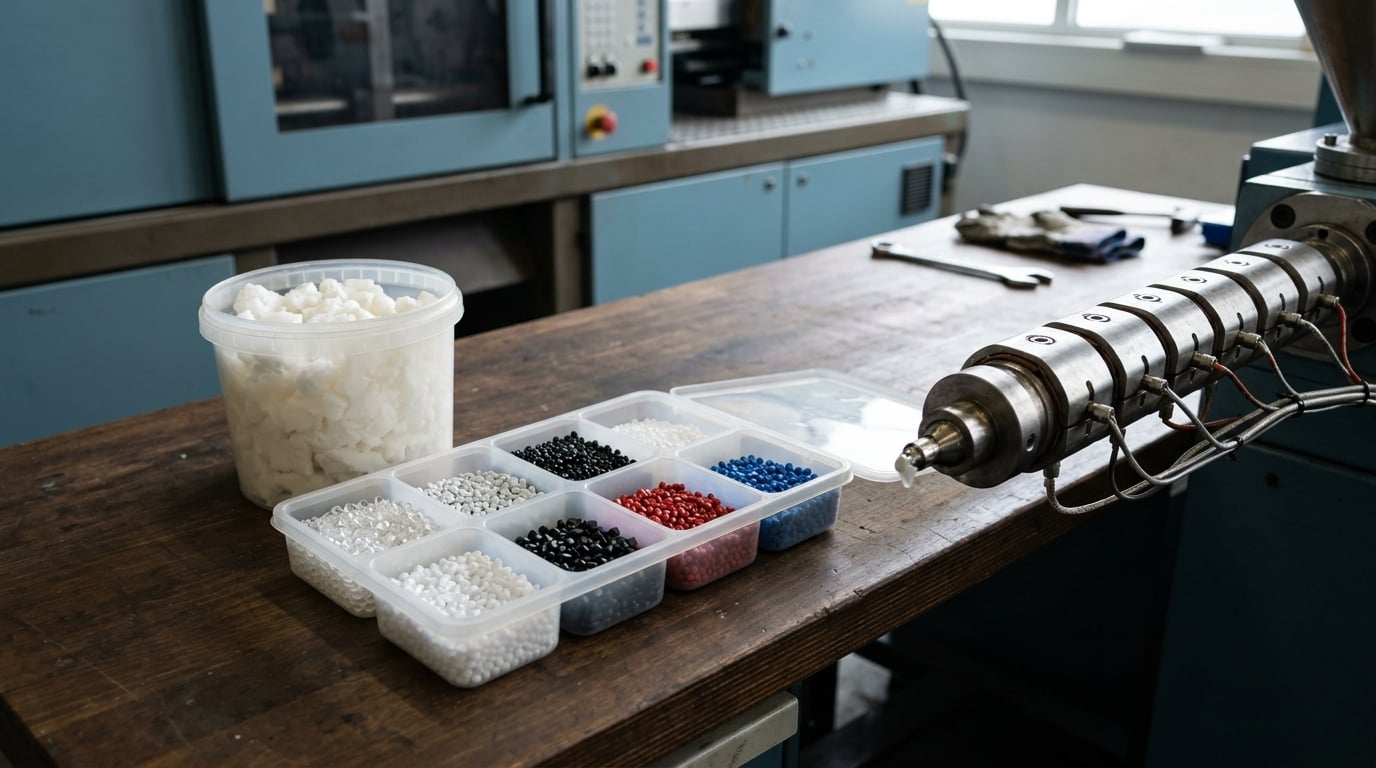
Purging compounds how to use them correctly comes down to four things: match the agent to the resin you are removing, empty the barrel first, fill every screw flight slowly before you speed up, and stop when molded parts come out visibly clean. On a small injection molding machine a disciplined purge takes 10 to 20 minutes. Rushing it costs far more than the compound itself. Last reviewed for 2026.
One note before we start. The word purge also covers chemistry solvent purges and gas-pipe flushing, and both show up in search results for this question. This guide is about plastics processing only: injection molding, extrusion, blow molding and sheet.
Table of Contents
- What You Need
- Step-by-Step: Purging Compounds How to Use Them Correctly
- 1. Confirm Material Compatibility and Choose the Correct Purge Compound
- 2. Inspect and Prepare the Injection Molding Machine
- 3. Set the Correct Temperature, Screw Speed, and Back Pressure
- 4. Load and Run the Purge Cycle
- 5. Watch for Residue, Degradation, and Machine Problems
- 6. Verify the Changeover and Record the Results
- Common Mistakes
- Frequently Asked Questions
- How much purge compound is needed for a resin change?
- What temperature should the barrel be when purging injection molding machines?
- Can purge compound be reused for a second color or resin change?
- Why is unmelted material coming out during the purge cycle?
- How do you remove stubborn black residue from an injection molding barrel?
- Is it safe to leave purge compound in the barrel overnight?
What You Need
The single most common failure is arriving at the machine with the wrong grade in your hand. Work through this list before the barrel comes off temperature.
- The right purge agent. Matched to the resin going out and the resin coming in, not just to the color. The data sheet must state a temperature window that sits inside your machine’s capability.
- A backup purge resin. A commodity polyolefin such as polypropylene in the 5 to 10 melt flow index range is the usual shop-floor fallback, and it is genuinely useful for simple color-to-color changes. Keep it sealed and dry.
- Safety gear sized for molten plastic at 200 to 300 degrees Celsius. A face shield, heat-resistant gloves, long sleeves, and closed-toe shoes. Add safety glasses under the shield, not instead of it.
- A purge guard and the machine’s own guarding, closed and interlocked. Never purge with the operator door propped open.
- Access to the feed throat. You will need to clear residual pellets out of the hopper and screw inlet, and to reach under the throat if material has packed in.
- Production records. Cycle count, current part weight, and the last known good settings, so you can tell how long the purge actually takes on this machine.
- The supplier’s technical data sheet and safety data sheet. The TDS gives the residence-time limit and the operating range. Both documents belong in the work instruction, not in someone’s drawer.
Step-by-Step: Purging Compounds How to Use Them Correctly
1. Confirm Material Compatibility and Choose the Correct Purge Compound
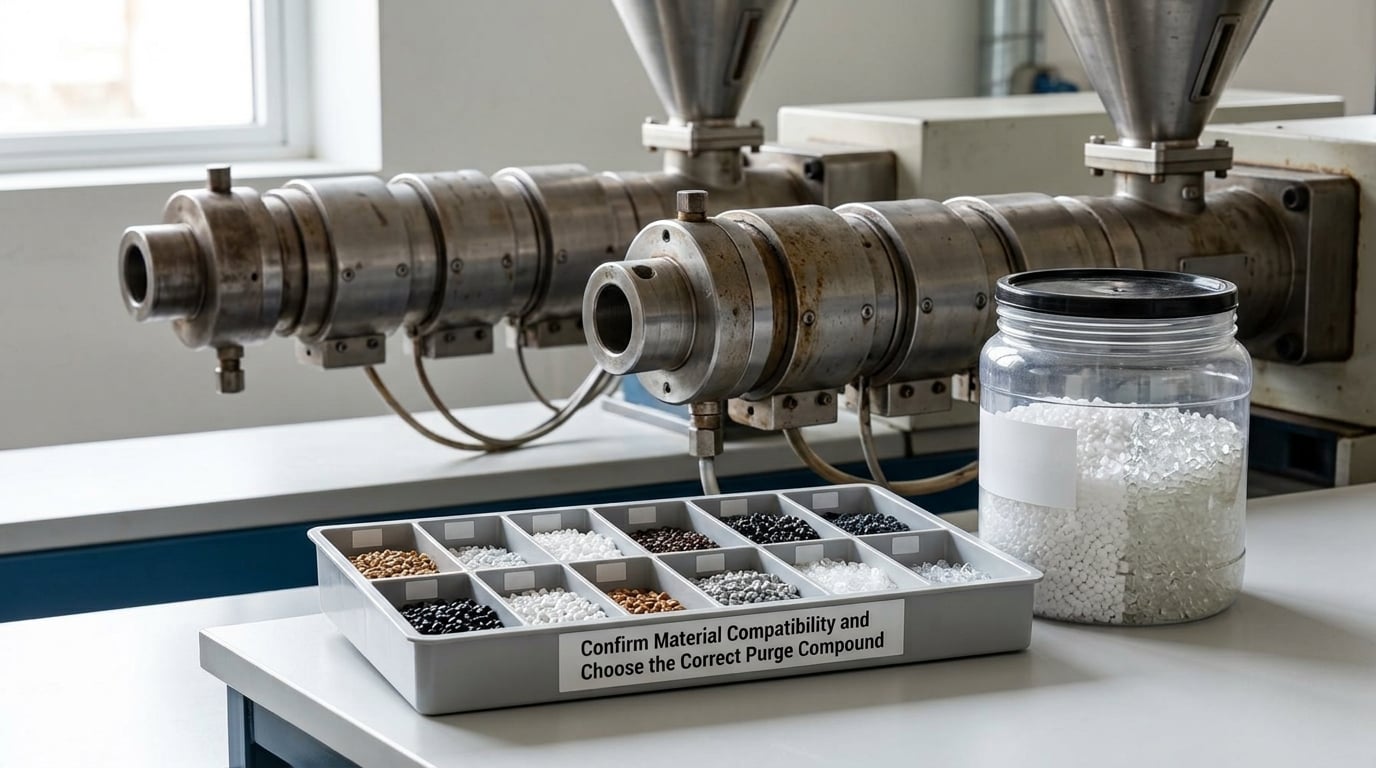
Choose the agent by looking at what is coming out of the barrel, not at the color on the finished part. A mechanical purge softens into a dense paste and physically drags residue out with the screw’s wiping action. A chemical purge reacts with and decomposes the residue inside the machine, and it usually leaves nothing behind but a clean melt. Most grades sold today are a hybrid, where a reactive chemistry activates at processing temperature.
| Agent type | How it clears the barrel | Best suited to | Main limitation |
|---|---|---|---|
| Mechanical | Softens, flows and physically sweeps residue out with the screw flights | Color and light contamination between similar polyolefins | Less effective on carbonized or degraded residue |
| Chemical | Reacts with and decomposes the residue in place | Severe black specks, long residence, degraded builds | Narrower temperature window; can be aggressive on some resins |
| Activated hybrid | Reactive chemistry that activates once inside the hot barrel | Most production changeovers, especially between resin families | Cost per kilogram is higher than a mechanical grade |
Then check the outgoing resin against the agent. The column on the right is the part most plants skip, and it is where expensive mistakes come from.
| Resin being removed | Recommended approach | Watch for |
|---|---|---|
| Polyolefins (PE, PP) | Mechanical or hybrid polyolefin purge, 5 to 10 MFR fallback resin | Residue is usually soft, so a short cycle is often enough |
| Glass or mineral filled grades | High-temperature mechanical purge rated well above the processing temperature | Abrasive residue; abrasive grades must not sit in a hot cylinder |
| Engineering resins (PA, PC, ABS, POM) | Activated hybrid with a matched temperature window | Residue hardens on cooling and is hard to remove later |
| Rigid PVC | Purpose-made PVC-compatible grade, then a polyolefin sweep | Degraded PVC is corrosive; the barrel needs inspection afterwards |
| Fluorosilicone, silicones and halogenated materials | Supplier-recommended dedicated grade only, then a full barrel sweep | These materials change character completely when heated |
| Bioplastics (PHA, PLA and blends) | Polyolefin purge in the 2 to 5 melt index range, with temperatures stepped down in intervals | Bi-metallic screw and carbon steel need a corrosion check after a full stop |
2. Inspect and Prepare the Injection Molding Machine
Run the outgoing material out until the barrel is empty. Do not move on while pellets are still feeding, because the purge will mix with the old resin and you will end up chasing a streak that never fully clears.
Empty and wipe the hopper, then clear the screw inlet and feed throat. If material has packed under the throat, move the hopper aside and break it out rather than letting it ride through the screw. A magnet or rod and a clean rag handle most of it.
Check the barrel, screw, nozzle and hot runner while the machine is cool if you can manage it. You are looking for hardened deposits at the nozzle, dead spots around the check ring, and any carbonized build-up. Note anything you find before you start, so you can tell whether it is new after the purge.
Confirm the guards, the purge shield and the extraction are all in place, and set the machine to manual or semi-automatic so a fault stops the cycle rather than repeating it.
3. Set the Correct Temperature, Screw Speed, and Back Pressure
Set the barrel inside the purge grade’s stated operating window, not at the production temperature of either resin. Running hotter than the window decomposes the agent and turns a clean purge into a carbon one. Running cooler leaves it unmelted and it simply lumps in the flights.
Start with decompression open, back pressure at zero, and screw speed low. The purge material is dense and it needs room to travel. Settings below are starting points to be trimmed to your machine and your grade, not universal values.
| Machine class | Feed rate | Screw speed | Back pressure | Temperature |
|---|---|---|---|---|
| Injection molding | Slow, intermittent dosing until all flights are full | Low during fill, then moderate; never the production maximum | Low at first, raised once material flows steadily | Mid to upper part of the grade’s window, nozzle included |
| Extrusion, film and sheet | Slow until the flights are packed, then steady | Raise toward the machine’s maximum safe speed once flowing | Raised to push the melt out of the barrel and die | Within the grade’s window; step down in intervals for a high-to-low changeover |
| Blow molding | Slow feed to fill the screw | Moderate, steady | Low to moderate | Match the grade window and the parison temperature you will return to |
For a high-to-low temperature changeover, drop the zones in stages rather than all at once. Two or three intervals, with the melt allowed to travel between each, is the difference between clearing the barrel and leaving a skin of the old material behind.
4. Load and Run the Purge Cycle
Feed the purge compound in slowly until every screw flight is full. This is the step operators skip, and it is the reason purge cycles drag on. If you increase screw speed while the flights are still partly empty, the agent moves in plugs and channels instead of a continuous stream.
Watch the stream, not the machine readout. It should change from the old color to a uniform, consistent melt. Once it is flowing steadily, raise screw speed and add back pressure to push the melt out of the barrel and through the nozzle.
Purge until molded parts come out visibly clean, with no streaks, haze or specks. Counting screw cycles rather than watching the clock gives you a repeatable number you can write into the work instruction. The first purge on a dirty machine always takes longer, and that first number is the one people will plan around.
Stop the machine before the barrel runs empty. If there is no resin in the cylinder, do not rotate the screw.
5. Watch for Residue, Degradation, and Machine Problems
Run the cycle with your senses as well as your gauges. The table below covers the signals that mean stop and rethink.
| Signal | Likely cause | What to do |
|---|---|---|
| Black specks in the stream or on the part | Residue is still in dead spots, or the agent is degrading | Stop, check the temperature against the grade’s window, and clean the nozzle and check ring |
| Unmelted pellets coming out | Barrel is below the melting range, or the feed rate is too high | Add heat in small steps, slow the feed down |
| Smoke or a burnt smell | Residence time exceeded, or the temperature is out of range | Stop the heat, drop speed, and let the melt clear before deciding whether to continue |
| Pressure rising shot after shot | Build-up in the nozzle, hot runner or check ring | Stop and pull the nozzle for a mechanical clean |
| Melt suddenly much more viscous | Degradation of the previous material, or cross-contamination | Stop, record the settings, and re-run from a cold barrel if the stream does not recover |
| Nozzle hang-up partway through | Deposits that never melted | Purge again at the higher end of the window, then pull and clean the nozzle if it repeats |
Residence time is the limit most often ignored. The data sheet states a maximum time the agent can sit in the barrel at temperature, and a long interruption or a break in supply is enough to exceed it. If the cycle stalls, pull the barrel down to soak temperature rather than leaving the agent cooking.
6. Verify the Changeover and Record the Results
Before you start the new job, run a handful of parts and check them against your normal standard: color, gloss, surface, weight. A clean purge still leaves a first-off that is off-color, and that part goes to scrap rather than into the box.
Then load the new resin and run the start-up shots you would run anyway. Contamination that survives the purge usually shows up in these parts, not in the previous ones.
Log five things: the agent and grade used, the quantity in kilograms, the cycle count or time, the temperature and speed settings, and any faults you hit. Log the disposition of the purge material too, so colored and mixed material is segregated and never drifts into regrind by accident.
If this is a shutdown rather than a changeover, run the purge to the point where the melt is clean, leave the barrel at soak temperature with no air exposure where the machine allows it, and schedule the screw and barrel for inspection. Ask anyone running this line and the answer is the same: skip the purge at shutdown and you are looking at a corroded screw within months.
Common Mistakes
Almost every failed purge I have seen traces back to one of these six. Each one has a fix, and each one costs more to leave alone.
- Rotating the screw with an empty barrel. Metal on metal at temperature scores the screw and the barrel wall. Stop the machine the moment the last material clears.
- Leaving a glass or mineral filled grade in the cylinder. Filled residue sets hard in the flights and becomes abrasive tooling damage. Glass-filled grades should never be left in the cylinder for any reason, and they should never be used as the purge agent itself.
- Rushing the feed and jumping to high screw speed too early. Unfilled flights mean the agent never forms a continuous stream, so the purge takes three times as long and leaves streaks. Fill the flights first, then speed up.
- Running outside the grade’s temperature window. Too hot decomposes the agent and creates the very carbon you are trying to remove. Too cold leaves pellets that lodge in the flights. Check the data sheet, not the last job’s profile.
- Exceeding the residence time. An interruption, a supply delay or a phone call is enough. When the cycle pauses, bring the heat down.
- Stopping the purge when the stream looks roughly right. Purge until molded parts come out visibly clean, with no streaks, haze or specks. Judging the color of the melt alone is how black specks reach the first production run.
Two habits keep the rest honest. Write the purge settings on a card at the machine, and require the person signing off to record the cycle count, so the same changeover takes the same time on every shift. And train new operators to read the data sheet, because a procedure that lives only in someone’s memory drifts within a year.
One question operators ask constantly: is purging needed for a short stop? If the machine is off for a few minutes and the barrel stays above the soak temperature, that is a pause, not a purge, and it does not need one. The moment the barrel is going to sit below soak temperature overnight or over a weekend, the answer changes completely.
Frequently Asked Questions
How much purge compound is needed for a resin change?
Most plants set the dose by screw volume, not by weight. A typical starting point is two to three times the barrel’s shot capacity for injection molding, added in small doses with a check on the stream between each. If the barrel was running a dark or filled resin, expect the first dose to come out still colored, which is normal. Track the quantity that worked on each machine so the next changeover is budgeted rather than guessed.
What temperature should the barrel be when purging injection molding machines?
Set the barrel inside the purge grade’s stated operating window, not at either resin’s processing temperature. Most polyolefin changeovers fall in the 190 to 260 degree Celsius range, while engineering resins and filled grades need the upper end. Running hotter than the window decomposes the agent and creates the carbon you are trying to remove; running cooler leaves unmelted pellets lodged in the screw flights.
Can purge compound be reused for a second color or resin change?
Do not reuse it. Once the agent has carried color, degraded resin and carbon out of the barrel, a second run loads that contamination into the machine you are trying to clean, and the cycle gets worse rather than better. If a cycle is interrupted with unused compound in the hopper, keep that material separate and check it before returning it to service. Budget for a fresh dose on every changeover and treat the used material as scrap.
Why is unmelted material coming out during the purge cycle?
Usually the barrel is below the melting range of the agent, or the feed rate is outrunning what the screw can melt. Check the zone setpoints against the grade’s minimum operating temperature and let the barrel soak for ten to fifteen minutes before dosing. If pellets persist, reduce the feed rate and add heat in small steps. Pellets that sit in the flights will not clear on their own and usually need a second pass.
How do you remove stubborn black residue from an injection molding barrel?
Escalate in order rather than reaching straight for mechanical cleaning. Raise the barrel to the top of the grade’s window, slow the feed, and add back pressure so the melt stays dense and sweeps the flights. If specks continue, repeat the cycle or switch to a chemical or hybrid grade, which reacts with carbonized residue rather than pushing it around. If it still persists, pull the screw. Nozzle and check-ring deposits need a mechanical clean, not more purging.
Is it safe to leave purge compound in the barrel overnight?
No. Purge to a clean stream first, then drop the barrel to soak temperature and follow your machine’s sealing procedure. Purge compound left at temperature continues to degrade, and the residue becomes part of the corrosion problem it was meant to prevent. On a bimetallic screw and carbon steel machine, a warm barrel with any material in it is the fastest route to rust. If the machine is going to stand, an empty barrel at soak temperature is the target state.
On the next changeover, do the boring version first. Empty the barrel, clear the throat, load the grade matched to the resin coming out, fill the flights slowly, and stop at visibly clean parts. Write down what you used and how long it took, and the next operator on that machine starts with numbers instead of guesswork.