
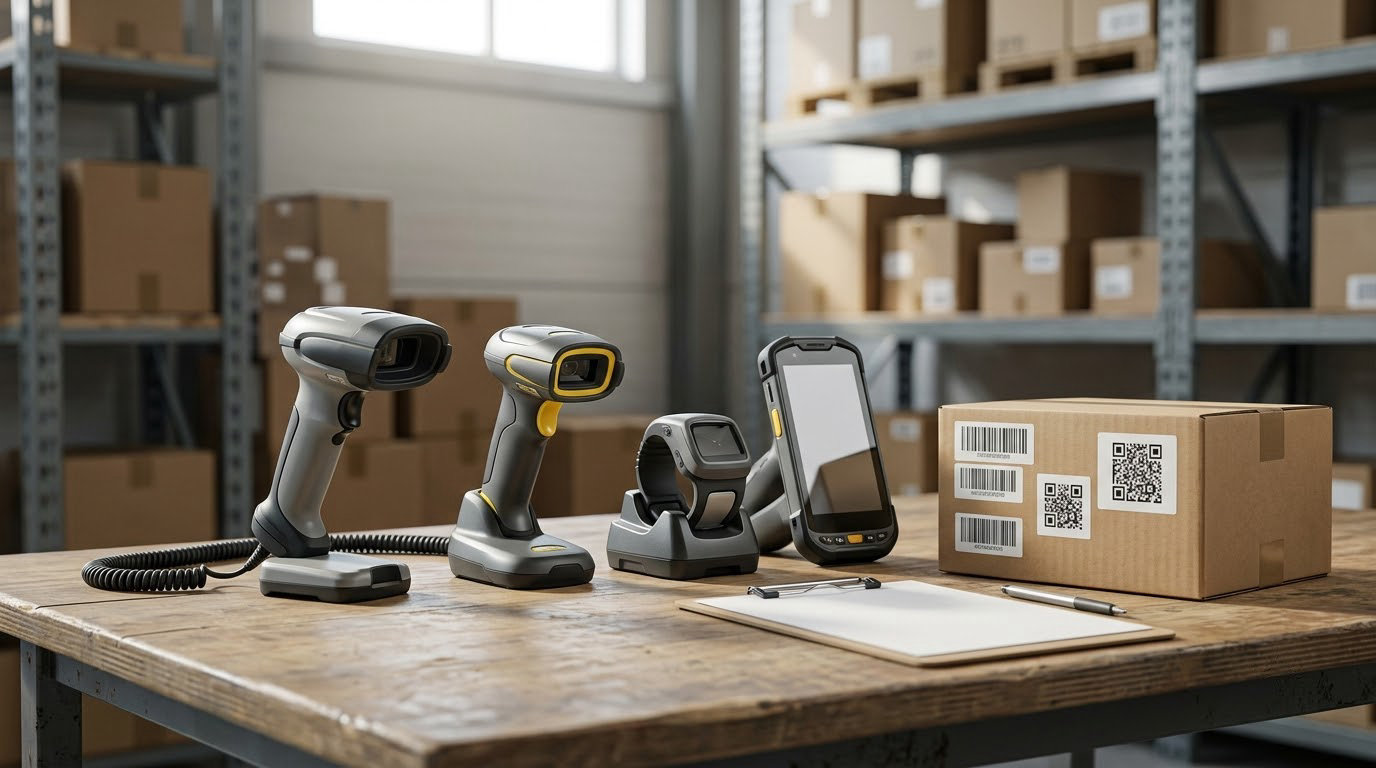
Choosing a barcode scanner for a warehouse comes down to four things: which barcodes you must read, how far away and how fast you need to read them, whether the device survives your floor, and whether it can feed the software you already run. Get those four right and the model choice mostly makes itself. Get them wrong and you end up with a fleet that misses reads on shrink-wrapped pallets and drops scan events whenever the Wi-Fi stutters.
Most buying mistakes happen because teams start with a product shortlist. This guide works the other way around, and it is the same process we would use before writing a spec sheet: document the workflow, document the labels, document the environment, then compare form factors and total costs, then test units against the worst conditions on your floor. It takes a week of paperwork and saves months of returns.
Table of Contents
- What You Need
- Step-by-Step: How to Choose a Barcode Scanner for a Warehouse
- 1. Map Your Scanning Tasks and Workflow
- 2. Inventory the Barcode Types You Must Read
- 3. Match the Scanner to the Read Range and Environment
- 4. Choose the Right Connection and Device Compatibility
- 5. Prioritize Ergonomics and Daily Productivity
- 6. Compare Total Cost Instead of Purchase Price Alone
- 7. Test Before You Buy or Deploy at Scale
- Common Mistakes
- Frequently Asked Questions
- Conclusion
What You Need
Before you open any vendor catalogue, gather ten things. Without them, every scanner looks reasonable and every quote is hard to compare.
- Your symbology list. Write down every barcode format that appears on goods you receive, ship or count, and ask suppliers which formats they will use next year.
- Label details. Material (paper, thermal paper, plastic, reflective metal, or a code etched or laser-marked into the part), minimum size in inches or millimetres, and how the label is applied: flat, curved around a cylinder, or on a stretch-wrapped pallet.
- Scan distances. The closest and farthest reading you need, from a box held at a picking face to a pallet label across a wide aisle. Note the rack height for forklift work.
- Read rate expectations. Lines picked per hour, dock doors per shift, SKUs per cycle count. These numbers turn ergonomics and scan speed into numbers you can hold a pilot against.
- Your device estate. Which laptops, tablets, Android versions, USB ports and charging setups already exist, plus your mobile device management platform.
- Connectivity reality. Where the wireless signal dies, how far the aisles run, and whether independent access points are allowed on the network.
- Environment. Temperature range including any cold storage or freezer, dust, washdown areas, condensation, and how often devices get dropped or set down on concrete.
- Worker tasks. Gloves, one-handed operation, left-handed users, voice picking, and how long a shift runs on battery.
- Software. Which warehouse management system, ERP or inventory tool receives the scans, how it expects data to arrive, and who maintains it.
- Budget and lifecycle. A per-device ceiling and how many years you want the hardware to last, including when security patches stop.
Print that list and walk it with the receiving team, a picker, a supervisor and your IT lead. A page of notes here saves weeks of back-and-forth later.
Step-by-Step: How to Choose a Barcode Scanner for a Warehouse
Seven steps, in order. Do not skip to the form-factor comparison, because the first two steps determine which form factors are even worth evaluating.
1. Map Your Scanning Tasks and Workflow
Start by listing every scan your operation performs, and separate them by how the worker has to hold the device. Receiving and dock-door check-in is usually a static station with a mounted or presentation scanner. Putaway and replenishment happen on a forklift or reach truck facing racks up to 20 feet high. Picking in a fulfilment aisle is continuous, one-handed movement while the other hand holds a tote. Packing and shipping verification happens at a bench, often with a screen and a keyboard. Cycle counting is slow, deliberate, and spread across the whole building.
Those five tasks need different things. The forklift task needs reach; the picking task needs speed and a light device; the packing task needs a screen and an application, not just a laser. Write each task next to its trigger type: trigger-pull, continuous scan, presentation, or fully hands-free. If you learn how to choose a barcode scanner for a warehouse only one thing, learn this table, because every later decision hangs off it.
2. Inventory the Barcode Types You Must Read
1D and 2D are not competing philosophies; one is a superset of the other in practice. A 2D area imager reads every 1D symbology as well, so an all-2D device is the safe default for any new build. The decision that matters is whether a 1D-only laser scanner is genuinely enough, which is the right answer for a small operation reading only clean Code 128 and EAN-13 carton labels.
Common warehouse symbologies include UPC-A and EAN-13 on retail goods, Code 128 and GS1-128 on cartons and pallets, and the 2D family: QR Code, Data Matrix, PDF417 and GS1 DataBar. Add the awkward cases: a Data Matrix etched into a metal part, a code on a bagged item seen through stretch wrap, a curved label wrapped around a bottle or a cable drum, and a low-contrast thermal label that has faded in sunlight. Every one of those needs an area imager with a decent optical resolution, and the etched and low-contrast cases need the more advanced decoding modes.
Label quality and print method drive this more than anyone expects. A 1D laser scanner can read a 6 mil Code 128 at 12 inches all day, but the same laser will miss that label once it is torn, wet, faded or behind two layers of wrap. 2D imagers also read dirty 1D codes more often, which is why retail back-room and returns areas tend to land on 2D even when the plan says paper labels only.
3. Match the Scanner to the Read Range and Environment
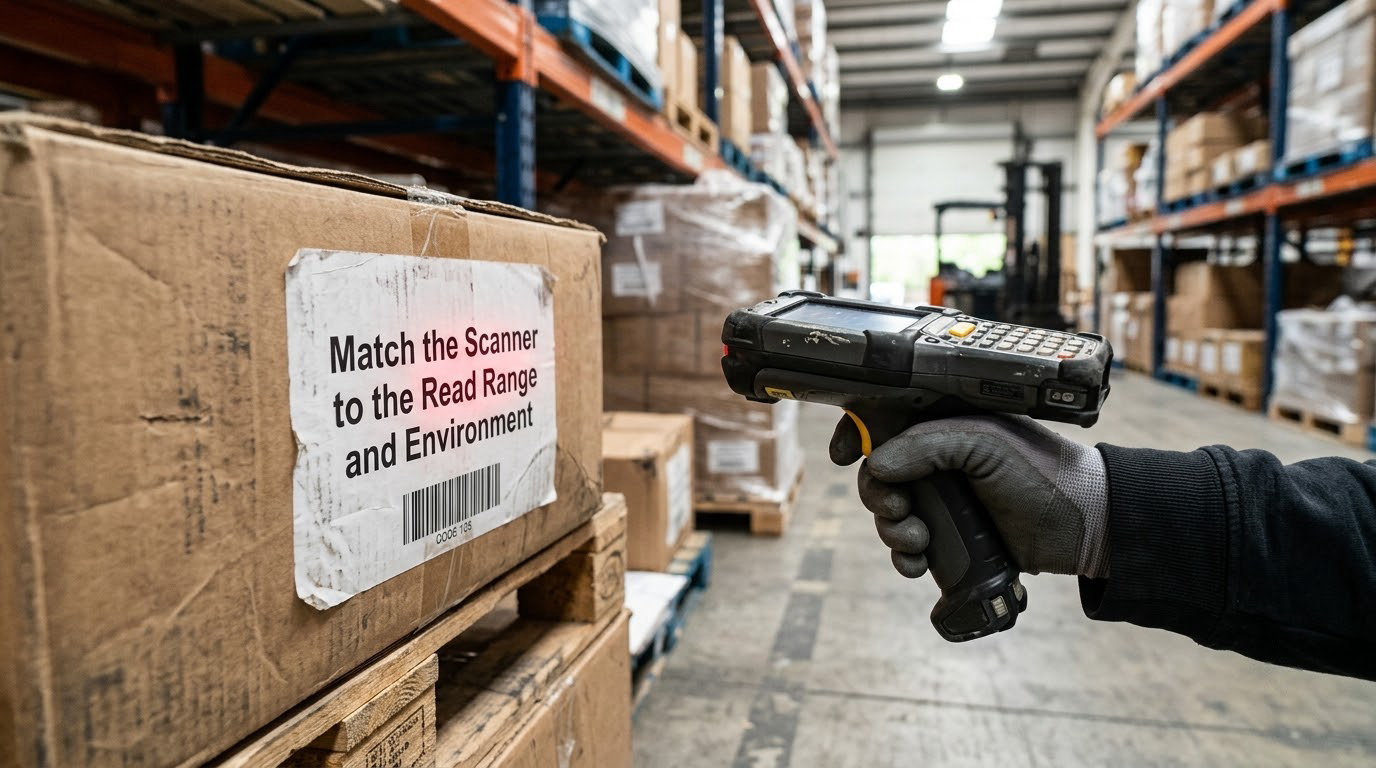
Read range and image resolution are different things, and buyers confuse them constantly. Range is how far the scanner can decode. Resolution is how small a symbol it can resolve, and it is what lets a device read a 4 mil Data Matrix. A long-range laser reads a big pallet label from 20 feet but ignores a tiny serial code on a component. An area imager with a wide optical window reads both. If your labels vary in size, one device class will not cover you, and that is fine: use a long-range unit on the forklift and a standard imager on the picking face.
For most warehouses, the working categories are contact and short range (a few inches to about 3 feet, for packing benches and close rack faces), mid range (roughly 3 to 10 feet, the default for picking aisles and receiving), and long range or extended range, using a narrow-window or extended-range engine for pallet labels from a distance.
Environment decides the survival part. An IP54 rating keeps out dust and splashing water, which covers an indoor aisle. IP65 adds protection against powerful water jets, worth it near a washdown or an open dock door in winter. IP67 means dust-tight and submersible, which is what you want in a freezer, a food plant or anywhere the device gets hosed down. Check the drop specification too, stated as a height onto concrete, and the operating temperature range, which matters far more than people expect in a cold chain warehouse where a standard battery chemistry behaves poorly below freezing.
Also test the lighting, not just the ratings. High-bay sodium and LED fixtures, skylights and direct sun through a dock door all create conditions where a cheap imager struggles and a good one with auto-exposure and a bright aiming beam does not. And check cleaning: warehouse devices live in a pocket with dust and grease, so a sealed scan window and a window you can actually wipe matter more than a spec on a datasheet.
4. Choose the Right Connection and Device Compatibility
USB cabled scanners are still the right answer for a fixed packing bench or a conveyor station where a worker never moves more than a few feet. They are cheap to run, they never need charging, and they never lose a scan to a dropped radio link. The trade-off is that the cable becomes the thing that gets wrapped around a cart and eventually torn.
Bluetooth is the sweet spot for a handheld that moves with one worker: strong battery life, quick pairing, and a link that survives being across an aisle. Pairing logistics still matter, so ask how many devices a single host can hold and whether the device reconnects automatically when it boots. Wi-Fi is the right choice when the device has to run a full application, roam between access points, or send scans straight to a server. Enterprise Wi-Fi with fast roaming is the requirement; a consumer access point in a metal-rack warehouse will produce the dropped scans people complain about on forums.
Bluetooth and Wi-Fi are not the same thing as a wireless access point. A Bluetooth scanner paired to a single mobile computer is a point-to-point link. If you want twenty scanners reporting to a central server across a whole building, you are deploying infrastructure, and that infrastructure has to be surveyed, mounted and maintained. Budget for that as a project, not as a cable.
Device and software compatibility is where projects actually stall. Check three things in writing: which operating system versions the device ships with and how long security updates are published, whether the WMS or ERP connects over standard keyboard-wedge (HID), the vendor SDK, or something custom, and whether the device can buffer scans locally and sync when the network returns. r/Warehousing threads keep circling the same point: people ask how a scan reaches their existing system far more often than they ask which hardware to buy, so settle the integration question before the hardware question.
5. Prioritize Ergonomics and Daily Productivity
A scanner that is comfortable at 9:00 on the first day can be unbearable by 3:00 on the third week. Weight matters most, then balance, then grip. A pistol-grip handheld around a pound and a half is a normal starting point; anything noticeably heavier gets tiring when it is carried all shift rather than docked between tasks. Pair the weight with a holster or belt clip so it is not in a worker’s hand when they are not scanning, which is most of the time.
Trigger placement and force are the quiet killers. A trigger that needs a hard pull causes missed scans and sore index fingers; look for a light, short-travel trigger with a distinct centre detent so the worker knows the device has fired. In noisy aisles, haptic feedback matters more than the beep, because a worker who cannot hear the confirmation will rescan to be sure, and that doubles your apparent read time.
Then look at the shape of the job. Ring and wrist-mounted scanners suit high-volume picking where both hands must stay free, and a ring scanner that needs no aim is fast on small parts. Glove-mounted units work in cold or gloved environments but add a learning curve. Heads-up displays only make sense when the worker is walking a long route between zones. If a task is short and stationary, hands-free is overkill and the money is better spent on a more rugged device. Carrying and comfort is an open practical question in its own right; a belt holster, a lanyard or a wrist mount each solve it differently, and it is worth asking your pickers directly rather than assuming.
6. Compare Total Cost Instead of Purchase Price Alone
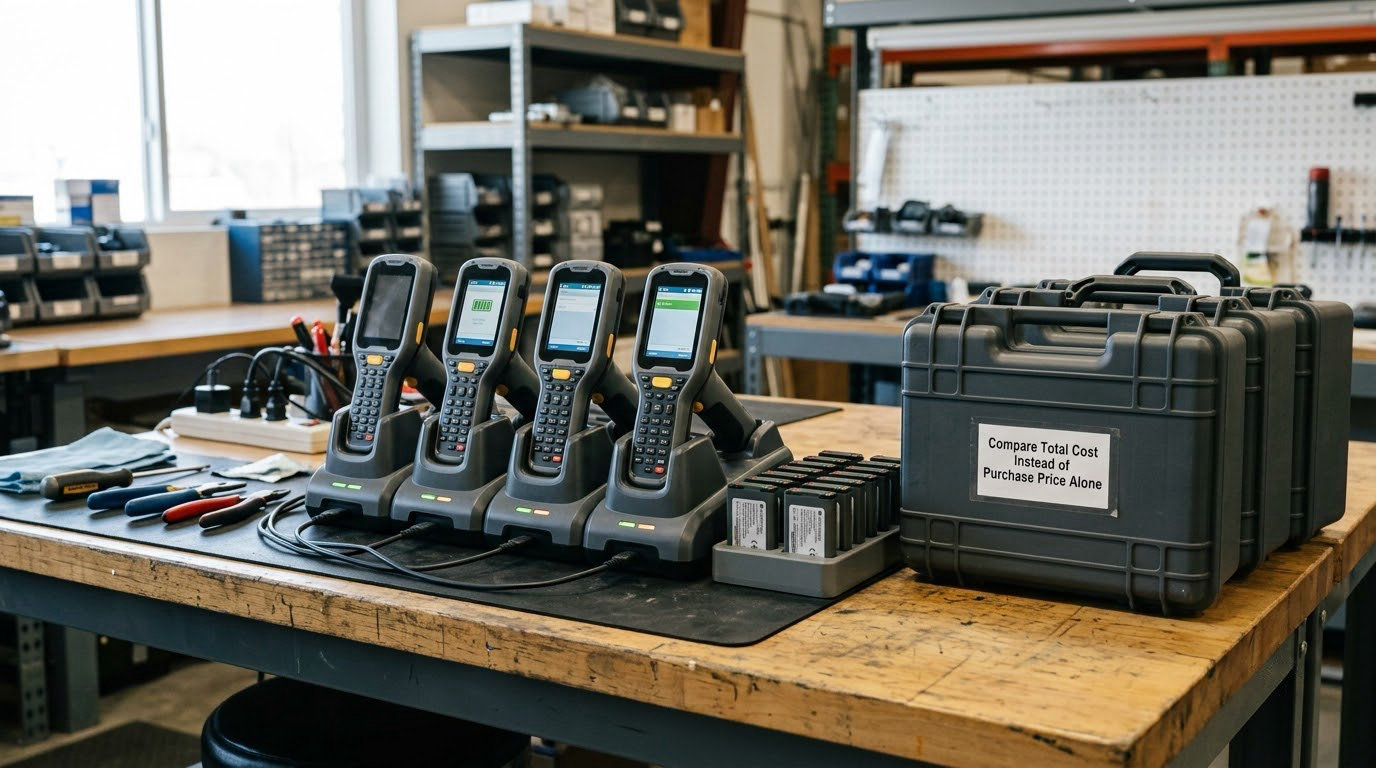
The unit price is the least interesting line in the budget. Build the comparison from the same seven rows for every candidate, because that is where the totals diverge.
- Hardware. The device, plus spares you hold on the shelf, plus the second or third device on a multi-shift operation.
- Power and charging. Batteries, hot-swap spare batteries, multi-bay chargers, charging carts, and the electricity and floor space they need. Battery replacement is usually a year or two into the life of a device, not an exception.
- Accessories. Holsters, vehicle mounts, extended-range scan windows, screen protectors, and any forklift mounting kit. These add up faster than most buyers budget for.
- Software. Device management licences, MDM seats, terminal emulation, and any per-device fee the vendor charges for the scanning engine or for support.
- Implementation. Integration work, label redesign, printing upgrades, Wi-Fi survey and access point work, MDM enrolment, and training time for every worker who touches a device.
- Support and warranty. Extended coverage, advance replacement, and the realistic cost of a unit that fails during a peak week with no spare on site.
- Productivity. Lines picked per hour, dock-to-stock time, and the error rate on manual keying. This line is usually larger than all the others and it is the reason the project exists.
Over a four to seven year lifecycle, the device itself is commonly a minority of the total. That is why comparing two units by sticker price alone is misleading: the cheaper scanner that needs replacing twice, drags in a charging cart, and cannot read your labels is the expensive one. Enterprise-grade ruggedness is worth paying for when devices get dropped, get washed, or sit in cold storage, and it is wasted money on a dry counter in a shop where a lighter mid-range unit will do.
7. Test Before You Buy or Deploy at Scale
A pilot of five to ten units on the real floor tells you more than any datasheet. Bring the vendor or reseller to your site and use your labels, not theirs. Test a good label, a torn label, a faded label, a label behind stretch wrap, a curved label, and, if you have one, a code marked into a metal part.
Test in the worst light on your site, not the best. Test at the farthest distance the task requires, from a seated position if operators sit, and at the speed the task actually runs. Then watch the WMS side: does every scan land, does a duplicate get rejected, does a bad code produce a clear error message, and what happens if you walk the device into a dead zone mid-task and come back. Check the battery at the end of a full shift, and check it again after three months, because battery confidence usually decays quietly.
Finally, run a small pilot for two to four weeks with the workers who will use it. Watch how many scans are missed, how often the device is holstered, and how far a picker walks per hour. That data turns the purchase into a decision your operations lead can defend.
Common Mistakes
Choosing by price alone. A cheap device fails on the label you actually have, and the cost lands later as lost picking time. Fix: compare the seven cost rows above across the same lifecycle period.
Treating resolution as range. A long-range scanner that reads a pallet label from 20 feet will still miss a small serial code on a part. Fix: match the optical window to the smallest symbol you must read, and use two device classes if labels genuinely vary.
Ignoring symbologies until labels change. Buying a 1D-only unit for an operation that is adding Data Matrix for parts tracking in six months means a fleet replacement. Fix: check the roadmap with your suppliers and default to a 2D area imager unless you have a strong reason not to.
Overlooking wireless dead zones. The device pairs fine at the dock and drops scans in the far aisle. Fix: walk the route with a signal survey, add access points or a shared charging and network plan, and require offline buffering with local sync.
Failing to test real labels. Demo units read demo labels beautifully and then struggle with a wrinkled, low-contrast or shrink-wrapped carton. Fix: bring your worst labels to the test, every time.
Forgetting the software and lifecycle. The scanner reads fine but cannot talk to the WMS, or the operating system loses security updates before your planned replacement year. Fix: get written confirmation of integration method, update horizon, and a documented migration path.
A short selection checklist, then. Write the workflows and the symbology list. Decide where a light handheld works and where a hands-free, vehicle-mounted or long-range unit is needed. Require 2D reading, an IP rating that matches the room, and a battery that lasts a shift. Settle connectivity and integration in writing. Compare total cost over the life you plan to own the device. Then pilot against real labels in the worst light on your floor before you commit the whole fleet.
Frequently Asked Questions
What is the best barcode scanner type for most warehouses?
For most warehouses, a rugged wireless handheld with a 2D area imager is the default answer, because it reads every 1D and 2D symbology and moves between receiving, picking and counting. Add a vehicle-mounted or long-range unit for pallet and high-bay work, and a presentation scanner at packing benches. The exception is a small operation reading only clean Code 128 and EAN-13 labels on flat paper, where a lighter mid-range 1D unit is enough.
Do I need a 2D barcode scanner if my warehouse uses UPC labels?
Not today, but plan for it. A 2D area imager reads UPC, EAN and Code 128 as well as QR, Data Matrix, PDF417 and GS1 DataBar, so it removes the risk of a fleet replacement when suppliers start adding 2D codes for parts, serial or return tracking. The only reason to buy 1D-only is a tight budget on a simple operation with flat, clean paper labels and no near-term supplier change.
Is Bluetooth better than Wi-Fi for warehouse barcode scanners?
It depends on what the device has to do. Bluetooth suits a handheld that sends scan events to one mobile computer: long battery life, fast reconnection, no network to design. Wi-Fi suits a device running a full application or roaming across a building, but it needs an enterprise access point, a coverage survey and fast roaming, or you will lose scans in the far aisles. A USB cabled unit wins at a fixed packing bench.
Can warehouse barcode scanners work with any WMS or ERP?
Almost, but confirm the connection method before you buy. Most systems accept standard keyboard-wedge input, which treats the scanner as a keyboard, and mobile computers can also run terminal emulation or a vendor SDK. Custom middleware is sometimes needed for bulk, multi-item or label-printing workflows. Ask the vendor to show a scan arriving in your actual system, and require offline buffering with later sync if any of your work areas lose coverage.
How rugged does a barcode scanner need to be in a warehouse?
IP54 is enough for a clean indoor aisle. Choose IP65 where dust is heavy or the device gets splashed near a dock door, and IP67 in freezers, food plants and washdown areas, since that also covers full submersion. Add a stated drop specification onto concrete and an operating temperature range that includes your coldest room. If devices are dropped often, paying for a higher grade is cheaper than a fleet of replacements.
Conclusion
Write down your workflows and your symbology list first, then shortlist the rugged form factors that can actually read them at the distance you need. Compare total cost over the years you will own the hardware, not the unit price. Run a small pilot against your own worst labels, in the worst light, through your real WMS, and only then commit the fleet. That sequence removes most of the expensive surprises, and it takes about a week.