
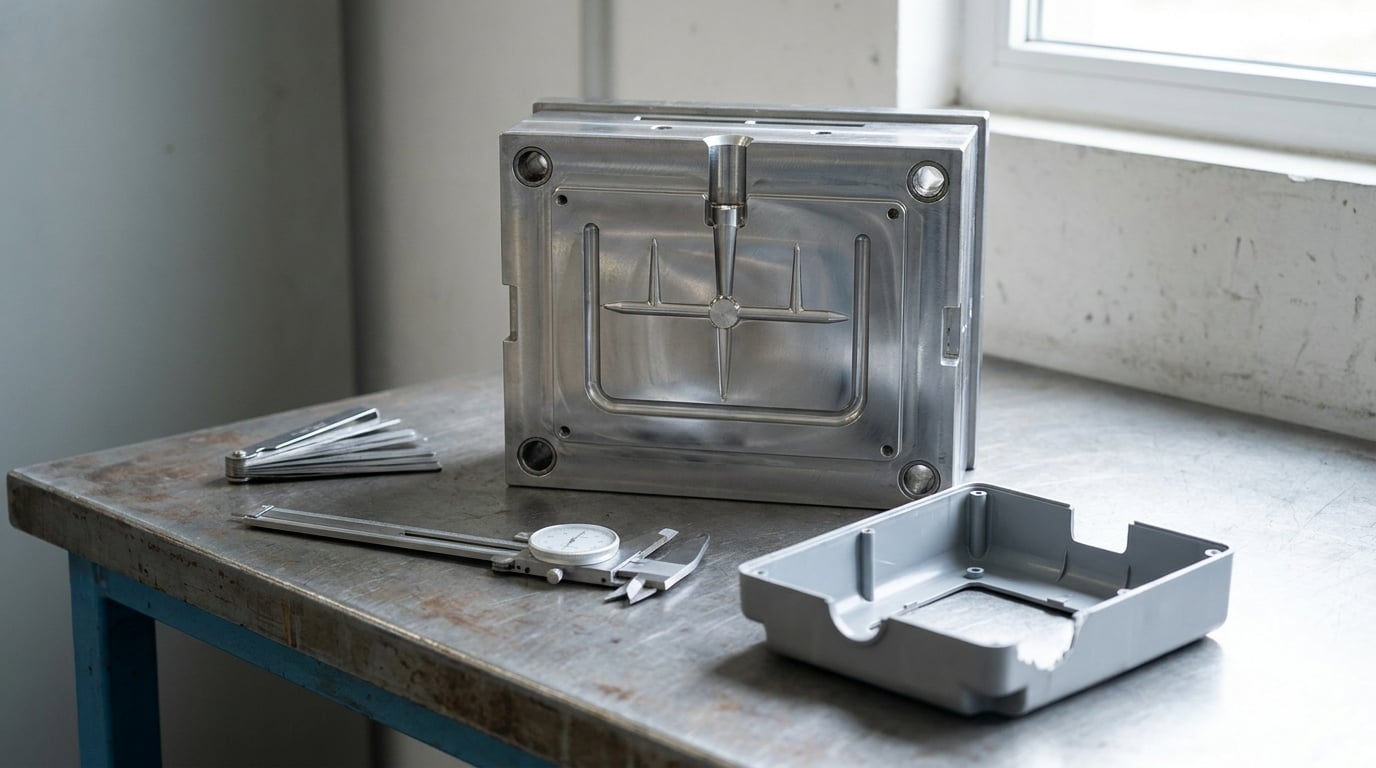
A short shot is an injection molding defect where the melt stops before the cavity is full, so the part comes out of the mold missing material, usually at the far end of the flow path. This short shot troubleshooting guide for molders gives you an ordered path from a bad part to a verified correction, so you stop guessing and start testing one thing at a time.
Most short shot hunting goes wrong in one of two ways: someone raises injection pressure until flash shows up somewhere else, or five people change five settings in one afternoon and nobody knows which change fixed it. Neither gets you a stable process.
The order below is the one that works. Confirm what you are actually looking at, check the material, look at the mold, then review the machine settings, and only then make a single controlled change. It takes about an hour on a live cell, and almost every short shot is resolved somewhere in steps two through four.
Table of Contents
What You Need
You can diagnose a short shot with very little equipment, but you do need the records. A mold that was running clean last week and shorts today usually tells you what changed faster than any amount of staring at the part.
- Ten to twenty parts off the machine, kept in cycle order, plus any part the operator flagged as good. Shoot-to-shot comparison is how you spot an intermittent defect.
- A part weight record from the last fifty or hundred shots. Weight is the most honest fill measurement you have, and it never argues with a visual inspection.
- The setup sheet or control plan: shot size, cushion, V/P transfer position, barrel zone temperatures, mold temperature setpoints, injection speed profile, hold pressure and hold time.
- A caliper and a thickness gauge for checking wall thickness at the short and at a fully filled area of the same part.
- The material data sheet and the drying log — material, grade, MFI range, recommended drying time and temperature, and how long it has actually been dry.
- Basic mold access tools suited to your tooling: a flashlight or borescope, feeler gauges, and safe access to the nozzle and the feed throat.
- A change log sheet. Pen and paper, or the cell’s digital log. Every setting you touch gets written down with the time and the part number.
One photo of the defect, taken from a consistent angle, saves an argument later. Mark the short on the photo so whoever picks this up tomorrow knows exactly where the material stopped.
Step-by-Step Short Shot Troubleshooting
Five steps, run in order. The order matters because material and mold problems masquerade as machine problems constantly, and a machine adjustment made before you rule those out just hides the real issue until it comes back.
1. Confirm the defect and identify the short location
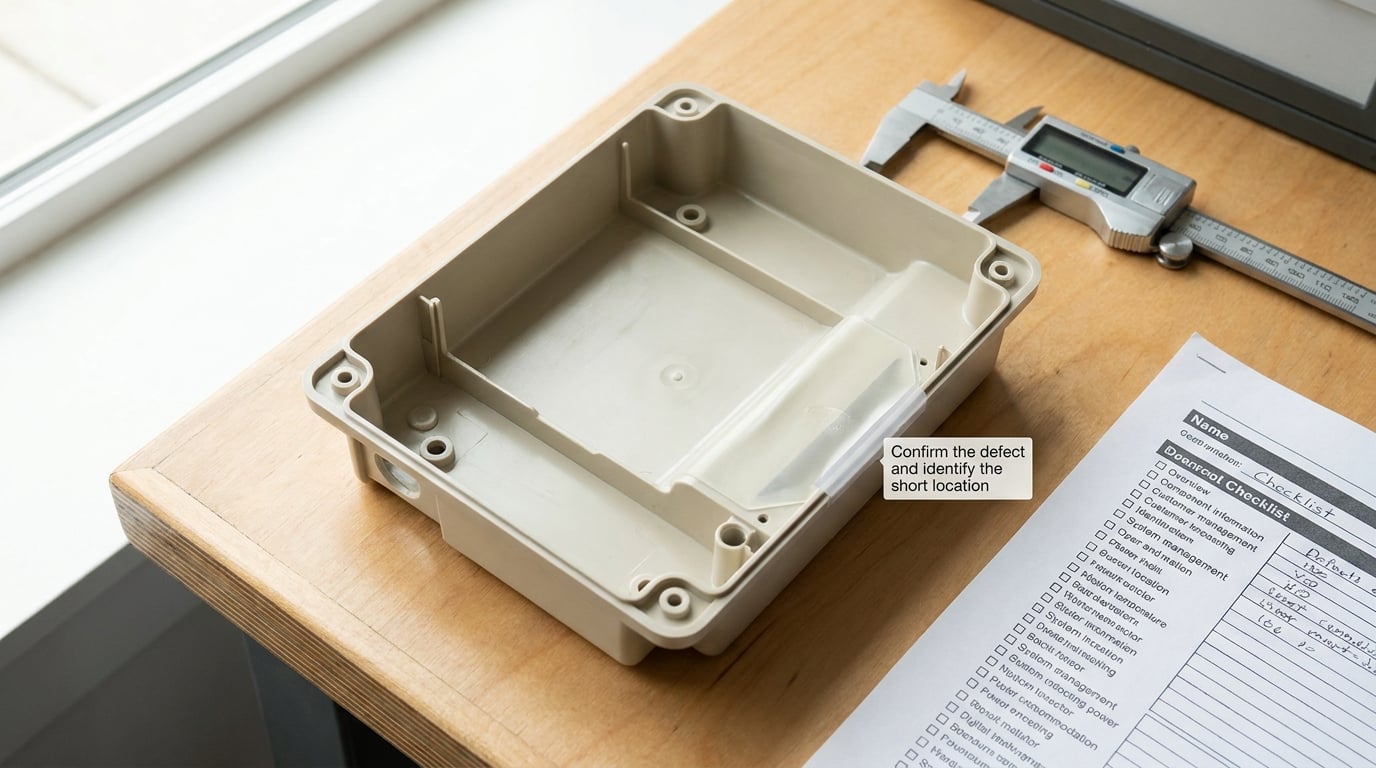
Start by confirming it is a short shot and not a different defect that looks similar. A true short shot is an incomplete fill: material stops, the surface of the short is matte and frosted rather than glossy, and you can often see a distinct flow front line where the melt froze in place. The unfilled area is normally at the end of the longest or thinnest path from the gate.
Four defects get mistaken for a short shot often enough to name them. Hesitation is a thin, glossy stripe frozen just behind the flow front, caused by a cold mold wall meeting fast melt. Flow marks are shallow lines on an otherwise complete part. A weld line is a seam where two flow fronts met, visible as a ridge on a full part. Incomplete packing looks like a full but light part with sink marks instead of a missing section.
Write down three things: where the short is on the part, whether it is always in the same place, and whether flash appears anywhere on the same part. That last detail changes the diagnosis later.
Then answer one question: does it short every cycle, or only on some? Consistent shorts point to geometry, material, or a fixed machine setting. Intermittent shorts point toward cushion instability, inconsistent shot size, mold temperature imbalance across zones, vent wear, or a material feed problem. The rest of the guide splits on that answer.
2. Check material preparation and delivery
Material is first because it is cheap to verify and it causes defects that look exactly like a mold problem. Hygroscopic resins absorb moisture from the air, and that moisture turns to steam at melt temperature. Steam expands, viscosity drops, and the melt either foams or stops filling.
Check that the dryer is actually holding temperature and that the dew point on the hopper is where it should be, not just the barrel chart. Confirm the resin has been at its drying temperature for the specified time, not just switched on. If material sat in a hopper overnight with the dryer off, treat the whole hopper as suspect and run fresh, properly dried pellets before you touch a single setting.
Look at the pellets themselves. Bubbles, a metallic sheen, or a color shift that goes lighter or duller means degradation. Also check the feed throat for a bridge or a crust of cold material, and check how much regrind is in the mix. Regrind carries its own moisture history and its own melt flow index, and a high regrind rate against a virgin grade shifts viscosity enough to shorten the flow path.
Then verify delivery. Pull the nozzle tip off and inspect the heater block face and the nozzle extension. A deposit of degraded material or a carbonized ring in there restricts flow in a way that mimics low injection pressure, and a contaminated nozzle tip is one of the most common finds on a mold that started shorting after a material changeover.
For hot runners, look for the same thing at the hot runner drop: contamination, a cold slug, or a drool of degraded material plugging a nozzle. A cold slug well that no longer catches the cold slug is a mold fix, not a settings fix.
Confirmation: the short moves or disappears when you run fresh, correctly dried material at the correct melt temperature. If it does not move, material is probably not the cause.
3. Inspect the mold for flow restrictions
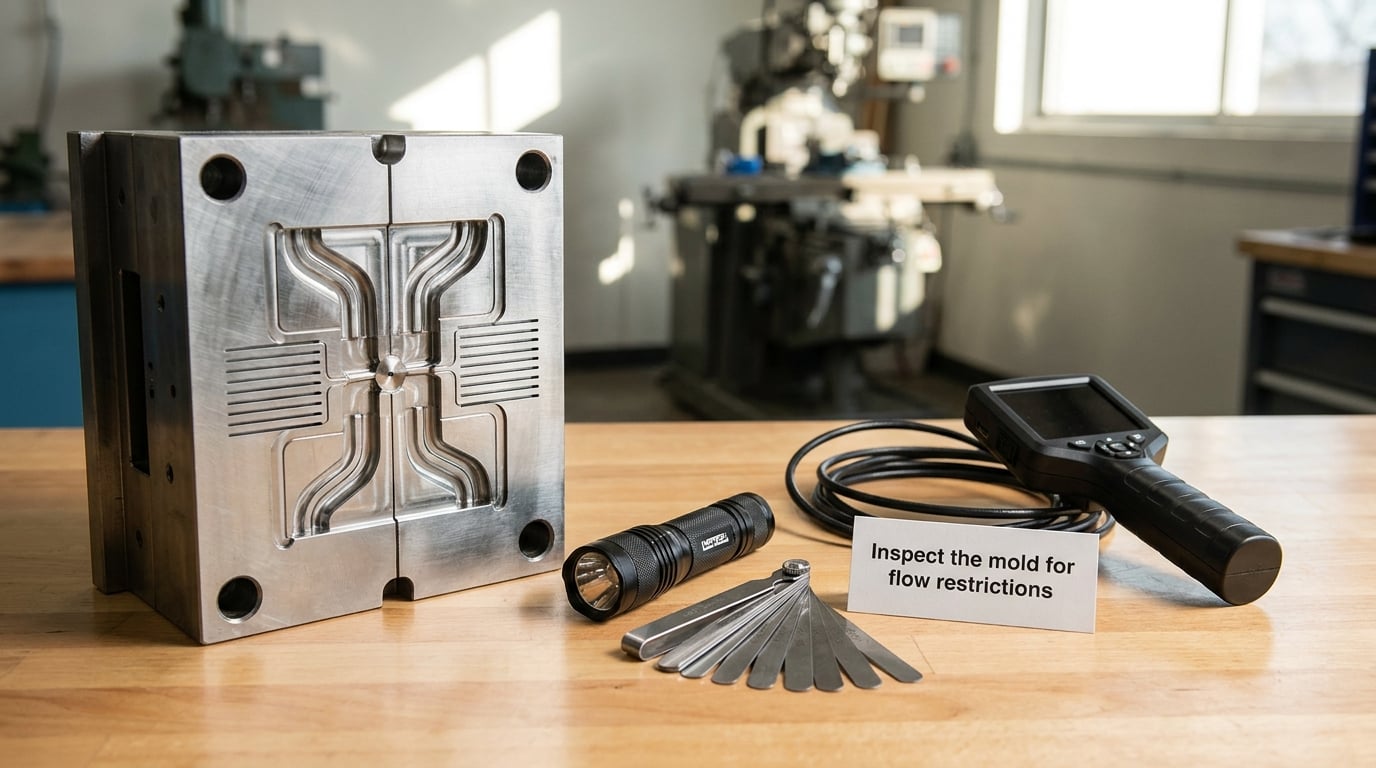
A mold that ran and now does not has changed somewhere, even if nobody touched it. Look at flow path first: is the gate there, is it the right size, and is it in the place it was when the tool was qualified?
Gate problems are the most common mold-side cause. A gate that has worn, chipped, or partially blocked from a flash back or a mold repair delivers less material than the tool was designed to. A gate that has been accidentally ground back during a burr removal is a short-shot factory. Check gate area against the part wall: a gate sized far below the wall it feeds will freeze before the cavity fills. Check position too. A gate that used to feed directly into a thin wall and now feeds across a thick section will not fill the far end.
Venting is the second thing. Air at the end of the flow path has to go somewhere, and it leaves through vents. When those vents are blocked by flash-back, debris, or wear, the air compresses ahead of the melt and physically stops the flow. A vent that should be venting nothing on a clean shot but now shows no air at all is telling you something. Check vent depth against your flow path length — as a rule of thumb, roughly 0.001 to 0.002 inch of vent depth per inch of flow, more for higher-viscosity materials and filled grades.
Check the parting line for damage and mismatch, the inserts and any slide or lift that carries flow, and the area around the ejector pins where a poorly vented pin can trap a pocket of air right at the end of a wall. Look for cold slug wells that are undersized, mispositioned, or full of previous cycles’ residue.
Look at cooling. A blocked or fouled cooling channel, or a mold temperature controller set too low on one zone, keeps that part of the tool cold enough to freeze the flow front. When the short appears in one cavity of a multi-cavity tool, imbalance is a strong suspect — an uneven flow or a mold temperature zone reading off its neighbors.
Confirmation: a short that stays exactly where it is, at the same weight, across every process change you make, is mold-side. Escalate to the mold engineer at that point rather than continuing to chase settings.
4. Review machine and process settings
Now the machine. Most short shot fixes live here, and the settings that matter are specific.
- Injection speed and pressure. Speed controls how fast the flow front moves and how much viscous loss it suffers; pressure controls how hard the machine pushes when the flow stalls. Fill problems are usually a speed and pressure limit problem, and a machine at both limits cannot fill a part no matter what. Check that injection pressure limit is not set below what the fill actually needs.
- Cushion. Cushion is the melt left in front of the screw at the end of injection, and it is your reserve for packing. Too little cushion and the machine runs out of material before the cavity fills, which is a short shot that no pressure increase will fix. Watch cushion across cycles; an unstable cushion means inconsistent shot size, and inconsistent shot size means intermittent shorts. Run a short shot study to see where the real cushion range sits.
- V/P transfer. The point where the machine switches from filling to packing. Transfer set too early means you start packing before the cavity is full, and the part shorts with a good cushion reading. Transfer set too late means you fight to fill and then have no packing control at all. On an intermittent problem, watch the transfer point and the peak pressure together — if the switch timing jumps around, that is a real cause.
- Hold pressure and hold time. Not a fill fix, but check them. Hold settings that are wildly high on a part with a small gate will push flash through the parting line, and the molder chasing the flash by dropping hold pressure can then create a light part that gets called a short.
- Barrel and melt temperature. Too cold and the melt is viscous and will not make the flow path; too hot and the flow front thins and degrades. Move in small steps, about 5°F per zone, and hold the change long enough to see it. Material temperature at the nozzle is the number that matters, not the number on the setpoint.
- Mold temperature. A cold mold freezes the thin sections first. Check every zone setpoint against what the tool is actually running.
- Cycle time, back pressure, and screw recovery. If recovery drags, the screw is not fully plasticized or fully metered at the start of the shot, and the first cycles after a long idle will be light. Back pressure affects mixing and melt homogeneity, and its effect on fill is real but secondary.
- Shot size. If the machine’s shot capacity is set below what the part needs across all cavities, nothing else matters. Confirm the shot size setting versus the calculated part weight and runner weight.
There is a real trade-off here that the generic advice never mentions. Raising injection speed is the standard lever against a short shot, and it is also what produces the diesel effect and weld-line weakness at high speed. Lowering speed to clean that up can bring the short back. You are looking for a window, not a direction.
5. Test changes one at a time and verify the result
This step is where most troubleshooting is lost. One variable, one change, enough shots to see a difference, then a decision.
Write down the starting condition first: shot size, cushion, transfer position, the temperature setpoints, and the part weight of the good parts. Then change a single setting in a controlled increment — 5°F on one barrel zone, 10 percent on injection speed, a small step on injection pressure limit. Run enough cycles to see the effect and pull ten parts.
Verify in this order: complete fill, then part weight, then critical dimensions. A part that fills but weighs light has moved the problem to packing, not solved it. A part that fills and weighs the same but measures out of tolerance somewhere is a flow balance or gate issue, not a fill issue.
Change the status in your control plan only when the result holds for a full run, not for three good shots. Intermittent defects will hide behind a short stretch of luck.
Common Short Shot Mistakes and Fixes
These are the responses I see most often on a shop floor, paired with what actually resolves them.
Mistake: raising injection pressure first, every time. Pressure only helps if the machine had pressure headroom left. If the fill was already pressure-limited, more pressure produces flash at the parting line and a heavier part, not a fuller one. Check the limit and the actual peak pressure first.
Mistake: changing five settings before judging any of them. Then nobody knows which one worked, and the process sits in a setting nobody can explain. One variable per test, logged with the time.
Mistake: treating material drying as a universal fix. Drying fixes a moisture problem. It does nothing for a blocked vent, a worn gate, or a cushion set too small. Verify the resin before you accept the theory.
Mistake: ignoring the vents because the part looks like a pressure problem. Blocked vents stop flow mechanically. Look at the vents before you start turning up the machine.
Mistake: dropping injection speed to fix a weld line or a burn mark. Speed down is exactly the wrong direction for fill, and the short will return. Accept the weld line, find a different window.
Mistake: reading an intermittent short as a random defect. Intermittency is a signal. Trace it to cushion stability, screw recovery, material feed, or a mold temperature zone reading off its neighbors.
Mistake: treating a short shot with flash on the same part as a contradiction. It is not a contradiction, and it is one of the more useful signatures you can catch. Short on one end and flashing at the parting line points at gate position, gate sizing, or a mis-located feed, not to low pressure. The melt is finding its way out somewhere else because the gate is feeding the wrong section.
| Cause | Likely symptom | Where to look | Correction | Mold work? |
|---|---|---|---|---|
| Trapped air | Short at the last wall to fill, matte surface | Vent channels at the end of flow | Clear or deepen vents, check vent depth against flow length | Usually yes |
| Low or blocked cushion | Inconsistent part weight, light parts | Cushion reading across cycles | Reduce shot size or re-center, run a cushion study | No |
| V/P transfer too early | Consistent short with a healthy cushion reading | Transfer position setting | Move transfer later in the fill | No |
| Melt or mold too cold | Short in the thinnest sections | Nozzle temp, all mold zones | Raise in 5F steps, one zone at a time | No |
| Worn or undersized gate | Gradual change from a tool that used to run | Gate area, gate condition | Restore gate size and position | Yes |
| Moisture in the resin | Sporadic shorts, surface marks, weight swings | Dryer temp, dew point, time since drying | Re-dry correctly, verify dew point, add drying time | No |
| Regrind ratio too high | Short appears after a material changeover | Batch records, pellet condition | Lower regrind, or re-qualify the blend | No |
| Flow path or wall balance | Short always in the same place, every cycle | Gate position, wall transitions | Re-balance flow in the tool | Yes |
| Injection pressure at limit | Peak pressure pegged, short at the far end | Machine pressure limit setting | Raise limit, then reassess speed | No |
| Mold temperature imbalance | Short in one cavity of a multi-cavity tool | Zone thermocouples, blocked channels | Balance zones, clean the channels | Sometimes |
Two habits keep this from turning into a guessing game. Log every change with the time, the setting, and the result, so the cell history is readable by the next shift. And keep the process window honest: a fix that only works on one of four cavities, or only for the first ten minutes after a restart, is not a fix yet.
When you have exhausted the material, mold, and machine checks and the short sits in the same location at the same weight through all of them, escalate. That is a mold engineer conversation, and it is a short shot study in Moldflow that will tell you where the flow front dies before anyone opens the tool. A mold built to run for years does change: vents wear, gates wear, inserts shift, and wear-driven shorts appear long after anyone remembers touching the tool.
Frequently Asked Questions
What causes a short shot in injection molding?
Short shots come from melt that stops before the cavity is full. In practice the causes are trapped air, too little melt reaching the part (small shot size or short cushion), melt or mold that is too cold to flow the full path, injection speed or pressure that is too low to overcome viscous loss, a gate that is worn, undersized, or feeding the wrong section, moisture in the resin, and a flow path that is too long for the wall thickness. Diagnose in that order rather than starting with the machine.
Is a short shot a mold problem or a machine problem?
It is usually none of the two until you have looked at the material. Run the process-side checks first because they are free and fast: material drying, nozzle condition, cushion stability, V/P transfer, injection speed and pressure limit, and every mold temperature zone. If the short stays in the same spot at the same part weight through all of those changes, it is mold-side. That usually means venting, gate size or position, or flow path balance.
What is the role of cushion in injection molding?
Cushion is the melt left in front of the screw when injection ends, and it is the reserve the machine uses for packing. If cushion is too small, the screw has nowhere left to go and the shot stops before the cavity fills, which is a short shot no pressure increase will correct. Watch cushion across cycles rather than trusting a single reading, because an unstable cushion means inconsistent shot size, and that shows up as intermittent shorts with part weight swinging cycle to cycle.
Why are my short shots intermittent?
Intermittency almost always points at a variable rather than a fixed setting. The usual suspects are unstable cushion, screw recovery that is not completing before injection, a mold temperature zone drifting off its neighbors, a partially blocked vent, or resin bridging in the feed throat. Pull parts in cycle order and record part weight for each one, and the pattern usually points straight at which variable is moving.
Why am I getting a short shot and flash on the same part?
That combination is not a contradiction, and it is one of the more useful signatures in molding. When melt flashes at the parting line and the part is still short somewhere else, the gate is usually feeding the wrong section or the flow path is unbalanced, so material finds an easier exit. Look at gate position and size first, then check whether the flash is coming from a worn parting line or a damaged insert. Lowering pressure to remove the flash will not fill the part.
How do I fix a short shot without changing the mold?
Start with process settings and material. Verify the resin is dry and free of contamination, then increase injection speed in 10 percent steps and check the injection pressure limit is not set below what the fill needs. Confirm shot size and cushion, and move V/P transfer later so the machine does not start packing before the cavity is full. Raise barrel or mold temperature in 5 degree steps. If the short stays in the same location at the same weight through all of that, the answer is in the tool.
Conclusion
The first action is small: stop the run, photograph the part, and mark exactly where the material stopped, then write down whether it happens every cycle or only some.
From there, work the order. Verify the resin is dry and the nozzle is clean, inspect the gate and the vents at the end of the flow path, then review cushion, V/P transfer, injection speed, pressure limit, and every temperature zone.
Make one change in a controlled step, run enough cycles to judge it, and check part weight before you check anything else. When a full pass through the material, mold, and machine checks leaves the short in the same place at the same weight, take it to the mold engineer with your log — that log is what turns “the tool is bad” into a specific fix.