
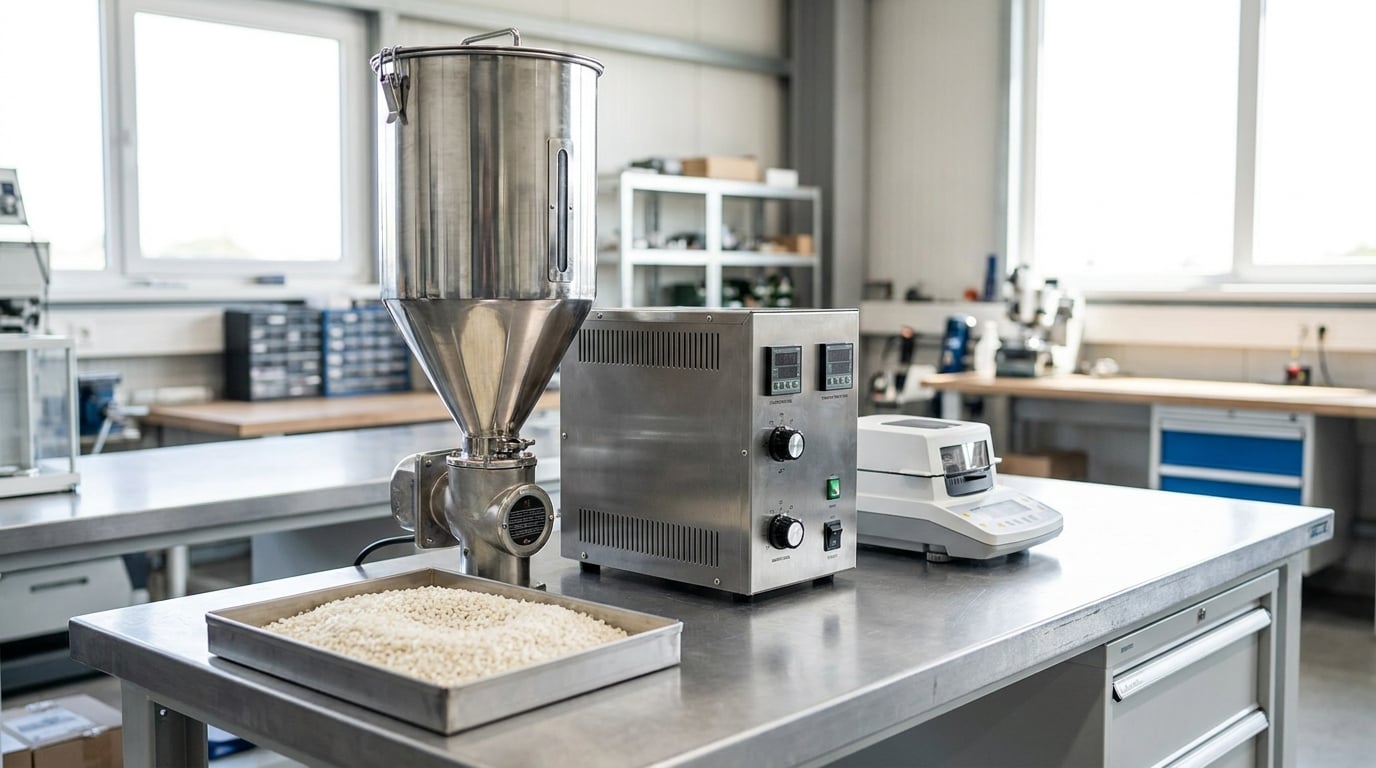
If you are working out how to choose a resin dryer for hygroscopic plastics, it comes down to four numbers: the resin’s required drying temperature, its target moisture level in ppm, the peak material consumption rate of your line, and the residence time the material needs inside the dryer. Get those right and the equipment choice follows quickly. Get them wrong and you end up with a dryer that either can’t hold its dew point under load or bakes the resin at a temperature that degrades it.
I’m going to walk through the selection the way an application engineer would — from the supplier’s data sheet, through sizing and controls, to the commissioning checks that prove the dryer is doing its job. Most of the confusion I see comes from people starting with equipment instead of starting with the material.
Table of Contents
- What You Need
- Step-by-Step
- Step 1: Confirm the Resin’s Drying Requirements
- Step 2: Calculate the Required Drying Capacity
- Step 3: Choose the Right Hopper and Batch Size
- Step 4: Match Temperature and Airflow Controls
- Step 5: Check Moisture Monitoring and Data Features
- Step 6: Evaluate Safety, Maintenance, and Installation Needs
- Step 7: Validate the Dryer Before Production
- Common Mistakes
- Common Mistakes and How to Fix Them
- Frequently Asked Questions
- Conclusion
What You Need
Before you look at a single dryer datasheet, gather six pieces of information. Without them, any comparison you make is guesswork dressed up in a spreadsheet.
The supplier’s drying guide for your exact grade
Resin families are not uniform. A glass-filled PA66 and a natural PA6 behave differently, and a recycled grade behaves differently again. Pull the technical data sheet for the specific grade and formulation you run, not the family overview. You are looking for four values: recommended drying temperature, exposure or residence time, maximum acceptable moisture content before processing, and the target moisture for the process itself.
Your target moisture level in ppm
Write the number down in ppm, not as “bone dry.” Nylon grades often specify a maximum of 0.10% to 0.20% moisture, polycarbonate around 0.02%, and PET preform grades sit near 50 ppm. A target you can state numerically is a target you can later measure and prove.
Material consumption rate and peak demand
Your average hourly consumption is not the number that sizes a dryer. What matters is peak demand — during a fast cycle, a big machine changeover, or a scheduled production surge. Note both figures.
Batch size and changeover frequency
How much resin sits in the hopper between changeovers? Frequent colour or material changes force repeated heating and cooling cycles, which wastes energy and can make thermal history harder to control.
Available space, utilities, and airflow
Measure the footprint including clearance for the service side, and check the electrical supply, compressed air, and exhaust routing. Also check the room’s own dew point. A hot and humid molding room is working against you before the dryer starts.
Plant safety and quality requirements
Note the dust collection rules, electrical classification, and the documentation your quality system expects. If you run medical or food-contact parts, validation and record-keeping requirements are stricter, and that changes what you should specify.
Step-by-Step
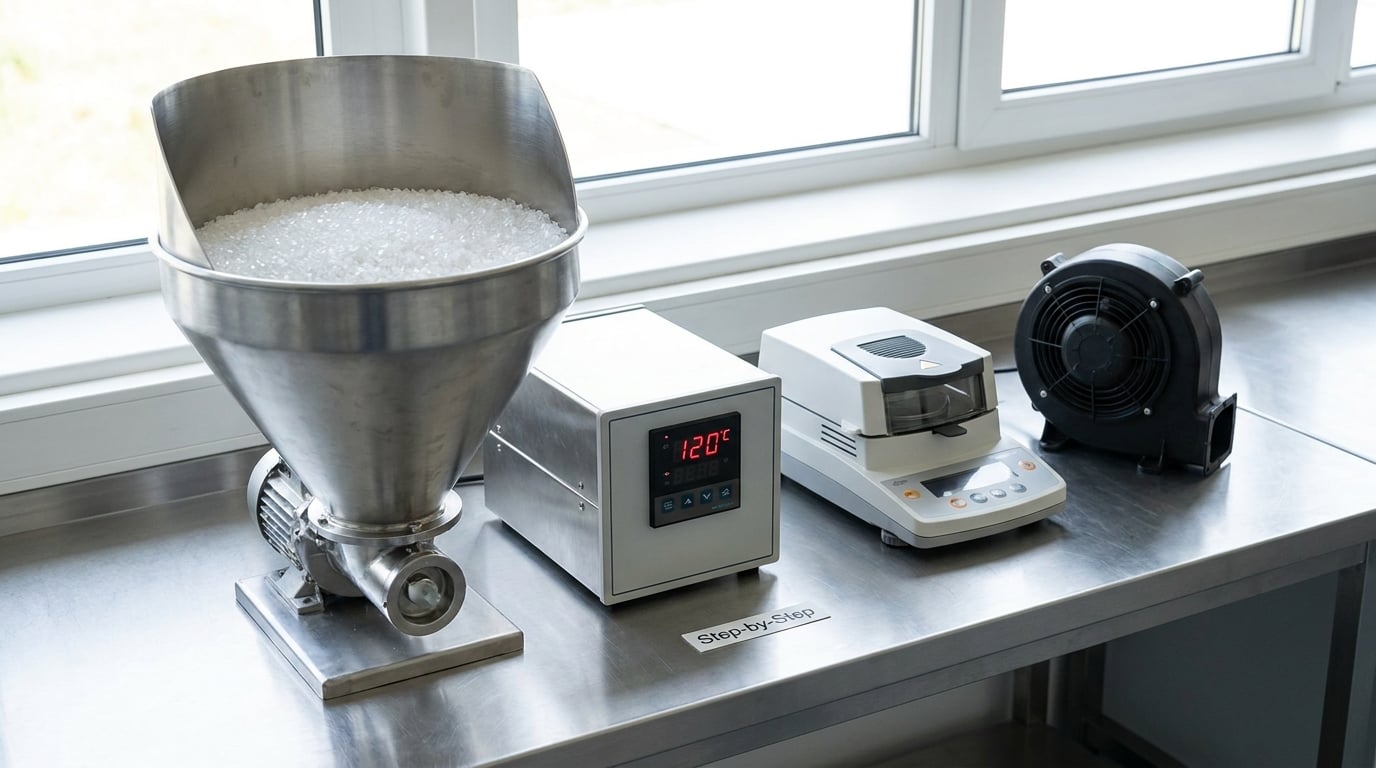
Work through these seven steps in order. Each one narrows the field for the next, and skipping ahead is what leads to undersized hoppers and wrong control packages.
Step 1: Confirm the Resin’s Drying Requirements
Start with the material supplier’s data. Find the recommended drying temperature, the exposure time or residence time, and the target moisture content for the exact grade. Also look for the maximum moisture the resin can absorb before processing, since anything above that causes hydrolysis — the chemical breakdown of the polymer chain by absorbed water — which permanently reduces the mechanical properties you paid for.
Here are the ranges that show up most often in data sheets. Treat them as orientation, not as a substitute for your supplier’s number.
| Resin | Typical drying temperature | Typical exposure time | Target moisture | Watch for |
|---|---|---|---|---|
| PA6 (nylon 6) | 70-80 °C | 2-4 hours | 0.08-0.15% | Reabsorbs moisture within minutes of leaving the dryer |
| PA66 (nylon 66) | 75-85 °C | 2-4 hours | 0.08-0.15% | Glass-filled grades run hotter than virgin |
| PET (bottle and preform) | 120-160 °C | 4-6 hours | under 50 ppm | Hydrolysis is irreversible and shows in intrinsic viscosity |
| Polycarbonate (PC) | 100-120 °C | 4-6 hours | under 0.02% | Longer times needed at low dew point |
| ABS | 80-90 °C | 2-4 hours | 0.05-0.10% | Moderately hygroscopic; less critical than PA or PC |
| PBT / PET blends | 100-120 °C | 2-4 hours | 0.05-0.10% | Blends follow the more demanding component |
| TPU / TPE | 80-100 °C | 2-4 hours | 0.05-0.10% | Moisture causes bubbles and stringy extrudate |
| PA6-CF / PA6-GF | 70-80 °C | 4-6 hours | 0.08-0.15% | Resin absorbs more than filament data suggests; follow the supplier |
Note the PET and PC rows. Those are the ones that make a plain hot air dryer struggle — a high temperature combined with a very low target moisture level demands genuinely dry air, not just warm air. If your material sits in that column, a desiccant-based closed loop system is usually the right starting point rather than an optimization.
Also record the upper temperature limit. Drying too hot is not a faster path to dry resin; it accelerates oxidative degradation, and for filled grades the resin can discolour or embrittle long before the moisture is gone.
Step 2: Calculate the Required Drying Capacity
Sizing starts with peak hourly demand, not average. If your line runs 300 kg/h on average but can peak at 500 kg/h during a fast cycle, size the dryer for 500 kg/h.
Then apply a margin for downtime and changeover. A common approach is to add 20% to 30% to peak demand, or roughly 1.5 to 2 hours of material as buffer, so the dryer can hold the resin while you change the mould or swap material. Whichever method you use, write the assumption next to the number — a capacity figure without its basis is an argument waiting to happen.
Compare that figure against two ratings on the dryer: its rated throughput in kg/h and its hopper volume in litres or cubic feet. A dryer can have plenty of throughput and still be wrong for your line if the hopper is small, because a small hopper means frequent refills, and every refill restarts the drying cycle on part of the batch.
Airflow figures work the same way. Suppliers quote airflow in cfm, and a common industrial rule of thumb is roughly 10 cfm of process air per 10 lb/h of throughput. Treat that as a sanity check between competing quotes rather than as a design number.
Step 3: Choose the Right Hopper and Batch Size
The dryer type decision is really a question about how your line runs. Batch dryers hold a charge, heat it, hold it for the residence time, then discharge. Continuous dryers keep material moving with a steady thin layer. Combination systems, which are common on machine-mounted units, dry continuously while holding a small buffer charge so a brief interruption does not starve the process.
For a line that changes material or colour often, a continuous or combination layout avoids re-drying a full hopper every time. For a small line running one material for weeks, a batch dryer with a larger hopper is simpler and cheaper.
Fill level matters more than most buyers expect. A hopper filled to the brim has little headroom for the material to move and tumble, so pellets near the wall sit in a stagnant layer that never sees the same air. Most manufacturers specify a working range, commonly two-thirds full, and going above it costs you drying uniformity rather than saving you floor space.
Agitation or vibration on the cone matters for the same reason — it keeps material moving so every pellet gets the same exposure. Discharge behaviour matters too: a hopper that bridges or leaves dead zones will not empty cleanly, and the residue left behind is wet material that seeds the next batch.
| Technology | Dew point reached | Best for | Main limitation |
|---|---|---|---|
| Hot air / convection | Depends on inlet air | Moisture-tolerant resins, high throughput, low capital | Limited by room humidity; struggles to hold very low ppm |
| Desiccant dehumidifying (closed loop) | Low dew point, typically around -40 °C | Nylon, PC, PET, and any low-ppm target | Desiccant needs regeneration cycles and periodic replacement |
| Compressed air assisted | Limited by compressed air quality | Retrofitting where dry air already exists | Moisture in the compressed air itself caps performance |
| Vacuum drying | Excellent, used for the toughest jobs | Specialty and laboratory-scale low-ppm work | High capital, batch only, slow throughput |
| Infrared | Surface heating | Rapid initial heating of the charge | Usually paired with another technology, not a standalone answer |
The desiccant row is where the real trade-off lives. It is the only mainstream option that reliably reaches the dew point nylon and polycarbonate need, and its cost is the desiccant itself plus the energy for regeneration. A dual-bed arrangement, where one bed dries while the other regenerates, is what allows continuous operation. Single-bed systems pause to regenerate, which is a deal-breaker for continuous lines.
Step 4: Match Temperature and Airflow Controls
Uniformity is the goal, not a high number on the display. You want the material mass at a steady setpoint, with no cold pockets and no hot spots. Look at how the heat is delivered, how well the hopper is insulated, and where the temperature sensors sit.
Insulation deserves more attention than it gets. A poorly insulated hopper lets humid room air leak in, and the resulting condensation on the inside wall is a continuous moisture source that quietly raises the resin’s moisture content. It also makes the dryer work harder, which shows up in energy use.
Sensor placement should reflect how the material actually sits. A sensor near the air inlet tells you about the air; a sensor in the material bed tells you about the resin. You want the second one for process control, and a hopper inlet dew point reading to know the air is still dry at the point of use, not only at the dryer outlet.
Watch the interaction between temperature and dew point. Warm air holds more water, so a dryer that hits 160 °C for PET needs a genuinely dry incoming air to hold that temperature’s worth of moisture away from the resin. This is why the dew point specification and the temperature specification cannot be chosen separately.
Step 5: Check Moisture Monitoring and Data Features
There are two levels of monitoring, and most lines eventually need both. The first is continuous: a dew point sensor at the hopper inlet plus temperature readings, which tell you whether the equipment is still performing. The second is verification: a moisture analyzer that measures the actual resin, which tells you whether the process is delivering.
For verification, a Karl Fischer titration remains the reference method for absolute moisture in most engineering plastics, though it is slow and lab-based. A near-infrared or Karl Fischer bench analyser, or a loss-on-drying measurement, is the practical in-house compromise. If you buy no analyser, you can still do a relative check: run a small drying trial, take a sample at set intervals, and watch the part quality and the weight change, then document the time it took to reach a stable result.
Forum discussions about nylon and other filaments come back to the same point again and again: users want numbers in ppm, not adjectives. A supplier who will not state a verifiable moisture figure is a supplier you will be arguing with later.
For data features, ask what the system logs and for how long. Trends of dew point, bed temperature, and regeneration cycles over weeks reveal a desiccant wearing out or an insulation problem long before parts start failing. Alarms matter, and so does the ability to export to your plant control system or your quality records.
Step 6: Evaluate Safety, Maintenance, and Installation Needs
Safety first, since this is heated equipment handling dusty polymer. Look for independent over-temperature protection with a manual reset, a heater failure safeguard that cuts power rather than cycling forever, and a lid or door interlock so the heater cannot energise while the hopper is open.
Then check the physical installation. Adequate clearance for desiccant cartridge change, a cleanable cone and filter arrangement, and a hopper that can be emptied safely. Dust extraction matters more than people expect; resin dust from loading and clean-out is a real housekeeping concern in a molding bay.
On maintenance, the desiccant service interval is the number to get in writing, along with whether the cartridges are regenerated in place or replaced. Also ask about sensor calibration intervals, filter replacement, and what spare parts are held locally. A dryer that needs a proprietary cartridge shipped from one country is a line risk.
Finally, ask who supports it. Commissioning support, training for operators, and a service contact who has actually worked on your resin are worth more than an extra feature nobody uses.
Step 7: Validate the Dryer Before Production
Commission the dryer before you run good parts through it. The sequence below is what I would sign off on, in this order.
Unloaded temperature check. Run the dryer empty and confirm the air temperature stabilises at setpoint and holds it. A unit that cannot hold temperature empty will not hold it under load.
Load the resin. Charge to the specified working level, not to the top. Note the time at which the material reaches temperature, and treat the first load as a learning cost.
Observe airflow. Listen and look for even flow through the bed, and confirm the air is passing through the material rather than short-circuiting around it.
Measure moisture. Sample the resin at set intervals from the first charge and record the results with times. This produces the drying curve for your actual material, hopper fill, and setpoint.
Confirm residence time. Check that the time from loading to discharge matches what the supplier’s data specifies. If the material leaves sooner than the specified time, the dryer is overloaded even if the numbers looked right on paper.
Document the settings. Write down the setpoint, the dew point at the hopper inlet, the measured moisture, the sample times, and the batch identifier. When a problem appears three months later, this record is the difference between a conversation and an argument.
Then re-validate after any change: new resin grade, new batch size, a seasonal change in room humidity, or after any service that touched the desiccant or sensors.
Common Mistakes
A short list of the errors I most often see at the specification stage, before the dryer is even ordered.
Sizing by hopper volume alone is the first. Volume tells you how much material you can hold, not how fast you can dry it. Throughput and airflow rating come first.
Drying at the highest available temperature is the second. If a control panel goes to 180 °C, that does not mean 180 °C is safe for your resin. Use the supplier’s number.
Buying a single-bed desiccant system for a continuous line is the third. It cannot dry and regenerate at the same time, so it will interrupt production every cycle.
Ignoring reabsorption is the fourth, and it is the one that catches out experienced teams. Resin that leaves the dryer on a conveyor in a humid room starts picking up moisture again within minutes. People measure it dry at the hopper and wet at the screw.
Skipping verification is the fifth. Without a measurement, you are assuming the dryer works, and equipment drifts out of specification slowly enough that nobody notices until scrap climbs.
Common Mistakes and How to Fix Them
Most dryer problems surface as part defects first and equipment faults second. This section reads the symptom, the likely cause, and the change that fixes it.
| Symptom | Likely cause | Dryer-side fix |
|---|---|---|
| Splay and silver streaks on the surface | Moisture in the melt, typically above the resin limit | Verify moisture; extend residence time; lower hopper inlet dew point |
| Bubbles, voids, and popping at the nozzle | Wet resin, or moisture entering after drying | Check reabsorption along the conveying path; shorten the gap between dryer and machine |
| Brittle parts and reduced tensile strength | Hydrolysis from repeated drying at high temperature, or long residence in the hopper | Drop the setpoint to the supplier’s figure; cut hopper hold time; add rotation or agitation |
| Stringy or uneven extrusion lines | Wet filament or resin, or inconsistent melt temperature | Dry to the specified target and measure it; check heater and sensor stability |
| Poor interlayer adhesion in printed parts | Dew point drifted as desiccant aged | Log dew point trends; replace or regenerate the desiccant on schedule |
| Dew point climbs shortly after startup | Moisture loading on cold media, or a leaking regeneration loop | Run the regeneration cycle before charging the hopper; check seals and the regeneration heater |
| Material dry in the hopper, wet at the screw | Long transfer line, humid room, or an uninsulated connection | Insulate the transfer; shorten the exposed run; consider closed-loop conveying |
Two patterns sit behind most of that table. The first is reabsorption, which is a transport problem, not a drying problem. The second is measurement absence, which turns a small drift into a large scrap rate before anyone connects the two.
On the fix for reabsorption: the practical answer is to minimise the distance between the dryer outlet and the process. Shorter transfer runs, insulated connections, and avoiding hot, humid rooms near the machine all help. For extrusion feeds, a closed-loop conveying system solves it properly rather than approximately.
On the fix for measurement: start with a dew point reading at the hopper inlet, not the dryer outlet. That single change tells you whether dry air is surviving the trip into the hopper, and it is the most commonly missed measurement in the whole system.
One more failure mode deserves naming because it is expensive: running resin through a dryer far longer than the supplier specifies. Resin is not inert under heat and low oxygen. Long holds at elevated temperature degrade the polymer, and you get a viscosity drop and loss of mechanical properties that looks exactly like moisture damage but will not be fixed by drying harder.
Frequently Asked Questions
What dew point do I need for nylon drying?
For most PA6 and PA66 grades, aim for a hopper inlet dew point around -40 °C or lower at the material temperature. That is cold enough to pull nylon below its 0.10% to 0.15% moisture limit within a reasonable residence time. Measure dew point at the hopper inlet, not just at the dryer outlet, since humid room air leaking into an under-insulated hopper will undo the drying.
How do I calculate the capacity of a hopper dryer?
Work from peak material consumption, not the average. Add a 20% to 30% allowance for changeovers and downtime, then check that the result is below the dryer’s rated throughput in kg/h and that the hopper holds at least one to two hours of material at its specified working fill level. If the throughput is close, the dryer will be running continuously with no margin to recover.
What are the downsides of using a desiccant dryer?
A desiccant system costs more up front and carries running costs from regeneration energy and cartridge replacement. It also needs service attention, because desiccant performance degrades gradually and a tired bed shows up as rising dew point long before parts fail. Single-bed units add a further limitation: they pause to regenerate, so they cannot support continuous production.
Can I dry resin with a hair dryer or a home oven?
For small batch work, a controlled desiccant box or a purpose-built filament dryer is a reasonable option. A hair dryer gives uneven heat with no way to hold a setpoint, so parts of the batch overheat while others stay wet. A household oven reaches the temperature but has no air circulation through the pellets, no dew point control, and no filtration, and it can carry contamination between materials.
How long can dried resin stay out of the dryer?
Very little time, and it depends on ambient humidity. Nylon and polycarbonate start reabsorbing moisture within minutes of leaving the hopper, faster in a warm, humid molding room. A practical rule is to keep the gap between dryer and machine as short as possible, insulate the transfer run, and verify moisture at the point of use rather than at the dryer outlet.
How do I know my resin is actually dry without a lab?
A relative check works: take samples at fixed intervals from the first charge and compare them on a loss-on-drying or bench analyser, watching for the reading to flatten out. That curve tells you the time your material needs in your hopper at your setpoint. For a number you can defend in a quality record, a Karl Fischer titration is still the reference method, even if you run it only occasionally.
Conclusion
The decision runs in one direction. Start with the resin supplier’s moisture specification and drying temperature, convert your peak consumption rate into a required throughput with a stated margin, and only then compare dryer technologies against that number. Check the four control parameters — temperature, dew point, residence time, and airflow — as a set, because changing one to improve another is how processes drift out of spec.
If you take three actions today, make them these: pull the data sheet for your exact resin grade, measure your peak rather than average consumption rate, and check the dew point at the hopper inlet on the dryer you already have. That last one takes ten minutes and often explains a defect nobody has been able to account for.
Updated for 2026.