
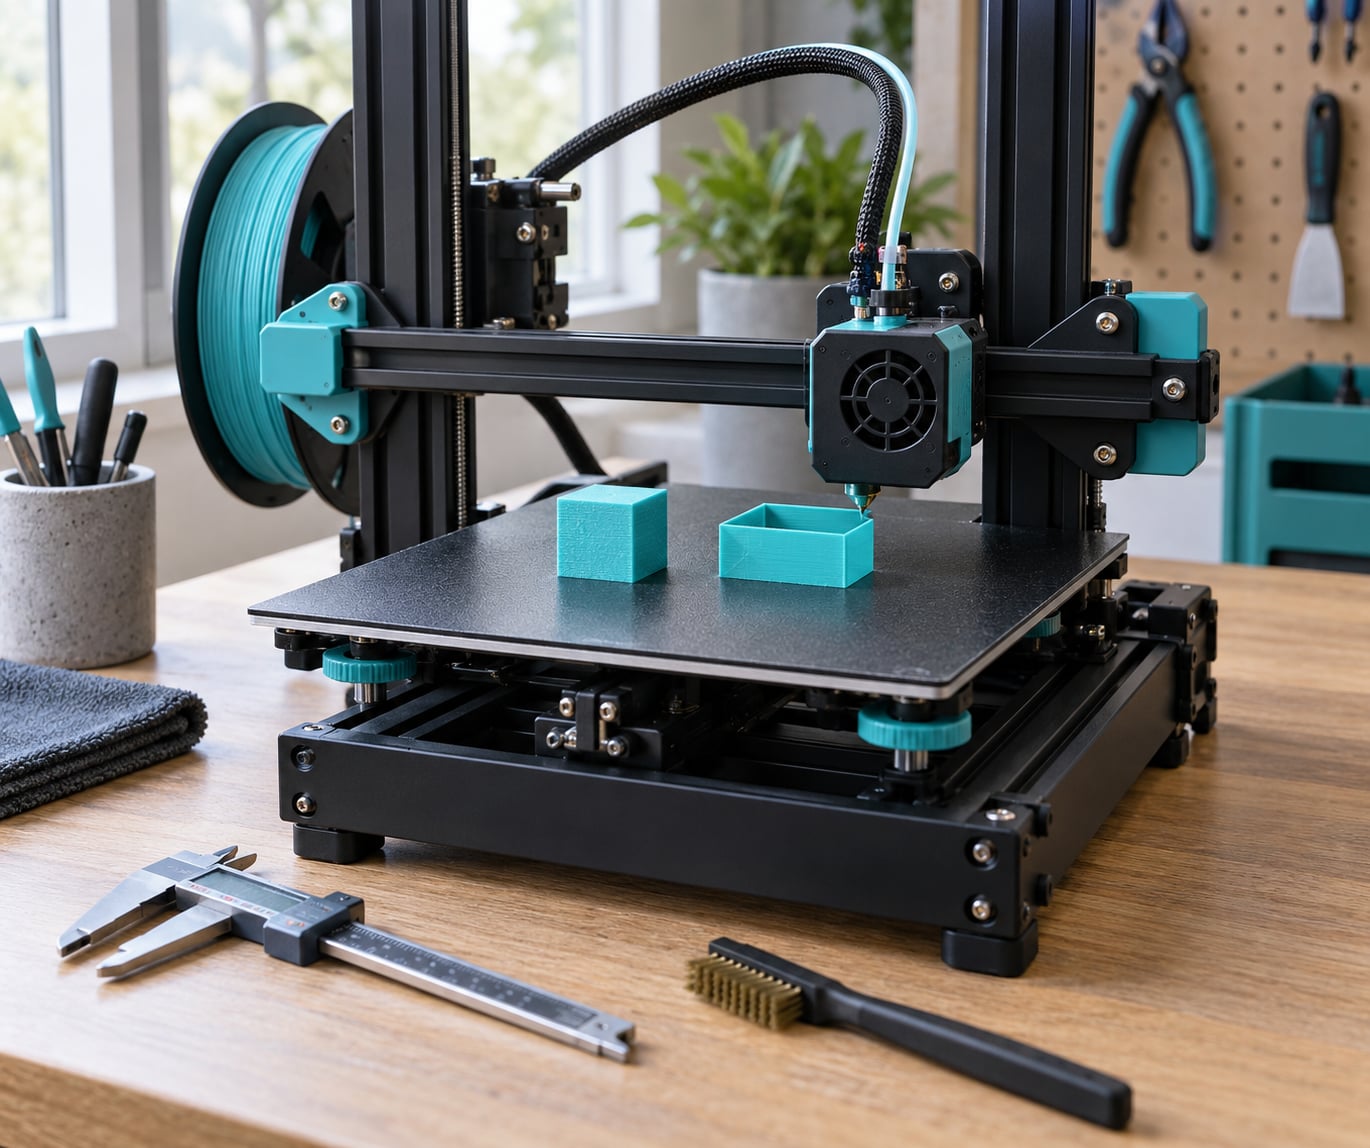
Learning how to calibrate a 3D printer is less about one magic adjustment than about following a fixed order: check the frame, level the bed, set the Z-offset, calibrate extruder E-steps, tune flow, then set temperature. Each step assumes the one before it is already right, so skipping ahead is what leaves people redoing the same work twice.
The whole process takes about an hour the first time and 10 minutes for every check after that. Almost all of it is software values saved to your printer or slicer, so it only has to be right once per filament and machine setup.
Table of Contents
- What You Need
- How to Calibrate a 3D Printer Step by Step
- Prepare the Printer and Load the Correct Filament
- Level the Build Plate
- Run an Extrusion or Flow Test
- Set the Correct Nozzle Temperature
- Calibrate Retraction or Linear Advance
- Set the Z-Offset and First-Layer Height
- Verify Calibration with a Test Print
- Common Calibration Mistakes and How to Fix Them
- Save, Document, and Recheck Calibration Settings
- Common Mistakes
- Frequently Asked Questions
- Conclusion
What You Need
Gather these before you start. Nothing here is exotic, and skipping any one of them usually means guessing instead of measuring.
- Digital calipers for measuring filament diameter and checking the walls of a calibration cube. A ruler works for the coarse checks but calipers make the fine ones quick.
- A clean sheet of ordinary paper for the paper-method Z-offset test, plus a feeler gauge set if your printer has a probe and you want repeatable numbers rather than a feel.
- A permanent marker to mark the filament at a known distance from the extruder before and after a test extrusion.
- Isopropyl alcohol and a lint-free cloth for the nozzle tip, extruder gears and build plate. Grease on a plate is a first-layer problem that no setting fixes.
- A brass or needle cleaning brush and a soak block or needle-in-a-heat-sink for clearing a partial clog.
- Hex keys and a screwdriver set in the sizes that fit your frame and extruder. Not the set from the box, the one that fits.
- A USB cable so you can talk to the printer from a terminal program.
- Printer control software such as Pronterface, OctoPrint, or whatever host your firmware expects.
- Your slicer (Cura, PrusaSlicer, OrcaSlicer or the software that shipped with the printer) plus two or three test models: a single-wall vase mode test, a first-layer pattern, and a 20 mm calibration cube.
Two more things worth having open before you start: the printer’s own startup g-code or configuration file, so you know where your saved values land, and a blank text file to write down every number you measure. I keep one per printer and one per filament spool.
How to Calibrate a 3D Printer Step by Step
The order below is not a suggestion. Here is the dependency chain: the frame check keeps everything rigid, the bed level and Z-offset decide whether plastic sticks, the E-steps decide how much plastic actually comes out, flow decides how much that plastic spreads on the plate, and temperature decides whether it flows or strings. Run them out of sequence and you end up tuning a number that the next step invalidates.
- Frame and mechanics check. Tighten every visible frame screw, check belt tension on both axes, and make sure the gantry moves freely by hand with power off.
- Clean the nozzle and build plate. Wipe both, then look at the nozzle tip under a light for burrs or a partial clog.
- Heat the printer up. Both hotend and bed, at the temperature you will actually print at.
- Level the bed. Manual, assisted or automatic mesh, then confirm the result with a real first layer.
- Set the Z-offset so the nozzle sits the right distance from the plate.
- Calibrate E-steps so 100 mm of filament really is 100 mm of filament.
- Calibrate flow rate so the slicer’s default extrusion matches your machine.
- Set temperature with a tower test for each filament you use.
- Verify with a single-wall test and a calibration cube.
Prepare the Printer and Load the Correct Filament
Heat the hotend and the bed to the printing temperature of the filament you loaded, then leave them there. A cold bed is a smaller bed: the plate expands as it heats, and the frame flexes as the frame and gantry warm up. Calibrating cold and printing hot is one of the most common reasons a first layer that looked perfect at room temperature fails on the actual print.
Clean the nozzle tip while it is hot. Hold the bed at temperature, wipe the plate with alcohol, and confirm the tip is clear by extruding a short line. A burr the size of a grain of rice changes flow and looks exactly like an E-steps problem.
Load the filament and confirm the material profile in your slicer matches what is actually on the spool. Check the diameter with calipers at two points, then check the printer’s configured filament diameter; most machines ship set to 1.75 mm and some printers ship set to 2.85 mm because of a factory packaging slip.
Level the Build Plate
Leveling is not about a perfectly flat plate, it is about a consistent nozzle-to-plate distance across the whole bed.
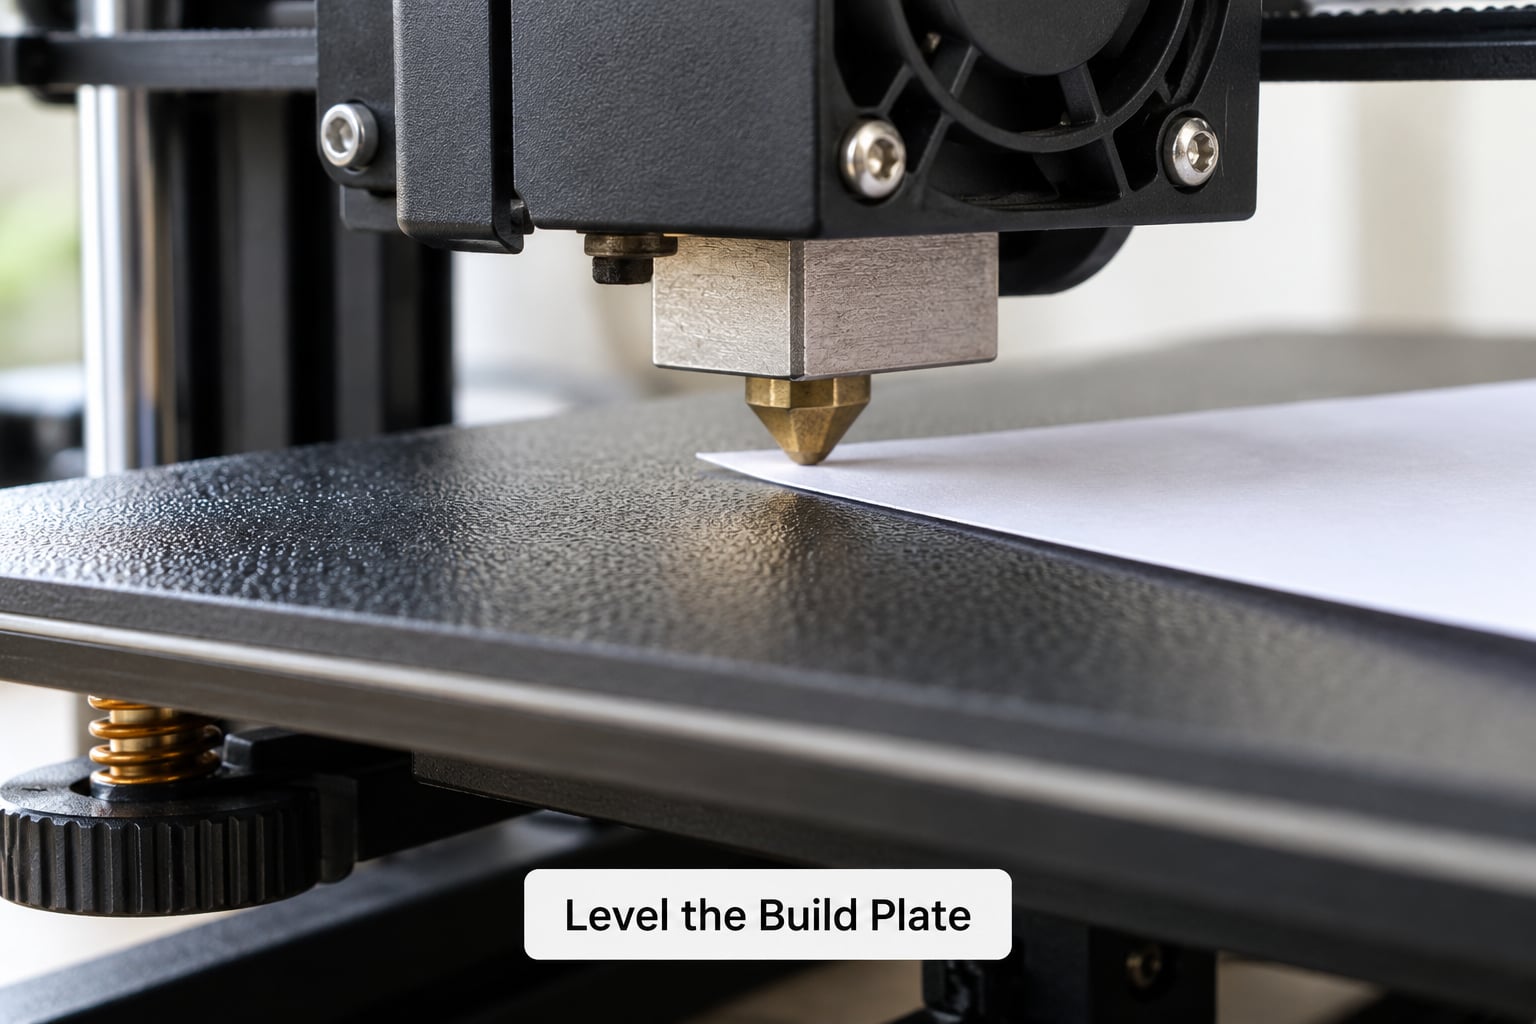
For a four-screw manual bed, home the axes, move the nozzle to one corner, and turn the screw under that corner until the paper drags lightly on the nozzle. Move to the diagonally opposite corner and repeat. Then the two remaining corners, then back to the first corner, because each adjustment disturbs the plane slightly.
The finishing move is to drag the paper back and forth under the nozzle while turning the wheel: it should catch and slip in a smooth rasp, with no grinding and no free slide. Repeat the corner loop two or three times until nothing changes on the last pass. If the corners are set but the centre drags hard, the plate is sagging, and no amount of corner adjustment will fix that.
On a probe-equipped printer, run the mesh routine instead of the paper method: home with G28, then G29, then G29 again if the mesh looks uneven. Save the mesh with M420 S1 so it survives a power cycle. Afterwards you still set Z-offset by hand, and that is covered next.
Verify with a real first layer rather than trusting the numbers. Print a single layer of a first-layer test pattern and read it: continuous lines mean the distance is right.
Run an Extrusion or Flow Test
This step answers one question: is the commanded amount of filament coming out of the extruder, and is it landing as a clean line?
For a visual read, print a single-wall vase mode model. Under-extrusion shows as gaps between the vertical lines and a wall you can see daylight through. Over-extrusion shows as thick, blobby ridges with a seam you can feel. A wall that varies in thickness while the settings sit still points at the extruder itself rather than the flow value, so fix that before adjusting flow.
For the numeric check, mark the filament 20 mm above the top of the extruder with a permanent marker, heat the hotend, and run the following through your terminal or the printer console:
M83
G1 E100 F100
M82
M83 puts the extruder into relative mode, G1 E100 F100 pushes 100 mm at a slow, steady rate, and M82 returns to absolute mode. Measure the distance the mark moved, then calculate:
New E-steps = Current E-steps x (100 / distance actually extruded)
Read the current value with M503, set the new one with M92 E followed by the number, and store it permanently with M500. Repeat the extrusion once and re-measure; if the second pass lands within a millimetre of 100 mm you are done. If you cannot get closer than a couple of millimetres, the problem is usually a slipping extruder gear, a partially blocked nozzle, or filament with a damaged or ovalised feed section.
Only after E-steps are correct should you touch flow rate. If the extruder is under-extruding by 5 percent and you also set the slicer to 95 percent, you have hidden a hardware and firmware fault with a slicer value, and the fault resurfaces the day you switch filaments.
Set the Correct Nozzle Temperature
Start with the manufacturer’s published range for the filament and then narrow it with a tower test. A temperature tower is a single model that changes nozzle temperature every few millimetres of height, so one print covers a whole range.
Slice it, then edit the temperature commands in the g-code so each layer group drops to a lower temperature. In Cura the route is Extensions, Post Processing, Modify G-Code, Change At Z; PrusaSlicer and OrcaSlicer let you set a layer height or a custom g-code layer change directly. Start the top at the top of the range and step down 5 degrees every 5 mm.
Read the result from the top down. The highest temperature that still makes corners and detail without stringing or blobs is your temperature. Too hot shows as droop on fine features, stringing between the tower and the wipe, oozing and a rough surface; too cold shows as under-extrusion, poor layer bonding and a tower that breaks cleanly across layers instead of snapping.
The same reasoning applies to the bed. Go below the filament’s minimum bed temperature and corners lift; go well above it and you get elephant’s foot, where the bottom edge bulges outward because the first few layers get squashed into a spread too wide for the line width.
Calibrate Retraction or Linear Advance
Retraction is a Bowden and direct-drive concern: how far the filament is pulled back before travel moves. Linear advance, also called pressure advance, is about corner and seam quality at speed.
Tune retraction first. Print a thin wall or a tower with retraction enabled and look at the corners. Oozing at the corner means retraction distance is too low; a gap or a scratch in the surface at the seam means it is too high, especially with a Bowden tube where the filament takes time to stop. Change it in small steps of 0.2 mm, re-slicing between each.
Where the setting lives depends on your firmware. In Marlin the value is stored as retract_length and saved with M500. In Klipper it is the setting retract_length in printer.cfg alongside the square_corner_velocity and maximum_acceleration entries, and it is set in the macro that handles the print start. Most BambuLab and OrcaSlicer printers tune this for you in the calibration wizard, and the machine stores the value per material profile.
Linear advance is a separate adjustment. Set it in your slicer (Pressure Advance in PrusaSlicer and OrcaSlicer, Flow Ratio in some versions of Cura) so corners, seams and thin perimeters keep the same line width as straight slow walls. If corners bulge or the seam is visibly wider, increase it; if corners pinch inward, decrease it. Only bother with this once flow, temperature and E-steps are locked, because it corrects a symptom that those three settings usually fix at the source.
Set the Z-Offset and First-Layer Height
Z-offset is the commanded gap between nozzle tip and plate. Correct it after leveling, because leveling fixes the plane and Z-offset fixes where that plane sits relative to the tip.
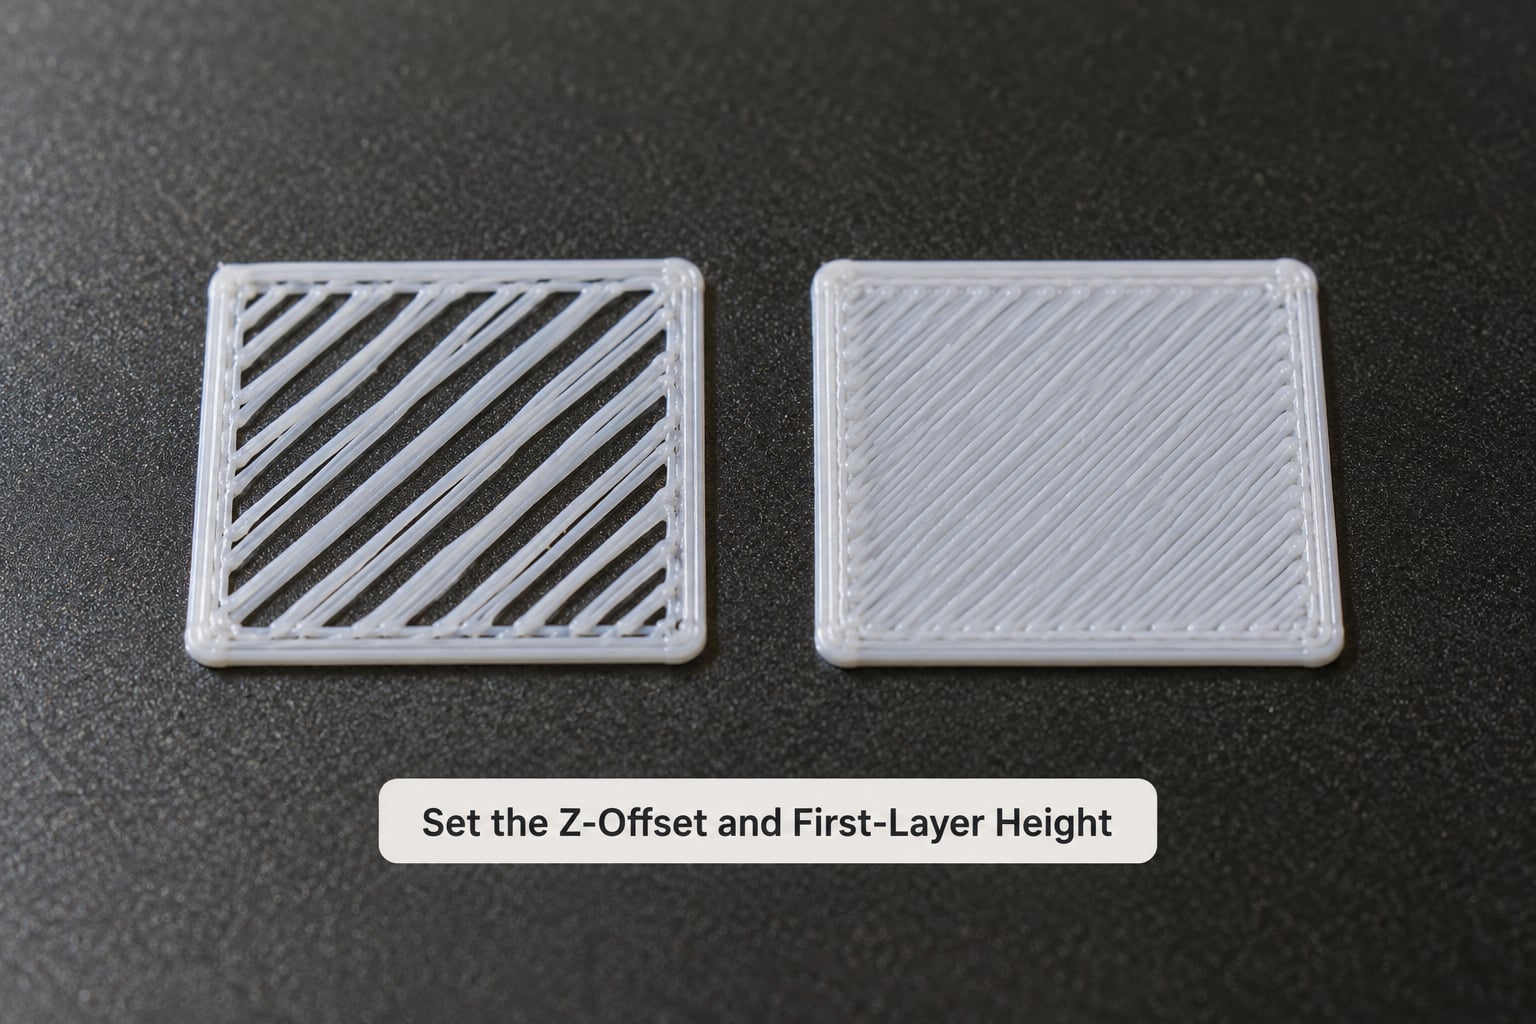
On a manual printer, home the axes, move the nozzle to the centre of the plate, and let the paper method set the distance: turn the Z fine adjust or the coupler until the paper rasps, then back off about 0.1 mm so you start with a small gap. Print a single layer and look. If the line is squashed and smeared flat, lower the nozzle by 0.05 mm. If the line is broken into separate dashes, raise it by 0.05 mm.
The safer method is to start high and work down in 0.1 mm steps until the filament just starts to stick. It avoids grinding a nozzle into the plate on the way down, and it is what most people who tune Z-offset live for.
On a probed printer use the printer’s own control instead of paper: Marlin exposes BABYSTEP_ZPROBE_OFFSET for live adjustment while the first layer prints, Klipper has a babystep macro for the same job, and most probe printers have a Z-offset wizard on the screen. Save the value once you like it.
The sign of the number depends on your sensor. BLTouch, EZABL and Pinda probe setups usually want a negative value, manual mesh leveling sits near zero, and strain gauge sensors such as the CR-6 style want a positive value. Check your printer’s documentation rather than assuming, because a wrong sign makes the nozzle drive into the plate.
Verify Calibration with a Test Print
Calibration is done when a test print passes, not when the values are entered. Run two models: a single-wall vase mode test for wall consistency, and a 20 mm calibration cube for dimensions.
On the cube, measure the X and Y outer walls with calipers and compare them to 20 mm. Correct for the elephant’s foot if the bottom edge bulges, and measure in the middle of the face rather than at a corner. If X and Y are both off by the same percentage, it is steps per millimetre on both axes. If only one is off, it is that axis’s belt tension or steps value. Circles printing as ovals always mean a steps-per-mm error, not a slicer problem.
Fixing a dimensional error is a simple formula. Print a 100 mm test bar in each axis, measure it, and set:
New steps per mm = Current steps per mm x (100 / measured length)
On a Klipper machine you change rotation_distance for the relevant stepper in printer.cfg and restart. On Marlin, M92 X, M92 Y or M92 Z sets the value and M500 saves it. Repeat the measurement afterwards to confirm.
While the first layer is printing, try pushing the part gently with a blunt object. If it slides easily and the nozzle grinds on the plate, the gap is too big. If the part is welded on, you are in the right zone.
Also look at the tall test tower: consistent layer heights with no shifting, and overhangs that hold without sagging or drooping. A tower that separates between layers points at temperature or layer adhesion rather than geometry.
Common Calibration Mistakes and How to Fix Them
Here is the short version of what goes wrong, and the fix.
- Calibrating flow before E-steps. Fix: set E-steps first, then flow. Every flow value depends on it.
- Levelling a cold printer. Fix: heat both hotend and bed to printing temperature, then level and set Z-offset.
- Trusting a mesh on a warped plate. Fix: automatic bed levelling cannot flatten a warped bed. Replace the surface or use a thicker plate.
- Expecting auto bed levelling to hold forever. Fix: still run the mesh routine and re-check Z-offset after moving the machine, changing the plate, or after a crash.
- Judging a first layer by colour alone. Fix: use contrasting filament and look for continuous lines, not just adhesion.
- Changing several values at once. Fix: change one, print one test, record the result.
- Forgetting M500. Fix: values entered at the console are lost on power off unless you store them.
- Running downloaded g-code. Fix: read the file before you send it, especially anything that changes temperatures or moves axes outside the build area.
Save, Document, and Recheck Calibration Settings
Write down what you measured, and store it where the firmware keeps it. On Marlin, M500 saves to EEPROM and survives a restart. Export that EEPROM to a file so you can restore it if a firmware flash wipes it. On Klipper, back up printer.cfg and any macros; a restore is a file copy. On printers with a built-in calibration wizard, the values live in the machine’s material profile and are re-used automatically for that filament type.
Your log should carry at least: E-steps value, Z-offset, flow rate, nozzle and bed temperatures, mesh or levelling method, retraction distance, and the date. When something drifts six months later you will know what changed.
Recalibrate when you change the nozzle, the filament brand or diameter, the build plate, the extruder assembly, or the firmware. Recalibrate the bed after any move, any crash, or any time the plate has been removed. Recalibrate temperature after every new spool of a material you have not printed before, because filament colours and batches move around within their published range.
Common Mistakes
Most calibration failures are not exotic faults. They are ordering errors and skipped verifications, both of which cost more time than the step that was avoided.
The first is doing steps out of order. Setting flow rate before E-steps, or temperature before flow, means each measurement absorbs the error of the previous one. Run the sequence in the order given and the numbers fall into place.
The second is trusting a machine that has not been heated. Everything expands with heat: the plate, the frame, the gantry. Level and set Z-offset warm.
The third is skipping the verification print. Numbers entered into firmware are not proof of anything until a single-wall test comes out clean and a cube measures correctly.
The fourth is editing slicer values to mask a hardware fault. If the extruder is under-extruding, lowering flow in the slicer hides the problem until it returns with the next filament.
The fifth is not saving. Values entered at the console are lost on the next power cycle unless you store them, which is why the same printer seems to forget its calibration every few weeks.
Frequently Asked Questions
Do 3D printers need to be calibrated?
Yes, but not constantly. A new printer needs a full calibration once, and most machines then need only a quick bed level and Z-offset check before occasional prints. Recalibrate fully after you move the printer, change the nozzle, extruder, build plate or filament, update firmware, or have a crash. If your first layer sticks and dimensions hold steady, there is no reason to touch the other values.
Why is my 3D printer not accurate?
Inaccuracy almost always traces to three places. Steps per millimetre being wrong makes every dimension scale by the same percentage, and circles print as ovals. A loose belt or a sagging gantry shows up on one axis only. Flow rate or E-steps errors change wall thickness and surface quality without changing overall size. Print a 100 mm test bar on each axis, measure it, and correct the steps-per-mm value with measured length divided by 100, multiplied by the current value.
Do I need to recalibrate my 3D printer if I move it?
Move it and re-check the bed and the Z-offset at minimum. The frame flexes and the bed loses its plane every time the machine is lifted, even across a room, and a mis-set frame shows up as a wavy first layer that no software setting can correct. E-steps, flow rate and temperatures survive a move and do not need repeating. If the printer was moved somewhere with a very different temperature, let it sit at room temperature for an hour before you level it.
How often should I level the bed before printing?
Run the bed levelling routine before the first print of the day, and after anything that disturbs it: moving the machine, removing the plate, a crash, or a hot nozzle being dragged across the surface. If your setup is rigid and prints are already good, checking once a week is enough. Experienced users tend to level before every print anyway, because a couple of minutes of levelling is far cheaper than a print that fails at layer three.
What does Z-offset mean on a 3D printer?
Z-offset is the commanded distance between the nozzle tip and the build plate when the machine is at home. Too negative and the nozzle scrapes the plate, risking damage to both; too positive and the first layer prints as separate blobs with gaps between them. Set it after leveling the bed, using the paper method on manual machines or the live babystep controls on probe machines. The required sign differs by sensor type, so check your printer documentation.
Why is my first layer not sticking to the bed?
Work through the causes in order rather than guessing. Clean the plate with isopropyl alcohol and check the surface is undamaged. Heat the bed to the filament’s minimum temperature and the nozzle to its printed temperature. Level the plate warm, then set the Z-offset. Reduce the first-layer speed and raise the first-layer line width in the slicer. On printers with a heated bed above 60 degrees, apply a bed adhesive or print a separate adhesion layer before the job starts.
Conclusion
Start with the frame check and a clean, warm bed, then level before you touch anything else. Confirm the first layer prints as continuous lines, set E-steps, tune flow, and pick temperatures from a tower test for each filament you actually use.
Save all of it as one profile and keep a written record. Once that profile exists, recalibrating is quick work triggered by specific events: a new nozzle, a new filament, a new build plate, a firmware update, or a move. Most people who struggle with 3D printer calibration are not missing knowledge, they are running the steps out of order and losing the thread halfway through.