
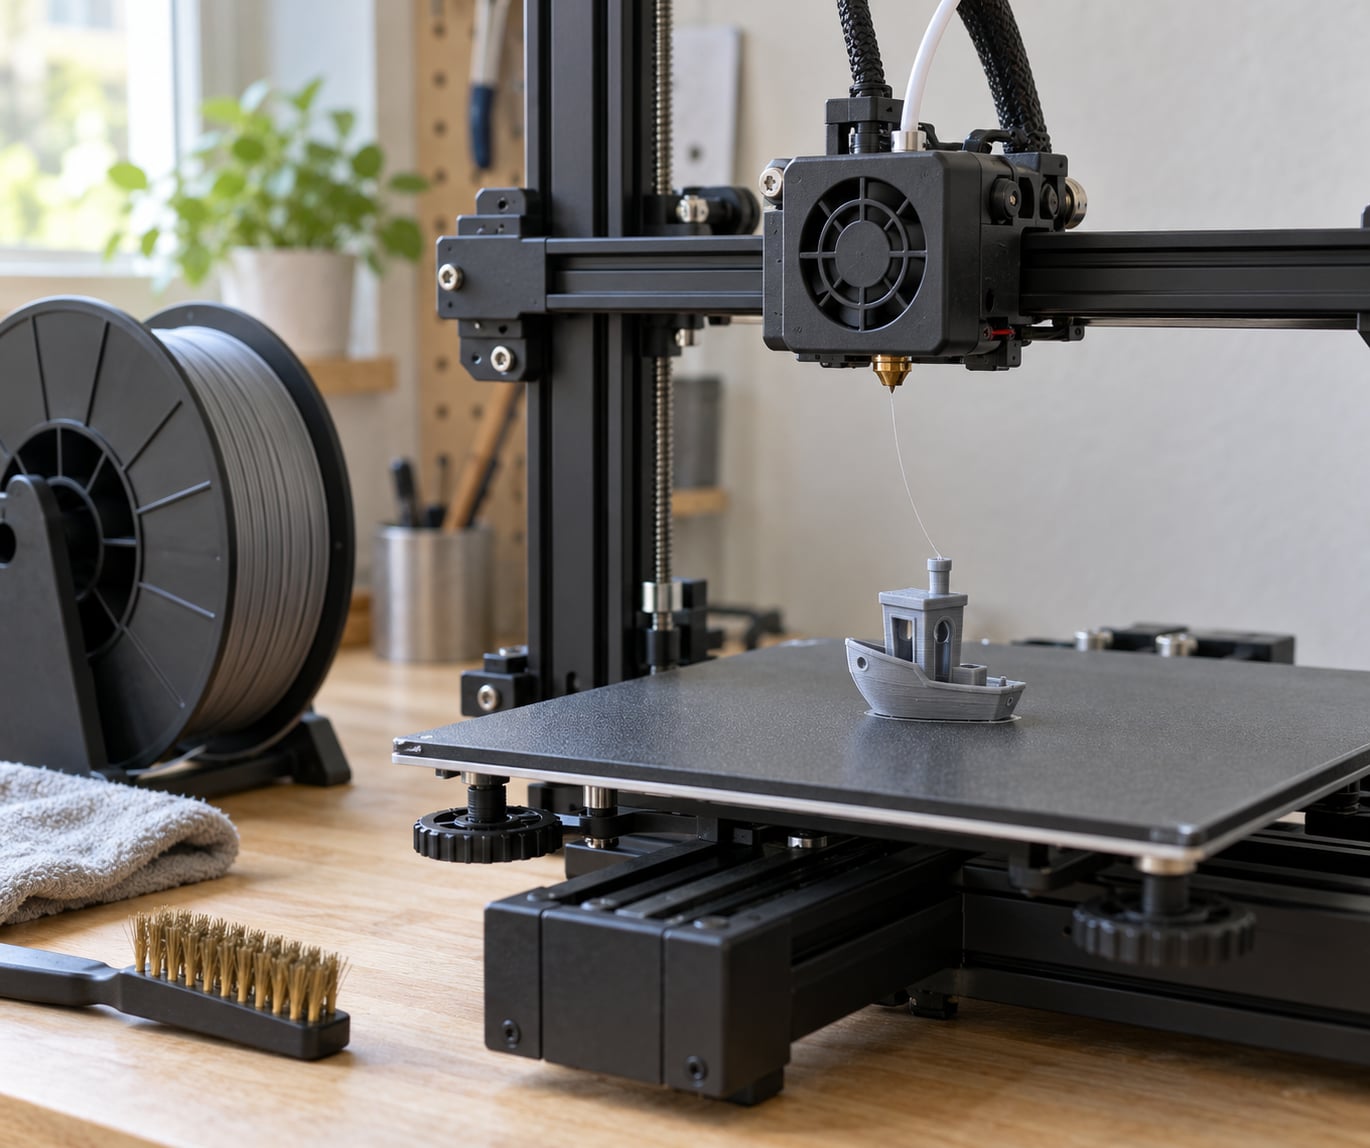
Stringing — also called oozing — is the fine cobweb of plastic that stretches between your part and other parts of the bed every time the nozzle travels without printing. To fix stringing in 3D prints, work in order: lower nozzle temperature by 5 to 10 degrees C, tune retraction speed before distance, then check filament dryness and travel settings. Most people fix it in under an hour.
The reason it matters is that stringing ruins a surface finish, wastes filament, and has to be picked off by hand afterwards. Get it wrong in the other direction and you trade stringing for layers that delaminate the moment you flex the part.
What follows is the order I use. It is deliberately not a flat list of ten tips, because applying all of them at once tells you nothing about which one worked. Each step below has a check that tells you whether it helped before you move on.
Table of Contents
- What You Need
- How to Fix Stringing in 3D Prints Step by Step
- Common Mistakes
- Dropping temperature until layers stop bonding
- Cranking retraction distance instead of adjusting speed
- Testing the fix on a different material than you print with
- Changing five settings at once
- Using aggressive wiping to hide strings
- Reinstalling the slicer before checking the hardware
- Ignoring a sudden change in behaviour
- Frequently Asked Questions
- Why is my 3D printer stringing even after I increase retraction?
- What temperature should I use to stop PLA from stringing?
- How much retraction does a Bowden or direct-drive extruder need?
- Does stringing mean my filament is old or wet?
- Can stringing be caused by the slicer?
- How do I stop stringing without making my prints look rough?
- Conclusion
What You Need
You do not need much, but you do need access to a few things before you start turning knobs.
- The printer itself, with the ability to run a calibration or test model. A temperature tower is ideal because one plate gives you a range of temperatures to compare.
- Filament you actually print with, plus the manufacturer temperature range. Generic numbers are a starting point, not an answer.
- Your slicer, at whatever version you use day to day. Cura, PrusaSlicer, OrcaSlicer, Bambu Studio and Lychee all expose the same underlying settings under different labels.
- Cleaning supplies: brass wire brush, needle or cleaning pin, isopropyl alcohol for metal parts only, and unclogging filament or a hot nozzle soak if you suspect a blockage.
- Optional: a filament dryer or dryer box. If you print hygroscopic materials regularly, this pays for itself.
Tweezers and a lighter or scraper help when you want to see how much stringing actually happened on the last print. My own approach is to photograph each test print before I delete the plate, so the change is obvious.
How to Fix Stringing in 3D Prints Step by Step
The order matters. Physical problems first, material identity second, then heat, filament, flow, retraction, and finally slicer travel behaviour. Skipping ahead to retraction when you have a partial nozzle blockage wastes an evening.
1. Clean the Nozzle and Check Extrusion
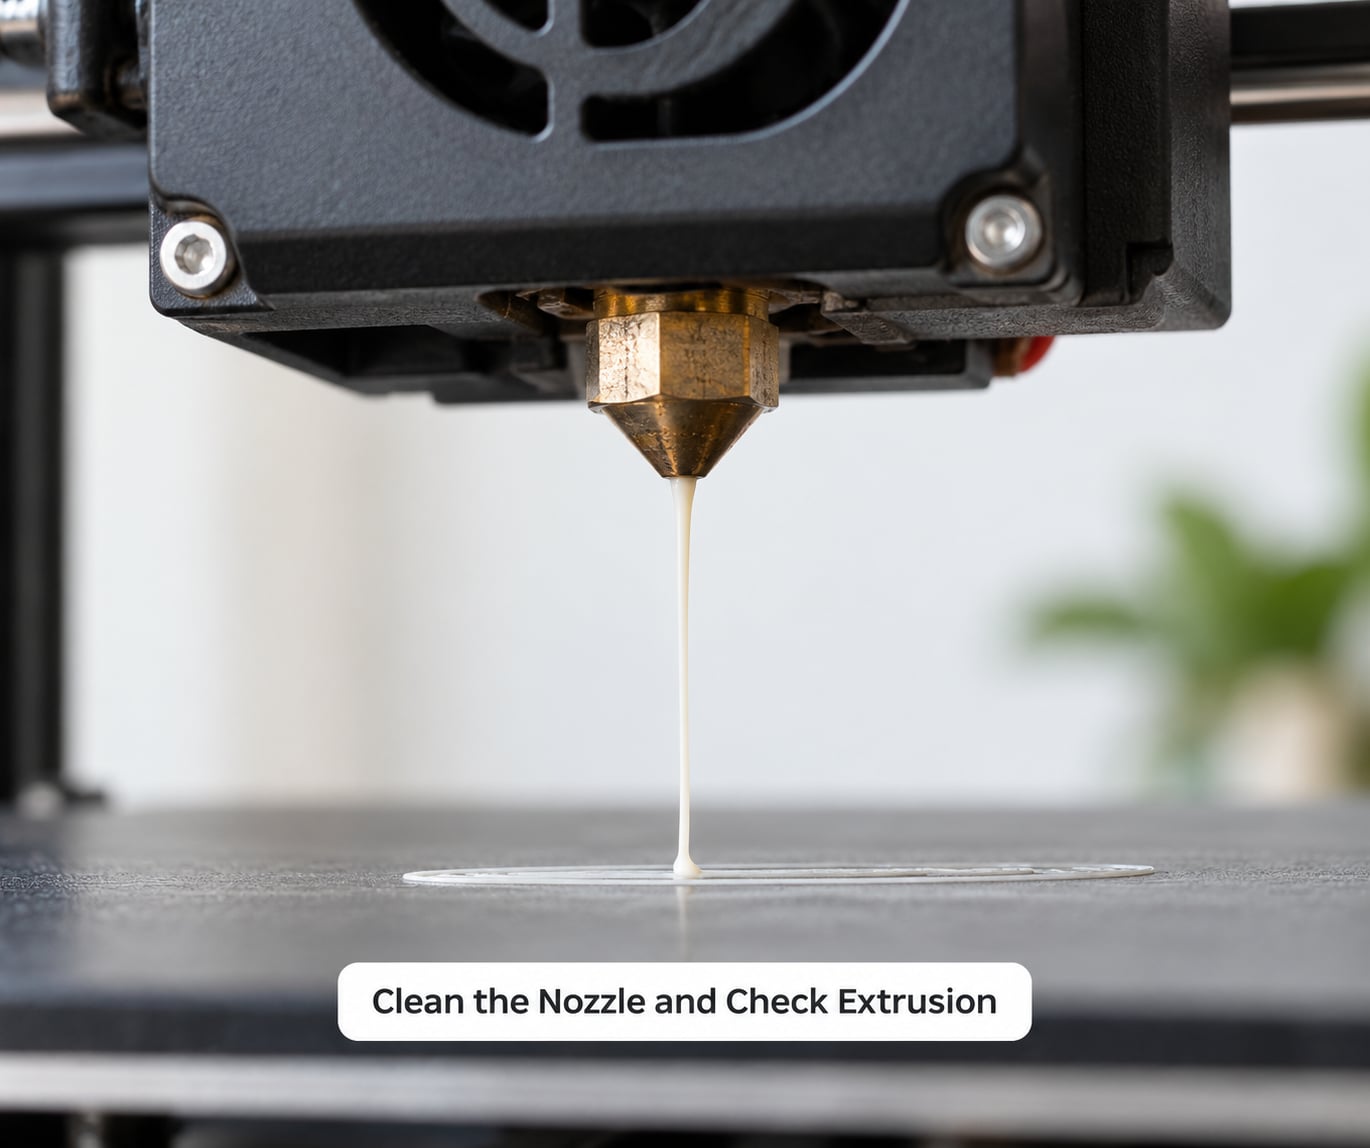
Start here because a dirty or partly blocked nozzle oozes regardless of how well tuned your slicer is. Slumped residue around the tip, a carbonised blob, or an inconsistent bead all point at the hardware rather than the profile.
Heat the nozzle, wipe the tip with a brass brush while it is soft, then push filament through and watch the bead. A steady, round, even strand that sticks to the build plate means the path is clean. A wobbly, sputtering or blobby strand means it is not.
Stringing that survives every temperature and every retraction length on the profile is often exactly this. A full nozzle drain and clean, followed by a recalibration, resolves more cases than any slicer change. If extrusion is not clean, nothing you change in the slicer will hold.
2. Identify the Material and Load the Correct Profile
Stringing is material-specific, so a profile built for PLA will fail you on PET-G or TPU. Identify what is actually on the spool, not what you think is on the spool — including whether it has been stored open or reused.
Check three things: the polymer, the nominal diameter (1.75 mm and 2.85 mm spools use different filament paths and often different extruder setups), and whether the colour is one that tends to show contamination. Bright or light colours on a shared spool pick up more dust than a fresh dark spool.
Then load the matching manufacturer profile and only override what you have a reason to override. Most slicers ship a profile for every common material, and those profiles already have sane temperature, retraction and cooling values.
3. Find the Correct Nozzle Temperature
Temperature is usually the biggest single lever on stringing, because it controls how much molten plastic is under pressure at the tip. Print a temperature tower and pick the lowest block that still has clean layer bonding. Start at the manufacturer’s upper range and step down in 5 degree C increments; for PLA the usual working window is about 190 to 205 C.
Do not stop at the first block that looks good. Look at the top surface of each block for strands, and look at the corners for layer adhesion. The right temperature is the lowest one where neither problem appears.
Now the honest part: dropping temperature too far makes walls stop sticking to each other, and that failure mode is more annoying to fix than the strings. If you have to go below the manufacturer’s recommended range to kill stringing, the real cause is somewhere else — usually wet filament or a mechanical problem.
If your temperature tower still strings at every block, including at 180 C on PLA, temperature is not your root cause. That happens when filament is damp, when the nozzle is not seating properly, or when a worn PTFE tube is delaying retraction. Cleaning the nozzle and re-running the tower is a better next move than lowering the heat further.
4. Check Filament Condition and Spool Handling
Damp filament is the most commonly skipped step and it is frequently the actual cause. Hygroscopic materials — PET-G, Nylon, TPU, ASA and, to a lesser degree, PLA — pull moisture out of the air through the spool packaging.
Water in the melt turns into steam at the nozzle. Steam expands, pressure spikes, and you get ooze, popping, rough surfaces and stringing all at once. Signs of wet filament are a rough, blistered or fuzzy extrusion, bubbles in the printed surface, audible popping during the print, and stringing that is noticeably worse on the first layer than later ones.
Drying times vary by material and dryer, but as a rough starting point, four to six hours for PLA in a dryer box, eight to twelve hours for PET-G, and twelve or more for Nylon. Store opened spools in a dry box with desiccant and reseal the bag when you put them back. Also check the spool itself for a tangle — a filament kink stops and starts the flow, which looks like underextrusion and then strings.
5. Calibrate Extrusion and Flow
Inconsistent or excessive extrusion produces blobs at the start of travel and threads behind them. An overloaded extruder pushes more plastic than the nozzle can lay down, and the surplus ends up as ooze.
Run your slicer’s flow or extrusion calibration rather than guessing a multiplier. Print a single-wall or narrow-wall test, measure the width with calipers against your slicer’s nominal line width, and adjust the flow ratio until they match. One change per test print.
For printers that support it, follow up with pressure advance or linear advance calibration. That tunes how much the slicer compensates for the pressure buildup in the melt zone, and it reduces both stringing start-up blobs and corner bulge. If your slicer has the option and you have never run it, do it now — it is one of the few settings that improves several defects at once.
6. Tune Retraction for the Printer
Retraction pulls filament back into the nozzle so pressure does not push melt out of the tip during travel. It is the second biggest lever after temperature, and people tune it in the wrong order, so start with speed.
Retraction speed comes first. Typical starting range is 25 to 45 mm/s. Faster retraction moves plastic out of the way quickly but can pull on a soft melt zone; slower retraction lets the pressure equalise. If you are already at 60 mm/s and still stringing, dropping the speed and shortening the distance is the move that forum advice keeps pointing to. Pushing distance to 7 mm or more rarely helps on a Bowden setup, and a shorter, slower retraction is the better lever.
Then distance, by extruder type. A direct drive extruder has the gear right at the hotend, so it typically needs 0.4 to 2 mm. A Bowden setup has a PTFE tube that must move too, so it typically needs 3 to 6 mm. Going beyond those ranges rarely helps and often opens gaps in thin walls, because the extruder has to re-prime from an empty or slack path.
Watch prime speed at the same time — the speed of the re-prime move after retraction. Around 25 mm/s is a reasonable starting point, and slow prime is easier on TPU than fast prime.
| Setting | Direct drive | Bowden |
|---|---|---|
| Retraction distance | 0.4 – 2 mm | 3 – 6 mm |
| Retraction speed | 25 – 45 mm/s | 25 – 45 mm/s |
| Prime speed | 20 – 30 mm/s | 20 – 30 mm/s |
| Travel speed | 120 – 200 mm/s | 120 – 200 mm/s |
TPU is the exception to the distance rule. Keep retraction distance under about 4 mm and speed below roughly 20 mm/s, because flexible filament compresses rather than slides cleanly. PET-G also behaves badly with fast retraction because its viscosity keeps oozing after the move ends — use a slower retraction speed than you would with PLA.
If strings appear specifically during Z-hop lifts in spiral vase mode, that is a travel-path problem rather than a retraction problem. Reduce Z-hop height, slow travel, or disable Z-hop on that profile and see what changes.
7. Review Travel, Cooling, and Slicer Settings
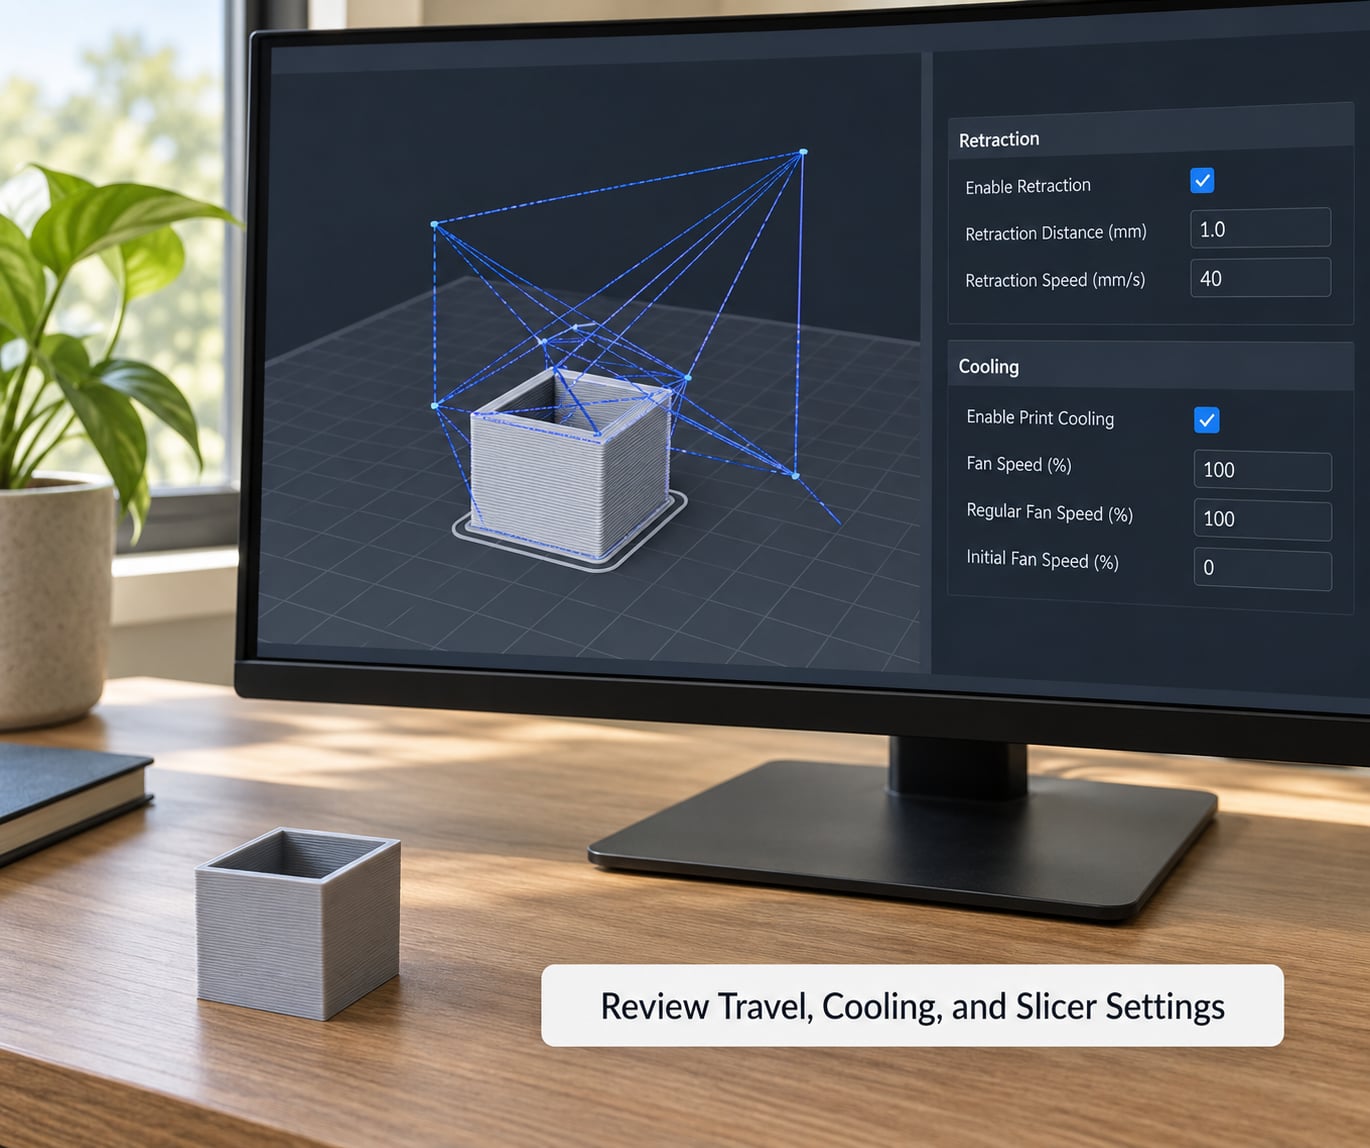
Slower travel means the nozzle spends longer in one place oozing, so raising travel speed reduces the total ooze window. Around 150 mm/s is a common working value for direct drive printers, and 200 mm/s works on many enclosed machines with a firm extruder. If your travel speed is at 80 mm/s, that alone can explain a lot of hair.
Combing and perimeter crossing reduce the number of moves. Within the same layer, combing travels inside the part outline rather than crossing empty space; avoid crossing perimeters stops the nozzle crossing already-printed walls on upper layers, which both reduces stringing and prevents scars.
Part cooling fan and minimum layer time matter on tall or slow layers. Too little cooling leaves the previous layer soft and tacky, so the next pass drags a strand. Too much cooling on the first layer can cause under-adhesion. A minimum layer time around 8 to 12 seconds gives the layer time to set before the nozzle moves back.
Wipe on retract scrubs the nozzle across the last extruded line as it pulls back. It removes a surprising amount of string, and the cost is a visible groove or a slightly ragged surface, which is why it is a bad trade on parts you are finishing.
Field names differ by slicer, which is a constant source of forum confusion. Here is the same four settings in each of the common ones.
| Setting | Cura | PrusaSlicer | OrcaSlicer | Bambu Studio | Lychee |
|---|---|---|---|---|---|
| Retraction distance | Retraction Distance | Retraction distance | Retraction distance | Retraction distance | Retraction distance |
| Retraction speed | Retraction Speed | Retraction speed | Retraction speed | Retraction speed | Retraction speed |
| Travel speed | Travel Speed | Max travel speed | Travel speed | Travel speed | Travel speed |
| Combing / travel mode | Enable Travel Optimization, Avoid Crossing Perimeters | Travel mode, Permit perimeter crossing | Travel mode, Avoid crossing perimeters | Travel mode, Avoid crossing perimeters | Travel mode, Avoid crossing perimeters |
| Wipe on retract | Wipe on Retract | Wipe on retract | Wipe on retract | Wipe on retract | Wipe on retract |
| Flow / extrusion multiplier | Flow | Flow ratio | Flow ratio | Flow ratio | Flow ratio |
If you are not sure which profile your printer is actually using, check the printer model and nozzle diameter first. A profile loaded for a 0.6 mm nozzle on a 0.4 mm machine will layer and travel wrong no matter what you do afterwards.
Common Mistakes
Most failed stringing fixes fail for the same handful of reasons, and each has a clear correction.
Dropping temperature until layers stop bonding
Going below the manufacturer range trades one defect for a worse one. Stop at the lowest temperature where the tower still has clean corners, and look for the cause elsewhere.
Cranking retraction distance instead of adjusting speed
Retraction beyond what your extruder can reliably re-prime opens gaps in thin walls and can cause underextrusion. Shorten the distance, slow the retraction down, and re-test.
Testing the fix on a different material than you print with
Tuning on PLA and printing PET-G every day means you never tuned for the material you actually use. Always validate on the same filament and profile you will run in production.
Changing five settings at once
If you lower temperature, raise travel speed, enable combing and bump retraction together, a clean test tells you nothing about which change mattered. One variable per print, and note the values.
Using aggressive wiping to hide strings
Wipe settings can remove threads, but heavy wiping drags the nozzle across fresh plastic and leaves grooves on top surfaces. Treat it as a last resort on cosmetic prints.
Reinstalling the slicer before checking the hardware
Stringing that survives Creality Slicer, Orca and PrusaSlicer on the same machine is a hardware signal, not a slicer signal. On a Bowden machine, PET-G that strings badly at 0.8 mm and 60 mm/s, including during Z-hop, usually points to the filament path or the extruder rather than the software. Treat the machine, not the slicer version.
Ignoring a sudden change in behaviour
A printer that printed cleanly for months and then starts stringing points to something physical. Worn PTFE tubing in a Bowden tube, a failed extruder gear, heat creep from a loose hotend screw, a clogged nozzle, or filament that sat open for weeks are the usual suspects. When stringing appears suddenly, check the hardware path before touching a single slicer value.
Frequently Asked Questions
Why is my 3D printer stringing even after I increase retraction?
More retraction only helps up to a point, and it is often the wrong knob. If you are above about 45 mm/s, try lowering the retraction speed and shortening the distance instead, since fast retraction stretches the melt instead of clearing it. Strings that appear only during Z-hop lifts are a travel path problem, not a retraction problem. Strings that started suddenly on a printer that used to work usually mean hardware: a worn PTFE tube or a partly blocked nozzle.
What temperature should I use to stop PLA from stringing?
Most PLA prints clean up between 190 and 205 C, and your specific spool may sit lower than the range on the box. Print a temperature tower and pick the lowest block that has no strings on the top surface and still has clean corners. If you have to go below 190 C to remove strings, filament moisture is the more likely cause, not temperature. Lowering further trades stringing for walls that will not stick together.
How much retraction does a Bowden or direct-drive extruder need?
Direct drive extruders usually work well between 0.4 and 2 mm because the drive gear sits at the hotend. Bowden setups typically need 3 to 6 mm because the filament has to move back through the PTFE tube as well. Beyond those ranges you usually gain nothing and start opening gaps in thin walls. TPU needs less than most materials, under about 4 mm and below roughly 20 mm/s retraction speed.
Does stringing mean my filament is old or wet?
It can, and wet filament is a common cause that gets skipped. Signs of moisture are popping or crackling during extrusion, a rough or blistered surface, bubbles, and stringing that is worse early in the print. PLA is only mildly hygroscopic, while PET-G, Nylon, TPU and ASA absorb moisture quickly and need drying. Drying for four to six hours is a reasonable starting point for PLA, longer for the more absorbent materials.
Can stringing be caused by the slicer?
Yes. Travel speed, combing, wipe on retract, perimeter crossing, minimum layer time and cooling all change how much melt has time to leak while the nozzle moves. A profile left at defaults for a different nozzle diameter will also travel and extrude incorrectly. But if stringing survives the same settings in three different slicers on the same machine, the cause is the machine, not the software.
How do I stop stringing without making my prints look rough?
Work the levers that do not damage the surface: temperature within the manufacturer range, retraction speed and distance tuned to your extruder type, higher travel speed, combing, and avoiding crossing perimeters. Save wipe on retract for functional or draft prints, because it drags the nozzle across fresh plastic and can leave visible grooves. Slowing travel too far makes surface texture worse because the nozzle lingers and oozes longer in each spot.
Conclusion
Start at the nozzle, then the filament, then the profile, then the heat. Clean the tip and confirm extrusion is steady, check whether the spool is dry and untangled, load the profile that matches the actual material, and only then adjust nozzle temperature and retraction.
Change one variable per test print and record what you tried. That habit turns how to fix stringing in 3D prints from an evening of guessing into a fifteen-minute check, and the settings you land on stay in your profile for every print after it.