
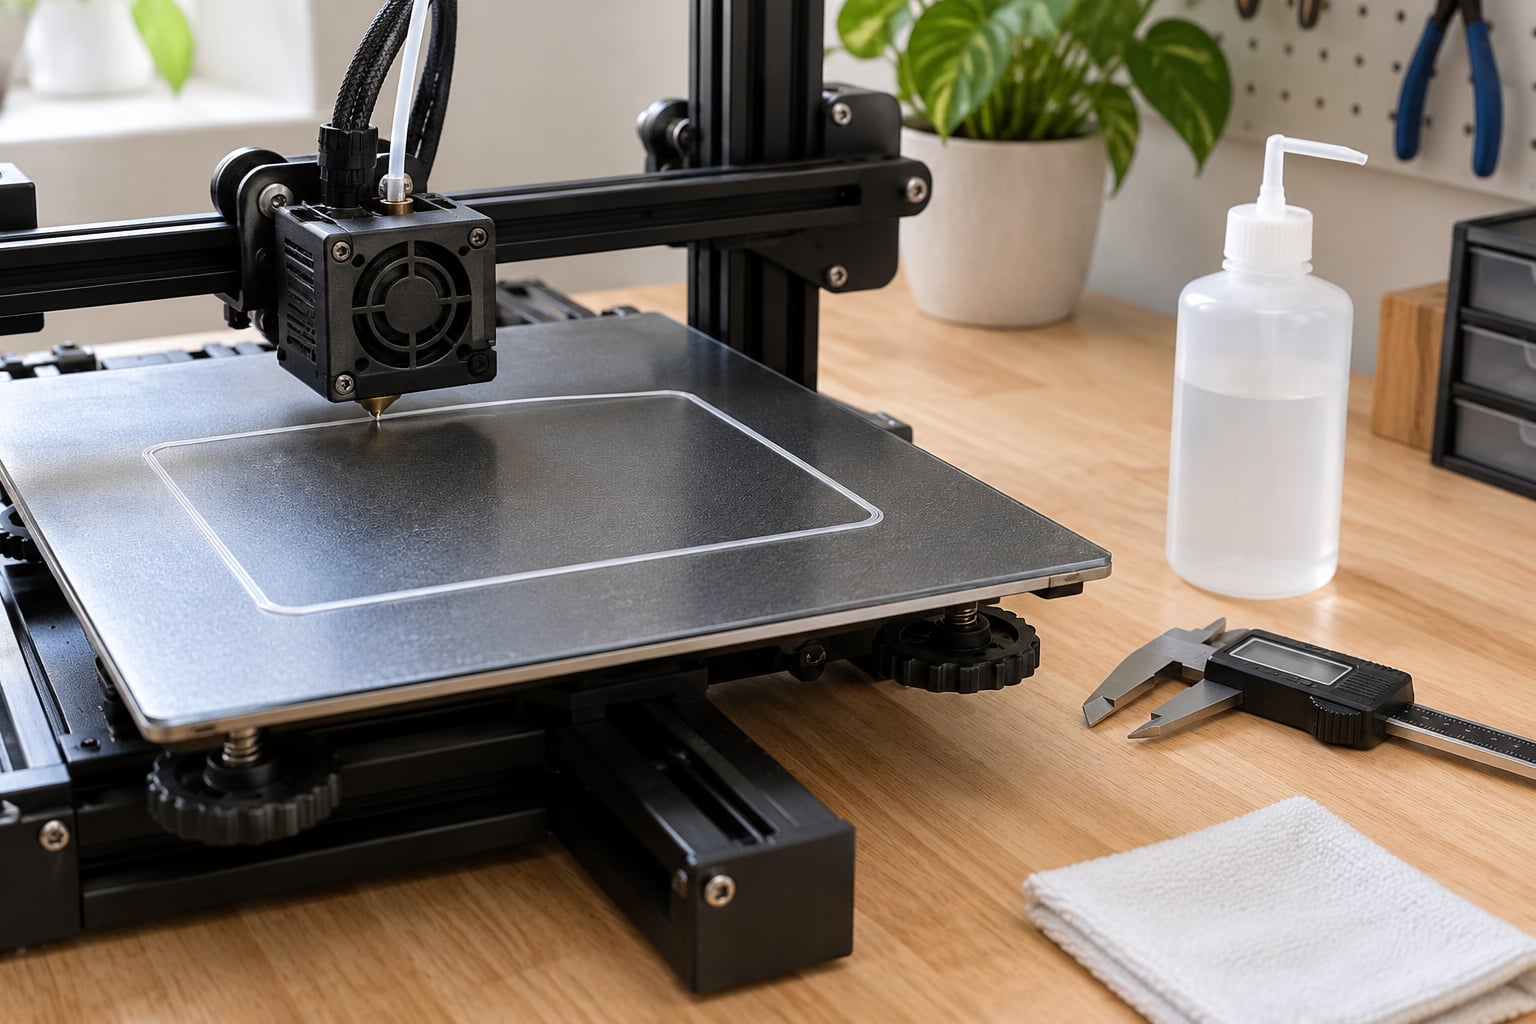
Bed adhesion comes down to two levers more than anything else: a clean build surface and a correctly squashed first layer. Wipe the plate with 90%+ isopropyl alcohol, set your Z-offset so the nozzle is roughly 0.2 mm from the bed, print at about 20 to 25 mm/s with the part cooling fan off, and most failed prints disappear. These 3d printer bed adhesion tips start there, then work outward.
The reason adhesion fails is rarely mysterious. Hot plastic has to stay above its glass transition temperature long enough to wet out the surface texture and grip it. If the nozzle is too high, the bead lands as a round tube with almost no contact. If the plate is oily, the plastic sits on a film instead of the surface.
They are ordered the way I would work through them: cheap checks and settings first, hardware and environment last. Change one thing at a time and run a single-layer test square between changes. Two changes at once tells you nothing.
Table of Contents
- 3D Printer Bed Adhesion Tips at a Glance
- 1. Clean the Print Bed Before Every Critical Print
- 2. Choose the Right Bed Surface for Your Filament
- 3. Level the Bed and Verify Z-Height
- 4. Set the First-Layer Speed Slower
- 5. Increase First-Layer Nozzle Temperature Gradually
- 6. Set the Correct First-Layer Extrusion or Flow Ratio
- 7. Use the Right First-Layer Line Width
- 8. Reduce Cooling on the First Layer
- 9. Keep the Build Plate at the Right Temperature
- 10. Avoid Drafts and Sudden Temperature Changes
- 11. Use Adhesion Helpers Only When Needed
- 12. Diagnose Adhesion Failures by Print Symptom
- Frequently Asked Questions
- Conclusion
3D Printer Bed Adhesion Tips at a Glance
This table is the fast path. Find the symptom you are seeing, read the likely cause, apply the first action. It covers the cases that come up in almost every adhesion thread.
| Symptom | Likely cause | First action to try |
|---|---|---|
| Print sticks at the start, then a corner lifts mid-print | Draft or sudden cooling, bed too cool for the material | Close the enclosure and add 10 degrees C to the bed |
| First line squishes to nothing, nozzle scrapes the plate | Z-offset too low after a crash or a removed plate | Run the paper test again and reset Z-offset |
| Visible gaps between the first-layer lines | Z-offset too high or first-layer flow too low | Lower Z-offset in 0.02 mm steps, then re-test |
| Whole part slides across the bed | Greasy surface, bed not level, or a brim set too low | Clean with IPA, level, add a 5 mm brim |
| Adhesion fine on small squares, fails on big prints | Shrinkage forces grow with part size | Reduce chamber drafts, raise first-layer flow slightly |
| Popping and stringing during the first layers | Wet filament | Dry the spool for 4 to 6 hours before printing |
| Works with one brand of filament, fails with another | Adhesion helper needed for the second material | Add a thin glue stick layer as a separator |
| Adhesion stopped working after months | PEI glossed over or contamination built up | Deep clean, then wet-sand with 1000 to 3000 grit |
1. Clean the Print Bed Before Every Critical Print
Fingerprints carry oil, and oil means the bead never touches the actual surface. A plate can look clean and still lose adhesion on a tall print. Wipe it every time, not just when a print fails.
For glass and smooth PEI, 90%+ isopropyl alcohol on a lint-free cloth works well. Wipe and let it evaporate fully, about 30 seconds. Soap and warm water are better when the plate has visible grease, then follow with IPA to get the film off.
Textured PEI behaves differently. A damp cloth with a drop of dish soap is enough, and most textured sheets should not be soaked. A deep clean that rescues plates plain IPA has stopped helping takes three steps: degreasing cleaner, acetone, then IPA as the final rinse.
Never touch the surface with bare fingers after cleaning. It is a small thing that costs more adhesion than any slicer setting.
How to deep clean a PEI sheet that has lost its grip
Signs of a glossed sheet: the print sticks at first, then releases mid-print, and the surface looks shiny rather than matte. Clean it with the three-step protocol above. If it is still slippery, wet-sand it with 1000 grit water, rinse, dry fully, then repeat with 3000 grit. A restored sheet usually behaves like new for many prints.
When acetone and IPA are not the answer
Acetone dissolves some plastics and strips coatings. On a powder-coated or plastic build surface it can permanently dull the finish, which hurts adhesion just as much as the grease did. Check what the sheet is made of before reaching for it.
2. Choose the Right Bed Surface for Your Filament
The surface you print on decides which materials work with no help at all. Matching filament to build plate is the cheapest adhesion fix there is.
- Textured PEI grips hardest and forgives the most. PLA, PETG, ABS, ASA and TPU all work on it with just a clean plate. It is the surface I would pick for mixed-material printing.
- Smooth PEI gives a prettier surface finish and is best with a glue stick as a release layer. Raw PETG on smooth PEI bonds chemically and can rip the coating when you pull the part off.
- Tempered glass is flat and dimensionally stable, and works well for PLA. For PETG or ABS you almost always want glue or hairspray on top.
- Garolite and FR-4 sheets are stiff, cheap and rough. Good for PLA and PETG at moderate temperatures, and they tolerate a wipe-down without any ceremony.
- Kapton tape and painter’s tape work on glass for PLA and PETG. Apply tape in strips with no overlapping edges, because a lifted seam is a guaranteed failure line.
- Spring steel plates are for printers with a magnetic or flexible build system. They sit slightly off the flat of a rigid bed on some machines, so re-check Z-offset after every swap.
For a decision shortcut: if you mostly print PLA and want zero fuss, textured PEI. If you mostly print PETG, textured PEI with a glue stick so you can still remove the part cleanly.
3. Level the Bed and Verify Z-Height
An uneven bed means one side of the first layer squishes while the other side floats. That is how a print sticks on three corners and lifts on the fourth. Level first, always, before touching anything else in the slicer.
Start with the paper test. Heat the bed and hotend, move the nozzle to each corner and the centre in turn, and slide a sheet of plain paper underneath. You want light resistance with no scraping and no free fall. Too much resistance means the nozzle is too close; a sheet that drops freely means it is too far.
After the paper test, set Z-offset in the printer firmware or slicer in small increments. 0.02 to 0.05 mm per change is the sane range; 0.2 mm jumps overshoot the entire usable window.
Re-level after any of these: removing or swapping the build plate, a nozzle change, a crash or a failed homing, moving the printer to a new table, or a large change in bed temperature. Machines with PINDA, BLTouch or CR probes handle most of this automatically, but the sensor can read a hot bed wrongly, so a manual check every few prints is cheap insurance.
Loose bed mounting screws are also a cause of Z-offset drift between prints, and it is worth tightening them before you re-tune anything in software.
4. Set the First-Layer Speed Slower
Slow the first layer to about 20 to 25 mm/s. At full print speed, the nozzle moves on before the hot bead has time to flatten and wet the surface, and you get a rounded line that barely touches the plate.
This single setting is often more effective than raising the bed temperature. Print the rest of the model at normal speed and only slow layer one.
If your printer struggles to keep the bead attached to the plate at the start of a line, slow it further, to 15 mm/s. Ridges and gaps get worse at high speed because the plastic is being dragged rather than laid down.
5. Increase First-Layer Nozzle Temperature Gradually
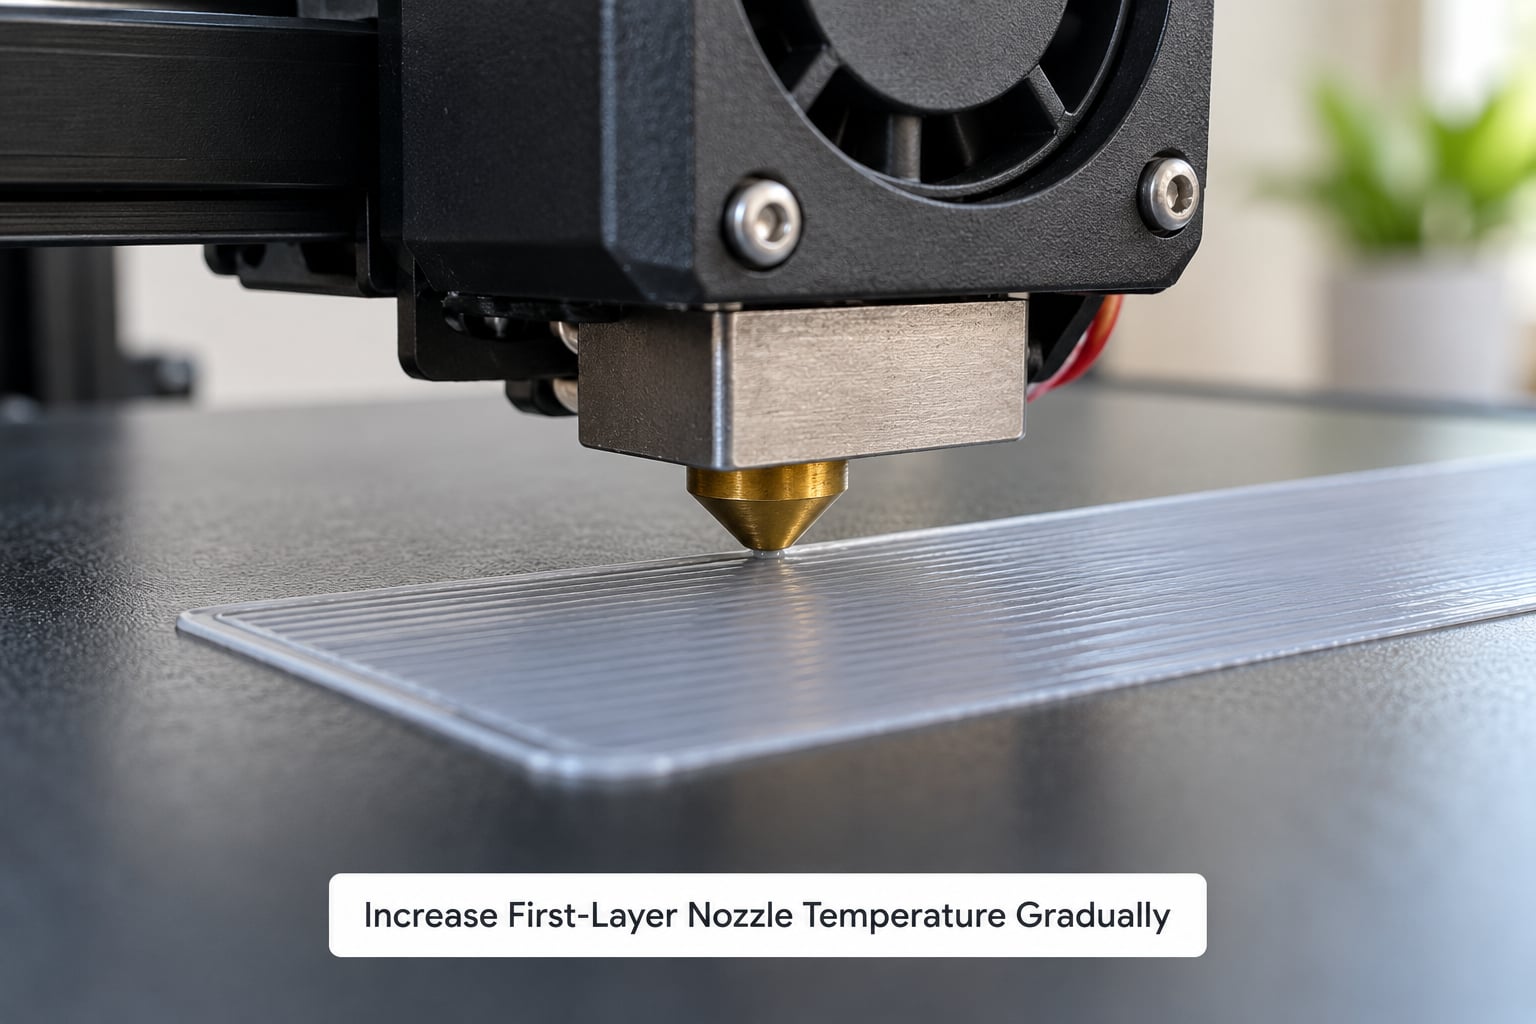
Raise nozzle temperature for the first layer in 5 to 10 degree C steps above the normal value. A common starting point is the filament’s printed temperature at the high end, plus 5 to 10 degrees C for layer one only.
Watch the bead as it prints. A healthy line comes out slightly flattened and shiny with visible squish between passes. If the plastic strings and stretches instead of squashing, the nozzle is sitting too high and extra heat will not save it.
Go the other way if the line looks wet, glossy or smeared, or if the first layer bulges out at the edge like an elephant’s foot. That is over-squish or too much heat, and the fix is less temperature or more Z-offset, not more of either.
Keep the increase modest. Winding the hotend far past the filament’s rated range can drive off additives, discolor the bead and make the surface harder to bond to later.
6. Set the Correct First-Layer Extrusion or Flow Ratio
Underextruded lines leave gaps you can see daylight through. Overextruded lines sit as thick tubes and can lift a part off a flat spot. There is no universal percentage that works on every machine, so read the bead instead of guessing.
A reliable test is a single layer with two lines in one direction and two crossing lines in the other. Press each line with a fingernail. If a hard flat valley forms between the lines and they squish together, reduce first-layer flow by 3 to 5 percent. If the lines feel separate with little squish, raise it by the same amount.
Run a flow calibration cube with single-wall walls before trusting the value. Under-extruded plastic is also weak layer to layer, so this fixes more than adhesion.
7. Use the Right First-Layer Line Width
A wider first layer puts more contact area against the plate. Most slicers let you override the initial layer width, and a line width around 120 to 150 percent of nozzle diameter is a good starting point for most materials.
Do not go wider than the nozzle can deposit without riding over itself. If you see ridges or a scratchy line, the width is past the point where the nozzle can lay plastic down cleanly.
On very large prints, a wider first layer also makes the earlier layer stiffer, which helps resist the shrinkage that lifts corners later in the print.
8. Reduce Cooling on the First Layer
Set the part cooling fan to 0 percent for layer one. Cooling on the first layer solidifies the bead before it has bonded, and no amount of bed heat makes up for it.
If the part is tall enough that fan control at layer one is not enough, set the slicer to hold the fan off for the first two or three layers. On small parts the fan rarely runs at all, which is why small calibration squares stick and big prints lift.
Watch for a hot-end fan that stays on during the first layer because of a firmware setting. That one needs to come off as well, and it is easy to miss.
9. Keep the Build Plate at the Right Temperature
The bed’s job is to keep the bottom of the part above its glass transition temperature until the bond forms. Going far above that is not better; it softens the sheet, makes an elephant’s foot, and does nothing for taller prints.
| Material | Bed temperature | Nozzle temperature | First-layer fan | Notes |
|---|---|---|---|---|
| PLA | 55 to 65 degrees C | 200 to 215 degrees C | 0% | Peels easily; no adhesive needed on textured PEI |
| PETG | 70 to 90 degrees C | 235 to 250 degrees C | 0 to 30% | Glue stick on smooth PEI as a separator; too hot lifts the sheet |
| ABS | 95 to 110 degrees C | 235 to 255 degrees C | 0 to 20% | Enclosure strongly recommended; corners lift without one |
| ASA | 95 to 110 degrees C | 240 to 260 degrees C | 0 to 20% | UV stable; behaves like ABS for adhesion |
| TPU | 30 to 45 degrees C | 220 to 235 degrees C | 30 to 60% | Textured PEI; glue if it keeps peeling, slow the first layer |
| Nylon | 70 to 90 degrees C | 250 to 270 degrees C | 0 to 20% | Dries fast; needs an enclosure and dry filament |
Confirm the plate is actually reaching temperature before blaming settings. Put a reliable thermometer on the surface for a minute and compare it with the displayed value. A bed controller that reads ten degrees high will send you chasing the wrong problem all afternoon.
Heat the bed before you level. A cold plate and a hot plate sit at different heights as the frame and springs warm up.
10. Avoid Drafts and Sudden Temperature Changes
Corner lifting on a tall part is usually airflow, not adhesion. The bottom of the print is still warm and soft while the top is already cooling, and the top shrinks toward itself and pulls the corners up.
Common culprits, in the order I check them: an open door or window, air conditioning, a fan pointed at the machine, somebody walking past it, and the printer sitting on a wobbly table. Drafts waste more filament than any slicer setting, and they get dismissed because the machine is right there in front of you.
For ABS and ASA, close the enclosure before anything else. A cardboard box works well enough as a test. For PLA, the enclosure matters less, but a sudden room temperature swing during a long print can still lift corners.
Keep the printer away from radiators and heating vents too. Heat rising off one side of a room warps a plate faster than a bad screw ever did.
11. Use Adhesion Helpers Only When Needed
Adhesives should be a last step after cleaning, leveling and temperature. Used early, they hide the underlying fault and you end up with glue on the plate for months.
| Helper | Best for | Watch out for | Application tip |
|---|---|---|---|
| PVA glue stick | PETG and ABS on smooth PEI, glass, Kapton | Builds up if reapplied without cleaning | Thin coat, wipe once with a damp cloth, print while slightly tacky |
| Hairspray | PETG on glass, low-cost separation | Fumes; can flake onto the nozzle | Two thin coats away from the machine |
| ABS juice or slurry | ABS and ASA on any surface | Very sticky; leaves residue | Rub a thin layer on, dry fully, clean off later |
| Painted glue stick | PLA on glass, engineering plates | Hard to remove from smooth PEI | One even pass, no streaks |
| Painter’s tape | Temporary fixes, warped glass | Seam lines catch corners | Overlap strips on the same side, no edges across the print area |
| Garolite and FR-4 sheets | PLA, PETG, higher bed temperatures | Needs accurate Z-offset | Set as a separate profile |
One bonus to glue stick people miss: on smooth PEI, a PVA layer acts as a release agent. The part sticks to the glue, not to the coating, so removal is far kinder to the sheet.
12. Diagnose Adhesion Failures by Print Symptom
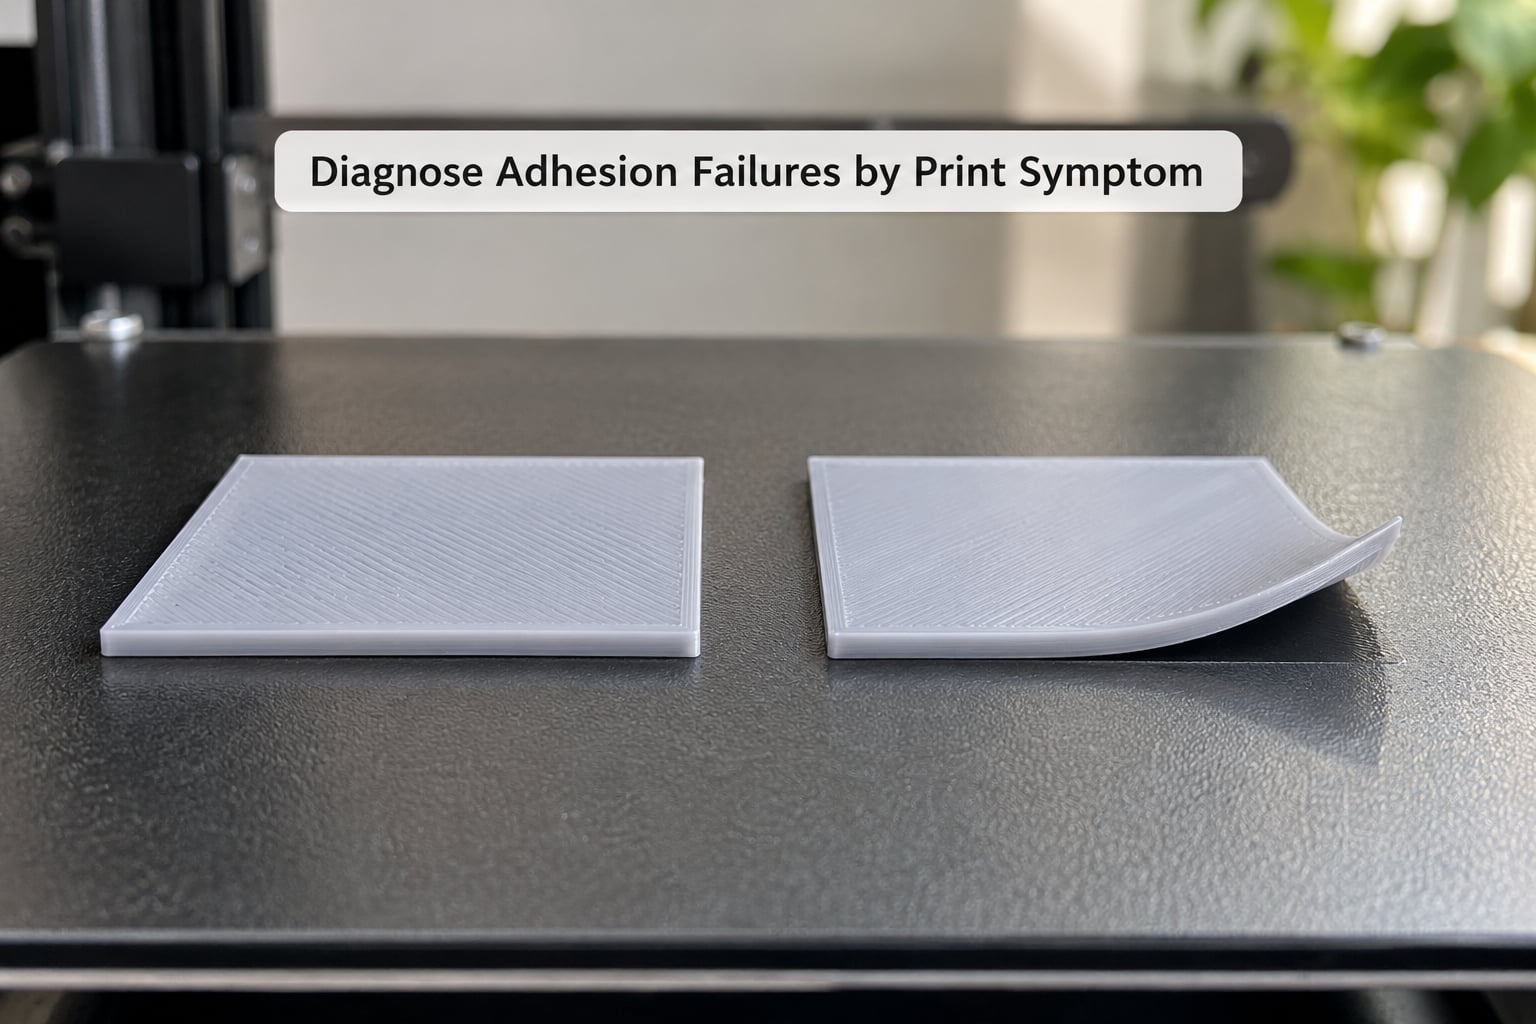
Work down this list until the symptom matches. Each of these 3d printer bed adhesion tips assumes the plate is already clean.
If the whole part slides off the bed
The bead is not gripping anywhere along its length, so suspect surface contamination, an unlevel bed, or a first layer that is too cold. Clean, level, then add 5 to 10 degrees C of bed temperature.
If only corners lift and the middle holds
The bond is fine; shrinkage is winning. That points at drafts, a part that is too large for the current setup, or a bed that has cooled too far along the print. An enclosure and a brim help here more than extra heat.
If the first layer shows gaps or pinholes
Z-offset is too high or first-layer flow is too low. Drop the offset in 0.02 mm steps and check the bead between attempts.
If layers separate a few millimeters in
The print left the bed or the part was knocked. If it starts curling upward on its own, look at cooling and room temperature. If the first layer looks clean but the second lifted, check that the fan really was off on layer one.
If prints detach hours later, after it finished
Not an adhesion problem. The part was flexing as it cooled, and internal stresses pushed it off once the bed dropped below its glass transition temperature. Slow the first layer down and widen it slightly so the base resists that flex.
If it fails only on certain filament
That material needs a helper or a hotter bed. PETG on bare smooth PEI and ABS on an unheated glass bed are the two classic pairs that need help, and both are fixed in seconds with a glue stick layer.
Frequently Asked Questions
Why isn’t my 3D print sticking to the bed?
In most cases the cause is one of three things: a contaminated surface, a Z-offset that is too high, or a bed that is too cool for the material. Clean the plate with 90%+ isopropyl alcohol, check the first layer is squishing flat with no visible gaps, and hold the bed 10 degrees C above your current setting. Print a single-layer test square before committing to a long job.
Does a hotter bed make PLA stick better?
Only up to a point. PLA bonds well on a bed around 55 to 65 degrees C, and going much higher softens the bottom of the part without adding grip, which can cause an elephant’s foot and a rough edge. If adhesion is failing at 60 degrees C on a clean textured PEI plate, the problem is almost always Z-offset or flow rather than bed temperature.
Are you supposed to put glue on a 3D printer bed?
Only when the filament and surface need it. Textured PEI works with PLA, PETG, ABS and TPU with no adhesive at all, so glue there just builds residue. Glue stick earns its place on smooth PEI or glass, especially with PETG, where the plastic would otherwise bond straight to the coating and tear it off during removal.
What is the best adhesive for 3D printer beds?
For PETG and ABS, a PVA glue stick is the most dependable everyday option because it also acts as a release layer, so parts come off without damaging smooth PEI. ABS juice is stronger but leaves sticky residue that needs scrubbing. Hairspray works on glass but gives off fumes and can flake. Whichever you use, clean the plate thoroughly before the next print.
Why does my print stick at first and then lift later?
The bond formed, but shrinkage forces grew taller than it could resist. That usually means a draft or a sudden temperature change reached the part partway through, or the bed was too cool for the material. Close the enclosure, raise the bed temperature, and try a brim on the next attempt. Printers in a cold room fail this way constantly.
How do I stop a 3D print from sticking to the bed?
Allow the bed to cool fully to room temperature, then push the part off with a scraper held flat and low so it cannot gouge the surface. Never lever from the edge of the print, and never try while the bed is warm. If the part is fused to smooth PEI, warm the plate to about 30 degrees C and flex it gently rather than pulling.
Conclusion
Start with three actions in order. Clean the build plate with 90%+ isopropyl alcohol, level the bed and confirm the Z-offset with a single-layer test square, then tune the first layer for the filament in front of you: roughly 20 to 25 mm/s, no cooling fan, slightly raised nozzle temperature, and a bed temperature matched to the material.
If it still lifts after that, the cause is almost always airflow or a glossy, worn PEI sheet. Close off the drafts, then deep clean and wet-sand the plate before reaching for an adhesive. Most 3d printer bed adhesion problems are solved in the first five minutes. The ones that are not usually turn out to be the environment, and nobody expects that.