
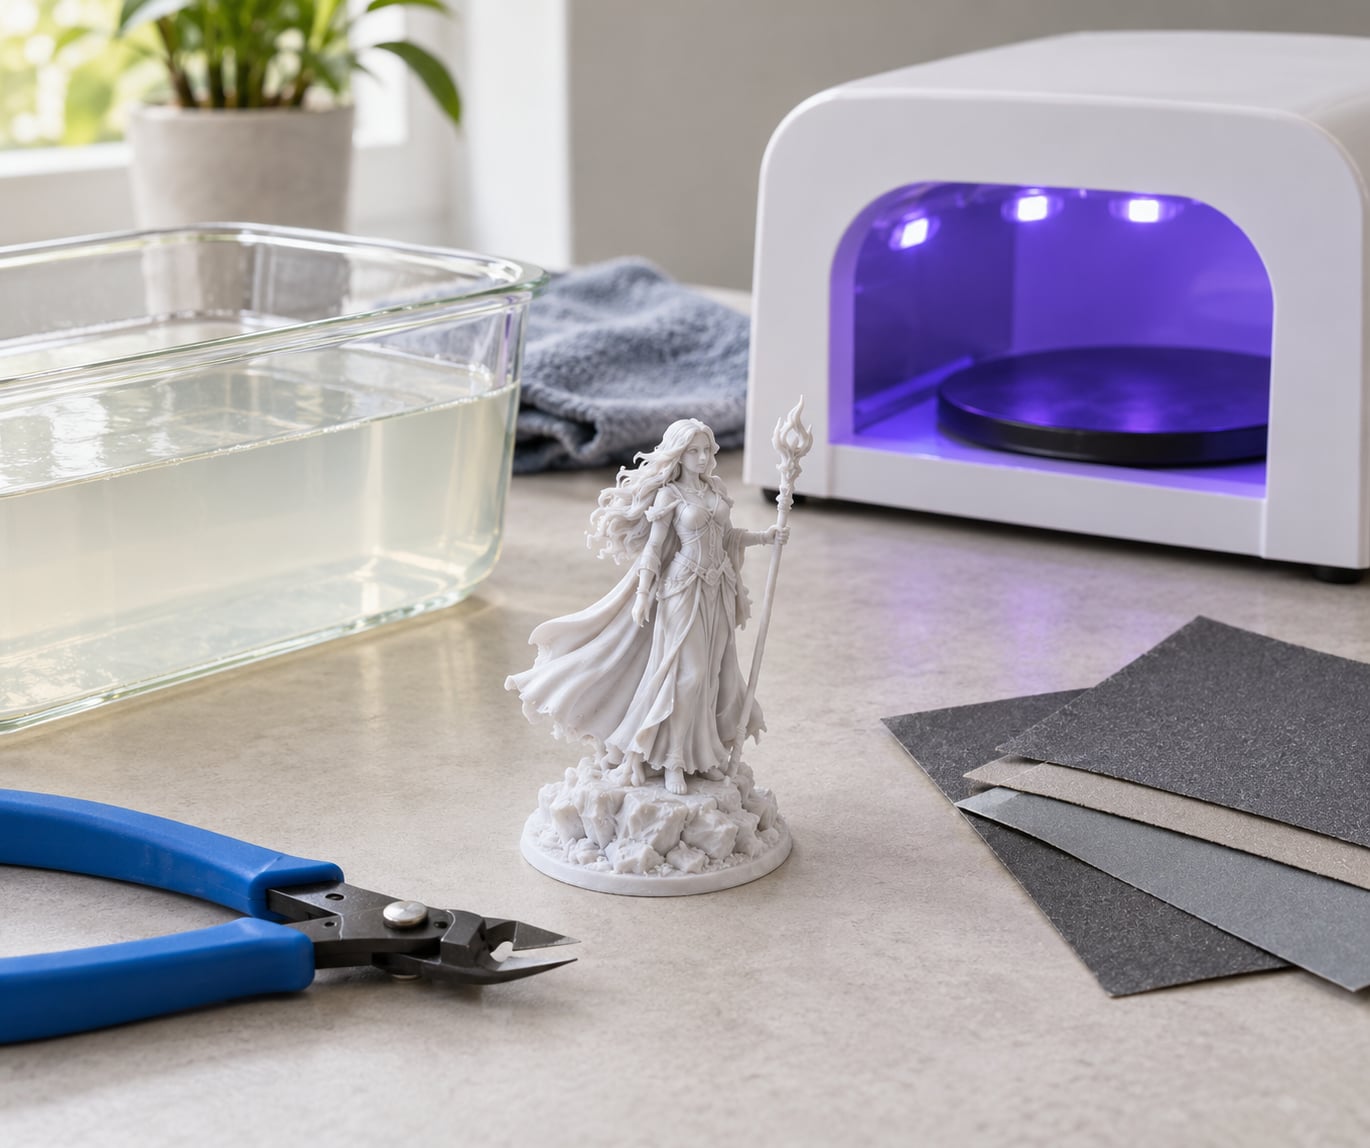
How to post process resin prints comes down to five operations in a fixed order: wash off the uncured resin, dry the part, cure it under UV light, remove the supports, then finish the surface. A print that skips or reorders any of those ends up tacky, brittle, warped or scarred, and no amount of sanding fixes it afterwards.
Budget about 30 to 45 minutes of hands-on time per part for a small model, plus drying and curing time you can walk away from. Most of the difficulty is not the technique, it is knowing when each step is actually finished before you move to the next one.
If you are still choosing a material, SLA vs SLS vs FDM: which process to choose covers where resin fits, and how to read a resin spec sheet helps you pull the wash and cure numbers straight from the manufacturer before you start.
Table of Contents
- What You Need
- Step-by-Step
- 1. Inspect the Print and Plan the Finish
- 2. Wash the Resin Print Correctly
- 3. Remove Supports and Clean the Print Again
- 4. Cure the Print for the Resin’s Full Properties
- 5. Smooth Support Marks and Layer Lines
- 6. Post Process Resin Prints for Color, Texture, or Function
- 7. Perform Final Inspection and Cure Any Coatings
- Common Mistakes
- Frequently Asked Questions
- Conclusion
What You Need
You can post process resin prints with a sink, a plastic tub and a desk lamp, but a few dedicated tools make the difference between a smooth part and one you sand for an hour. Here is the working set, grouped by the step it serves.
Safety and prep
- Nitrile gloves, a nitrile dust mask or full respirator for sanding, safety glasses, and a dedicated apron
- A ventilated work area or a resin-safe wash station, plus a container for solvent waste
- A soft-bristle brush, a silicone or plastic scraper, and paper towels or lint-free wipes
Washing
- Two shallow containers: one for the dirty first rinse, one for the clean second rinse
- Isopropyl alcohol at 91 percent or higher for standard resin, or clean water for water-washable resin
- A wash station with agitation and a heated basket for production volume, an ultrasonic cleaner for small high-detail parts
Curing
- A UV LED curing chamber with a turntable for even exposure, a UV lamp box, or a nail salon dryer for small parts
- Sunlight through a window with a rotating platform, which works but gives the least consistent results
- A heat gun or a warm, dust-free spot for drying
Supports and finishing
- Flush cutters, needle-nose pliers, a hobby knife with fresh blades, and diagonal cutters for the raft
- Sandpaper from about 120 grit up through 400 to 800, plus wet sanding sheets if the resin allows
- Files, a vibrating sanding pen for crevices, microfibers, filler putty, primer, paint and a clear coat
Home shops usually start with plastic containers from the kitchen and borrow a lamp. Production shops run a dedicated station with a heated ultrasonic bath, because the second rinse cycle is what actually sets the surface quality.
Step-by-Step
1. Inspect the Print and Plan the Finish
Start by looking at the part in good light before anything touches it. You are looking for trapped bubbles on the surface, holes where a layer failed, brittle or thin regions, and any face that already looks undercut or fragile.
Note which surfaces need smoothing and which need reinforcement. Overhanging faces carry support scars that will need filling, while flat vertical faces usually only need a light sanding pass once cured.
Decide now whether the part is decorative, painted, or functional. Decorative miniatures can tolerate a lighter cure and more filler, functional parts need the full cure from the resin datasheet and no shortcuts with filler on load-bearing surfaces.
2. Wash the Resin Print Correctly
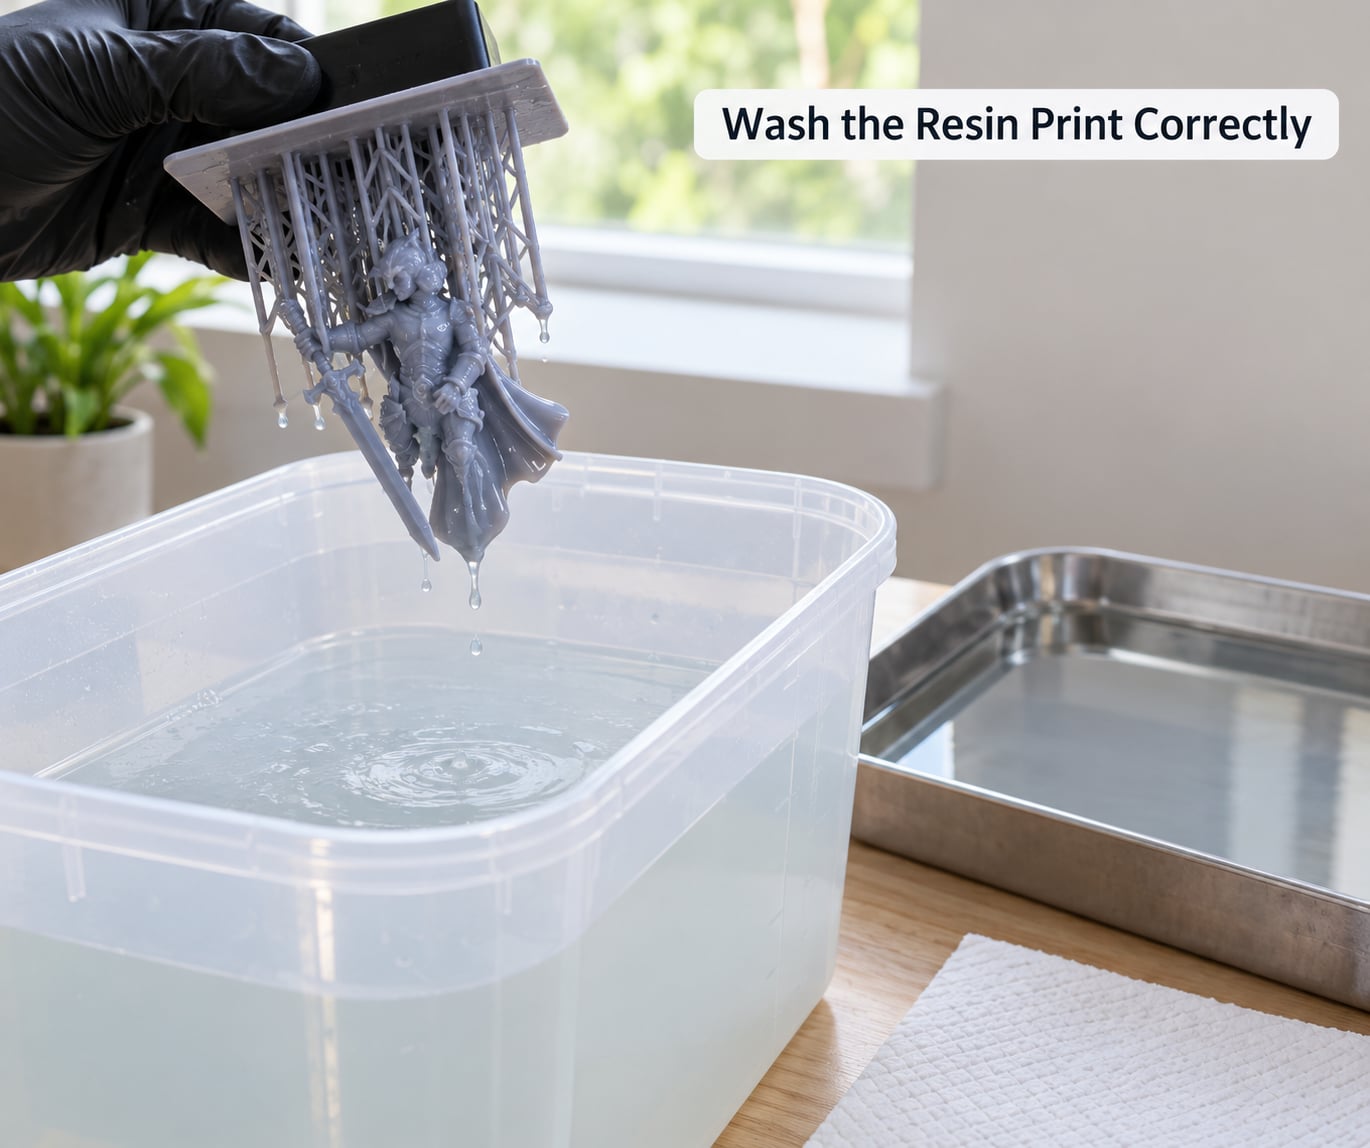
Every printed part comes off the build plate coated in liquid resin, and that film has to go before curing or it cures into the surface permanently. Use the cleaning system the resin manufacturer specifies, because the wrong solvent is the single most common cause of a tacky or hazy finish.
For standard resin, isopropyl alcohol at 91 percent or higher is the usual choice. Use two containers: a dirty rinse you do not pour back, and a clean second rinse with fresh solution. Agitate the part in the first bath for several minutes, scrub the layer lines and the underside with a soft brush, then move it to the second bath.
Water-washable resin is different. You clean it with water, sometimes warm, sometimes with detergent, and the whole point of the formulation is that no solvent is needed. Check the bottle before you pour anything over your print.
You know the wash is complete when no milky film comes off on a fresh wipe and no resin beads on the surface. If alcohol is still leaving a greasy film, a second clean pass is quicker than trying to sand that off later.
Most people run the first bath in a container they never reuse and keep the clean bath for the final rinse. Ultrasonic cleaners, often filled with a glycol ether solvent rather than alcohol, give the most consistent result on jewelry-scale parts, but they will soften some plastics, so check compatibility of the basket and the part.
3. Remove Supports and Clean the Print Again
There is a real decision here, and it depends on the resin and the part. Most people remove supports before the full cure on a heated wash cycle, because a slightly soft part lets the nubs peel away instead of snapping off and taking a chunk of surface with them.
Remove supports earlier when the part has delicate detail, when the resin is tough and flexible, or when your wash cycle leaves the part slightly softened. Remove them after curing when the resin is very hard and brittle, or when supports are the only thing holding a thin feature in place during the wash.
Work flush cutters flat against the surface and cut the nubs off at the base rather than levering them. A heat gun held at a distance softens the contact point just enough to release a stubborn nub without cooking the detail around it.
Support removal exposes fresh surface, so wash the part again. Run it through a clean bath and a quick brush pass over the new scars, then dry it before it goes anywhere near a lamp.
4. Cure the Print for the Resin’s Full Properties
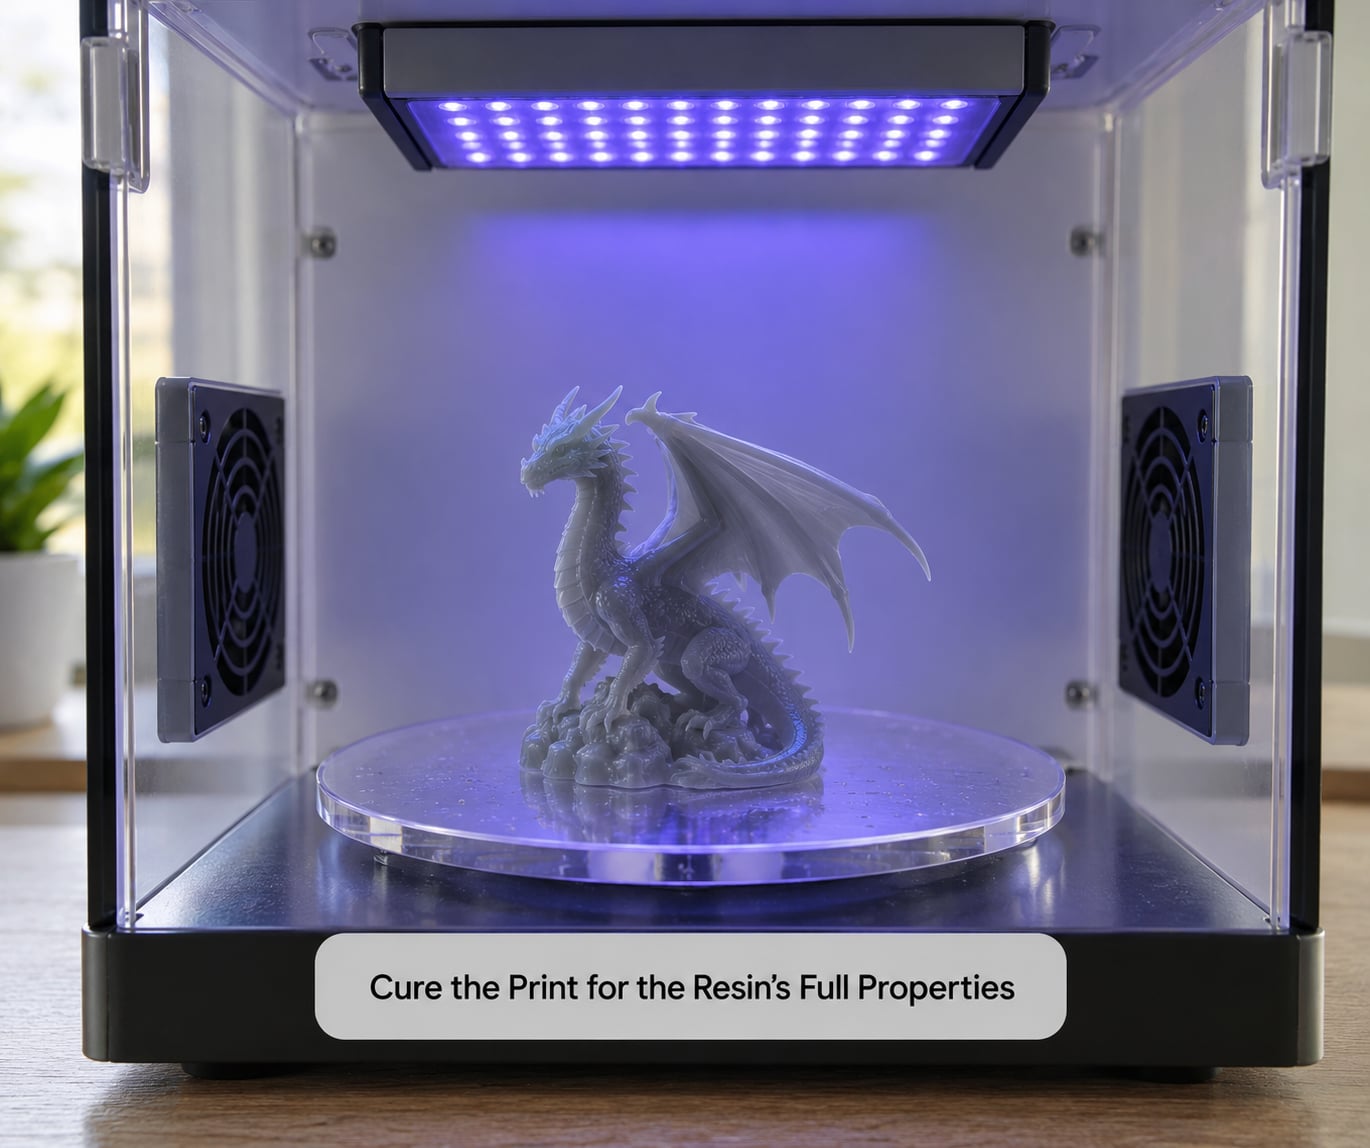
Curing completes the polymerization that started under the printer, and the part only reaches its published strength, heat resistance and dimensional stability after this step. Treat every time you read as a starting point, not a rule, because lamps differ hugely in intensity and resin formulations differ in what they need.
Start with the resin datasheet, then adjust from what the part tells you. A common starting range is two to ten minutes under a UV LED chamber with a turntable, rotating the part throughout so no face sits in a hot spot. Four to ten minutes is a more realistic band for tough and high-temperature resins, and a slow-cure dental or filled formulation may need longer still.
Leave large flat parts on the turntable longer and watch for the shadowing problem. Anything 3 mm or thinner in any direction needs to be turned by hand every minute or so, or mounted at an angle, or the sections facing down toward the plate will come out soft.
How do you know it worked? An undercured part stays tacky, dents under a fingernail, or scratches under a fingernail instead of under sandpaper. An overcured part goes chalky, yellows, or turns brittle and cracks at the edges. Sunlight works for display pieces but gives the least repeatable result, and a rotating platform makes even that much better.
5. Smooth Support Marks and Layer Lines
Sanding is where most of the time goes, and where most prints get ruined. Work progressively rather than jumping grits, because a coarse jump leaves scratches that the primer will not hide.
Start around 120 to 180 grit on the support scars, working across the surface with the grain of the part. Move to 400, then 800 for a finish that takes paint cleanly. A sanding pen with a small oscillating head reaches crevices and undercuts that a flat sheet cannot.
Wet sanding around 600 to 800 grit works well on rigid, filled resin and keeps dust out of your mask. Test a hidden spot first, because water and a stressed thin wall can go badly together, and some flexible resin simply is not a wet sanding candidate.
Fill small pits and gouges with thin filler putty before you reach primer, then sand the filler flush. Take light passes around holes, threads and mating faces, because resin does not grow back, and hold an eye on dimensional accuracy if the part has to fit something.
6. Post Process Resin Prints for Color, Texture, or Function
Once the surface is right, decide what the part has to survive. Decorative pieces can be primed and painted with an airbrush or rattle cans and finished with a thin clear coat, and a pigmented or dyed resin saves that step entirely for small parts.
For texture, media blasting with fine glass or ceramic media scumbles the gloss surface and gives a matte finish that hides micro-layer texture. For function, thin liquid polymer, a ceramic coating, or electroplating add chemical, heat or surface durability that raw cured resin does not have on its own. Plated parts also gain a conductive surface, which matters for a grounding path or a wear face.
Be honest about what each finish claims. A clear coat makes a part easier to wipe clean and slightly more water resistant, but it does not make the underlying resin food safe or chemically inert, and it will not hold up to heat that exceeds the resin’s rating. Check what the part touches before you seal it, and use laser marking plastics: what works best by resin and part to plan a mark before you apply the finish, since the surface coating changes how the marking behaves.
7. Perform Final Inspection and Cure Any Coatings
Hold the finished part under a bright light and look at it the way a customer would. Check that every surface is a consistent color, that no filler or sanding dust is trapped in a crevice, and that edges and holes are still the shape you need.
Test fit matters more than appearance on functional parts. Check a threaded hole, a snap fit and a flat mating surface before you commit to a coating, since a part that will not assemble is a part you have to reprint.
Confirm cleanability by wiping the part with a damp cloth and a little IPA on a hidden area, and confirm mechanical performance with a load test appropriate to the material. Then cure any coating you applied according to that product, usually a longer exposure than the resin itself needed, and let the part cool before handling it.
Once that last cure is done, the part is finished and ready for assembly or use.
Common Mistakes
The print is still tacky after curing. Almost always an incomplete wash or a resin that was not fully cured. Rewash with fresh solution, dry thoroughly, and extend the cure in short increments, checking after each one.
White haze or residue on the surface. This is uncured resin trapped in layer lines, or a solvent film from a dirty wash bath. A second clean rinse fixes most of it, and light sanding with 600 grit removes what remains.
Support scars and torn detail. You pulled rather than cut, or cured the resin fully before removing supports. Cut flush, and for the next part try removing supports before the full cure.
Trapped resin inside hollow models. Hollow prints trap uncured resin in the interior, where a brush cannot reach. Drain the cavities, flush them with a syringe and clean solvent, and hollow with a proper hole pattern so liquid can run out during the wash.
Warping or cracking during cure. Large flat parts and thin sections expand unevenly, and overcuring makes this worse. Increase the cure time in smaller steps, support the part during exposure, and stay inside the resin’s recommended range.
Sticky or softening surface after sanding. The part was undercured, and the abrasive has exposed uncured material underneath. Cure it again, then resume sanding.
One habit worth building early: keep a wash, cure and finish log for every resin you use. Times transfer poorly between lamps and bottles, and a written note saves you from re-learning the same failed cure the hard way next month.
Frequently Asked Questions
Do resin prints need to be washed before curing?
Yes. Every printed part carries a film of uncured resin, and curing over that film traps it against the surface, which is what causes tacky patches, white haze and permanently rough areas. Wash the part in the cleaning system your resin specifies, usually isopropyl alcohol at 91 percent or higher, then dry it fully before it goes under UV light.
Can I use isopropyl alcohol to wash every resin print?
No. Isopropyl alcohol suits most standard rigid and tough resins, but some manufacturers warn against it, and water-washable resin is designed to be cleaned with water and sometimes detergent instead. Flexible resin can also be affected by aggressive solvent exposure. Always check the technical data sheet for the specific bottle before choosing a cleaner.
How long should a resin print be cured in UV light?
A common starting range is two to ten minutes in a UV LED chamber with a turntable, depending on resin type and lamp strength, but treat that as a starting point rather than a rule. Tough and high-temperature resins often need more. Thin sections need to be rotated by hand so no face sits in a shadow or hot spot.
Should resin prints be sanded before or after painting?
Sand before painting, always. Paint bonds to the surface you give it, and paint sprayed over sanding scratches and filler will highlight them under clear coat. Work from roughly 120 grit up through 400 and 800, fill any pits, then prime, then paint, then apply the clear coat.
Are cured resin prints safe to handle?
Fully cured resin is generally considered inert and safe for normal handling, with gloves still sensible during finishing steps. The risk sits with uncured liquid resin and with solvents such as isopropyl alcohol, which can irritate skin and lungs. Work ventilated, wear nitrile gloves, and wash your hands when you finish.
Can post processing make a resin print waterproof?
Not truly waterproof, and this is where expectations get hurt. A clear coat or a thin polymer sealing layer closes surface pores and makes a part much easier to wipe clean and far more water resistant, but the cured resin underneath still absorbs moisture over time. For parts that sit in water permanently, choose a resin rated for that use instead.
Conclusion
The whole workflow rests on order: inspect, wash, dry, remove supports, cure, sand, finish, inspect again. Each step depends on the last one being genuinely finished, and skipping ahead is what produces sticky surfaces and scars that no amount of extra sanding will rescue.
Before your first print, pull the wash and cure requirements from the resin manufacturer and write them down next to your lamp and container setup. Start from those numbers, adjust by a minute at a time, and keep a note of what worked.