
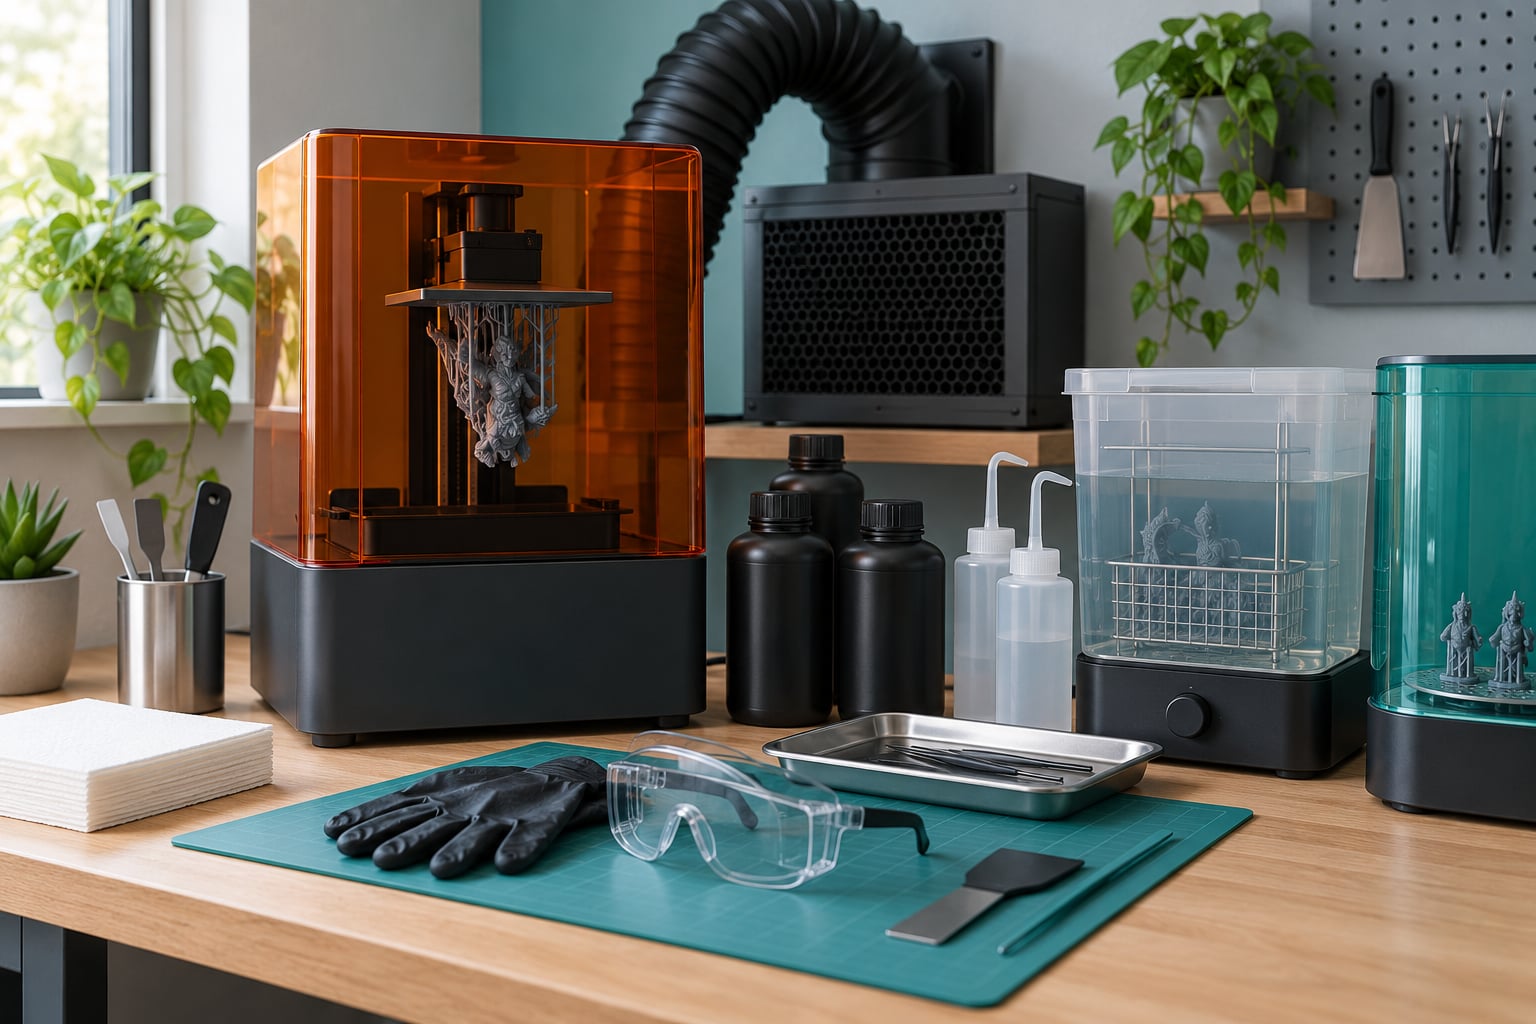
Resin 3D printing is safe when you treat uncured liquid resin as a chemical rather than a plastic. These resin 3D printing safety tips cover the twelve habits that matter most: reading the safety data sheet, exhausting fumes at the source, wearing nitrile gloves and splash goggles, sealing containers, and handling wash waste and cured parts without skin contact.
Almost every resin accident I have seen traces back to one of three things: a bottle left open, a wash bath done without gloves on, or a printer sitting in a room with no way to move air out. The habits below are cheap, quick to set up once, and they remove most of the risk.
This is general risk reduction for hobby and small-shop workflows. For a specific formulation, a workplace exposure assessment or any health question, go to the manufacturer SDS and a qualified industrial hygienist rather than a blog post, mine included.
Table of Contents
- Resin 3D Printing Safety Tips at a Glance
- 1. Read the Resin Safety Data Sheet Before Printing
- 2. Work in a Well-Ventilated Area
- 3. Wear Chemical-Resistant Gloves and Eye Protection
- 4. Keep Resin Containers Closed When Not in Use
- 5. Use Dedicated Tools for Resin Handling
- 6. Prevent Spills and Protect the Work Surface
- 7. Check the Printer, Build Platform, and Resin Tank
- 8. Operate the Printer Within Manufacturer Limits
- 9. Avoid Heating Resin Beyond Its Rated Limits
- 10. Cure Parts in a Controlled Environment
- 11. Wash and Finish Parts Without Skin Contact
- 12. Dispose of Resin and Waste According to Local Rules
- Frequently Asked Questions
- Conclusion
Resin 3D Printing Safety Tips at a Glance
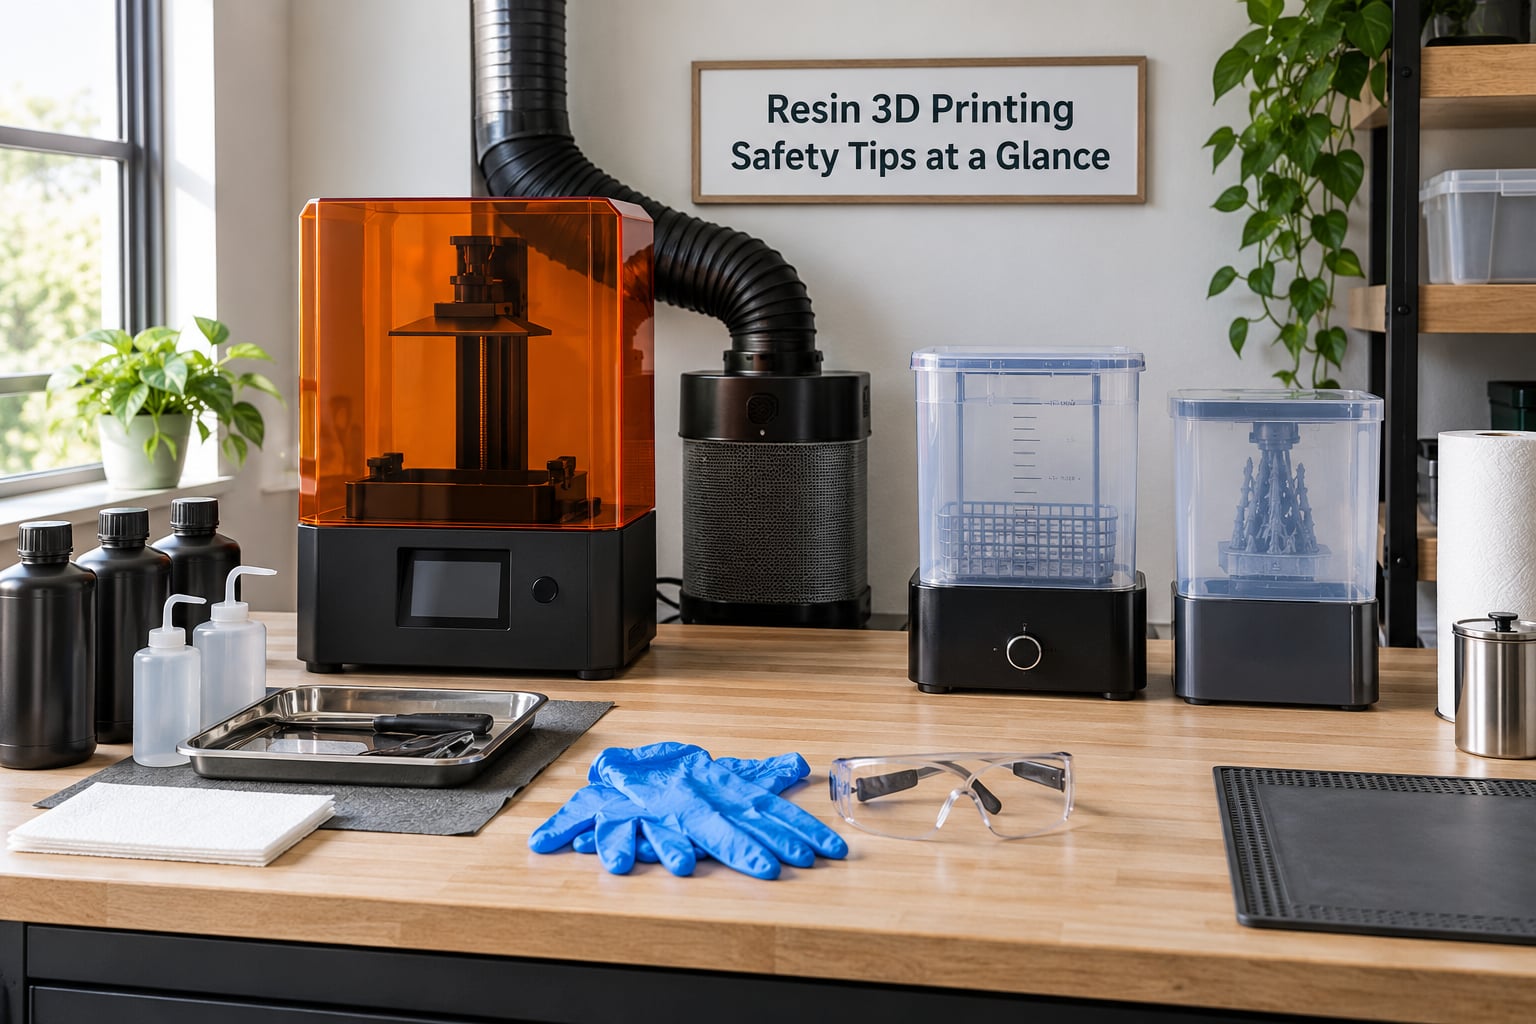
Each tip below targets a specific hazard. The middle column is the risk it removes, and the right column is the single protective action that does the most work.
| Tip | Main hazard | Primary protective action |
|---|---|---|
| Read the SDS | Unknown formulation and hidden hazard warnings | Read the sheet for your bottle and batch |
| Ventilate the printer | Vapours and fine particles spreading through the room | Enclosure with exhausted air outdoors |
| Wear the right PPE | Skin contact, eye splash, vapour inhalation | Nitrile gloves plus splash goggles |
| Close containers | Contact, contamination, moisture, spills | Reseal the bottle immediately after pouring |
| Dedicated tools | Cross-contamination with skin, food or other equipment | Resin-only brushes, funnels and mats |
| Prevent spills | Sticky resin damaging benches and clothing | Level tray with secondary containment |
| Inspect before running | Torn film, loose build plate, leaks near electronics | Pre-print check of vat, plate and cables |
| Stay within machine limits | Failed prints, overheated components | Use the settings for your resin and machine |
| Do not heat resin past its rating | Decomposition fumes, fire, ruined material | No ovens, hot plates or heated vats |
| Control curing | Handling parts that are not fully cured | Dedicated cure box, timed exposure, gloves |
| Wash without skin contact | The most chemical-heavy step of the workflow | Gloves, dedicated station, ventilation running |
| Dispose of waste properly | Environmental contamination and local rule breaches | Separate and follow local hazardous waste guidance |
1. Read the Resin Safety Data Sheet Before Printing
Open the safety data sheet for the exact bottle in front of you before the first pour. Formulas differ more than people expect, and the sheet is the only document that describes your specific mixture rather than resin in general.
Work through the sections that change your behaviour: the hazard identification statements, the handling and storage notes, the incompatible materials, the first-aid measures, and the disposal information. Section 16 is where glove material and sometimes respirator advice appear, and plenty of operators skip straight past it.
Print a copy and keep it with the printer. Batch numbers change with production runs, so if a job starts behaving oddly, having the sheet for that batch in your hand saves a lot of guessing. If you have never read one end to end, our guide on how to interpret a Material Safety Data Sheet breaks the document down section by section.
2. Work in a Well-Ventilated Area
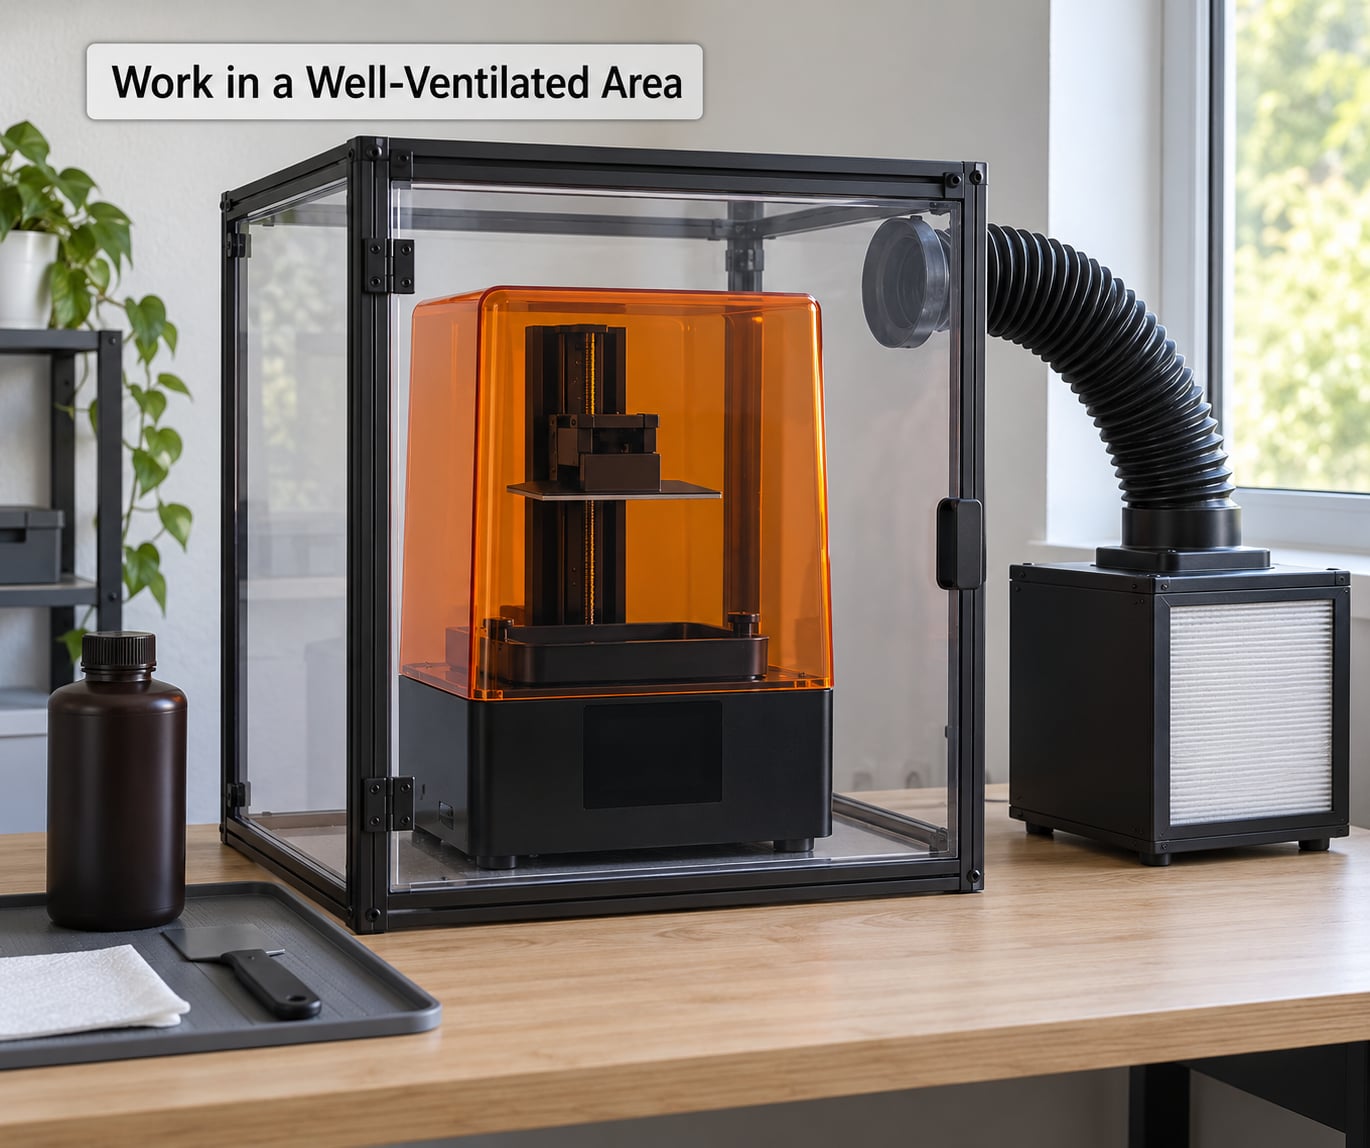
Ventilate at the source: pull air out of the enclosure and send it outside, rather than letting it mix into the room you live in. A window fan in the far corner moves air around without removing much.
Four pieces make up a setup that actually works:
- An enclosure. A close-fitting cover around the printer keeps drips inside and stops curious pets from reaching the vat.
- Exhaust to outdoors. Run ducting out of a window or through a wall so contaminated air never recirculates.
- Filtration. A carbon stage captures vapours and a HEPA stage catches the fine particles; the carbon stage alone will not handle particles.
- Run-on time. Keep the fan going for at least 30 minutes after a print finishes and after any washing or curing. Most of the emission happens after the last layer, not during it.
Odour is a poor instrument. Some resins are nearly odourless and still release irritants, and a strong smell usually means the enclosure is leaking somewhere rather than that your filter is working. If you can smell resin in the room next door, the seal is not doing its job.
Where you put the printer matters as much as the fan. A garage, basement or spare room with a door you can close is a fundamentally safer location than a bedroom or a kitchen counter, and people who print in small apartments should treat the location as the first safety decision rather than the last.
3. Wear Chemical-Resistant Gloves and Eye Protection
Wear gloves every time uncured resin, a part carrying resin, or a wash bath is on the bench. Skin contact with acrylate resin is the most common exposure route, and the risk builds up across repeated small contacts that individually feel harmless.
What PPE do I need for resin printing? Gloves first, then goggles
- Gloves: nitrile at 6 to 8 mil minimum, and thicker if you soak prints for extended periods. Thin disposable gloves soak through in minutes. Change them the moment resin gets on the outside, wash your hands after removal, and never touch a phone or a door handle with resin gloves.
- Eyes: splash goggles, not wraparound safety glasses. A splash thrown up while tipping a bottle or loading a vat is exactly the accident eyewear rated for impacts will not help with.
- Body: long sleeves and a disposable apron or a dedicated lab-style coat that never goes near food preparation areas.
- Lungs, during washing and sanding: a half-mask respirator with an organic vapour cartridge combined with a P100 particulate filter. Filters only work if the mask is fit-checked, and a cartridge has a service life that the manufacturer sets.
If resin does hit skin, get contaminated clothing off, wash the area with soap and water, and follow the first-aid section of your SDS. Seek medical attention for breathing difficulty, swelling, or a rash that persists, since sensitised skin can react to levels that never bothered you before.
4. Keep Resin Containers Closed When Not in Use
Close every container the moment you finish pouring. This is the single cheapest habit on the list, and it stops more problems than any other tip: skin contact from drips, contamination from dust and tools, moisture pickup that ruins prints, and spills on the floor.
Store bottles sealed, upright and light-tight in a cool cupboard or a closed cabinet, with the label facing out. Keep them off the floor and away from heat sources, and put the whole storage area somewhere a child or a pet cannot reach it. Birds in particular will investigate an open vat.
If you handle resins that take on moisture from the air, drying them properly matters as much as storing them well, and how to choose a resin dryer for hygroscopic plastics covers the temperature and timing side of that.
5. Use Dedicated Tools for Resin Handling
Keep a separate tool set for resin and never let it touch anything else. A silicone mat, a wide funnel, mixing sticks, silicone-tipped brushes, a dropper and a pair of nitrile gloves live in a tray next to the printer, and they stay there.
This prevents the two failures that cause most headaches. Cross-contamination happens when the same stick, brush or squeeze bottle moves from resin to a model, a mould or an assembly bench, leaving uncured material somewhere it should never be. Shared contamination happens when resin tools end up in a kitchen drawer and reach a food surface or a cup.
Label waste containers with the resin name and the date you filled them. Six unlabeled bottles of grey liquid in a corner is how a workshop ends up pouring one down the sink.
6. Prevent Spills and Protect the Work Surface
Resin spills are sticky, slow to clean and harsh on wood, laminate, painted surfaces and clothing. Build the bench so that a spill has nowhere to go.
Set the printer on a level tray with a raised lip, put a silicone mat or absorbent pad under the vat, and keep the whole assembly away from the edge of the desk. A shallow tray also catches drips from the build plate as it rises, which is where most small spills start.
Have a spill kit within arm’s reach: disposable microfibre towels, a scraper, a sealed bag for contaminated material and more nitrile gloves. When a full bottle needs moving, move the printer or carry the bottle with two hands at waist height. Lifting a two-kilo bottle over shoulder height while twisting is how it ends up on your shirt.
Uncured resin spots show up under a UV or blacklight flashlight, which makes checking a workbench and your hands before you sit down easy. Wipe with isopropyl alcohol or a water-wash cleaner chosen from the SDS, never with a hot cloth and never on a surface you also eat on.
7. Check the Printer, Build Platform, and Resin Tank
A two-minute inspection before each print prevents the failures that release uncured resin onto the machine and the bench. Start with the vat: look at the FEP or PTFE film for tears, punctures and cloudy patches, check that the build plate is firmly mounted on its ball joint or magnet, and confirm the resin sits below the maximum fill line.
Look at the rails, lead screws and the underside of the plate for sticky residue from previous prints, and wipe that off before it hardens. Check that cables are routed away from the vat area and that plugs and power supplies sit where liquid cannot reach them.
Power the machine from a GFCI or RCD-protected outlet, keep it on a non-porous surface, and do not leave it running unattended overnight. When you are weighing the machine against a production line, our 3D printing vs injection molding cost breakdown is useful context for how many hours a shop really runs.
8. Operate the Printer Within Manufacturer Limits
Run the machine the way its manual describes, for the resin in the vat. Exposure times, lift speeds, temperatures and maintenance intervals are specific to a printer and a formulation, and settings copied from an unrelated machine are the most common cause of failed prints.
Level the build plate before filling the vat, since a thin layer of resin under the film is harder to clean than a bare plate. Keep the resin within the temperature range the supplier lists, and re-level when the plate has been removed or re-seated.
When you change resin, run the wash and exposure test the supplier recommends instead of guessing. It takes ten minutes and it tells you whether the film, the light source and the new formulation are working together as expected.
9. Avoid Heating Resin Beyond Its Rated Limits
Do not put resin in an oven, on a hot plate, under a heat lamp or in a heated vat unless the supplier specifically documents it for that formulation. Heating liquid photopolymer above its rated range starts decomposition, and the result is irritating vapour, a ruined bottle and a fire risk near the printer.
This includes improvised tricks: warming a cold vat with a heat gun, softening a jammed bottle over a flame, or leaving a closed resin bottle in a car on a hot day. Warm resin for viscosity control is a real practice, but the supplier sets the temperature and the time, and there is no general safe default.
If a bottle has gone cloudy, stringy, split into layers or smells sharply different, stop using it and follow the disposal advice in the SDS rather than trying to rescue it.
10. Cure Parts in a Controlled Environment
Cure finished parts in a dedicated cure box or under a controlled UV source, with a timer you set rather than a guess. Most post-curing happens inside that box, so the box is also a small chemical vessel and belongs in the ventilated area, not on a desk in a bedroom.
Treat any part as a skin hazard until it is fully cured and cool. Partially cured surfaces stay tacky, and handling them transfers uncured resin to gloves, tools and bench tops. Put on the same gloves you use for washing, support a part from underneath rather than gripping the printed face, and give it the full exposure the material asks for before you start sanding.
Leave the box closed while the parts cure, and wipe the interior with your SDS-recommended cleaner afterwards. Cured dust from the same material is a separate problem worth respecting.
11. Wash and Finish Parts Without Skin Contact
Washing is the most chemical-intensive part of the whole workflow, and it is where most people drop their guard. Turn the ventilation on before you start, not after the parts come out.
Use the wash agent your resin specifies, in a dedicated wash station away from food preparation. Wear gloves and goggles for the wash as well as the print. Move parts with a brush or a basket rather than your fingers, and keep the isopropyl alcohol or water-wash bath covered when it is not in use so the vapours do not sit over an open container.
Let parts drip and dry in a ventilated place, then change gloves before you touch anything clean. For sanding and drilling fully cured parts, wear a dust mask and keep a local extraction or a HEPA unit near the bench; fine cured polymer dust is an inhalation risk in its own right, separate from the liquid resin.
12. Dispose of Resin and Waste According to Local Rules
Separate your waste into at least four streams, then follow the local rules for each one. Municipal rules for liquid chemicals vary widely, so your council, state program or licensed waste provider is the authority here, not a forum post.
- Usable resin: settled, uncontaminated vat resin can often go back into its original bottle, per the supplier’s guidance. Anything contaminated, or of unknown origin, does not.
- Uncured liquid: place in a labelled, closed, compatible container for hazardous chemical waste. Never down the sink or the storm drain.
- Contaminated wash waste: used alcohol and rinses, including water-wash sludge, follow the same route as hazardous chemical waste.
- Solid items: gloves, towels, brushes, filters and failed prints that hold resin. Cure fully cured prints fully before binning them where local rules allow.
Keep waste containers closed, labelled and away from children and pets, and check the generation limits your local program sets before a large print run fills a container. If you are unsure whether a stream counts as hazardous, ask the waste provider before disposing rather than after.
Frequently Asked Questions
Is it safe to have a resin 3D printer in my room?
It is possible but it is the least favourable location. Resin printing belongs in a garage, basement or spare room with a door that closes and an exhaust path to outdoors. A bedroom or living room exposes you to vapours, fine particles and pet or child contact for hours at a stretch. If your home offers no such space, an FDM filament printer or an outsourced print shop is the safer path.
What PPE is required for resin printing?
Nitrile gloves of at least 6 to 8 mil, splash goggles, long sleeves and a dedicated apron are the minimum whenever uncured resin or a wash bath is out. Add a half-mask respirator with an organic vapour cartridge combined with a P100 filter for washing, sanding and any spill cleanup, and fit-check the mask each time you wear it. Confirm the glove material and cartridge code in your resin SDS.
What is the best way to vent a resin printer?
Enclose the printer, duct the exhaust outdoors and filter it with a carbon stage followed by HEPA. Source capture at the enclosure beats moving air around the room, and a fan in the corner only circulates what is already there. Keep the fan running for at least 30 minutes after the print and after washing or curing. Treat smell as a sign of a leak rather than as a measurement of exposure.
Are resin printer fumes harmful to health?
Uncured acrylate resin releases volatile organic compounds and fine particles, and those vapours are an irritant and a skin sensitiser. Repeated low-level exposure matters more than one accidental whiff, which is why ventilation and closed containers carry so much weight. Washing with alcohol produces its own vapours, so the wash step needs the ventilation running too. If you have asthma or chemical sensitivity, a professional assessment is worth it.
What type of gloves are best for working with resin?
Nitrile at 6 to 8 mil or thicker, and change them as soon as resin reaches the outside. Thin disposable gloves soak through during a wash and give false confidence. Wash your hands after removal and never handle a phone, keyboard or door handle with resin gloves still on. Cut-resistant liners under the nitrile help when you are removing supports or handling cured parts.
How do I dispose of uncured resin?
Never put uncured liquid resin or used wash alcohol down the drain. Settled, uncontaminated vat resin can usually return to its original bottle if the supplier allows it. Everything else, including contaminated gloves, towels, filters and failed prints with resin on them, goes to a labelled compatible container and through your local hazardous chemical waste route. Your council or licensed waste provider sets the rules, and they differ by region.
Conclusion
Four things to do before your next print: pull the SDS for the bottle you are about to use and read sections 2, 7, 8 and 13; get the enclosure exhausting outdoors with the fan running before you pour resin; lay out gloves, splash goggles and a respirator next to the printer; and give the machine a two-minute inspection of the film, the build plate and the vat.
Everything else in this list is refinement. Get those four right and the remaining eight habits are much easier to keep.