
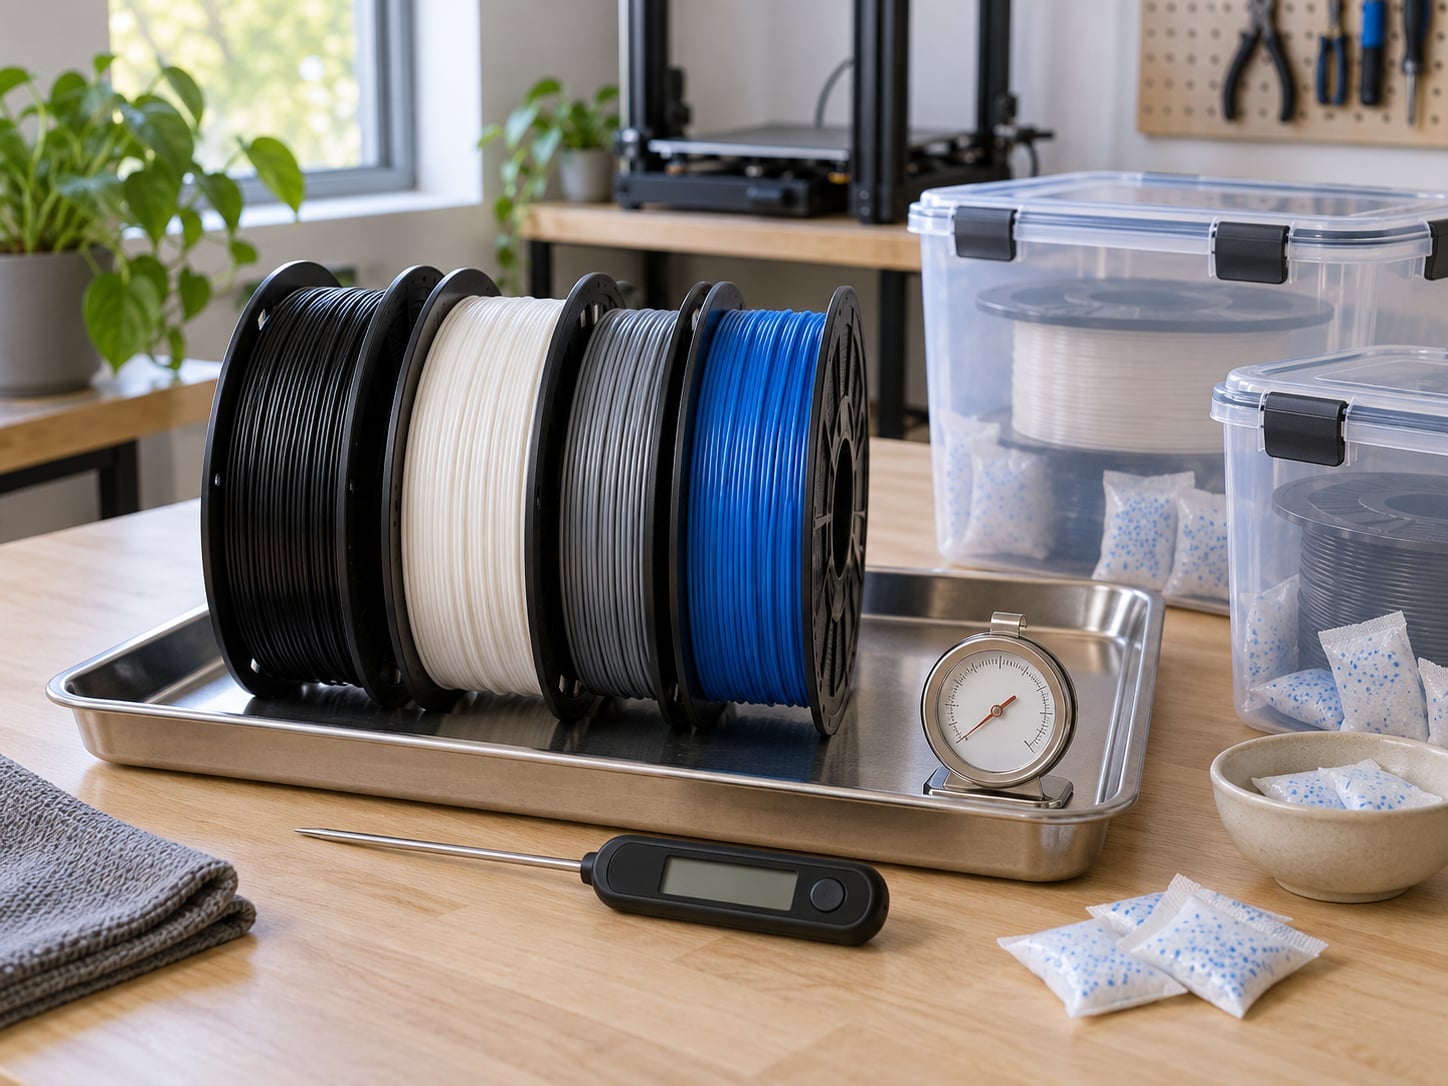
If you are wondering how to dry 3D printer filament at home, the short version is: heating the spool at a controlled, material-specific temperature with moving air for several hours, so water absorbed out of the air evaporates out of the polymer before it reaches the hot end. A dedicated filament dryer works best, a food dehydrator is a close second, and a household oven is a workable fallback if you keep it well below the plastic’s softening point. The whole job usually takes four to six hours for PLA and eight to twelve for nylon.
People ask this question right after their first bad print: stringy hairs between layers, crackling noise from the nozzle, bubbles in the surface, corners that snap off. Almost all of that is moisture, and no amount of retraction tuning fixes it.
Here are the consensus ranges before we get into method. Follow the filament manufacturer’s own sheet when you have it, since formulas vary by brand.
- PLA and PLA+: 40-55C for 4-6 hours
- PETG: 50-65C for 4-8 hours
- ABS and ASA: 65-80C for 4-6 hours
- TPU: 45-55C for 4-6 hours
- Nylon (PA): 70-90C for 8-12 hours
- PA-CF and PA-GF: 80-90C for 12-24 hours
- PET-CF: 75-85C for 8-12 hours
- Polycarbonate: 80-100C for 8-12 hours
- PVA: 45-55C for 6-8 hours
All temperatures here are Celsius. Multiply by 1.8 and add 32 for Fahrenheit.
Table of Contents
What You Need
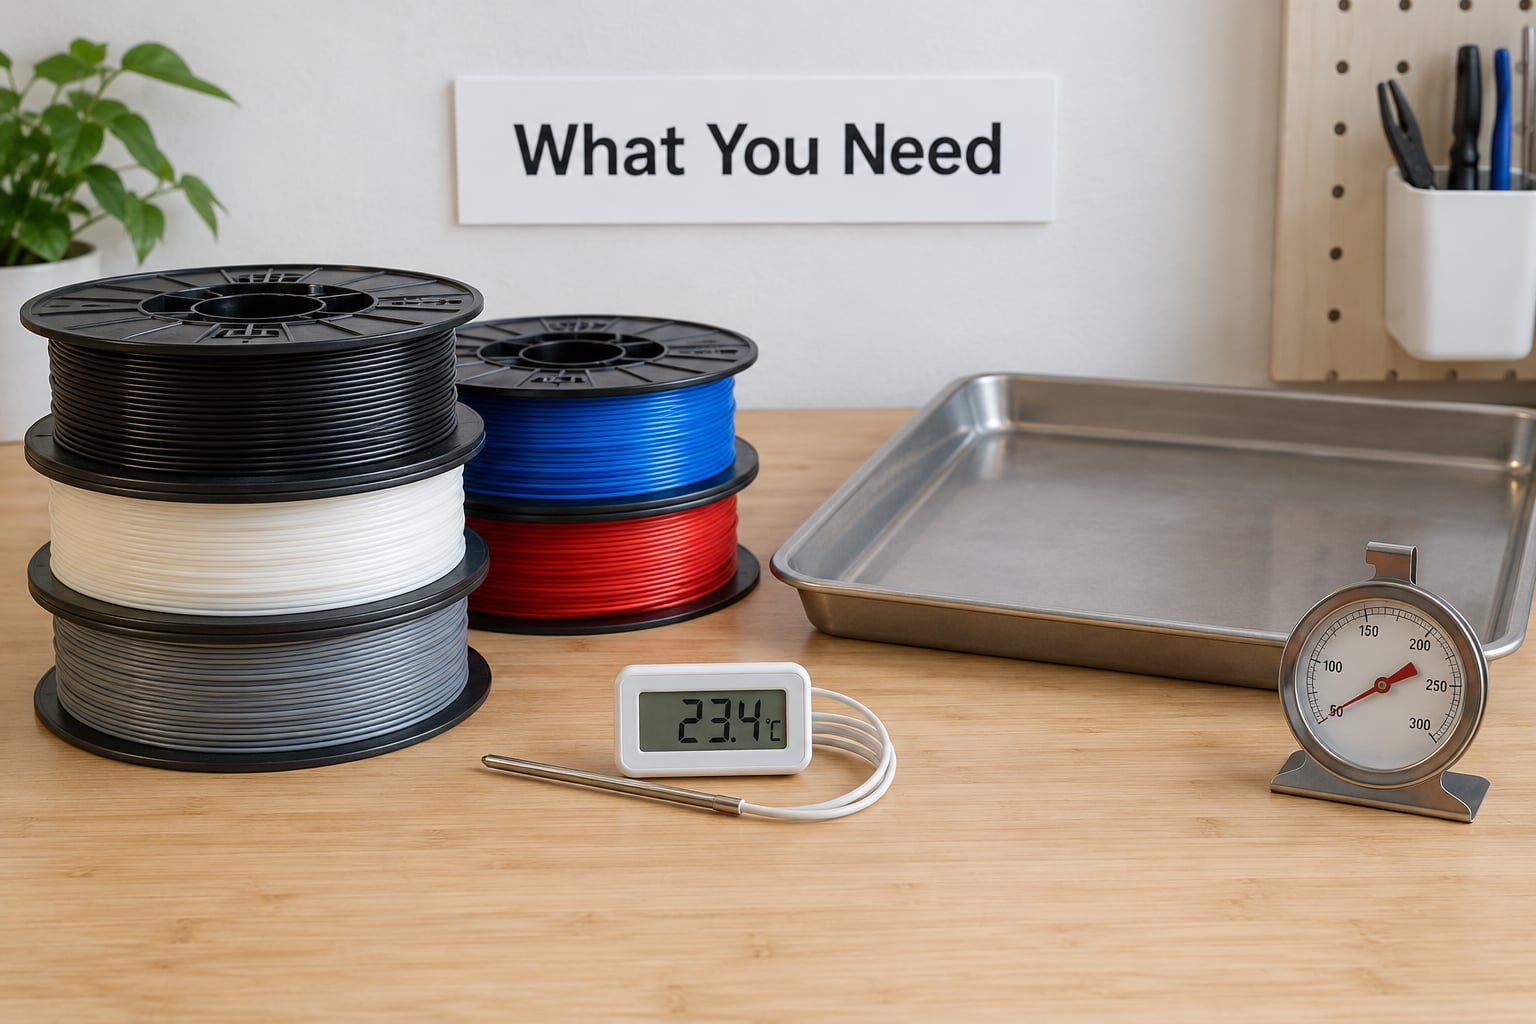
The filament itself is the obvious item, but the support gear matters more than people expect. Grab what you need before you start, because a drying session that gets interrupted halfway is wasted time.
- The filament spool, still on its cardboard or plastic core if possible. Drying loose filament is faster but messier.
- A way to hold heat — a dedicated filament dryer, a food dehydrator, or a household oven with a working temperature dial.
- A thermometer you trust. An oven thermometer or a probe thermometer costs almost nothing and tells you the truth about your chamber.
- A heat-resistant tray or shelf liner so a softened spool does not weld itself to the oven floor.
- Two bowls or trays to move the spool into and out of the heat without handling it in the open air longer than necessary.
- Airtight storage containers and silica gel sachets for the moment the filament comes out.
- A hygrometer, cheap and optional, if you want to know the actual relative humidity of your storage space instead of guessing.
If you only dry filament occasionally, a food dehydrator and a couple of containers cover you. If you run nylon or TPU regularly in a humid climate, a dedicated dryer pays for itself in consistency rather than in speed.
Step-by-Step
Below is the full workflow. The method changes at step three, but the preparation and the sealing steps are the same for everyone.
How to Dry 3D Printer Filament in a Household Oven
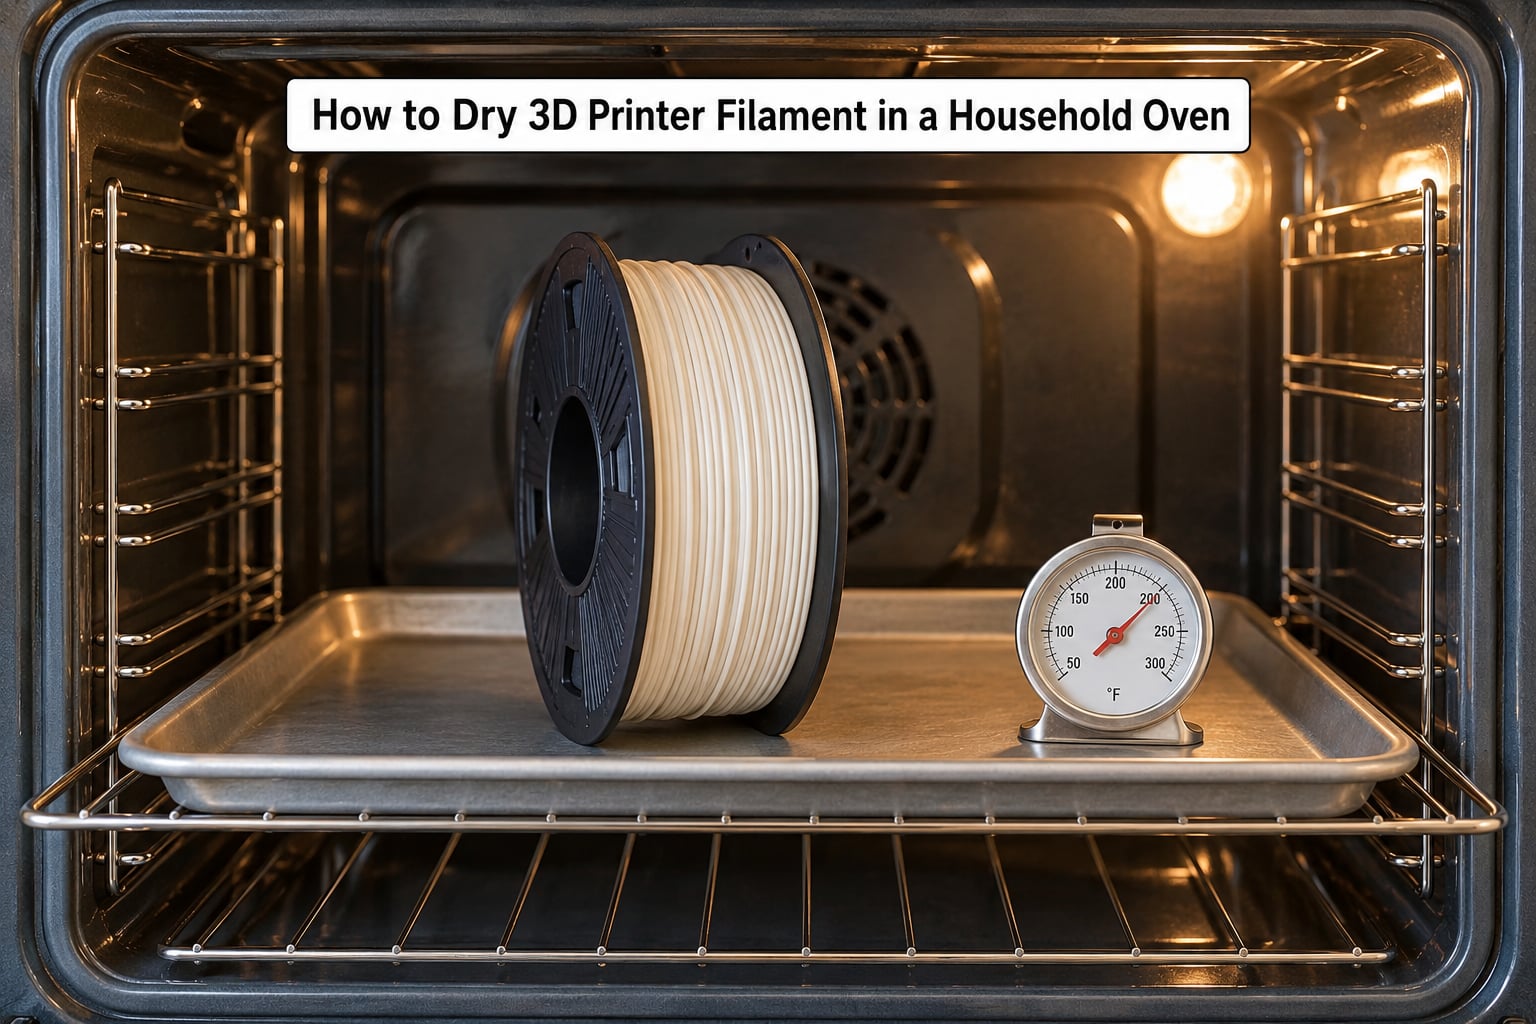
A kitchen oven can dry filament, but only if you watch the actual chamber temperature rather than the dial. Household ovens routinely overshoot their set temperature by 10-15C or more, and that overshoot is what deforms spools and fakes layers together.
- Set the spool on a tray inside the oven, hub sideways or upright, with clear air around it. Never put plastic directly on the oven floor.
- Preheat empty, then measure. Put the oven thermometer in with the tray, heat to the low setting, and wait 15 to 20 minutes for the chamber to settle. If it reads more than about 10C above your target, drop the dial one notch.
- Heat at the low end of the material’s range. For PLA that usually means the oven’s lowest setting, checked against the thermometer rather than trusted.
- Leave the door shut and let air move. Moisture needs to leave the chamber. If your oven runs a fan, leave it on; if not, crack the door a few millimetres with a folded card so humid air can vent.
- Run four to six hours for PLA and PETG, eight to twelve for nylon. Check the thermometer twice during the session.
- Turn the oven off and let the spool cool inside for 20 to 30 minutes. Warm filament is soft and easy to deform, and pulling it out hot can twist the hub.
- Seal it immediately. Move the spool straight into an airtight container with fresh desiccant before it has fully cooled to room temperature.
One caution that is worth repeating: never use a microwave. Filament contains metal in most spools and the polymer itself heats unevenly at those frequencies, so you get hot spots, melted blobs, and in the worst case a smoke-filled kitchen.
How to Dry Filament in a Dehydrator
A food dehydrator is the best value for most home printers because the airflow is constant and the temperature is usually more even than a kitchen oven’s. Many models hold a steady low temperature that a food oven cannot.
Choose the temperature from the table for your material, lay spools in a single layer on the rack so air can move around them, and avoid stacking two spools where one sits directly on top of the other. Set a timer for the recommended duration rather than leaving it on indefinitely.
When it finishes, let the spools sit inside the switched-off dehydrator for 15 minutes. The gentle residual heat keeps humid air inside the chamber so less moisture comes back in while you transfer them.
How to Dry Filament with a Dedicated Filament Dryer
A purpose-built dryer is worth it for nylon, PVA, PC, and any carbon fibre composite. Those materials need sustained heat in the 80C range and often 12 to 24 hours, and a food dehydrator rarely reaches or holds that.
Set the chamber to the manufacturer’s figure for your filament, load the spools with space between them, and use the built-in timer so a forgotten cycle doesn’t quietly cook the polymer. Spools usually go on a rotating carousel or a heated shelf that lifts and tilts the material through the air.
Treat a hot chamber as hot. Pull the door open and let it clear before reaching in, and give the spool a minute on the shelf before you grab it, because a spool at 85C will soften your fingers and can deform if you hold one edge.
How to Dry Filament with Desiccant and Storage
Silica gel and sealed storage solve a different problem than a dryer does: they keep filament dry, they don’t rescue filament that is already wet. If your spool was open for a month in humid air, desiccant alone may take weeks or months to bring it back, if it manages it at all.
As a rough guide, use about 20 to 30 g of desiccant for a single 1 kg spool, and 50 to 100 g for a large airtight bin holding several. Colour-changing beads that shift from blue to pink as they saturate are the easiest way to know when they are spent, and when they do turn, bake them in a low oven or microwave on short bursts to regenerate.
Vacuum-sealed bags with a hand pump, plus a bag of desiccant, work well for filament you will not touch for months. The vacuum slows the exchange of air, and the desiccant catches what is left.
How to Check Whether Filament Is Dry Enough
There is no perfect field test, but the signals are consistent enough to act on.
- Surface look. Wet filament often looks slightly cloudy or dull instead of glossy, and brittle or chalky patches mean it has been sitting open too long.
- The snap test. Bend it sharply. Dry PLA snaps cleanly and feels stiff; damp filament bends into a smooth curve before it gives.
- First layer. A short skirt or calibration square tells you a lot. Wet material shows a rough, blistered, or lifting first layer.
- Extrusion noise. Crackling and popping at the nozzle means water is boiling inside the melt zone.
- Stringing. Oozing and webs between features point to moisture, though it can also be a retraction or temperature problem, so rule those out before blaming the filament.
- Bubbles and craters. Small craters on the surface that don’t scrape away are trapped vapour.
Visual inspection alone is not conclusive. The reliable check is a small test print, and it costs you about ten minutes and 20 g of filament.
How to Dry 3D Printer Filament by Material: Temperatures and Timing
Temperatures below are cautious starting points. Spooling weight, brand formulation, and how much moisture the filament already holds all shift the right answer, and the manufacturer’s technical data sheet beats any table you find online, including this one.
| Material | Drying temperature | Minimum time | Recommended time | Moisture sensitivity |
|---|---|---|---|---|
| PLA | 40-55C | 4 h | 4-6 h | Low to moderate |
| PLA+ | 40-55C | 4 h | 4-6 h | Low to moderate |
| PETG | 50-65C | 4 h | 4-8 h | Moderate |
| ABS | 65-80C | 4 h | 4-6 h | Moderate |
| ASA | 65-80C | 4 h | 4-6 h | Moderate |
| TPU | 45-55C | 4 h | 4-6 h | Moderate to high |
| Nylon (PA) | 70-90C | 8 h | 8-12 h | High |
| PA-CF / PA-GF | 80-90C | 12 h | 12-24 h | High |
| PET-CF | 75-85C | 8 h | 8-12 h | Moderate to high |
| Polycarbonate | 80-100C | 8 h | 8-12 h | High |
| PVA | 45-55C | 6 h | 6-8 h | High |
| PPS-CF | 80-100C | 12 h | 12-24 h | High |
Nylon is the awkward one. It can absorb close to 9% of its own weight in water, and users on the UltiMaker community report keeping nylon dry in a sealed cabinet with desiccant in a dry office while a printer in a damp bedroom with morning window condensation showed blobbing and popping on the same filament.
One more limit worth knowing: repeated heat cycles are not free. Community reports on PLA are consistent that it tolerates fewer drying cycles than nylon, and pushing PLA near 90C softens it. If a spool has been baked five or six times already and still performs badly, the polymer has probably taken damage that more heat will not fix.
How to Store Filament After Drying
The most common failure is drying filament perfectly and then watching it reabsorb moisture over the next fortnight because it sat in an open bin. Treat the drying session and the sealing as one continuous job.
- Cool first. Let the spool reach room temperature inside the dryer or oven. Sealing warm filament traps the vapour it just gave up.
- Bag it while it’s still in the warm room. Place it in an airtight container or a vacuum bag with desiccant inside, then close it.
- Use enough desiccant. 20 to 30 g per 1 kg spool, and check the colour-changing type until it has been used up.
- Aim for low humidity. Keep relative humidity under about 20% for most materials, and under 15% for nylon, PVA, and PC. A hygrometer in the cabinet tells you whether you are there.
- Keep it dark and sealed. UV degrades plastic over time regardless of moisture, so a closed opaque bin beats a clear one on a windowsill.
Keep only what you will use in a couple of months, opened. Nobody’s shelf needs four part-used spools competing for the same desiccant.
Drying again is a normal part of the cycle rather than a failure, particularly for nylon and PET-CF. What matters is not reabsorbing moisture between the drying chamber and the printer, because that gap is where a good dry is usually lost.
Common Mistakes
Most ruined spools come from one of these. The good news is that each has a simple correction.
| Mistake | What goes wrong | The fix |
|---|---|---|
| Trusting the oven dial | Chamber overshoots by 10-15C, softening the spool and fusing layers | Measure with a thermometer and settle the chamber before the filament goes in |
| Exceeding the glass transition temperature | PLA goes soft and brittle, warps, and can snap in the extruder | Stay under each material’s Tg and start at the low end of the range |
| Using a microwave | Uneven heating, melted blobs, metal in the spool | Use an oven, dehydrator, or dryer only |
| Overcrowding the chamber | Airflow drops and the spool core stays wet | Leave space between spools and around each one |
| Drying the wrong material at a shared temperature | TPU softens while ABS is barely warmed | Dry similar materials together, never dissimilar ones |
| Opening the container too soon | Warm humid air gets trapped and moisture returns immediately | Cool fully, then seal, then add desiccant |
| Discarding desiccant after a fixed date | Saturated beads give false confidence while humidity climbs | Use colour-changing beads and swap them the moment they turn |
| Skipping the manufacturer’s sheet | Conflicting advice online leaves you guessing | The filament supplier’s drying spec wins every time |
Over-drying is a real failure mode too, and it surprises people. An air fryer at its lowest setting left filament intact but made it extremely brittle, snapping inside the extruder. Short and cautious beats long and hot, especially for PLA and TPU.
Frequently Asked Questions
Can you dry 3D printer filament in a microwave?
No. Microwaves heat unevenly, and the polymer softens in patches while metal components in the spool or the hotend can arc. The results are melted blobs, warped filament, and a mess to clean up. Use a household oven, a food dehydrator, or a dedicated filament dryer, all of which give you steady temperature and airflow.
Can PLA filament be dried in a kitchen oven?
Yes, with care. Set the oven to its lowest setting, put the spool on a heat-resistant tray, and measure the real chamber temperature with an oven thermometer rather than trusting the dial. PLA needs roughly 40-55C for four to six hours. If the chamber reads more than 10C above your target, drop the dial a notch and recheck after twenty minutes.
How long does it take to dry 3D printer filament?
Four to six hours is right for PLA, PETG, ABS, and ASA at their recommended temperatures. Nylon, PA-CF, and PET-CF need eight to twelve hours, and fibre composites in a hot climate can take twelve to twenty-four. Desiccant alone works far more slowly, often weeks to months, so it suits storage rather than rescue.
Is a food dehydrator safe for drying filament?
Yes. A food dehydrator is steady, has better airflow than a kitchen oven, and usually holds a lower temperature more accurately. Choose the setting that matches your material, spread spools in a single layer with air around each one, and let the spools cool inside the switched-off unit before you transfer them to sealed storage.
Should filament be dried before every print?
Not for sealed, recently dried material, but yes for nylon, PVA, and PC, and for anything that has been sitting open in humid air. Dry filament keeps picking moisture up the moment you expose it, so many users on printing forums report drying even brand-new vacuum-sealed spools and seeing measurable improvement in layer adhesion and surface finish.
How do I tell whether PLA needs drying?
Look and listen. Wet PLA gives crackling and popping at the nozzle, shows bubbles and craters on the surface, strings heavily between features, and prints a blistered or lifting first layer. Bend a short length sharply: dry PLA snaps cleanly, while damp filament curves smoothly first. A ten-minute test print settles the question when the signs are ambiguous.
Conclusion
Start by identifying the material, then read its drying specification rather than any table you found online, including this one. Heat it with moving air in equipment you can measure, keep the chamber under the polymer’s glass transition temperature, and let it cool inside before you seal it.
For most people the whole how to dry 3D printer filament routine comes down to four to six hours at 40-55C for PLA in a food dehydrator or a low kitchen oven. Print a short test, then store the rest sealed with fresh desiccant, and check it again before the next job rather than after something goes wrong.