
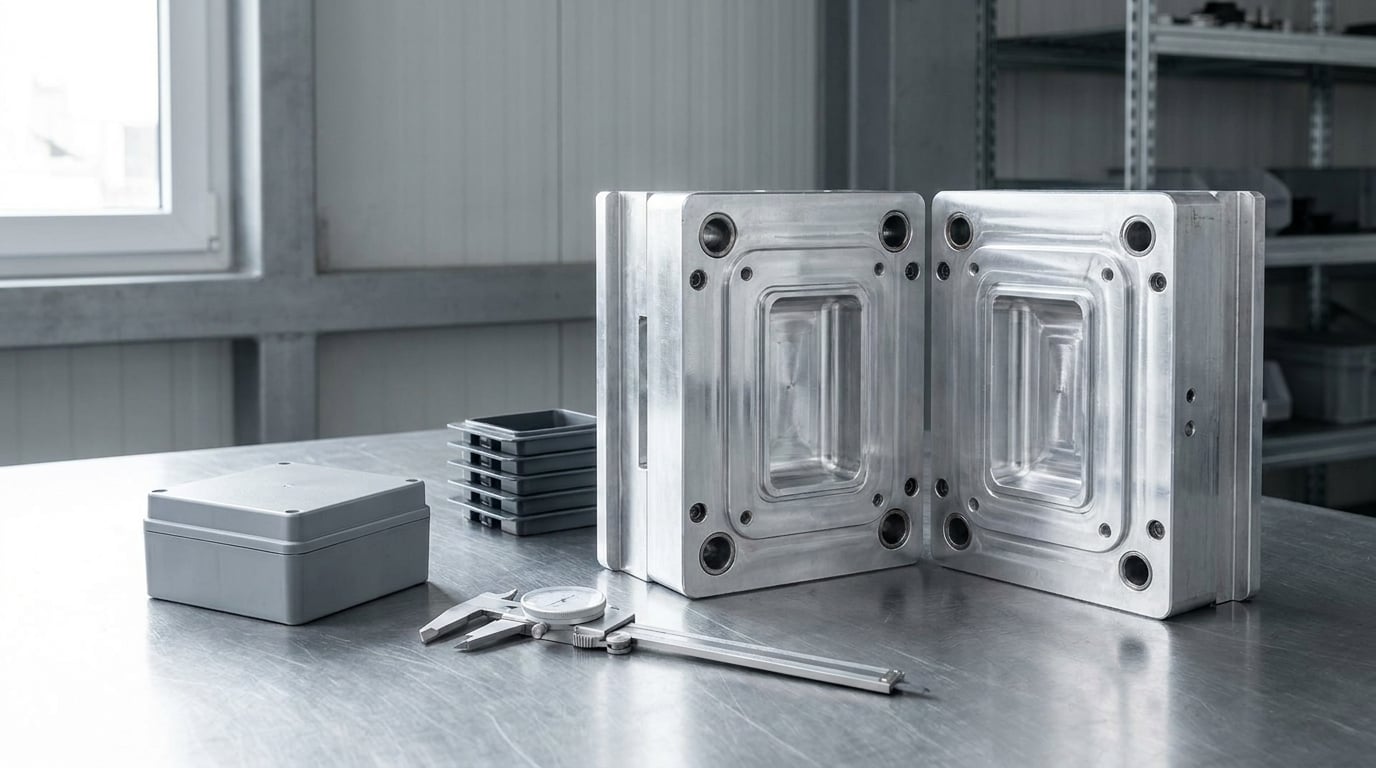
Bridge tooling explained for low volume production comes down to one idea: a real production-grade tool, built fast, for a defined and fairly small number of parts. You are not buying a disposable prototype and you are not committing to a hardened steel mold for the next decade. You are buying a middle option, and that middle option is where a lot of launches either get ahead or quietly stall.
This guide is aimed at the people who have to make that call: hardware startups, product engineers inside the prototype-to-launch window, buyers comparing supplier quotes, and plant managers covering obsolescence or a supply emergency. It covers what bridge tooling is, how accurate parts from it really are, when it makes sense, when it does not, and how to plan the move to production tooling later.
Table of Contents
- What Is Bridge Tooling?
- How Does Bridge Tooling Make Accurate Parts?
- When Is It the Right Choice for Low Volume Production?
- Bridge Tooling Explained for Low Volume Production: How It Works
- What Are the Main Advantages?
- What Are the Limitations and Risks?
- How Does Bridge Tooling Compare With Other Tooling Options?
- What Determines Bridge Tooling Cost and Lead Time?
- How Do You Move From Bridge Tooling to Production Tooling?
- What Questions to Ask a Bridge Tooling Supplier?
- Frequently Asked Questions
- Is bridge tooling suitable for high-volume production?
- How long does a bridge mold typically last?
- What tolerances can bridge tooling achieve?
- Can bridge tooling be used with the same resin as a production mold?
- When is bridge tooling cheaper than CNC machining or 3D printing?
- Should bridge tooling be designed for later conversion to production tooling?
- Conclusion
What Is Bridge Tooling?
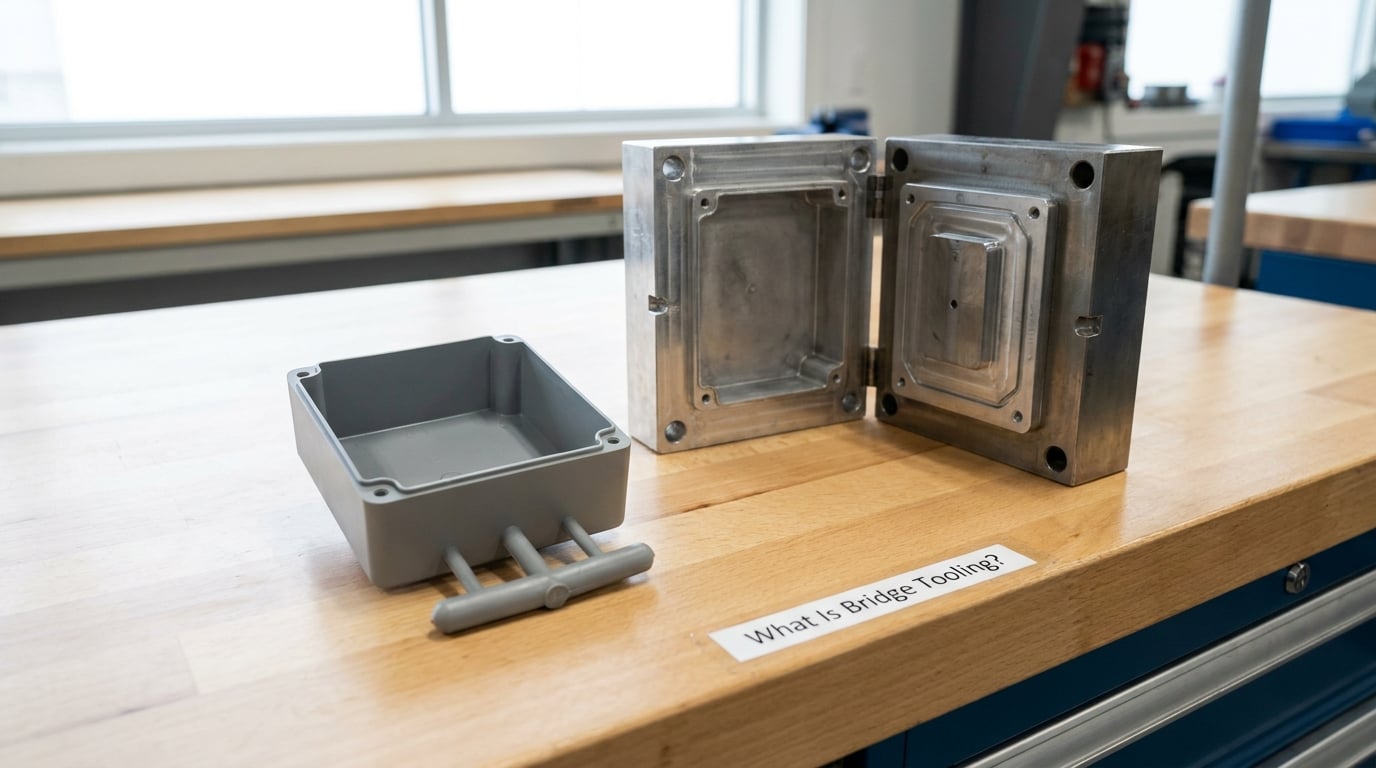
Bridge tooling is a short-run production tool, usually an aluminum, pre-hardened steel, or soft composite mold, built to make a limited number of parts in production-grade material during the gap between prototyping and full-scale mass production. It trades tool life and cost per part for speed, low upfront cost, and the freedom to change the design before you have sunk serious money into steel.
Five characteristics define it in practice:
- It is transitional. Bridge tooling has an end date. You buy it to get to a decision, not to run the product for years.
- It sits between prototyping and mass production. Parts come out in the real resin or metal, not a prototype substitute, so you can test form, fit, function, and customer reaction.
- Up-front cost is a fraction of production tooling. A single-cavity aluminum tool can often be machined and cut in a few weeks rather than the months a production mold takes.
- Lead time is the main selling point. Time to market is the cost most teams underestimate.
- Design changes are still cheap. An insert can be re-cut when the design moves, which is exactly what a production mold cannot offer.
One bit of terminology first, because supplier quotes get confusing fast. A tool is the tool. A mold is a tool. In North American usage a mold is a tool with one or more cavities; a cavity is the shaped space the part is formed in. A shot is one complete cycle: fill, cool, eject. When people say shot volume they usually mean the material volume of a single shot. Same process, different dialect.
How Does Bridge Tooling Make Accurate Parts?
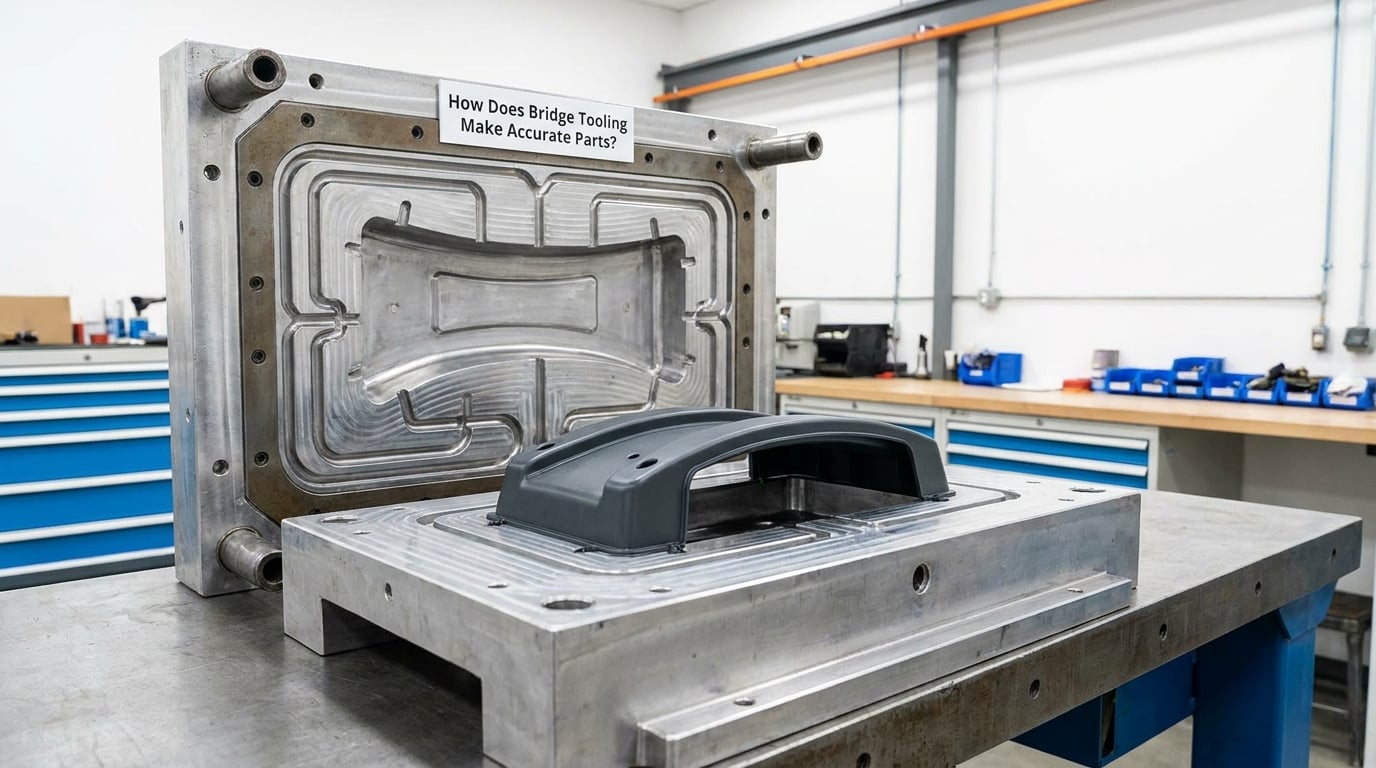
Accuracy in a bridge tool comes from how it is built, not from the material being soft. The cavity is machined from a solid block or a pre-hardened insert, finished to a controlled tolerance, and mounted in a standard mold base that handles alignment, guiding, and ejection. A published rapid tooling envelope of roughly 80 x 80 x 50 mm, with a straight parting line, edge, tab, or center gating, and no sliders or lifters, is a fair picture of what these tools are asked to do.
Mold flow analysis runs before machining. Fill pattern, weld lines, air traps, and shrinkage all get checked, and the gate is placed where the flow is kindest. Uniform wall thickness matters more than anything else, because a thick section and a thin section cool at different rates and the thick one shrinks more, which is the main reason parts warp or sink.
Two other things carry accuracy. Cooling channels routed through the cavity keep cycle time short and let the part reach a stable, repeatable temperature before ejection. And once cutting is done, the tool is trial-molded and measured against your drawing before anybody calls it good. A published cycle-life reference is the Plastics Industry Association mold class list, where Class 101 runs past a million cycles and Class 105 covers a few hundred. A bridge tool usually lives near the Class 104 to 105 end of that scale, which is precisely the point.
General-purpose thermoplastics typically hold a molded tolerance of about plus or minus 0.005 inch on critical features without extraordinary measures, and shrink between 0.3 and 2 percent depending on resin, wall thickness, and fiber content. Quote those numbers to your supplier for your material rather than assuming a universal figure.
When Is It the Right Choice for Low Volume Production?
Bridge tooling fits when you have a part that will ship in the hundreds to low thousands, a design you believe in but have not proven, and a schedule that will not wait for a production mold. It is the classic answer for a market launch before demand is known, a pre-approval build in medical or automotive, a design validation run, or a support build for obsolescence.
Low volume means different things in different industries. In consumer hardware, robotics, and medical devices, low volume often starts around 100 and runs to about 2,500. In automotive and industrial equipment a single model year can sit in that same range. Ask your supplier for the part-count ceiling they will put in writing, because published thresholds vary a lot and that variation is the single biggest source of bad quotes.
| Total part count | What it usually means | Route that fits | Typical tool life |
|---|---|---|---|
| 1 to 25 | Form, fit, and assembly checks | SLA or SLS print, soft urethane casting | Tool is the pattern or master itself |
| 25 to 250 | Functional testing, first article builds | CNC machined aluminum bridge tool | Ceiling often around 250 parts |
| 250 to 2,500 | Pilot production, market launch, pre-serial builds | Aluminum bridge tool or prototype insert tooling | Thousands of cycles, tool class dependent |
| 2,500 to 10,000 | Short-run production with some cushion | Insert-and-base construction in pre-hardened steel | Around 10,000 shots quoted; 50,000-plus on better inserts |
| 10,000 and above | Real production, tooling amortized over demand | Hardened steel production mold | 100,000 cycles and up, Class 101 to 103 |
The dividing line is not a single number. A quote threshold under about 2,500 parts for prototype tooling and a 10,000-shot ceiling for insert construction is a reasonable market convention, and a published vendor tiering of prototype tooling below 2,500 parts is consistent with it. What matters is that you ask for the ceiling in writing and hold the supplier to it.
Bridge Tooling Explained for Low Volume Production: How It Works
The workflow runs in six stages, and each one produces something you can check. A design review confirms the part has draft, uniform walls, a sensible parting line, and no undercuts that would force expensive side actions. Mold flow analysis then predicts fill, weld lines, and cooling before anyone cuts metal.
Tool fabrication comes next. The cavity is machined, either from an aluminum block or as a pre-hardened steel insert dropped into a standard mold base. An insert-and-base arrangement matters commercially because you own the base and can re-cut the insert when the design changes. Trial molding follows, and then validation: first article inspection, functional testing, and a written process sheet that records resin, temperatures, pressures, cycle time, and hold time.
Controlled production is the last stage, and it is where the process discipline earns its keep. Cycle time drifts as the tool warms up, cavity pressure shifts as wear develops, and part dimensions move with both. A measured shot count logged against each run tells you where you actually are.
How do you verify that a bridge tool can meet the part specification?
Four checks cover most of it. Ask for a first article report with actual measured dimensions on your critical features, not a generic certificate. Confirm the tool material and hardness in writing, since an aluminum tool and a pre-hardened steel insert have very different wear behavior. Watch a short run and record cycle time at start and end, because a growing cycle usually signals cooling problems or wear. And measure the same critical features again at the end of the planned run, then compare against what you are willing to ship. Verification only counts if the tool runs to its stated end of life, not just its first few shots.
What Are the Main Advantages?
The first advantage is schedule. A production steel mold is a months-long commitment with change orders attached; a bridge tool often arrives in weeks, which puts real parts in front of real customers sooner.
The second is risk. A design that has not met a customer does not deserve a production mold. Bridge tooling lets you prove demand first, and a small seller moving from printed brackets to molded ones is exactly the case where the decision pays for itself. Robotics hardware builders report that crossing roughly 100 pieces meaningfully drops the cost per enclosure, even while accepting a shorter tool life.
The third is process learning. You find out the real cycle time, the real shrink, and the real cosmetic behavior with the actual resin, not a guess. Buyers in the hobbyist and small-business communities are blunt about low-volume molding being a weird middle ground, and they are right: the value is in the answers you get, not the volume itself.
The fourth is control. You can produce a few hundred replacement parts years after launch, or cover a supply disruption, without a second large purchase. Practitioners use bridge and soft tooling deliberately for housings, jigs, and low-volume spares for that reason. The fifth is capital efficiency: a fraction of the up-front cost of production tooling, with the option to walk away.
Most teams find that bridge tooling explained for low volume production is really a scheduling and risk decision before it is a tooling decision. That framing changes the conversation with a supplier, because you are negotiating for a delivery date and a part-count ceiling, not for a bargain on steel.
What Are the Limitations and Risks?
Cost per part is the one that bites. Amortizing a small tool over a small number of parts makes each one expensive, and a published threshold of roughly 10,000 shots for insert construction is a real ceiling, not a target. Order more than the tool can make and the last parts get rushed.
Cycle time is usually slower than a production mold, because cooling and gating are not optimized the way they are in a hardened tool built for millions of cycles. Cosmetic consistency can suffer at higher shot counts, and gloss, weld lines, and gate vestige are harder to control.
Material constraints are real. Some soft and hybrid tools are resin-limited, and fibers and highly filled compounds accelerate wear. Dimensional accuracy holds well on primary features and drifts on tight secondary ones, and nothing holds a tolerance forever.
Part consolidation usually has to wait, because multi-cavity consolidation and sophisticated side actions are the first things cut to keep the tool cheap. Maintenance and changes during the run are costly, and if the design shifts mid-build you lose machining time, sometimes the tool. And there is a strategic risk: demand can grow faster than the plan, forcing the production tooling conversation sooner than expected. Treating bridge parts as production-validated is the mistake that bites hardest, particularly where a customer or regulator will look at the paperwork.
How Does Bridge Tooling Compare With Other Tooling Options?
Every route solves a different problem, and the honest answer usually involves combining two of them. Here is the comparison most buyers actually need.
| Route | Up-front cost | Lead time | Repeatability | Materials | Typical accuracy | Fits best up to |
|---|---|---|---|---|---|---|
| Bridge tooling (aluminum or pre-hardened steel) | Low to moderate | Weeks | Good, holds across the run | Production resins and metals | General molding tolerance | A few thousand parts |
| Rapid prototyping (3D printing) | Very low | Days | Low between parts | Limited to what the process supports | Moderate, layer lines | A few parts, fit checks |
| Soft tooling (urethane, cast polymer) | Low | One to two weeks | Fair | Polyurethane, soft metals | Lower than molding | Tens of parts, appearance models |
| Production steel or aluminum tooling | High | Months | Excellent, millions of cycles | Full material range | Tightest achievable | Tens of thousands and up |
| CNC machining | None, per part | Days per batch | Excellent within a batch | Metals and engineering plastics | Tightest of any route | Dozens to low hundreds |
| 3D printing for production-scale features | None, per part | Days per batch | Good with careful orientation | Nylon, TPU, resins | Varies widely by process | Low hundreds on simple geometry |
One terminology trap worth naming: bridge tooling, rapid tooling, soft tooling, pilot production, and pre-production run are used interchangeably by different suppliers, and that is why two quotes for the same part can be impossible to compare. Ask each shop which tool material, which class ceiling, and which part count they are pricing.
What Determines Bridge Tooling Cost and Lead Time?
Most of the variation between quotes comes from a short list of variables. Cavity count is the biggest single lever: every extra cavity multiplies machining, and a single cavity is normal for bridge work. Tool size follows, then tool material, where aluminum cuts fast and cheap and pre-hardened steel lasts longer. Cooling complexity, the machining tolerance you demand, the surface finish on a visible face, inserts or lifter features, and the amount of validation and first article reporting all move the number.
Quotes for bridge tooling explained for low volume production can sit far apart, and the gap is rarely about how good the shop is. It is almost always cavity count, tool material, and how much machining the buyer assumed was included.
Getting the numbers into a usable shape means separating what you pay once from what you pay per part.
| Driver | Effect on up-front tool cost | Effect on cost per part |
|---|---|---|
| Cavity count and tool size | Large, scales with machining hours | Small once the run is fixed |
| Tool material and hardness | Moderate to large | Indirect, through tool life |
| Cooling and gating design | Large on machining time | Large, through cycle time |
| Tolerance and surface finish | Moderate | Moderate, through scrap rate |
| Validation and first article | Small to moderate | None, but it prevents rework |
| Volume, resin choice, and press time | None | Dominant, at the margin |
The practical consequence: optimize cycle time and part count harder than tool price. A cheaper tool that runs a slow cycle and yields a 12 percent scrap rate loses to a slightly dearer tool that runs fast and holds its dimensions, and nobody can tell you that from the quote alone.
How Do You Move From Bridge Tooling to Production Tooling?
Plan the cut-over while the bridge tool is still running. Five steps cover it well.
- Log everything from day one. Shot count, cycle time, cavity pressure, and part dimensions against cycle. This data is the argument for moving, and it is worthless if you reconstruct it from memory.
- Use the wear pattern as a design review input. Flash at the parting line, or a drifting critical dimension, points at the geometry that will also limit a production mold.
- Revisit manufacturability. Bring the part back to your molder for a design for manufacturability review and a fresh mold flow run before the steel is committed.
- Forecast honestly. Bridge run consumption, quote history, and customer commitments give a far better demand picture than a prototype ever did. That is the real return on the tool.
- Decide on economics, and reuse the base. Compare the per-part cost of the bridge tool at your forecast volume against the amortized production tool. If you owned the mold base in the insert arrangement, ask whether it can carry the new production insert, which removes a large cost from the second purchase.
What Questions to Ask a Bridge Tooling Supplier?
Send the same list to every shop so the answers line up. Practitioners in the low-volume molding community consistently flag the same deal breakers, and they are all written specifications.
- What is the tool base and insert material, and what hardness should I expect?
- What is the stated cycle life or shot ceiling, and what part count does the quote cover?
- What size envelope and geometry limits apply, including whether side actions or lifters are excluded?
- What lead time is committed, and how is it broken down between machining and trial molding?
- Will you run mold flow analysis, and is a design for manufacturability review included before cutting?
- What does the first article report contain, in measured dimensions on my critical features?
- Who owns the mold base and the inserts, and can the inserts be re-cut if the design changes?
- How do you handle design changes mid-build, and what is the change-control path afterward?
- How is my intellectual property protected in the tool and the data?
- What transition support exists when I am ready for production tooling, and can you quote it?
A supplier unwilling to state tool life, cavity count, or material in writing is telling you something useful. So is a quote far below what the work can physically cost.
Frequently Asked Questions
Is bridge tooling suitable for high-volume production?
No. Bridge tooling is built for a defined, modest part count, and its per-part cost climbs as the run grows. Suppliers typically cap insert construction at around 10,000 shots, and rapid aluminum tools are often limited to a few hundred parts. Above roughly 10,000 parts a hardened steel production mold amortizes far better and holds tighter tolerances for longer.
How long does a bridge mold typically last?
It depends on the tool class and the material. On the Plastics Industry Association class scale, bridge tools sit near the Class 104 to 105 end, which covers thousands of cycles rather than the million-plus of a Class 101 production mold. Published vendor figures range from a few hundred parts for an aluminum rapid tool to about 10,000 shots for pre-hardened steel inserts, with better inserts rated at 50,000-plus.
What tolerances can bridge tooling achieve?
A machine-finished cavity in a bridge tool holds roughly plus or minus 0.005 inch on critical features with a well-controlled process, which is close to general-purpose molding tolerance. Tight secondary features and cosmetic surfaces drift more, and the drift grows with shot count as the tool wears. Give your supplier the actual material and feature map so the quote reflects your drawing rather than a generic tolerance.
Can bridge tooling be used with the same resin as a production mold?
Usually yes, and using the production resin is one of the main reasons to choose molding over printing. Exceptions are soft and hybrid tools, which are limited to particular resin families, and highly filled or fiber-reinforced compounds, which wear an aluminum cavity faster. Ask for the supported material list in writing before the design is frozen.
When is bridge tooling cheaper than CNC machining or 3D printing?
Break-even is about setup amortization. Machining and printing charge you per part, so they win at small counts. Once you need a few hundred identical parts in the real material, a bridge tool spreads its setup across the run and usually wins, especially when scrap, finish, and labor are counted. A published robotics example puts the crossover near 100 pieces for molded enclosures.
Should bridge tooling be designed for later conversion to production tooling?
Yes, and it is the cheapest insurance you can buy. Keep the geometry as production-friendly as you can: draft, uniform wall thickness, a simple parting line, no undercut side actions. If you use an insert-and-base arrangement you may be able to reuse the mold base in the next step, which removes a large part of the second purchase. Confirm the base is reusable when you place the first order.
Conclusion
Bridge tooling is the right call when the part is settled enough to mold, the run is in the hundreds or low thousands, and demand is not yet proven. It is the wrong call when the volume is real, the geometry needs side actions, or cosmetic surfaces are the whole product.
Start by freezing the part specification, confirming your volume and material assumptions in writing, and asking each supplier for a capability and lifecycle-cost review that states tool life, cavity count, and part-count ceiling. That single document tells you more than any amount of marketing copy, and it is what makes the next step to production tooling an obvious decision rather than a fresh argument.