
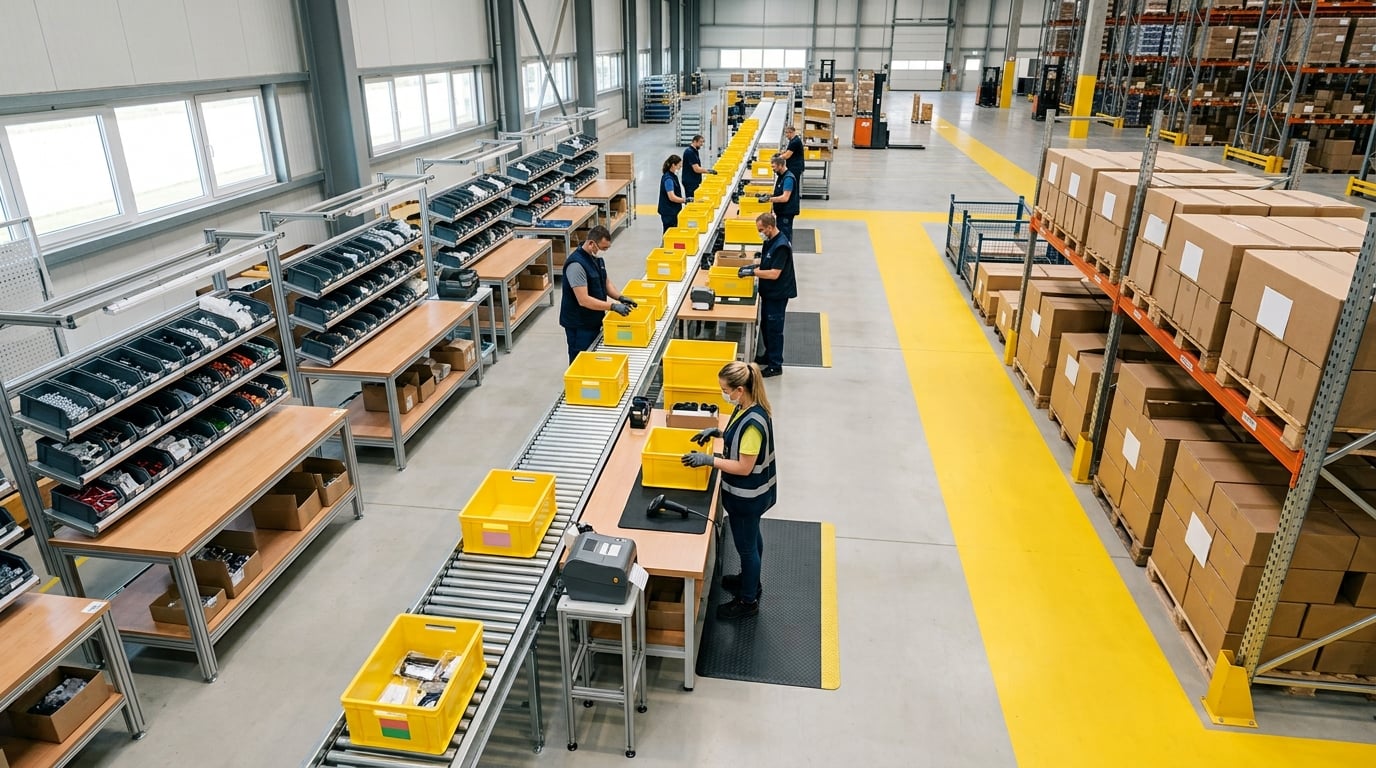
To set up a kitting line in a warehouse, you define the kit and its bill of materials, lay out a station flow running from staging to dispatch, buy benches, carts, scanners and labels, write the work instructions, staff and train the line, then run a controlled pilot before you scale. A realistic timeline is 90 days, and the work is more process design than construction.
A kitting line is a dedicated work area where component SKUs are picked from staging, assembled into a defined set, verified, labeled, and staged for dispatch under one parent kit SKU. That last part matters more than it sounds. Without a single kit SKU in your system, a kitted order is still eight picks and eight chances to be wrong at pack-out.
Warehouse operators, 3PLs, e-commerce brands with subscription or bundle programs, and field-service distributors all end up in the same place: kitting cuts travel, cuts pick errors, and moves quality checks upstream to the bench. This guide walks the whole setup, including the parts most guides skip — takt time, travel distance, headcount, and what to do when a kit BOM changes mid-rollout.
Table of Contents
- What You Need
- Step-by-Step: How to Set Up a Kitting Line in a Warehouse
- 1. Define the kit, order profile, and success criteria
- 2. Map the process and choose the operating model
- 3. Design the warehouse layout and flow
- 4. Select equipment, storage, and material-handling tools
- 5. Create standardized work instructions and controls
- 6. Staff the line and establish roles
- 7. Pilot, validate, and launch the kitting line
- 8. Monitor and improve performance
- Common Mistakes
- Frequently Asked Questions
What You Need
You cannot design the line until you know what flows through it. Pull the last 90 days of order data and the current SKU master before you draw anything, because a kitting line built around a guess ends up re-laid-out twice.
Order and SKU data. Kit SKU candidates with component lists, average order volume by kit, peak-week multipliers, and which components are shared across kits. Shared components drive the replenishment design more than anything else on this list.
A layout with real dimensions. Measured square footage, aisle widths, ceiling height, dock proximity, and marked pedestrian paths. Confirm sprinkler clearance and required egress widths with your local authority before you plan station spacing.
Equipment and materials. Work tables at a height your tallest and shortest operators can both use, picking carts, totes, small-part bins, a barcode scanner per station, a label printer, a scale for shipping-weight checks, and staging racks sized to hold a full shift of completed kits.
Labor roles. Someone who owns the process, a lead operator per shift, a backup for every role, and a trainer. Cross-training matters because kitting volume usually spikes before holidays, and a single-operator dependency will cap your growth.
Safety and quality procedures. Written handling rules for heavy components, a scan-verification rule, an exception path for missing or damaged parts, and a rework procedure. Your quality team needs a written kit acceptance standard before the pilot, not after the first customer complaint.
Baseline targets. Current pick accuracy, average pick rate, and current order cycle time. Without a baseline you cannot prove the line helped, and the doubt will resurface every budget cycle.
Step-by-Step: How to Set Up a Kitting Line in a Warehouse
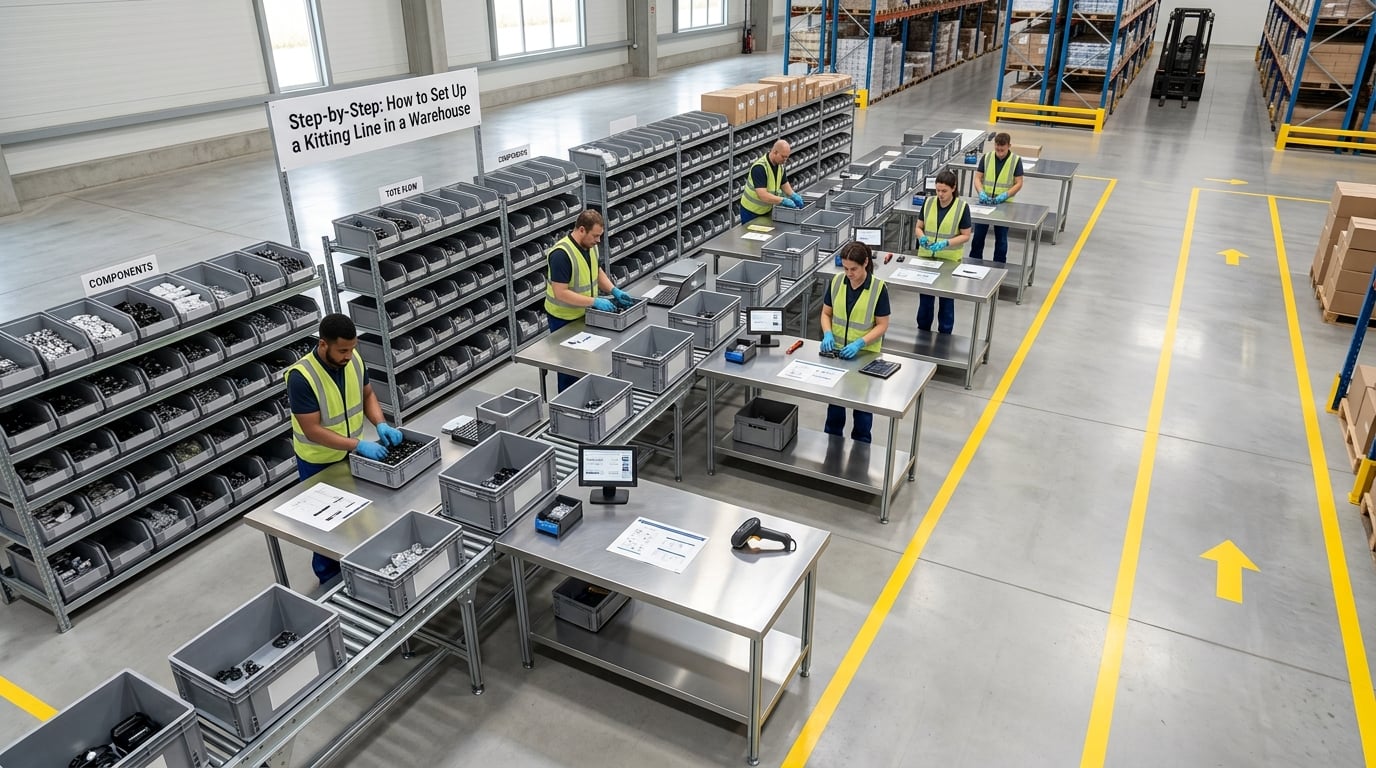
1. Define the kit, order profile, and success criteria
Start by documenting every kit you intend to build: component SKUs, quantities, pack-out rules, and which orders or customers consume it. Then set a measurable target for each — kit accuracy, kits per labor hour, and order cycle time — using your current numbers as the baseline. Buying equipment before this document exists is the single most expensive mistake in kitting setup.
Two questions decide how much line you need. First, how many kits must leave the building on the busiest day of the year, not the average day. Second, how many component lines does each kit carries. A kit with four components and a kit with thirty are different problems, and mixing them on one line is where queues form.
Constrain your component math early. The sellable quantity of a kit is set by its scarcest component: 50 paddles, 50 balls and four cases of a fourth item gives you four kits, no matter how much the other three components suggest. Teams that skip this step promise availability they cannot build and find out at pack time.
2. Map the process and choose the operating model
Kitting, bundling and assembly sound alike and behave very differently on a floor. Kitting groups separate stock items into a set, bundling simply ties existing SKUs together, and assembly physically transforms parts into a finished good. Choose the process that matches your order data, then design the line around it.
| Term | What it means | When it is built | Primary goal |
|---|---|---|---|
| Kitting | Separate component SKUs are gathered into a defined set under one kit SKU | After the order exists, or ahead of demand into a finished-kit buffer | Cut picks, travel and shipping cost per order |
| Bundling | Already-sellable units are grouped and packaged together | At pack-out, from picked inventory | Presentation and order-size growth |
| Assembly | Parts are joined or transformed into a new finished good | During production, before it becomes sellable inventory | Convert component SKUs into a sellable unit |
Your operating model is a second decision. A sequential line sends each kit down every station, which keeps quality high but fixes your maximum rate. Parallel cells duplicate stations so several kits are built at once, which suits high volume and simple kits. Replenishment-led kitting builds kits to refill forward pick locations rather than to fill a single order, which is the right model when most kitted demand comes from your own pickers.
One more sizing tool is worth naming. Takt time is the interval at which you must complete one kit to hit your required daily output, calculated by dividing available shift minutes by required kits. If your observed build time per kit is longer than takt, the line is undersized no matter how good the layout looks.
3. Design the warehouse layout and flow
Design the layout so product travels one direction and never crosses a pedestrian path. The standard sequence is receive, stage, pick, build, quality check, label, buffer, then dispatch, with each zone physically separate and clearly labeled on the floor. One-way flow is what keeps the line fast, and crossed traffic is what quietly destroys it.
Measure travel distance between the pick face and the build station. A picker walking more than about a hundred feet per round trip will dominate your cycle time regardless of how well the bench is arranged. If the pick face is far, stage components into totes on a replenishment route rather than sending the picker back and forth.
Aisle and station details decide whether the line is comfortable to staff for a full shift. Work surfaces should sit near elbow height with the heaviest items closest to the body, and carts should roll under the bench so nothing is lifted overhead. Keep a marked walkway for foot traffic and for the QC inspector, who should be able to reach the line without crossing the build path.
4. Select equipment, storage, and material-handling tools
Most lines do not need a conveyor to start. A bench build with staged totes beats a poorly engineered conveyor every time, and a conveyor only pays off once kit volume and takt justify it. Match what you buy to kit size, daily volume and how much variability your order mix carries.
| Kit profile | Core equipment | Material handling | Verification |
|---|---|---|---|
| Low volume, many kit types | Height-adjustable benches, small-part bins, one label printer | Hand carts and tote staging | Handheld scanner with kit-build transaction |
| Medium volume, stable kit mix | Dedicated kitting stations, per-kit bin locations, print-and-apply | Pick-to-cart with fixed cart lanes | Scan at each component plus a closing count |
| High volume, few kit types | Fixed line with conveyor or accumulation table, put-to-light | Powered conveyor and return loop | Light-directed picking with a final audit |
| Multi-client 3PL | Client-dedicated zones, segregated bin locations and carts | Color-coded totes per client | Client code on every label and scan |
Skip the kit SKU question until components are on hand. Kits need somewhere to wait that is not a floor stack: reserve staging racks that hold a full shift of finished kits, and keep them out of the aisle. Pallets, carton sealing, and a scale for weight-based rating round out the list, along with a bin for quarantined kits that fail inspection.
5. Create standardized work instructions and controls
Standard work is what makes kitting repeatable across shifts and across temp hires. Every station needs a one-page instruction: the kit or kits built there, component locations, the scan point, expected cycle time, and what to do when something is missing. If a station has no page on the wall, it is running on memory, and memory fails on the night shift.
Controls should make errors visible rather than rare. Scan every component into the kit-build transaction so the system knows what was actually placed, print a kit map or work card showing bin positions in the order they are used, and set up exception codes for short, damaged, or substituted parts that route to a supervisor instead of a workaround. Version your kit SKU the day contents change, and retire the old version rather than editing it in place, or your QA history will describe a kit you no longer build.
Two details get skipped and should not. Label the build station with the kit version, and keep a documented count sheet at the closing station. Practitioners treat scan verification as non-negotiable once volume passes what manual spot checks can cover.
6. Staff the line and establish roles
Staff from cycle time, not from headcount habits. Take your observed seconds per kit per station, multiply by expected daily kits, and divide by available shift minutes to get the operators you need, then add one floater for breaks and replenishment. For most mid-sized operations, kitting runs two operators per build station plus a dedicated QC and label station and a picker per zone.
Define the roles on paper. The lead owns the shift output, the exception log and the handoff; operators own kit completeness against the BOM; a QC person owns acceptance and quarantine; a replenisher owns component availability at the station. Cross-train every role on the line so a single absence does not stop the shift.
Skills for kitting are narrower than people expect and more discipline-heavy than people admit. Operators need to read a BOM, identify parts reliably, hold scan discipline on every pick, work within ergonomic limits, and complete documentation without skipping steps. Reddit warehouse threads about picking fast without losing accuracy keep circling the same point: accuracy drops fastest exactly when someone is pushed for speed, and in a kit one missed component voids the whole unit.
Write a shift handoff note covering open exceptions, component shortages and the kits in the buffer. Then hold a five-minute handoff out loud. It costs little and it removes the most common cause of a slow first hour.
7. Pilot, validate, and launch the kitting line
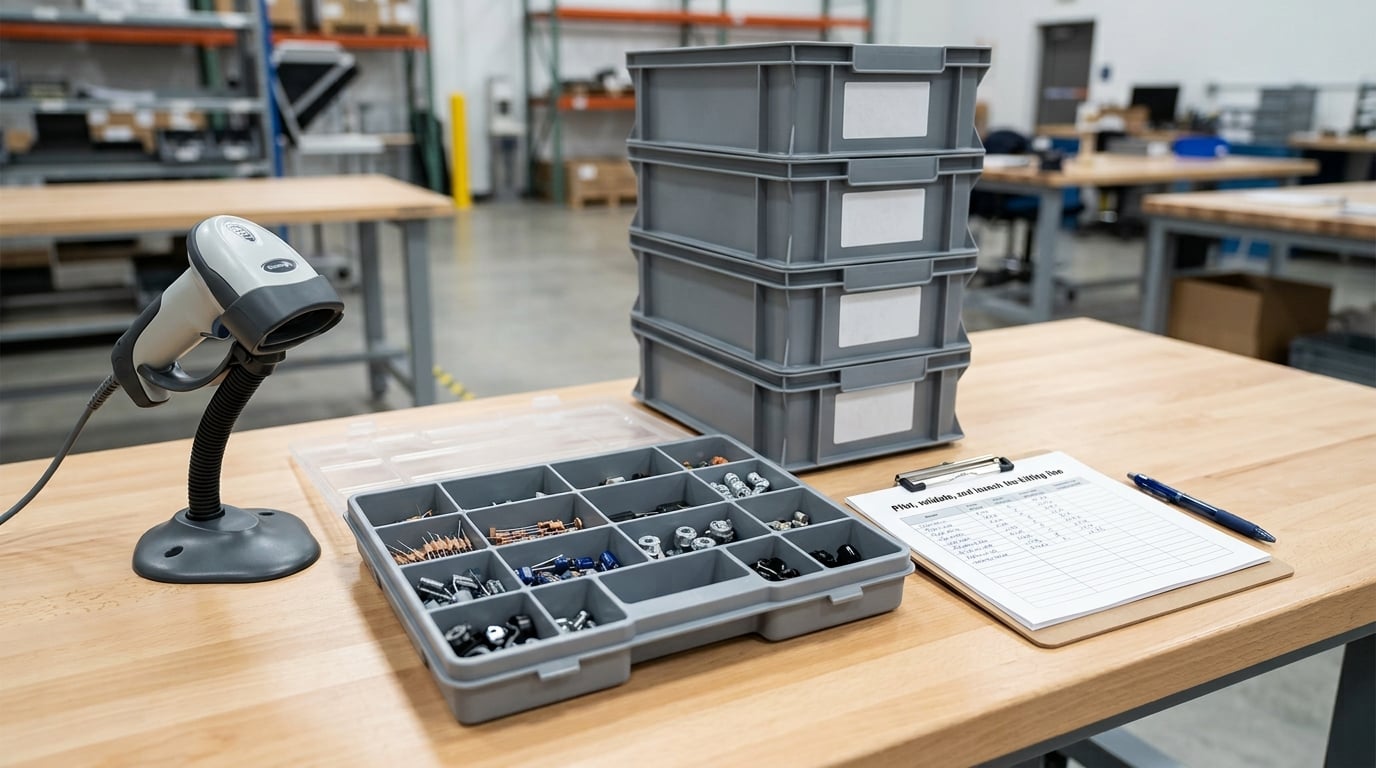
Pilot on a limited SKU set for two to four weeks before committing the whole order book. Pick three to five kits that cover your range of complexity, run them on the line at realistic volume, and audit finished kits daily against the BOM. Track defects by cause so you fix the process rather than the operator.
A day-45 pilot gate keeps the rollout honest. If kit accuracy and cycle time are not at target by then, pause the next phase and fix the line rather than scaling a known problem. A two-to-four week pilot on a limited SKU set is the pattern practitioners describe, and realistic timelines build more trust than instant-return promises.
| Phase | Timing | Owner | Exit criteria |
|---|---|---|---|
| Data, kit selection and targets | Weeks 1-3 | Operations lead | Kit list, volumes and KPI targets signed off |
| Layout, utilities and equipment | Weeks 4-8 | Facilities and maintenance | Stations installed, aisles marked, safety walk-through done |
| Work instructions, WMS configuration, training | Weeks 7-11 | Systems and trainer | Kit-build transaction live, operators certified |
| Pilot on limited kit set | Weeks 10-13 | Line lead | Day-45 gate: accuracy and cycle time at target |
| Ramp to full order book | Weeks 14-18 | Operations manager | Full kit list live, daily audit reporting in place |
| Optimize and stabilize | Ongoing | Continuous improvement | KPI review cadence established |
8. Monitor and improve performance
Track kit accuracy separately from pick accuracy. Pick accuracy covers correct selection from a location; kit accuracy covers correct assembly of the full set. Conflating them is a common reporting error, and it hides the failures that matter most, since a kit with one wrong component is worthless.
| Metric | What it tells you | Direction of travel |
|---|---|---|
| Kit accuracy | Percent of completed kits matching the BOM exactly | Up |
| Kits per labor hour | Line productivity against the staffing model | Up |
| Pick-to-kit cycle time | Order entry to a finished, labeled kit | Down |
| On-time kit completion | Kits finished before the dispatch cutoff | Up |
| Component days of supply | How long the constraining component lasts | Balanced |
| Scrap and rework rate | Kits unwrapped, re-verified and repacked | Down |
| Space utilization | Kits per square foot in the buffer and staging | Up |
Run these weekly at first, then settle into a per-shift review of the two that move fastest. When a number drops, walk the exceptions rather than the operators. Most causes are narrow: a bin label that got covered, a replenishment route that runs late, or a component that is short and being substituted informally.
Automate only after the manual line is stable. Put-to-light and fixed-line conveyor systems pay off when kits are few in number, high in volume and low in variability. If your kit mix changes weekly, better replenishment and scan discipline will beat new equipment for a long time.
Common Mistakes
Buying equipment before defining the process. A conveyor feeding an undefined sequence just moves the confusion faster. Write the BOM, the volume assumptions and the targets first, and let them dictate the equipment.
Crossed flow and long pick paths. If pickers cross the build path, pick up an empty and return through the station, your cycle time is set by walking. Fix the layout before you add a second station to work around it.
Weak or outdated labeling. A covered bin label on a component that also appears in four other kits is the classic source of the mix-up. Relabel on a schedule and audit labels during cycle counts, not only when someone flags a problem.
Unrealistic labor assumptions. Standard times set before anyone builds a kit are guesses. Time a real operator for a full shift, then set the standard from that data. Teams that skip this discover the shortfall in week three and re-plan the entire line.
Skipping the pilot. Going straight to the full order book turns every defect into a customer issue. A limited pilot exposes process problems in a controlled setting, where fixing them costs hours instead of returns.
Editing kit BOMs in place. A kit version that changes without a new version number makes your QA history meaningless and leaves old inventory in circulation. Create a new version and retire the old one.
Sharing components across clients without separation. Multi-client 3PL operations need per-client component tracking and physically segregated bins, carts and labels, or client A’s parts end up in client B’s kits. That failure mode is called out repeatedly in practitioner discussions and it is expensive.
Two habits keep the line honest once it is live. Audit a random sample of finished kits daily for the first month, and keep a short exception log that anyone can read. Operators tell you where the process breaks faster than any report does, and a log turns that into something you can fix.
Frequently Asked Questions
How long does it take to set up a kitting line?
Plan on about 90 days from first data pull to a line running the full order book. Data and kit selection take roughly three weeks, layout and equipment another four to five, and work instructions plus system configuration overlap that work. A two-to-four week pilot sits at the midpoint, with a gate at day 45 where accuracy and cycle time either pass or the rollout pauses.
How many workers do you need for a kitting line?
Most operations run two operators per build station, plus one picker per staging zone and a shared quality and label position. Calculate it from data instead: take your observed seconds per kit, multiply by expected daily kits, and divide by available shift minutes. Add roughly one floater per shift for breaks and replenishment before you commit to a headcount.
What equipment is needed for warehouse kitting?
Start with height-adjustable work benches, picking carts, labeled totes and small-part bins, a handheld scanner at each station, a label printer, a scale, and staging racks that hold a full shift of finished kits. Conveyors, put-to-light and accumulation tables only earn their place once kit types are few, volume is high and the mix is stable.
What skills are needed for kitting?
Operators need to read a bill of materials, identify parts reliably, scan every component into the kit-build transaction, work inside ergonomic limits and complete documentation without shortcuts. Speed matters less than most job ads suggest. In practice, the operators who do best are the ones who stay disciplined on scanning when the shift gets busy.
What is a kit SKU?
A kit SKU is a parent inventory record that represents a complete set rather than a physical item you can put on a shelf. It holds the bill of materials listing every component SKU and quantity, and it carries the kit’s own inventory balance once built. With a kit SKU active, a kitted order becomes one pick and one scan instead of a dozen.
Does kitting reduce shipping costs?
It often does, and the saving comes from three places. Fewer parcels leave the building because multi-line orders collapse into one, packing material drops because you ship a box instead of several boxes, and combined orders can qualify for better parcel rates. Weight-based and dimensional surcharges also fall out, since components travel in a tighter carton than they would separately.
Start with the first step and resist the pull toward equipment. Pull the order data, pick three kits that cover your range of complexity, and document their components and daily volume. Everything after that — layout, benches, scanners, headcount, the rollout calendar — follows from that document, and skipping it is what turns a kitting project into a relaid-out warehouse.