
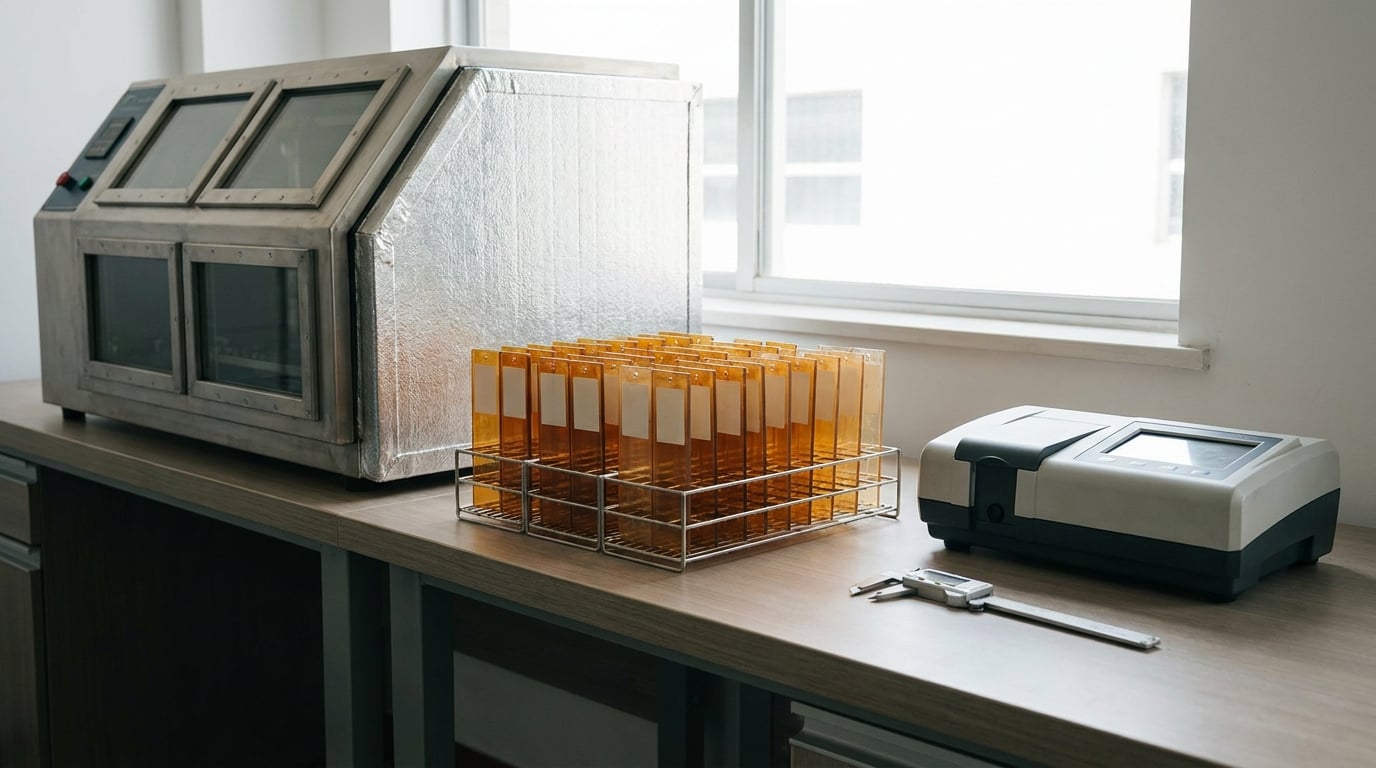
Accelerated aging tests for plastic products expose molded parts and material samples to intensified versions of the stresses they meet in service, so months of UV light, heat, moisture and temperature swings happen in weeks. You choose the stressors, hold them steady in a chamber, then measure what changed in color, gloss and mechanical performance against a written limit. The catch is simple and worth stating early: no chamber converts hours into years of outdoor life.
This guide walks through how these programmes are planned, which standards apply, how specimens are handled, how failures get investigated, and what the results can and cannot prove. It is written for engineers and quality managers specifying a test, and for buyers who need to ask a supplier the right questions.
All standard references below were checked against the issuing bodies’ published scopes, and this guide was updated for 2026.
Table of Contents
- What Are Accelerated Aging Tests for Plastic Products?
- How Accelerated Aging Tests for Plastic Products Work
- Which Standards and Test Methods Apply?
- How Do You Choose the Right Test Conditions?
- What Specimens and Measurements Should You Use?
- How Are Test Failures Investigated and Reported?
- Why Can’t Accelerated Test Results Predict Service Life Directly?
- Frequently Asked Questions
- How long should an accelerated aging test for plastic products last?
- Is heat aging alone enough to determine a plastic product’s durability?
- What is the difference between accelerated weathering and accelerated aging?
- What failure criteria should be used for an accelerated aging test?
- Is a laboratory test report enough to qualify a plastic product?
- Conclusion
What Are Accelerated Aging Tests for Plastic Products?
Accelerated aging testing is a laboratory practice that compresses months or years of real-world degradation into days or weeks of controlled exposure, so a plastic product’s durability can be measured before it reaches the market. Rather than waiting for a part to fade on a rooftop for two summers, a chamber reproduces the environment in a compressed form and you watch the failure arrive on schedule.
Three objectives get mixed together constantly, and keeping them apart makes the results easier to defend:
- Screening compares formulations, colours, stabiliser packages or suppliers against each other. It ranks options; it does not certify anything.
- Qualification checks a product against a written specification or a customer requirement, usually to a named standard.
- Service-life investigation tries to connect laboratory change to real field performance. This is the hardest goal, and the one most often claimed without the evidence to support it.
Real-world weathering is a different thing entirely. Outdoor exposure sites, where racks of material sit at a fixed latitude facing south, generate authentic data over months to years. They are slow, expensive in time, and they cannot be controlled, which is exactly why chambers exist.
Ordinary durability testing, meanwhile, mostly means mechanical tests at a single temperature: tensile, impact, flexural. Accelerated aging adds time as a variable, exposing samples to a sequence of environmental stresses so that long-term degradation becomes observable in weeks.
How Accelerated Aging Tests for Plastic Products Work
A reproducible programme follows six steps in order, and skipping any one of them is what makes reports indefensible later. Here is the sequence most qualified labs work to.
- Define the service environment and the failure mode. Outdoor sun, behind glass, an engine bay, a hot shelf, a chemical bath: each points at a different stress and a different property you care about.
- Select the stresses and exposure levels. Pick the stressors, then fix irradiance, temperature, humidity, cycle sequence and endpoint before any sample goes in.
- Prepare and condition specimens. Cut, machine or mould to the standard’s dimensions, then condition at a defined temperature and humidity so every sample starts from a known state.
- Verify the apparatus. Calibrate irradiance at the specimen plane, check temperature sensors, and confirm the light source and filters against the method.
- Run the exposure and inspect at intervals. Interim inspections catch failures early, but every handling event is also a chance to damage the specimen.
- Condition, measure and report. Re-condition to a standard state before measurement, evaluate against acceptance criteria, and record everything needed to repeat the run.
Which Environmental Stresses Are Commonly Simulated?
Each stress accelerates a different degradation mechanism, so the right one depends on what you expect to break. The table below maps the common stressors to what they reveal and the property change that usually shows it first.
| Stress | What it simulates | Property change it may reveal |
|---|---|---|
| UV radiation | Sunlight through atmosphere or filtered daylight behind glass | Colour fade, yellowing, chalking, surface cracking |
| Heat | Near a heat source, an engine bay, a hot storage shelf | Thermal oxidation, embrittlement, dimensional drift |
| Humidity and condensation | Damp air, overnight dew, condensation cycles | Moisture uptake, loss of mechanical strength, coating adhesion loss |
| Water spray | Rain, washing, pressure washing | Ingress-related effects, surface contamination retention |
| Thermal cycling | Day-to-night swings, hot and cold service conditions | Warpage, stress cracking at welds and gates |
| Freeze-thaw | Outdoor winter cycling below and above freezing | Microcracking, delamination, seal failure |
| Chemical exposure | Cleaning agents, fuels, oils, sterilants, sweat, salt | Swelling, surface attack, property loss |
| Combined sequences | Real weather, which never delivers one stressor at a time | Failures that single-stage testing never reaches |
Combined programmes are where most of the value sits for real products. A sequence of UV exposure followed by heat aging reveals damage that neither stage shows alone, because surface oxidation from the first stage feeds the thermal stage. Salt mist cyclic testing, which cycles salt fog with humidity and drying rather than spraying continuously, is the same idea in the corrosion world.
Which Standards and Test Methods Apply?
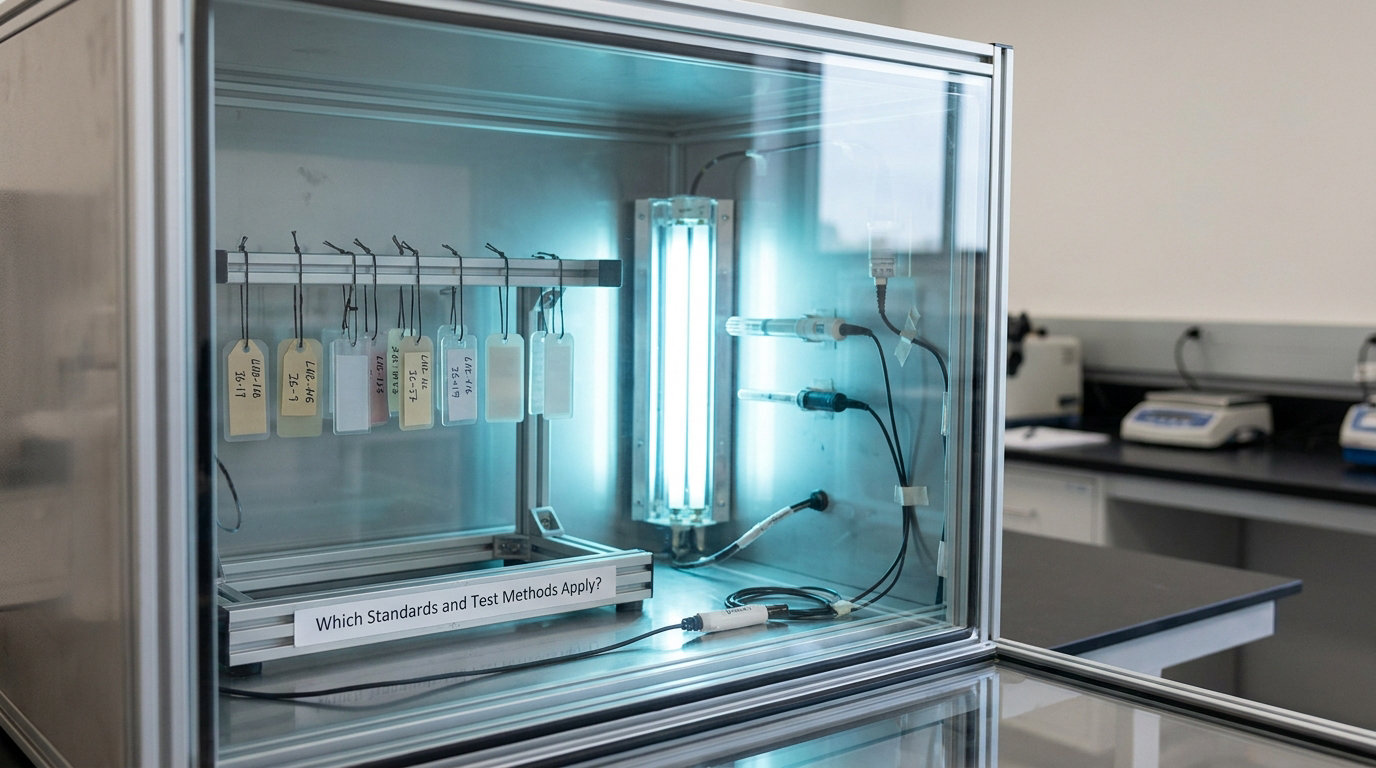
There is no single “accelerated aging” standard; there is a set of them, each written for a material, an application and a claim. Choose the one that matches the product’s service environment, the industry you sell into and the wording of the claim you need to support, then cite it with its edition year.
| Standard | What it covers | Typical use |
|---|---|---|
| ASTM G154 | Fluorescent UV exposure of non-metallic materials | Screening plastics, coatings and elastomers under UVA or UVB lamps |
| ASTM G155 | Weathering by xenon arc exposure | Outdoor durability work on plastics, coatings and assemblies |
| ASTM D3045 | Heat aging of plastics without load | Thermal stability, embrittlement and retention screening |
| ASTM D4329 | Outdoor accelerated weathering of plastics with concentrated sunlight | Natural-sunlight programs for plastic products |
| ASTM F1980 | Accelerated aging of sterile medical materials and barrier systems | Shelf-life studies for sterile packaging and devices |
| ISO 4892-2 | Xenon arc lamps with daylight filters | International counterpart to xenon work |
| ISO 4892-3 | Fluorescent UV lamps | International fluorescent UV exposure of plastics |
| ISO 188 | Heat aging of plastics in the absence of load | Thermal ageing across material families |
| IEC 60068-2-18 | Test Uv: solar radiation simulating test | Electrical and electronic equipment durability |
| IEC 60068-2-52 | Cyclic salt mist | Corrosion and coating performance |
| ASTM D2244 | Instrumental colour measurement | Evaluating colour change after exposure |
| ASTM D523 / D668 | Specular gloss measurement | Gloss retention evaluation |
Two mix-ups come up repeatedly. ASTM G155 and ISO 4892-2 describe similar apparatus but are not interchangeable documents, and citing the wrong edition is a common reason a customer rejects a report. Similarly, a customer who writes “UV test” on a purchase order has not specified a lamp, a filter, a cycle or an irradiance, so a lab can return a defensible result that answers a question nobody asked.
How Do You Choose the Right Test Conditions?
Right test conditions come from the product, not from a generic recipe. Work through these six variables in order and the settings fall out on their own.
Start from service life and environment. An indoor part never sees UV, and a part behind a window gets far less of it, mostly in the longer UVA wavelengths, than one exposed outdoors. UV sources are named for the wavelength band they emit: UVA-340, UVA-351 and UVB-313 are different bands with different degradation behaviour, and a source chosen to run faster is not a neutral substitute for a slower one. It changes the degradation mechanism, not just the duration.
Set the irradiance basis and state it. Spectral irradiance is measured per nanometre at a specified wavelength; broadband irradiance is the total across the band. Radiant exposure is the dose accumulated over the run, in joules per square metre per nanometre. A report that omits which basis was used cannot be compared to another report.
Choose the temperature reference. Black-panel temperature, black-standard temperature and chamber air temperature are different variables and are not interchangeable. Purchasers who treat them as the same number end up with acceptance criteria that were never really met.
Define the moisture phase. Condensation, water spray and controlled humidity are three different things. Condensation forms on the specimen surface; spray strikes it; controlled humidity only sets the air around it.
Match the cycle to the duty. A continuous light programme suits a part that sits in the sun all day. A light-and-dark or light-and-spray cycle suits a product that alternates between sun and rain.
Set duration or radiant dose as the endpoint. Time is the common endpoint. Radiant dose is the more defensible one, because a lamp’s output drifts over a program and two labs running the same hours may deliver different doses.
Geometry matters more than people expect. A thick moulded part with a wall junction, a gate vestige or a weld line can fail where a flat coupon from the same batch will not, which is why complete parts and flat coupons answer different questions.
What Specimens and Measurements Should You Use?
Use at least three specimens per condition, plus a set of unexposed controls held under the same conditions but kept out of the chamber. The controls are what make a number meaningful: without them there is nothing to compare the exposed parts against.
Condition every specimen at a defined temperature and humidity before the baseline measurement, and re-condition before post-exposure measurement. Skipping that step is the most common reason two labs report different colour values for the same samples.
Take the baseline before exposure, not after. A part pulled from a mould has already begun to age, and a baseline recorded a week late has quietly contaminated the result.
| Property | Typical method | What to record |
|---|---|---|
| Colour | Spectrophotometer, ASTM D2244 | L*a*b* before and after, and the change expressed as a value |
| Gloss | Gloss meter, ASTM D523 or D668 | Readings at the defined angles and percentage retention |
| Tensile strength | Tensile testing machine | Retention against baseline as a percentage |
| Impact strength | Notched or unnotched impact | Whether the failure mode changed from ductile to brittle |
| Elongation | Tensile test | Loss of ductility, often the first warning of embrittlement |
| Cracking and chalking | Visual grading to a defined scale | Location, size and severity on a written rating scale |
| Dimensions and mass | Caliper, balance | Warpage, shrinkage, mass change |
| Electrical performance | Insulation and dielectric tests | Change in resistance or dielectric strength, where relevant |
For molded assemblies, add the features a flat coupon cannot show: gate areas, weld lines, insert interfaces, snap-fit joints, printed or painted graphics, and any seal. If the failure would happen at one of those features in the field, the specimen has to contain it.
How Are Test Failures Investigated and Reported?
Investigation starts by naming the failure mode, because different modes point to different causes. Cracking usually traces to stress or an inadequate grade, chalking and colour fade to photodegradation, warpage to differential expansion or residual moulding stress, embrittlement to thermal oxidation, and dimensional instability to moisture uptake or crystallisation.
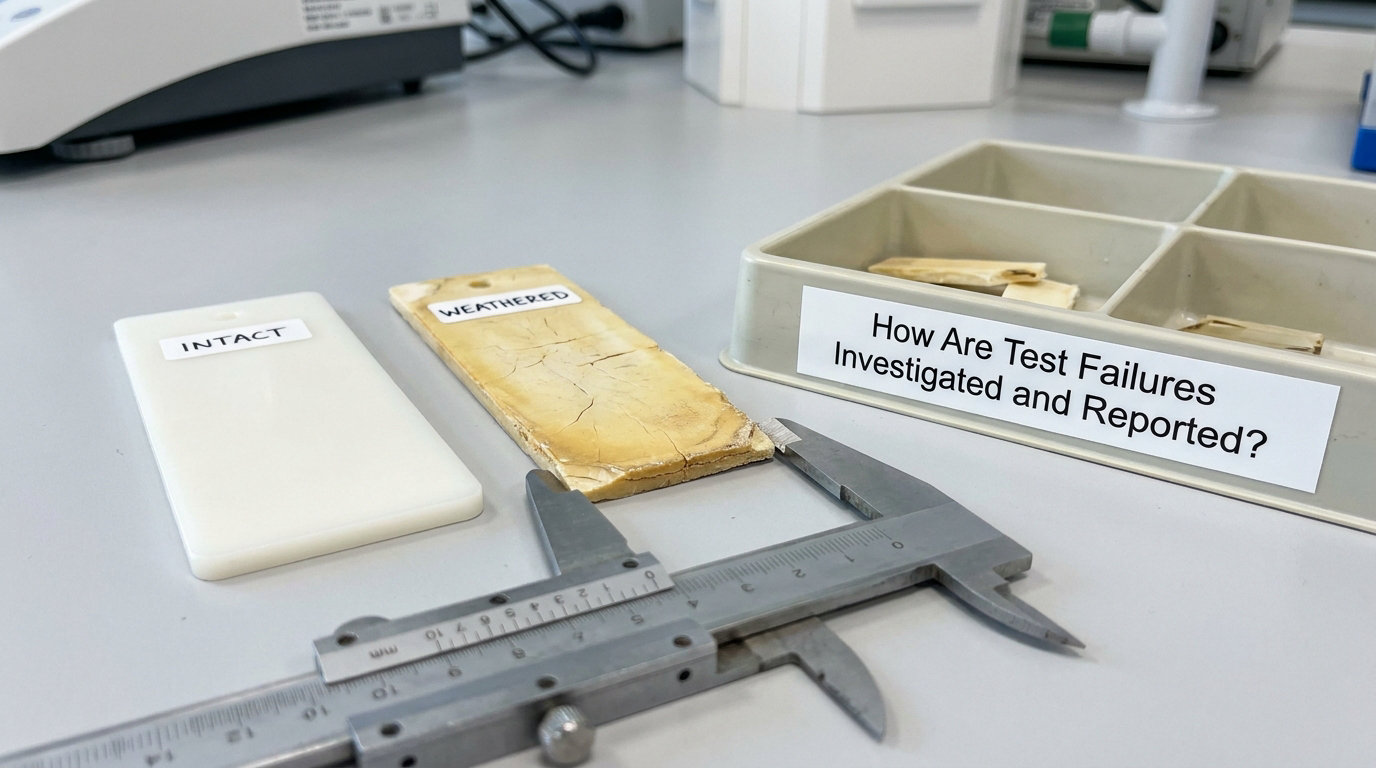
For each failed specimen, document where the failure is, how severe it is, when it first appeared, and how it compares with the unexposed controls. Photograph the same feature at the same magnification every time, because a description written three months apart from memory is not evidence.
A usable report should contain, at minimum:
- The standard number with its edition year, and the issuing body.
- The full exposure procedure: light source, filter, irradiance basis and value, temperature reference and value, humidity or moisture phase, and cycle sequence.
- Specimen identification: material, grade, thickness, geometry, how it was produced, and conditioning applied.
- Number of specimens, the controls, and any reference material used.
- Endpoint: elapsed time and accumulated radiant exposure.
- Results per property, with the measurement method and the evaluation criteria the results were judged against.
- Any deviation from the method, approved by whoever wrote the specification, and any observation made during the run.
A report carrying only a standard number and a pass or fail is the one most often challenged later. Full traceability to the parameters used is what makes a result defensible to a customer auditor.
Why Can’t Accelerated Test Results Predict Service Life Directly?
Accelerated results rank and compare; they do not predict lifetime on their own. The reason is that accelerated exposure compresses several variables at once, and the compression rarely matches the field exactly. A chamber runs hotter, brighter and wetter than most real environments, and a different degradation mechanism can take over at the higher stress level, producing a sample that fails in the chamber for a reason it would never have failed outdoors.
There is also no universal conversion from chamber hours to years of service. Frequently quoted multipliers are rough rules of thumb at best, and they depend on the polymer, the stabiliser package, the geometry, the local climate and the light source. Anyone offering a clean conversion factor without field data for that specific product is guessing.
Two further limits are worth stating plainly. First, results are not automatically comparable between laboratories, even when both report the same setpoints, because optical filters, sensors, mounting and calibration practice all differ. Second, appearance outcomes are easy to measure and mechanical outcomes are where the real risk sits, so a programme that only grades colour can miss an embrittled part that would shatter in service.
The defensible path is correlation. Run a chamber programme and an outdoor or field programme on the same formulation, then compare which change appeared first in each. That relationship is what supports a service-life claim, and it is why the strongest evidence for a durability statement is a paired programme rather than a single run.
Frequently Asked Questions
How long should an accelerated aging test for plastic products last?
Fluorescent UV screening commonly runs a few hundred to about a thousand hours, xenon arc weathering usually takes several weeks, and heat aging without load runs from a few days to several weeks depending on temperature. The correct duration is the endpoint the standard or your specification defines, not a number chosen for convenience. Decide it before specimens go in the chamber, and state whether you are stopping on elapsed time or accumulated radiant exposure.
Is heat aging alone enough to determine a plastic product’s durability?
Only if heat is the dominant stress in service. Heat aging without load, run under methods such as ASTM D3045 or ISO 188, reveals thermal oxidation and embrittlement, but it says nothing about ultraviolet damage, moisture uptake or thermal cycling. For a part used outdoors, heat aging alone will usually give a false sense of confidence, and it is best paired with a weathering stage.
What is the difference between accelerated weathering and accelerated aging?
Accelerated weathering simulates outdoor environmental effects, chiefly ultraviolet radiation with heat and moisture cycles, and the standard methods are xenon arc or fluorescent UV exposure. Accelerated aging is the broader term, covering heat aging, humidity, thermal cycling, chemical exposure and sequential combinations, including wear and mechanical stresses. Weathering is a subset: one family of accelerated aging tests aimed at outdoor service.
What failure criteria should be used for an accelerated aging test?
Derive the criteria from how the product actually fails, not from a generic limit. A colour change value, a gloss retention percentage, a tensile retention figure, an impact break temperature, or a crack size on a written visual scale are all defensible if the customer specification or your own standard names them. Decide the criterion and its measurement method before exposure, and keep unexposed controls so every number has a baseline to compare against.
Is a laboratory test report enough to qualify a plastic product?
A report qualifies a product only when it states the standard with its edition year, the full exposure procedure, specimen details, controls, endpoint, results and evaluation criteria. A certificate showing a standard number and a pass is not enough to support a service-life or warranty claim on its own. For any longevity claim, pair the laboratory result with field or outdoor exposure data for the same formulation.
Conclusion
Start with the service environment and the failure mode you actually fear, then pick the standard that matches both. Write down the acceptance criteria and the measurement method before specimens go in, keep unexposed controls in the plan, and record the full exposure procedure rather than only the standard number.
If the result needs to support a lifetime, warranty or marketing claim, pair the chamber work with field or outdoor exposure on the same formulation. That correlation is what turns a pass mark into evidence, and it is the difference between an accelerated aging test that proves something and one that only fills a report.