
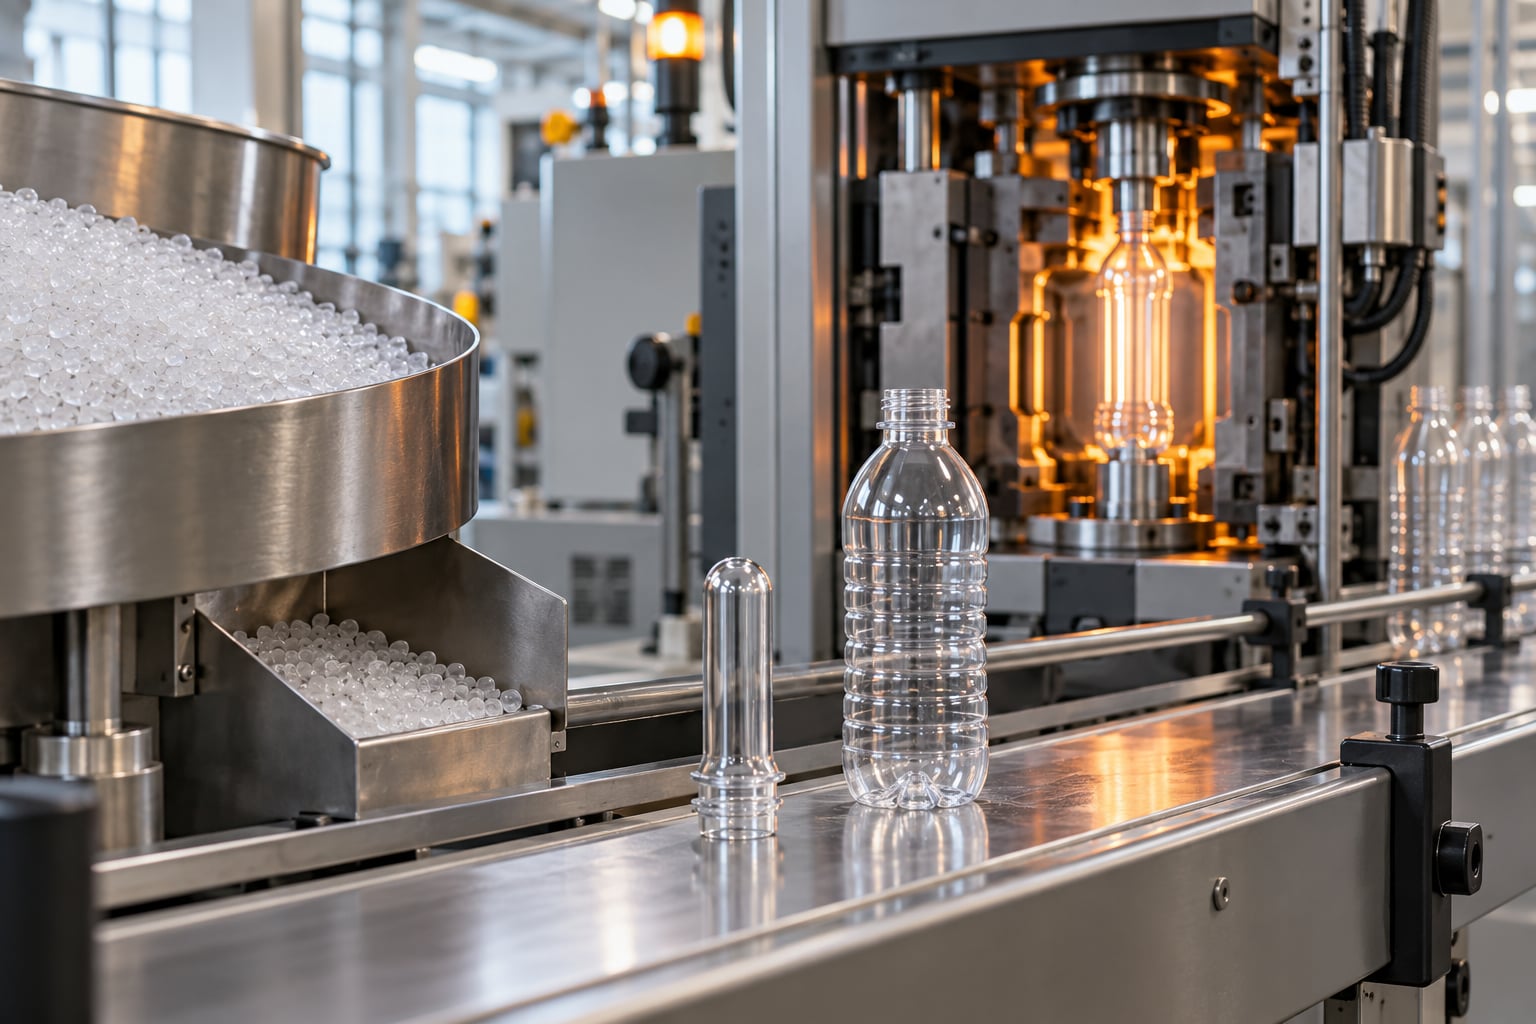
Plastic bottles are made in two molding stages: resin pellets are injection molded into a small test-tube-shaped preform, then that preform is reheated and stretch blow molded into the finished bottle. Water and soda bottles take this injection stretch blow molding route, while milk jugs and detergent bottles are usually extruded as a molten tube and blown in a mold instead.
The interesting part is what happens on either side of that molding pair. Resin starts as crude oil or natural gas, gets cracked and polymerized into pellets, and only then reaches the molding room. The empty bottle still has to be trimmed, inspected, filled, capped, labeled, sleeved, and palletized before it becomes a product anyone buys.
This guide walks the whole chain, with the temperature, pressure, and moisture numbers that decide whether a bottle comes out clear and strong or hazy and cracked.
Table of Contents
What Plastic Bottle Manufacturing Involves
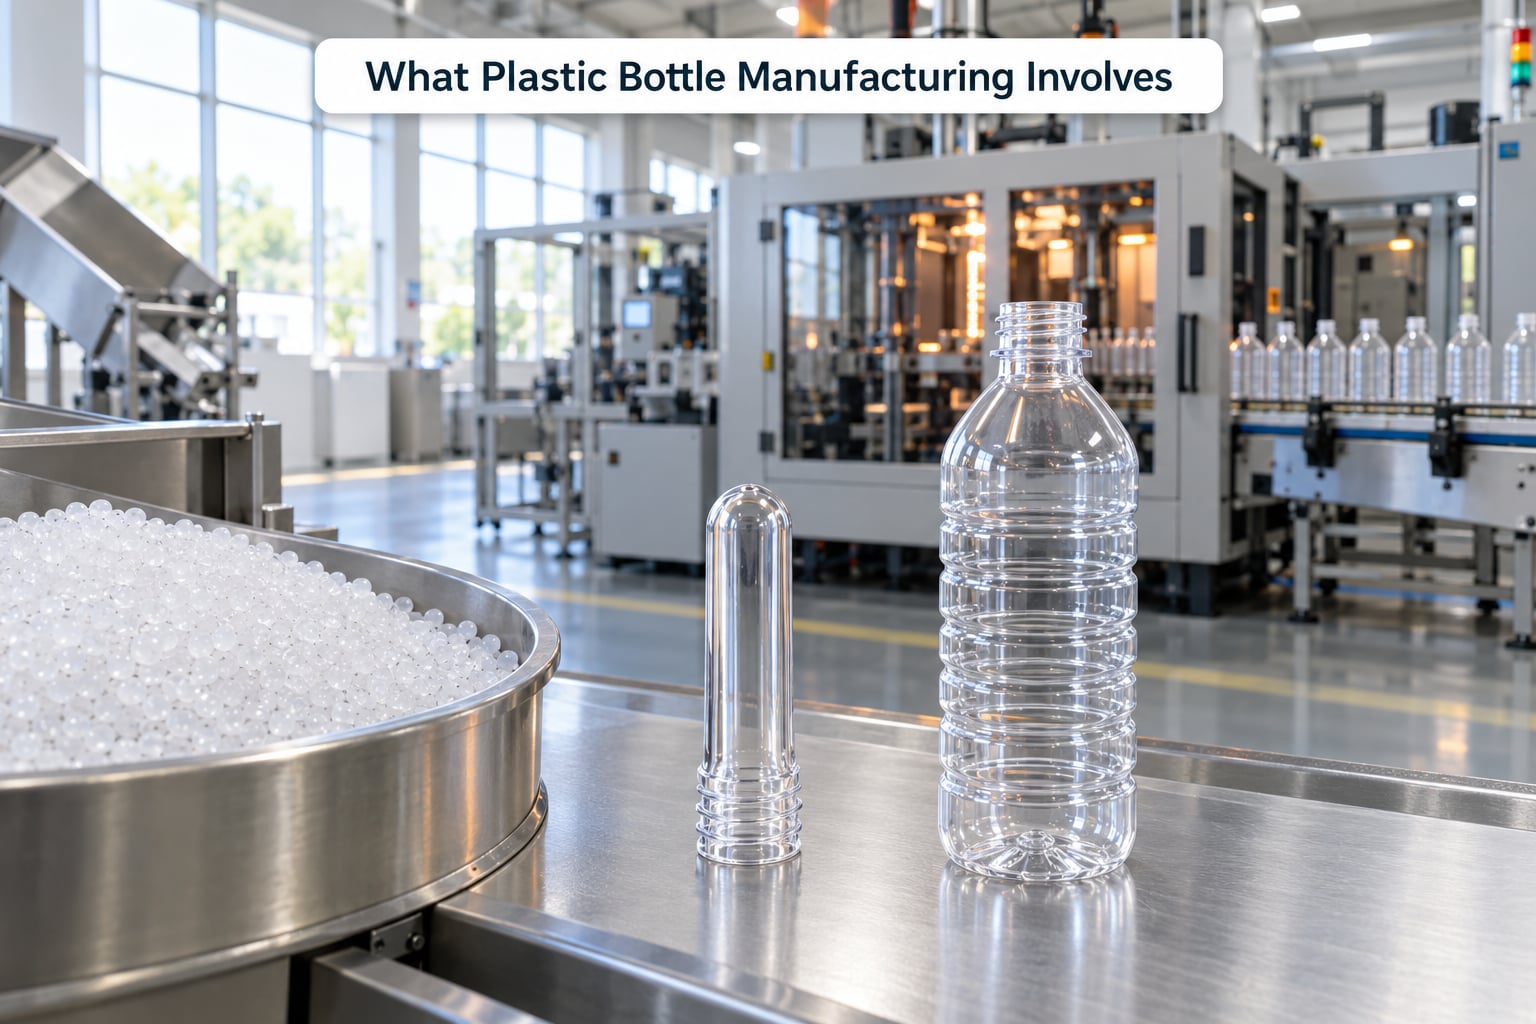
A bottle plant is a converting operation, not a resin plant. It buys approved food-grade pellets from a resin producer, conditions them, molds containers, and ships them out empty or filled. Everything downstream of the pellet is shaping, not chemistry.
Two routes cover nearly all bottle production. Injection stretch blow molding (ISBM) injection molds a preform, reheats it, then stretches and blows it into a bottle inside a two-cavity mold. Extrusion blow molding (EBM) melts resin in a screw extruder, extrudes a hollow tube called a parison, clamps it in a mold, inflates it with air, and trims the flash off.
ISBM gives a stiffer, clearer wall because the PET is stretched in two directions, and the neck finish is molded to a tight tolerance as part of the preform. EBM is simpler and cheaper to tool for bigger, thicker containers like gallons of milk or detergent jugs, and it is much less common for beverage bottles.
A plant’s inputs are resin, energy, compressed air, molds, and packaging film. Its outputs are bottles, cases, and a measurable stream of regrind and trim scrap that gets reprocessed back into lower-grade applications.
Which Plastic Is Used for Plastic Bottles?
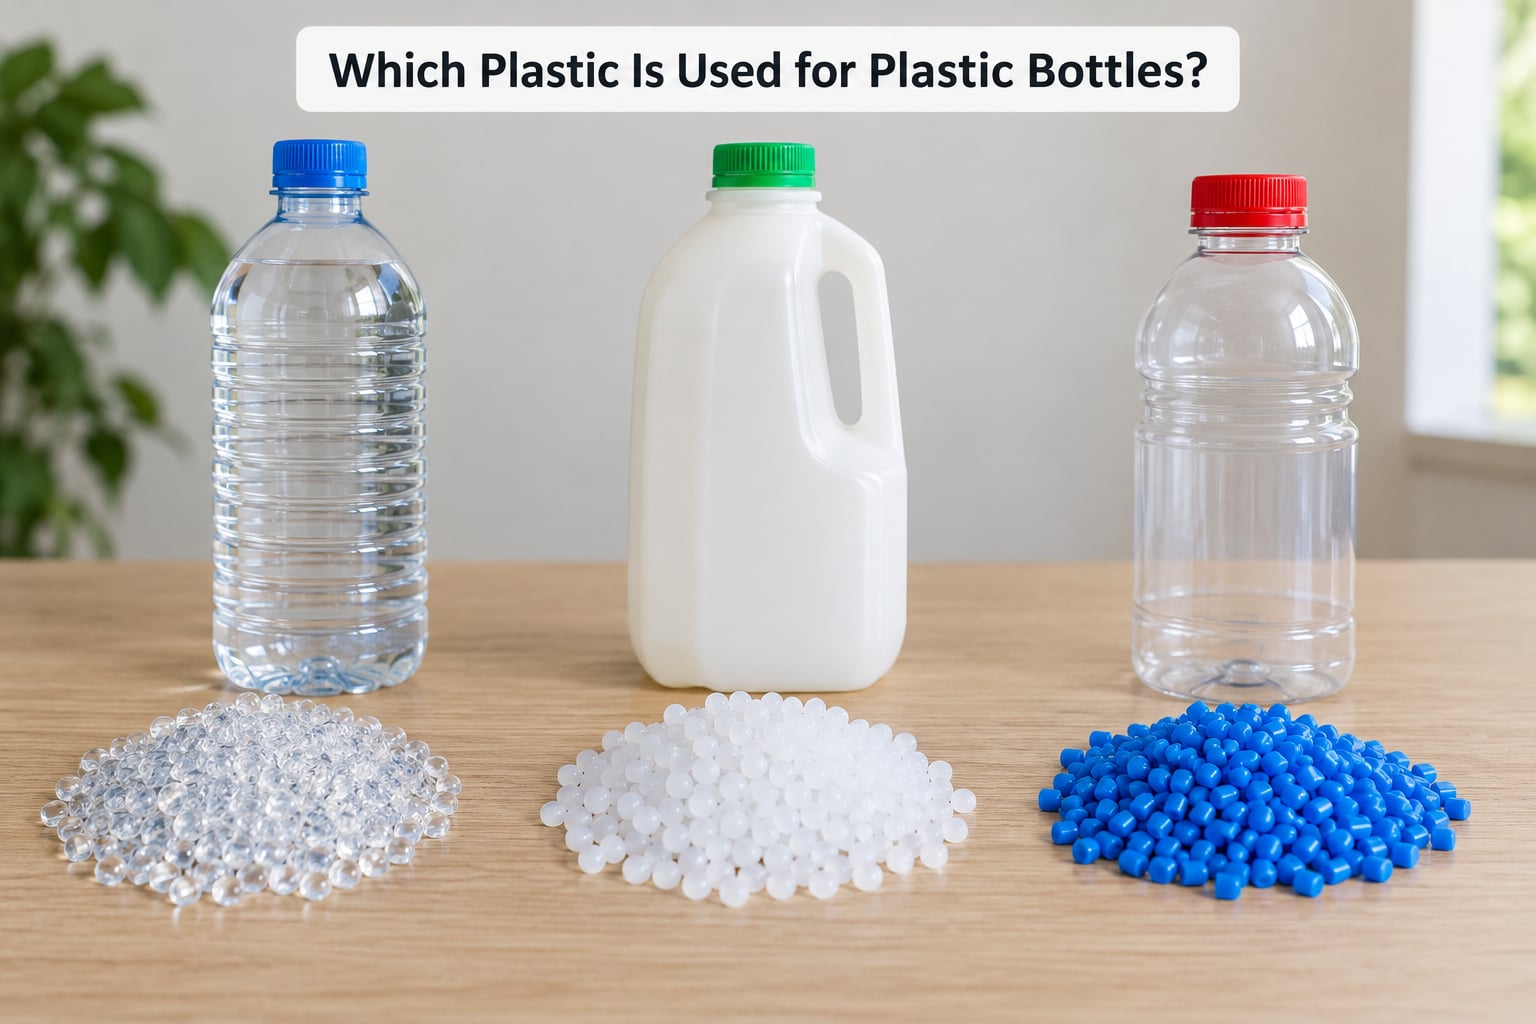
Resin choice follows the fill. A clear water bottle and a carbonated drink are PET because clarity and gas barrier matter more than chemical resistance. A detergent jug is HDPE because it survives aggressive chemicals and costs less per kilo. If you are weighing a resin against a harsh fill, how to select a plastic for chemical resistance covers the screening step before a line is ever quoted.
| Resin | Recycling code | Processing behavior | Typical bottles | Barrier and recovery notes |
|---|---|---|---|---|
| PET (polyethylene terephthalate) | #1 | Must be dried; hydrolyzes above roughly 250 °C if wet. Oriented for clarity and strength | Water, soft drink, juice, salad dressing | Excellent gas barrier for oxygen-sensitive drinks; bottle-to-bottle recycling is well established |
| HDPE (high-density polyethylene) | #2 | Forgiving to process, no drying required, chemically inert | Milk jugs, detergent, shampoo, bleach, caps | Good chemical resistance, poor gas barrier; recycled content is widely accepted |
| PVC | #3 | Stable in the melt window, sensitive to heat history | Cleaning products, some oil bottles | Excellent barrier; rarely accepted in curbside programs |
| PP (polypropylene) | #5 | Light, stiff, tolerant of hot filling | Hot-fill bottles, flip-top closures, detergent | Good hot-fill performance, moderate barrier; common closure resin |
| PETG | #7 | Easy to blow, clear, hygroscopic and sensitive to melt heat | Cosmetic and personal care packaging | Code 7 is a catch-all; typically not curbside recyclable |
One thing that confuses people at the recycling bin is that the body and the cap are usually different polymers. The body is oriented PET because it needs transparency and thin, stiff walls; the cap needs impact and chemical resistance, which HDPE or PP gives it. Those two materials cannot be one resin, so recycling streams have to sort the pieces apart first.
How Plastic Bottles Are Made Step by Step
The full sequence below follows resin all the way to a pallet. Steps 1 to 3 happen in a resin plant, steps 4 to 6 in the bottle plant’s molding room, and steps 8 to 10 on the finishing line.
- Extracting and refining raw materials. Crude oil and natural gas are processed into naphtha, which is the base for the aromatics and ethylene chains used in bottle resins.
- Steam cracking the naphtha. Naphtha is vaporized and cracked at high temperature to produce ethylene and other olefins, plus an aromatic fraction.
- Polymerizing and pelletizing. For PET, purified terephthalic acid and ethylene glycol are polymerized, then the melt is extruded, cooled, and cut into resin pellets.
- Inspecting, drying, and conveying the resin. Incoming pellets are sampled for intrinsic viscosity, moisture, and contamination, then dried and metered to the machine.
- Injection molding the preform. Molten PET fills a multi-cavity preform mold through a valve gate, producing a test-tube-shaped part with a finished neck thread.
- Reheating the preform. The body of the preform is heated above PET’s glass transition temperature while the neck stays cool and rigid.
- Stretch blow molding the bottle. A stretch rod pulls the preform lengthwise, low-pressure air expands it radially, then high-pressure air forces it against the water-cooled mold walls.
- Cooling and ejection. The mold holds the bottle until it is set enough to release, then opens and the bottle drops onto a conveyor with essentially no flash to trim.
- Inspecting and testing. Bottles are checked visually and weighed, then sampled for leak, pressure, drop, and dimensional performance.
- Filling, capping, labeling, and palletizing. The bottle is filled hot or cold, closed, labeled or sleeved, case packed, and stacked on a pallet for shipping.
Step 1: Preparing and Drying the Plastic Resin
Resin arrives as pellets, and everything about how the bottle performs downstream depends on the condition of those pellets on arrival. Incoming lots are sampled for intrinsic viscosity, which tracks molecular chain length and therefore how the bottle will stretch and hold pressure, and for color and contamination.
PET is hygroscopic, so it is dried before molding. Industry practice runs the dehumidifying dryer around 165 to 175 °C for four to six hours, holding moisture below about 50 ppm. Wet PET hydrolyzes in the melt barrel, which drops the chain length and leaves the finished bottle weak and hazy, so a moisture reading is taken before every startup.
HDPE and PP need no drying. Their only preparation is conveying and feed control, usually through a gravimetric feeder so the screw sees the same mass flow rate cycle after cycle.
Step 2: Making the Preform or Parison
A PET preform is injection molded, and the neck finish is finished in the same operation. Threads, the support ledge, and the transfer angle are molded to a tolerance of about a tenth of a millimeter, because this is the surface the cap threads onto for the life of the bottle. That kind of number comes from a drawing, and plastic part tolerance standards explained covers how the limits get set.
The barrel runs a profile typically between 260 and 295 °C from feed to nozzle, with hold pressure in the 600 to 900 bar range and modest screw backpressure. A valve gate is standard for preforms because it seals the gate and leaves no runner for an operator to cut off, and the mold is cooled with water held around 8 to 11 °C to shorten cycle time.
Resin sitting too long in the barrel or running too hot generates acetaldehyde, a compound that gives water and soft drinks an off-taste. That is why preform plants watch residence time and venting as closely as they watch temperature.
On an extrusion line there is no preform. The screw melts the resin and pushes out a hollow tube, the parison, which the mold closes around. Wall thickness is set by parison programming rather than by the mold cavity, which is the main technical difference between the two routes.
Step 3: Stretch-Blow Molding the PET Bottle Step by Step
The preform comes out of the injection machine as a thick, opaque test tube with a finished neck. It goes straight into a reheat oven, either hot air or infrared lamps, which heats the body to roughly 95 to 115 °C. That is above PET’s glass transition near 76 to 80 °C but far below its melting point, so the neck keeps its threads while the body turns rubbery.
Heating too much and the bottle turns hazy and weak; too little and it splits under pressure. This is the control most operators touch most often, and it is why overshoot on a preform is not something you recover from later in the cycle.
Inside the blowing station, the neck is clamped and sealed. A stretch rod grabs the base and pulls lengthwise, and a low-pressure pre-blow of about 4 to 8 bar expands the material radially first. High-pressure air at roughly 20 to 40 bar then snaps the material against the mold walls, which are water-cooled to pull the heat out fast.
That two-axis stretch is what makes a PET bottle work. Orienting the polymer in two directions raises the strength and the clarity at the same time, so a 20 gram bottle can carry a liter of carbonated liquid without deforming. The mold holds until the bottle is set, opens, and the container ejects with no flash and no trimming step.
Step 4: Extrusion Blow Molding the HDPE Bottle
HDPE takes the simpler route. The extruder melts the resin and pushes out a parison that is still soft and hot, and a second screw or a reciprocating mandrel controls how much resin sits in the wall.
The mold closes around the parison, usually over a core mandrel that forms the inside surface, and compressed air inflates it at about 6 to 10 bar. Air also feeds through the mandrel, which keeps the bottle hollow rather than a solid lump.
The part cools in the mold, the mold opens, and the bottle drops out with flash at the neck and tail. That flash, or pinch-off tail, is trimmed off, and a regrind stream goes back to be reprocessed rather than into a food-contact part.
This is the process behind milk jugs, detergent containers, and chemical bottles. Wall thickness is good and the shapes are generous, which suits large opaque containers. Clarity is not a strength, and the neck finish is inherently less precise than a molded-in preform thread.
Key Parameters at a Glance
| Stage | Key parameter | Typical range | What goes wrong when it drifts |
|---|---|---|---|
| Resin drying | Temperature and moisture | 165-175 °C, below 50 ppm moisture | Hydrolysis, low viscosity, haze |
| Preform injection | Barrel profile, hold pressure | 260-295 °C, 600-900 bar | Gate stringing, short shots, high acetaldehyde |
| Mold cooling | Chilled water temperature | 8-11 °C | Long cycles, distorted neck finish |
| Reheat oven | Preform body temperature | 95-115 °C | Hazy and weak, or splitting at the shoulder |
| Stretch blow | Pre-blow, then high-pressure blow | 4-8 bar, then 20-40 bar | Deformation, uneven wall, seamed shoulders |
| Extrusion blow | Blow pressure | 6-10 bar | Heavy flash, thin walls, poor neck threads |
Bottle Finishing, Testing, and Packaging
An empty bottle is not a product. It still needs trim removal, inspection, filling, closure, decoration, and case packing, and this is the stage most process write-ups skip.
Stretch blow bottles arrive with no flash because the mold is the finished shape. Extrusion blow bottles are deflashed first: the neck pinch-off and tail are cut away, and the runner is separated. Regrind collected here is usually kept below about 30 percent of total feed, and much lower for clear PETG, where visible specks show immediately in the wall.
Filling happens cold or hot. Cold fill works for water and juice, with the bottle filling at ambient temperature. Hot fill, used for teas, juices, and sports drinks, needs a bottle that resists distortion at around 85 to 95 °C, which means a more crystalline PET and often a wider base. Hot-filled bottles are pasteurized in the tunnel after capping, and the closure has to hold pressure during that step.
Capping follows filling. A cap has to seat on the molded-in neck finish and resist loosening in transit, and tamper-evident or child-resistant styles add their own molding and testing requirements.
Decoration and packing come last: labels or shrink sleeves applied, sometimes a second wrap for UV or tamper evidence, then case packing into a corrugated case and palletizing in a layer pattern chosen for stability and trailer cube. Label content rules for a given market are worth checking before artwork is finalized, and plastic packaging labeling rules in the US walks through what a US sleeve has to carry.
What Quality Controls Are Used on Plastic Bottles?
Quality control runs at the machine and again in the lab. In-line, every bottle gets a visual check for flash, contamination, and gate remnants, plus a weight check that catches missing fill in a preform cavity.
Sampled bottles go through dimensional inspection of the neck finish, bore, and capacity. Wall thickness is measured at the shoulder, body, and heel, where thin spots cause drop failures. Neck finish is gauged against the closure drawing, since a thread out of tolerance leaks even when the bottle looks perfect.
Performance testing covers the failure modes that matter in distribution. Leak testing presses the bottle to a set pressure and checks for loss, burst testing finds the limit, drop testing releases a conditioned bottle onto a defined surface, and barrier or permeability testing measures oxygen and flavor loss for filled product. For water and soft drink PET, sensory and acetaldehyde testing confirms the off-taste is inside spec.
| Defect | Where it comes from | What to check first |
|---|---|---|
| White hazing or fog | Wet resin, degraded chain length, reheating that is too long | Moisture reading and preform oven setpoint |
| Gate stringing | Valve or nozzle wear, hold pressure too high | Valve seat and nozzle diameter |
| Crystallization haze | Crystals forming from slow cooling or reheating | Cooling time and mold temperature |
| Stress cracking in the heel | Residual stress plus a chemical stressor | Detergent compatibility and heel geometry |
| Uneven wall thickness | Preform temperature profile, stretch ratio, mold venting | Reheat scan and blow timing |
Frequently Asked Questions
What raw materials are used to make plastic bottles?
Bottle resin starts with crude oil or natural gas. Naphtha is refined from it and steam cracked to produce ethylene and aromatics. For PET, ethylene glycol and terephthalic acid are polymerized together, then the melt is pelletized. HDPE is made directly from ethylene, and PP from propylene. The bottle plant buys these as food-grade pellets and adds no resin of its own.
Why are plastic bottles made of PET but the caps made of HDPE?
The two parts do opposite jobs. The bottle body needs transparency, gas barrier, and thin stiff walls, which is what oriented PET gives. The cap needs impact and chemical resistance against the product and the squeezing it takes in a bag, which is what HDPE or PP gives. One resin cannot do both jobs well, so a bottle arrives at the recycling bin as two different plastics.
What does the number on the bottom of a plastic bottle mean?
The number inside the chasing-arrows triangle is a resin identification code. It names the polymer family: 1 for PET, 2 for HDPE, 5 for PP, 7 for everything else including PETG and multi-layer packs. It does not promise the item will be accepted by your local program. Code 7 in particular is a catch-all category and is often not recyclable curbside.
Can plastic code 2 be recycled?
Yes. HDPE, marked code 2, is one of the most widely recycled plastics in North America and goes into detergent bottles, jugs, and pipe. Check the local program first, since rules vary by municipality, and empty and dry the container. Caps on code 2 bottles are usually the same resin, so the whole container can usually go in together.
How long does it take to make a plastic bottle?
The molding cycle itself is only seconds. A preform mold turns out preforms every few seconds, and a stretch blow machine blows a two-cavity bottle in roughly 10 to 25 seconds. Most of the elapsed time sits upstream and downstream: drying a hopper of PET takes hours, and the bottle still has to be trimmed, filled, capped, labeled, and palletized before it ships.
What is acetaldehyde in PET bottles?
Acetaldehyde is a byproduct that forms when PET overheats, sits too long in the barrel, or picks up too much moisture. At low levels it gives water and soft drinks an off-taste that consumers notice before they can name it. Producers control it by drying resin properly, shortening residence time, venting the barrel, and holding bottles to a sensory spec before release.
Conclusion: Start With the Bottle’s End Use
Understanding how plastic bottles are made step by step explains most of what you notice in your hand: why a clear bottle is PET and its cap is not, why the wall is stiff, why the neck holds a thread to a tenth of a millimeter, and why bottles do not belong in a hot car.
For engineers, buyers, and designers, the first move is not choosing equipment. Define the fill, the barrier requirement, the volume, the closure, and the end-of-life route, then let those answers pick the resin and the process. Once that is fixed, the drying, reheat, and blow settings follow rather than get guessed.