
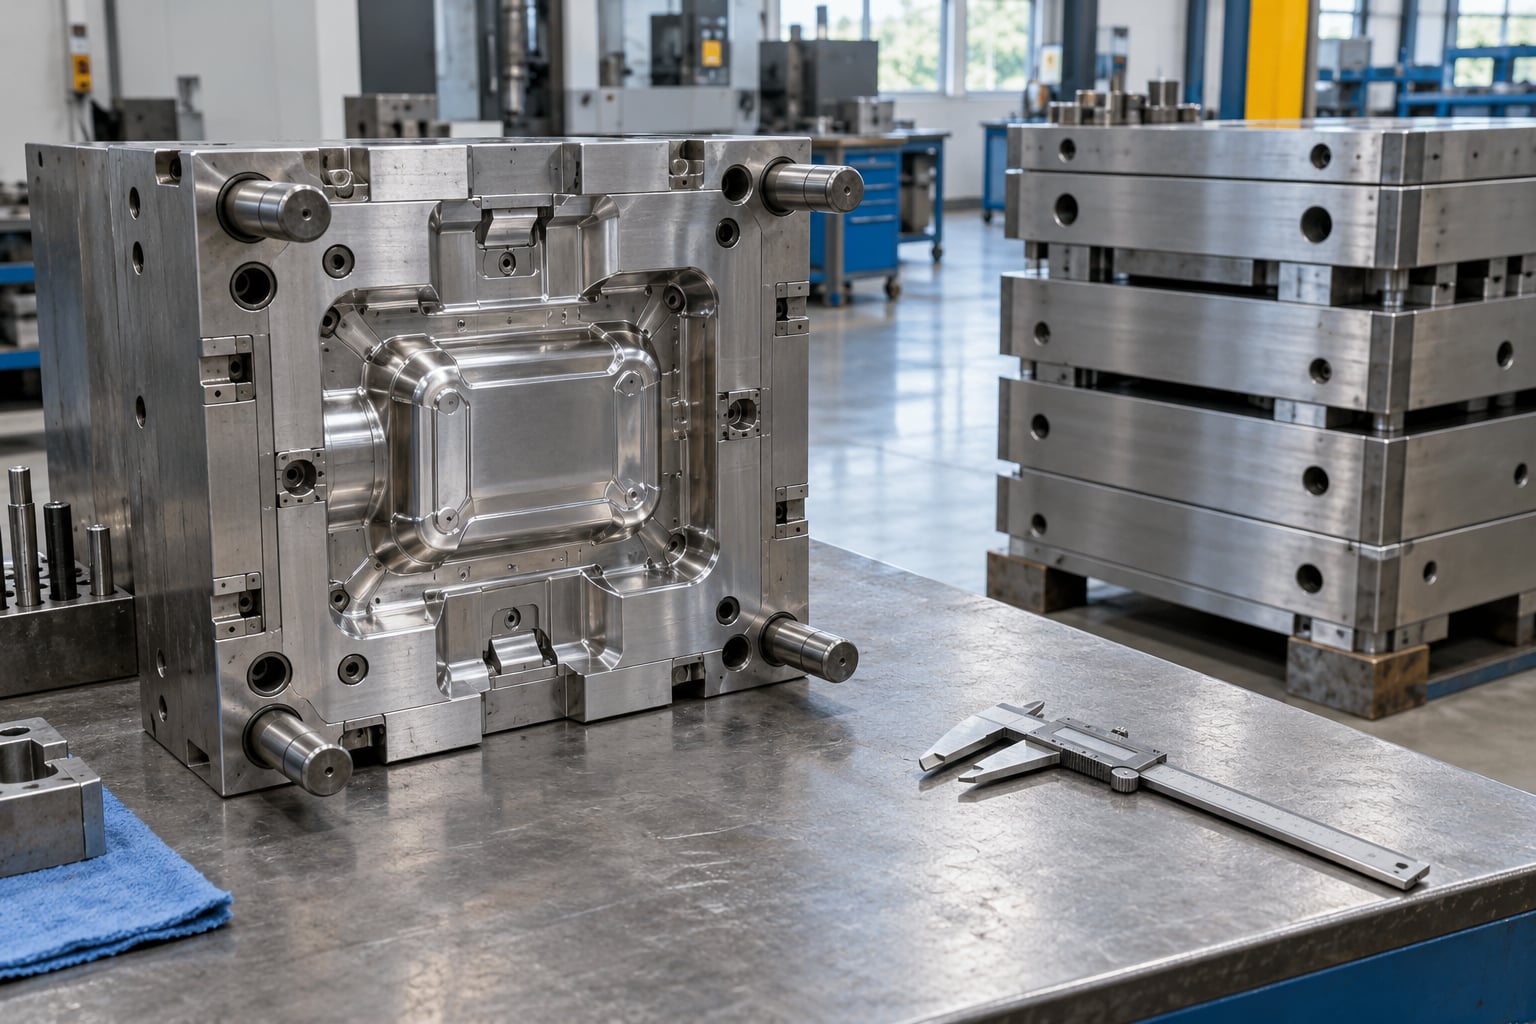
SPI mold classes explained in one line: the Society of the Plastics Industry, now called PLASTICS, grades an injection mold from Class 101 to Class 105 based on how many production cycles the tool is built to run and the steel construction needed to reach that life. Class 101 is built for more than a million cycles, Class 105 is a prototype tool rated for up to 500. The number is a production-timing target, not a quality badge, and it drives more of your tooling quote than any other single line.
If you write RFQs, review quotes or own tooling, this guide gives you the class definitions, the cycle math behind them, and the questions that prove a supplier actually built what they quoted. I have pulled the definitions from the primary standard, flagged where published sources disagree with each other, and kept the selection logic practical.
Table of Contents
- What Are SPI Mold Classes?
- SPI Mold Classes at a Glance
- How Do SPI Mold Classes Work?
- What Is the Difference Between SPI Mold Class and Mold Cost?
- How Do You Choose the Right SPI Mold Class?
- What Cycle Time Should You Expect From Each Class?
- How Do Manufacturers Verify SPI Class Performance?
- What Questions Should Buyers Ask a Mold Maker?
- Frequently Asked Questions
- Conclusion
What Are SPI Mold Classes?
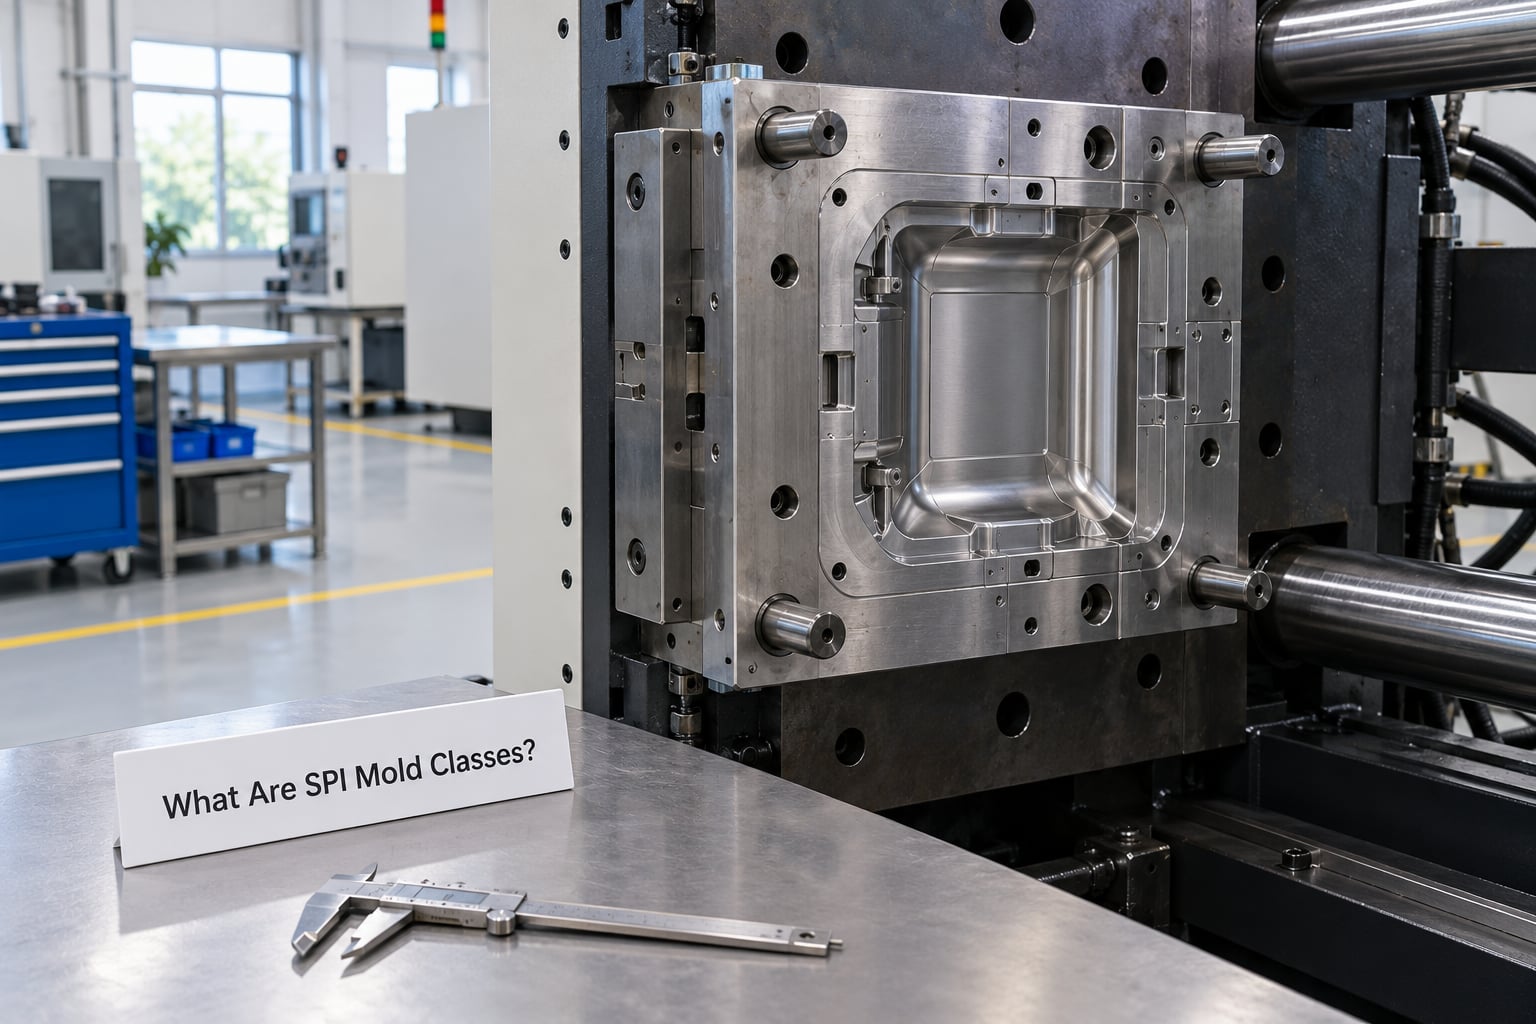
SPI mold classes are a five-tier classification published in Customs and Practices of the Moldmaking Industry (document AR-101) by PLASTICS, the trade association formerly known as the Society of the Plastics Industry. The most recent revision of that document was in May 2023. Each class states a rated cycle life and the minimum construction a mold must have to earn it: cavity and core hardness, mold base hardness, guiding and wear features, and cooling coverage.
The number says nothing about part accuracy on its own, and it says nothing about cycle time in seconds. It describes how long the tool is expected to keep producing before wear forces repair or replacement.
Here is where it hits your desk. Two suppliers quote the same enclosure at similar-looking numbers. One is a single-cavity tool in P20 with a basic cooling layout. The other is a two-cavity 718H tool rated for 500,000 shots with guided wear plates. The class number is the fastest way to see that those are not the same product, which is why buyers who ask where a tool sits against Classes 101 through 105 tend to get better answers from suppliers.
SPI Mold Classes at a Glance
| Class | Rated production cycles | Cavity and core | Mold base | Where it fits |
|---|---|---|---|---|
| Class 101 | More than 1,000,000 | Hardened tool steel, fully hardened inserts | Hardened base with guided pillars and wear plates | Multi-year automotive and appliance programs running around the clock |
| Class 102 | 500,000 to 1,000,000 | Hardened inserts, optional guiding and wear features | Hardened or pre-hardened base with guide bushes | Sustained production, near-continuous cycles |
| Class 103 | Up to 500,000 | Hardened inserts | Pre-hardened base, guide pillars | Mid-volume production, the default for most projects |
| Class 104 | Up to 100,000 | Hardened or pre-hardened inserts | Pre-hardened base | Low-volume production and bridge molds for early builds |
| Class 105 | Up to 500 | Aluminum, mild steel, or simple pre-hardened steel | Mild steel or aluminum base | Prototypes, design validation, sample and sales parts |
A cycle is one open-and-close of the mold. A four-cavity mold produces four parts per cycle, so 100,000 cycles on a four-cavity tool is 400,000 parts.
Two corrections worth making, because you will find both errors elsewhere. Class 104 is the lower-volume production class and Class 105 is the prototype class. Several supplier pages run them the other way around and describe Class 104 as the prototype tool. Second, Class 103 is quoted in the standard as up to 500,000 cycles, while other pages list it as at least 100,000 cycles. Both figures describe real Class 103 tools, so ask for the actual cycle rating in writing rather than relying on the class number alone.
What Is a Class 103 Mold?
A Class 103 mold is the standard production class. It is built with hardened cavity and core inserts in a pre-hardened mold base with guide pillars, and it is rated for up to 500,000 cycles. Most consumer, hardware and appliance programs run at this class because it balances tool life against tooling cost better than any other tier. It is also the most common answer to a quote request for a mid-volume part.
How Do SPI Mold Classes Work?
Class is assigned from the cycle rating a tool is designed to survive, and that rating comes out of how the mold is built and how it is run. Five things drive it.
Cooling time. Cooling usually eats more of the cycle than anything else. The mold has to shed the heat of the part before the next shot, so channel layout, channel diameter and distance from the cooling line to the cavity surface set the floor on cycle time. If cooling cannot get the part below the ejection temperature in the time available, a higher class does not fix it.
Injection and hold time. Fill time scales with part volume and flow path length. Hold time depends on gate size, packing pressure and part mass. A thin-wall packaging tool fills fast and cools slowly, so its cycle is usually cooling-bound rather than injection-bound.
Mold temperature. A controlled mold temperature shortens cooling and holds dimensions steady cycle to cycle. It also costs energy and needs a temperature controller, which is why it is common on Class 101 and 102 tools and often skipped on prototypes.
Ejection and indexing motion. Slides, lifters, unscrewing threads and core pulls add seconds and add wear points. A part with four sliders will not run a fast cycle no matter how good the steel is.
Part and material behavior. Shrinkage and warpage vary with resin, filler and lot. Cycle-to-cycle consistency depends on holding resin temperature and cushion steady, which is a process control question more than a mold class question.
One thing to separate clearly: theoretical tooling capability is what the mold is designed to do on the drawing. Actual production results are what the press delivers at 80 percent of rated tonnage with an unbalanced mold and an operator who has not run this tool before. The class is the design intent. Validation is the result.
What Is the Difference Between SPI Mold Class and Mold Cost?
There is no direct price list attached to a class. Class 101 tooling is always more expensive than Class 105 tooling for the same part, but the gap depends almost entirely on geometry, cavity count and steel. Two molds with identical class ratings can differ by a wide margin, and two molds with different class ratings can land close together.
What actually moves the number:
- Steel and hardening. Pre-hardened P20 or 718H arrives close to finished hardness. Through-hardened H13 or S136 takes a heat treatment step and more machining time before it ever runs.
- Cavity count. A second cavity adds steel, adds a hot runner or runner balance work, and adds machining hours across every insert. It also halves the cycles you need for the same part volume, which sometimes lets you drop a class and still meet your life requirement.
- Cooling coverage. Full conformal cooling in Class 101 tools is labor-intensive and is often the single largest line item after steel.
- Inserts and wear parts. Replaceable inserts let you maintain a Class 101 tool cheaply instead of remachining it. Shops that quote inserts as standard often quote a lower class for the same tool life.
- Automation interface. Slides, lifters, sequential valving and hot runner control all add commissioning time.
- Tolerance and finish. Cosmetic surfaces with a mirror polish or tight cosmetic tolerances add hand-finishing hours that have nothing to do with the class.
The capital-versus-operating trade is worth spelling out. Tooling is a fixed cost you pay once; per-part cost is what you pay every cycle. Under-specify the class and you own a cheap mold that needs rebuilding or replacing, and the rebuild usually costs more than the upgrade would have. Over-specify and you amortize hardened steel and full cooling across a run that never fills the tool’s life. Both mistakes are recoverable; neither is free.
How Do You Choose the Right SPI Mold Class?
Six steps, in order.
1. Check whether you should be molding at all. For most consumer parts, injection molding only beats CNC machining somewhere between 500 and 1,500 pieces. If your real forecast sits near that crossover, a machined prototype serves you better than a Class 105 tool, and it lets you settle the design before committing to steel.
2. Compute required cycles. Divide lifetime parts by cavities. A program needing 250,000 parts from a two-cavity tool needs 125,000 cycles, which points at Class 103. That same 250,000 parts from a single-cavity tool needs 250,000 cycles, still Class 103 but with much less headroom, so a Class 102 quote is worth asking about. Add a margin of 30 to 50 percent because the cycle rating is a design target, not a promise.
3. Add the resin penalty. Glass-filled nylon is abrasive and changes the answer more often than volume does. A 30 percent glass-filled part chewed through a P20 gate area in under 40,000 shots in one documented case, and the failure showed up as a slowly growing flash line rather than an obvious break. Corrosive resins such as PVC push you toward corrosion-resistant steel such as S136 or a corrosion-resistant insert treatment. Abrasive and corrosive resins justify a class higher than raw volume suggests.
4. Match tolerance, finish and geometry. Cosmetic faces and tight-tolerance dimensions reward harder inserts and replaceable wear parts, because you maintain them instead of scrapping the tool. Deep ribs, thin walls and heavy cores drive cooling time, which drives whether the machine can hit the cycle you need at all.
5. Ask for a cycle-time study, not a class opinion. A supplier who will run your geometry with your resin and report cooling time, fill time and achievable shots per hour has done the work. A supplier who quotes a class from the drawing alone is guessing.
6. Write acceptance criteria into the tooling specification. State the class, the steel grade and hardness of every insert, the cavity count, the validated cycle time, the dimensional report you will accept, and the condition of the tool at delivery. Then document the class, cycle conditions and acceptance tests in the purchase order or tooling contract, along with ownership and maintenance obligations.
Two worked examples.
High-volume packaging part. A 900,000-unit beverage closure, single cavity, polypropylene, cycle target under four seconds. Single cavity means 900,000 cycles, which lands squarely in Class 102 and pushes toward Class 101 if the program extends. Fast cycle and high volume also mean no time for cooling faults, so full cooling coverage and hardened wear inserts belong in the spec. Cavity count is worth challenging here. Two cavities halve the required cycles to 450,000, which could hold the tool at Class 103 with the same part life, and the trade is a longer runner and a balance study.
Lower-volume technical component. A 30,000-unit instrument housing, two cavities, 30 percent glass-filled nylon, cosmetic exterior faces. That is 15,000 cycles, so volume alone would suggest Class 105 territory. Fill content and cosmetics override it. Expect hardened inserts at Class 104 construction with corrosion-resistant or coated surfaces, plus more maintenance budget. Note how the class and the volume calculation point in opposite directions, which is exactly why the resin check comes before the class decision.
Cavity strategy deserves its own conversation with any tool engineer. A family mold versus single cavity mold decision can produce several parts per cycle from one core set, and that trade-off changes tooling cost by multiples rather than percentages.
What Cycle Time Should You Expect From Each Class?
Class sets a life rating, not a seconds-per-cycle figure. The mold maker and the part determine cycle time, and the class rating tells you how many of those cycles the tool is built to survive. Total mold cycle time means the whole sequence under defined production conditions: mold open, eject, close, mold open again. It is not the same as the machine’s dry cycle rate listed in a spec sheet.
Here is the class rating expressed as machine time, assuming a 20-second total cycle, which is a reasonable figure for a mid-size part with conventional cooling. At 180 shots per hour:
| Class | Rated cycles | Machine hours at 180 shots/hour | Running time at 500 hours per month |
|---|---|---|---|
| Class 101 | 1,000,000 | About 5,550 | About 11 months |
| Class 102 | 750,000 | About 4,200 | About 8 months |
| Class 103 | 500,000 | About 2,800 | About 5 to 6 months |
| Class 104 | 100,000 | About 550 | About 1 month |
| Class 105 | 500 | About 3 | Under an hour |
The useful comparison is running time against your program length. A 20-second cycle on a Class 103 tool covers roughly five to six months of production at 500 hours a month. If your program runs 18 months, that tool has about a third of its rated life left when you finish, which is wasted value unless the tool transfers to a second program. If your program runs five months, the Class 103 tool is comfortable and a Class 102 tool buys you nothing.
Now change the target. Suppose the same housing needs a 12-second cycle instead of 20. At 300 shots per hour, a 500,000-cycle Class 103 rating is about 1,670 machine hours, roughly three months of running. The class did not change, but the calendar duration of the tool’s life halved. That is why the cycle time you commit to in the RFQ matters as much as the class number: cycle time multiplied by annual hours is what converts a class rating into real production months.
Two practical levers move that number. Cut cycle time and every class lasts longer in calendar terms. Add a second cavity and you halve the cycles needed for a given part volume, which can let you specify a lower class at the same part life. Temperature control is the other big lever, and it is worth reading on its own.
How Do Manufacturers Verify SPI Class Performance?
A validated cycle is not a marketing estimate. Before a tool is accepted, a manufacturer should show evidence at several levels.
Sample molding and dimensional inspection. Run the tool, then measure the critical dimensions on a defined number of shots and report actual numbers against the print. A first-article report with no numbers is not a report.
Cycle-time recording. Log steady-state cycle time over a defined run rather than quoting the fastest shot. The honest figure is the median cycle after the tool has thermally stabilized.
Process-window review. Ask which fill, pack and cooling ranges the part held through, and what happened at the edges. A tool that only holds dimensions inside a narrow window is a fragile tool.
Thermal verification. Confirm the cooling circuit is balanced and that mold temperature control holds steady across cavities, not just at one thermocouple.
Steel documentation. Request EN 10204 type 3.1 mill certificates tied to heat numbers, heat-treatment hardness reports for inserts, and stamped photos of the inserts as built. A supplier unwilling to name steel grade and cavity count in writing is telling you something.
Deviation log. Ask which parts of the print could not be met and how they were resolved. Then have an independent party measure insert hardness before the mold ships. Refusing third-party inspection is a signal worth weighing heavily.
Shot counter and maintenance log. A cycle-counting device on the machine plus a maintenance history tells you where the tool sits against its rating at any moment. It also answers the ownership question, which is where a lot of disputes start. People lose tools over money owed or an agreement that never said who owns the steel.
What Questions Should Buyers Ask a Mold Maker?
These are the questions that separate a quote from a commitment.
- Which class are you quoting, and on what basis? A class number with no steel grade and no cavity count is unenforceable. You want both named in the quotation.
- What is the validated cycle time on my part, with my resin? This is the number that determines whether your production window works. Ask how it was measured.
- What resin, mold temperature and tonnage do you assume? Assumptions written down are assumptions you can challenge. Assumptions in someone’s head are not.
- What cooling approach are you using? Channel type, coverage and the mold temperature control plan tell you more about achievable cycle than the class does.
- Which features are replaceable inserts? Gates, shut-offs, sliders and wear plates should be inserts you can swap on the shop floor rather than features you remake the tool around.
- What maintenance do you expect, at what shot intervals? Ask for intervals expressed as a fraction of the class rating, not calendar months.
- Is the tool automation-compatible? Slide movement, lifters, hot runner valves and ejector position all have to be specified before the press is designed around the tool.
- How will you measure performance at delivery? The answer should be a written acceptance test, not a verbal assurance.
- Who owns the tool, and how is it released and shipped? Put ownership, release terms and drawing handover in the contract. Factory possession is most of the power.
One warning about callouts on drawings. Practitioners argue on engineering forums about whether a lettered callout means surface finish or mold class, and how the notation should be written so a supplier cannot interpret it favorably. The fix is simple: never write a bare letter. Write the class number with the steel grade and hardness, and write the finish with the SPI finish grade or a VDI 3400 texture value. Practitioners have described a nine-thousand-dollar tool for 300 enclosures that would have cost more per part than machining out of the same part, on a design that changed three times in the following nine months anyway. Clear callouts do not prevent that, but they do prevent arguments later.
Frequently Asked Questions
What is a Class 103 mold?
A Class 103 mold is the standard production class of injection mold. It uses hardened cavity and core inserts in a pre-hardened mold base with guide pillars, and is rated for up to 500,000 cycles. Some published sources list Class 103 as at least 100,000 cycles instead, so ask for the actual cycle rating in writing. It suits mid-volume consumer, hardware and appliance programs.
What is the difference between an SPI mold class and an SPI surface finish grade?
They are two different standards from the same body of practice. SPI mold class, from 101 to 105, describes how many cycles a mold is built to run and what construction it needs. SPI surface finish grades, Groups A through D with numbered types inside each, describe the texture of a molded surface. A tool can be Class 101 and carry a Grade B finish at the same time. Never write a bare letter on a drawing.
Who publishes the SPI mold classification now?
The Society of the Plastics Industry is now known as PLASTICS. The mold classes live in Customs and Practices of the Moldmaking Industry, document AR-101, whose most recent revision was in May 2023. Several class definitions circulate online that predate or misread that document, which is why some pages invert Class 104 and Class 105. Cite the primary document in your specification.
Can a Class 103 mold be upgraded to Class 101 later?
Partly. You can usually harden or replace inserts, upgrade wear plates and improve guiding, and add cooling, which extends life substantially. You cannot retroactively add a hardened mold base or the machining time that goes into full conformal cooling. Because mold ownership and transfer are contractual, write the upgrade rights into the tooling agreement before you need them.
How do I calculate how many cycles my mold needs?
Divide lifetime part volume by the number of cavities. A 250,000-part run from a two-cavity tool needs 125,000 cycles, which points at Class 103. The same run from a single-cavity tool needs 250,000 cycles, which leaves much less headroom. Add a margin of 30 to 50 percent, then adjust upward for glass-filled or corrosive resins and for cosmetic surfaces.
Conclusion
Treat the SPI class as a cycle-life reference, not a quality label. Compute your cycles from lifetime parts and cavity count, adjust for glass-filled and corrosive resins and for cosmetic surfaces, then pick the class that meets the number with margin. Specify the class, the steel grade and hardness of every insert, the validated cycle time and the acceptance tests in the purchase order or tooling contract, along with ownership and maintenance terms. A supplier who can state where the tool sits against Classes 101 through 105 without hesitating has built tools to a specification, which is the level of rigor you want before you pay for one.
If you are still working out press capacity and cycle targets, the mold temperature control guide covers the cooling side, and the OEE calculation walkthrough shows how machine hours convert into usable production time.