
Table of Contents
- How Long Does an Injection Mold Last? Typical Ranges
- Injection Mold Life by Material and Application
- What Determines How Long an Injection Mold Lasts
- How to Tell When an Injection Mold Needs Repair or Replacement
- How Maintenance Extends Mold Life
- How to Estimate the Lifespan of a New Mold
- Frequently Asked Questions
- What is the average lifespan of an injection mold?
- How many times can an injection mold be used?
- How do you know if a mold is completely gone?
- What causes an injection mold to wear out fastest?
- How often should an injection mold be cleaned and inspected?
- Can injection molds be repaired instead of replaced?
- Key Takeaways for Planning Mold Life
How Long Does an Injection Mold Last? Typical Ranges
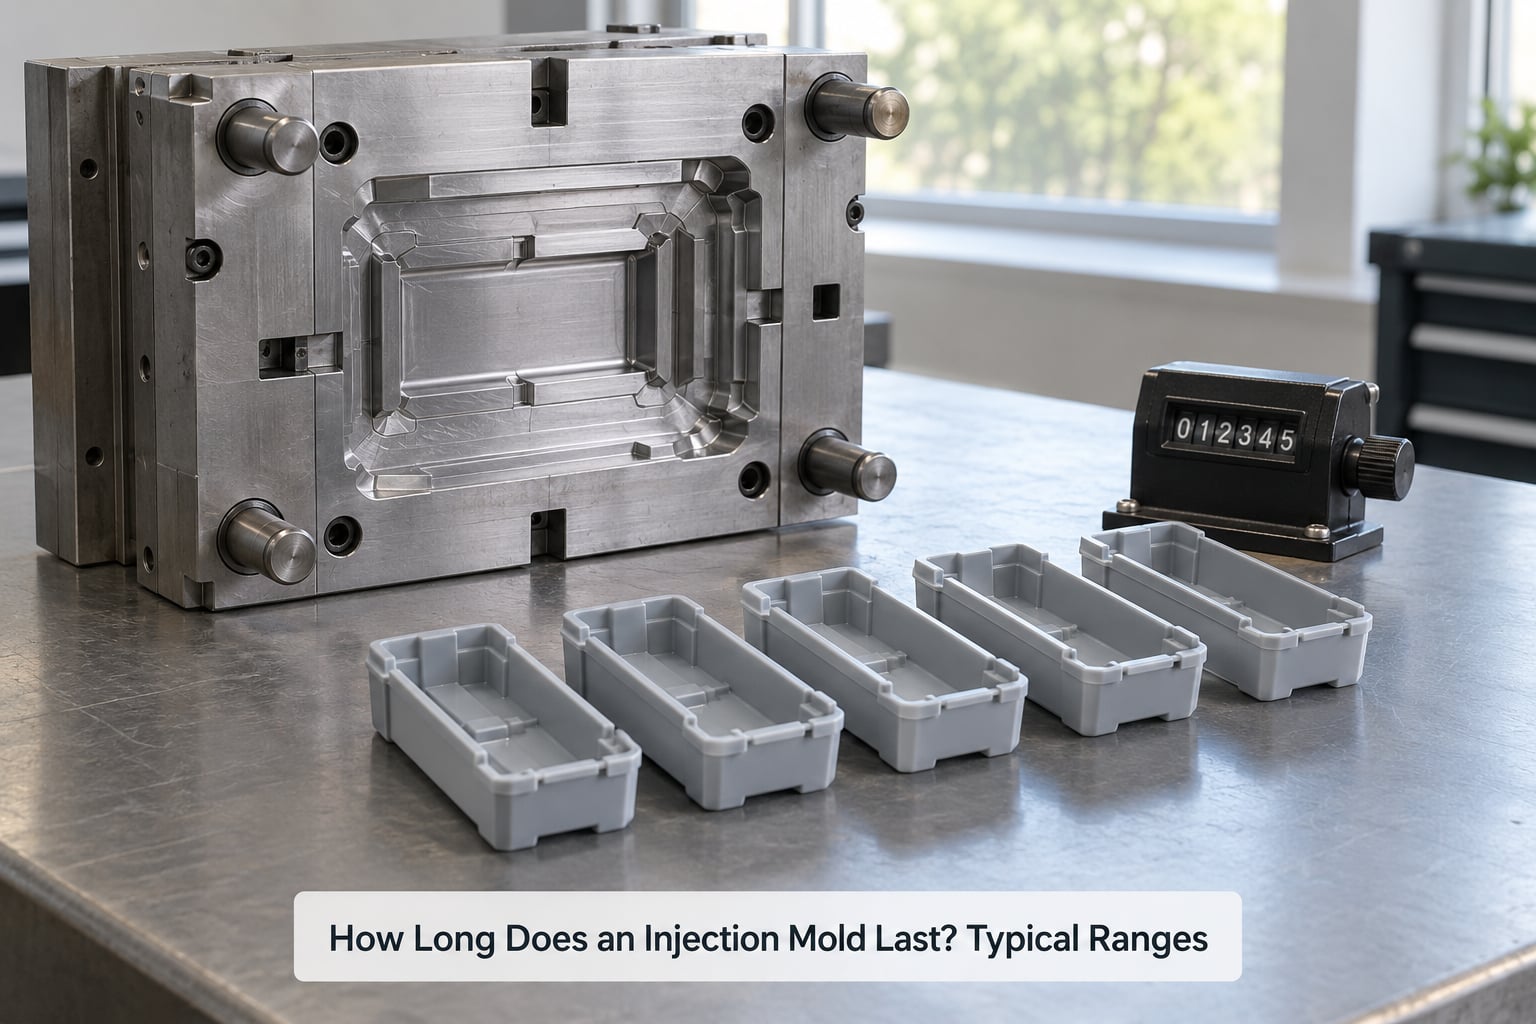
How long does an injection mold last? A production tool built from pre-hardened P20 steel typically delivers 500,000 to 1,000,000 shots; fully hardened H13 or S136 tools can pass 2,000,000, while aluminum prototype tools usually stop somewhere between 5,000 and 50,000. Mold life is measured in shots, not years, and the number moves with resin, geometry and maintenance discipline.
That opening range is the honest version, but it comes with conditions. The same P20 tool can die at 80,000 shots or coast past 1.5 million depending on what you run through it and who is cleaning vents at the 200,000 mark.
So treat every lifespan figure, including the ones below, as a range with assumptions attached. Here is what actually determines the number, and how to estimate it before you commit steel to a part.
A shot is one complete cycle: the mold closes, molten plastic is injected, the part cools, the mold opens and the part is ejected. One part out of a four-cavity tool equals four shots, and that distinction matters more than most buyers expect when a supplier quotes a single cycle number.
Because life is shot-based, calendar age tells you almost nothing. A tool sitting in a rack under preservation for three years has not worn out, while a tool running 20 hours a day on an unfilled polypropylene housing can hit end of life in under a year.
Here are the bands most shops work with:
- 10,000 shots — bench work, cosmetic prototypes, short-run test parts, and most aluminum bridge tools used before the production tool exists.
- 50,000 shots — aluminum tools in gentle applications, and hardened tools running short-run programs with no preventive maintenance at all.
- 100,000 shots — the point where thin-wall electronics housings and lightly textured cosmetic parts start showing measurable gloss and dimension loss.
- 500,000 shots — a well-maintained pre-hardened steel tool on unfilled resin, the most common real-world target for a general production part.
- 1,000,000 shots — hardened steel with insert-replacement planning and cavity pressure records, common for connectors and durable housings.
- 2,000,000 shots and beyond — hardened and plated tools on stable, non-abrasive parts, usually with two or three documented repair lives behind the headline number.
The useful takeaway is not the top of the range. It is that the low end is mostly a maintenance outcome, and the high end is mostly a design outcome.
Injection Mold Life by Material and Application
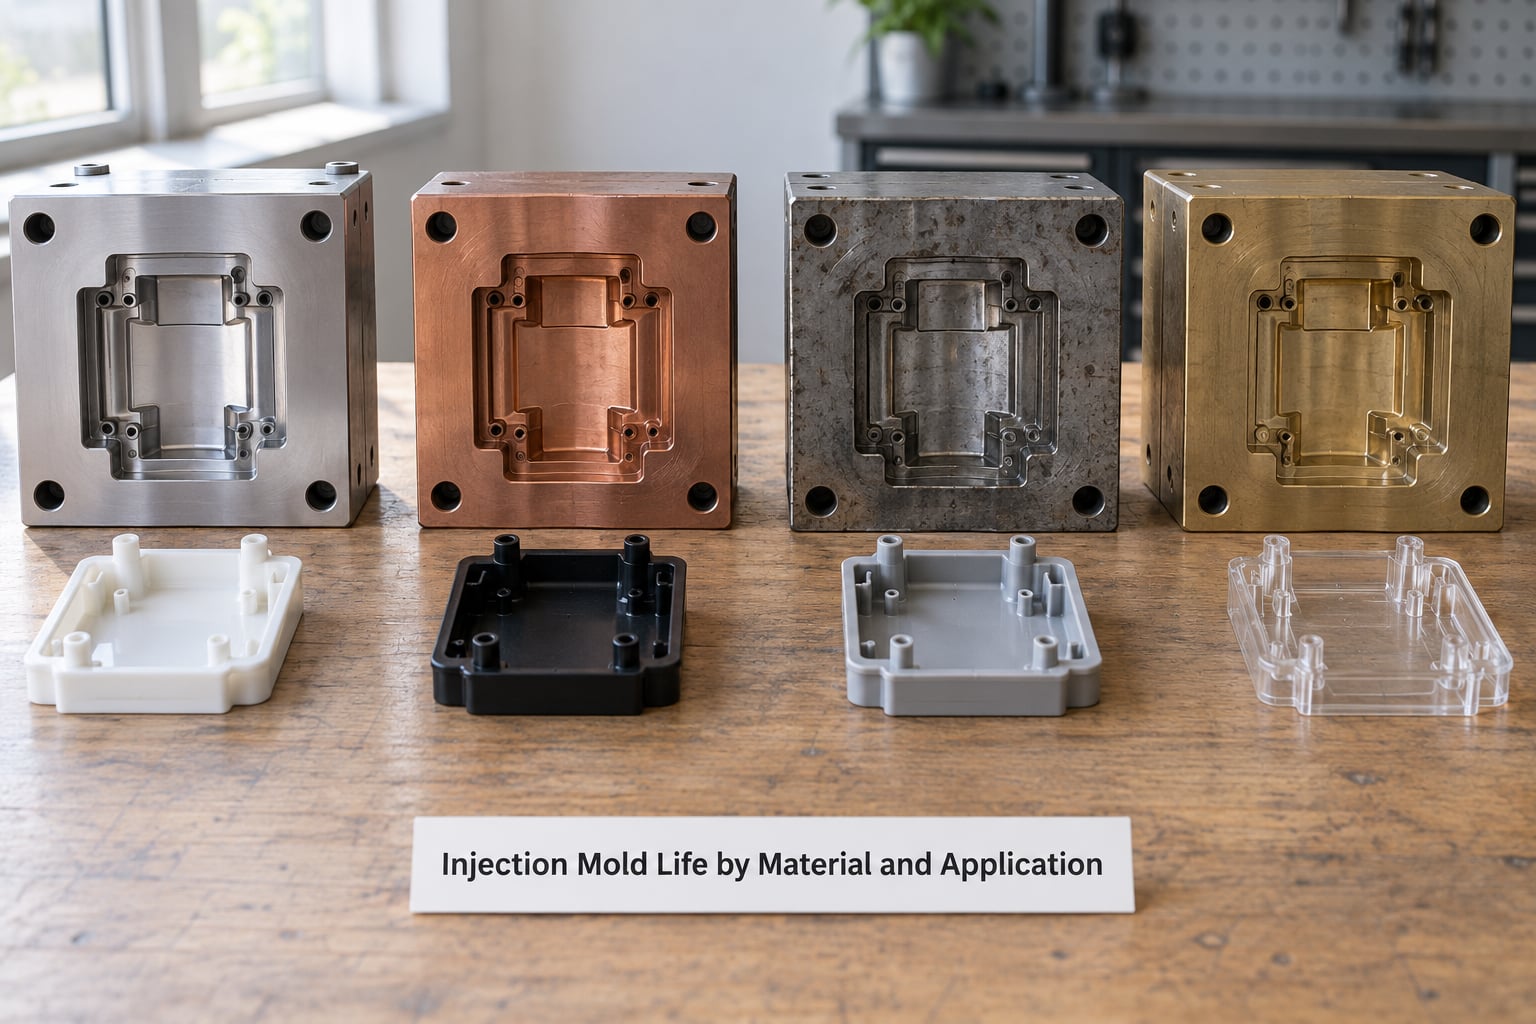
Mold material sets the ceiling on wear resistance, but it does not set the outcome on its own. The table below lists the common choices, their typical hardness, realistic shot life and where they belong. Ranges assume unfilled or lightly filled resin, competent process control and a preventive maintenance schedule.
| Mold material | Steel grade | Typical hardness (HRC) | Expected shot life | Best for | Trade-off |
|---|---|---|---|---|---|
| Aluminum (cast or machined) | 6061, 7075 cast tooling plate | 25-35 | 5,000-50,000 | Prototypes, bridge production, short runs, complex geometry | Fast to machine and cheap to change, but soft: wears fast, not viable for glass-filled resin |
| Pre-hardened steel | P20 / 1.2311 | 30-36 | 500,000-1,000,000 | General production parts, prototypes-to-production tools | Machinable before hardening, which cuts lead time; cannot be re-hardened after use |
| Hardened pre-hardened steel | 718H / 1.2738 | 36-42 | 1,000,000-2,000,000 | Higher-volume programs, automotive and industrial parts | Costlier steel and slower machining, stronger wear margin |
| Hardened tool steel | H13 / 1.2344 | 44-52 | 1,500,000-3,000,000+ | High-volume production, complex slides and cores, hot runner tools | Must be heat treated after machining; heavy finishing allowance |
| Hardened stainless steel | S136 / 1.2083 (420 series) | 48-54 | 2,000,000-3,000,000+ | Medical, food-contact and corrosive resin applications (PVC, flame-retardant blends) | Highest corrosion resistance; lower toughness, more prone to chipping if mishandled |
| Beryllium copper | CuBe2 | 25-35 | 100,000-500,000 | High-cavity, high-cycle molds where heat build-up is the limit | Thermal conductivity four to six times steel, but costly and toxic to machine without controls |
| Copper alloy inserts | CuCr1Zr, laminated tip steel | varies by insert | Component-level | Gate tips and hot runner manifolds in high-cavity tools | Cooling advantage only where heat is the failure driver |
On the aluminum dispute you will find online: sources quote anywhere from 1,000-10,000 shots to 5,000-50,000 shots. Both are defensible because they describe different tools. A cheap cast aluminum prototype running glass-filled nylon is at the bottom of that range. A machined aluminum tool running unfilled ABS or polypropylene with a good surface finish sits near the top.
Cost is the other thing this table hides. Aluminum tooling costs less to build and can be re-machined repeatedly, which sometimes extends its economic life beyond its shot life. Hardened steel costs more upfront and usually costs less per part once the volume justifies it. If you are weighing multi-cavity versus family tooling for a short-run program, our family mold vs single cavity mold comparison covers how cavity strategy changes both budget and shot economics.
What Determines How Long an Injection Mold Lasts
Abrasive resin is the single biggest wear driver
Glass and mineral filler is not a lubricant; it is a cutting compound. Every shot drags 30-50% glass fibers across cavity walls, core pins and gate areas, and that sliding abrasion removes steel at a rate that varies enormously with filler level, fiber length and resin family.
A glass-filled nylon 66 structural part can consume a polished P20 cavity in 50,000-100,000 shots, while the same geometry in unfilled nylon runs past 500,000 with the identical tool. If your part is filled, budget the wear components and expect more inserts, not just more cleaning.
Cycle time, pressure and cooling
Fast cycles mean the steel sees more thermal shock per hour. Cavity pressure above the part’s holding need adds unnecessary stress to the parting line and ejector system. Poor cooling design keeps pockets of steel hot and wet, which compounds both thermal fatigue and corrosive attack.
Cooling time should normally be 40-60% of the total cycle. Shorter cooling does not always mean a cheaper part; it usually means a mold that ages faster.
Geometry, tolerances and surface finish
Tight tolerances, thin walls and cosmetic textures all raise the cost of wear. A part with a VDI 3400 texture or an SPI A1 polish will show dullness long before the same tool running a hidden structural rib would show any dimensional problem. Tight shutoff at the parting line demands an intact kiss-off edge, and that edge is exactly what flash wears away. Our guide on what causes mold flash and how to prevent it covers the geometry side of that failure.
Four failure modes, in the order they usually show up
- Abrasive wear — filler resin polishing or gouging cavity walls, core pins, gate areas and the shutoff edge. Shows as gloss loss, sheen inconsistency and dimensional drift.
- Thermal fatigue — repeated heating and cooling opening micro-cracks at corners, ribs and deep cores. Shows as surface cracking or spalling on the steel itself.
- Corrosion and pitting — PVC and other aggressive resins, or condensation during idle time, attacking the steel. Shows as rust pits that keep returning after every clean.
- Structural and wear-component failure — ejector pin galling, bushings, guide wear, slide and lifter wear. This is usually repairable, and it is the reason a tool can outlive its headline cycle count.
Cavity count and production volume
Cavity count raises shots per hour but also raises wear rate per cavity, because injection pressure and clamping load scale with the number of cavities being filled. What matters for life is total shots against the part, not shots per cavity, so a four-cavity tool asked for 300,000 parts has produced 1.2 million shots.
Match the tool to the volume. A hardened multi-cavity tool for a 20,000-part program is expensive insurance you never use; a soft aluminum tool for 2 million parts is a scheduled shutdown waiting to happen.
How to Tell When an Injection Mold Needs Repair or Replacement
Mold wear almost always announces itself in the part before it announces itself in the steel. Watch the parts, then confirm with measurements.
Warning signs worth acting on
- Dimensional drift — critical dimensions trending consistently on the same direction rather than scattering. Trending drift is wear; scattering is process.
- Flash at the parting line — often the first visible sign of parting-line or shutoff wear, and occasionally a cracked slide or guide.
- Sink marks that resist process changes — you already balanced packing and temperature, and the mark stays put.
- Short shots — venting blocked by degraded vent inserts or flash.
- Uneven gloss — a polished surface losing its reflection, especially on cosmetic parts.
- Rust pits that reappear — after every cleaning, the pits are still there. That is corrosion, not contamination.
- Unstable cavity pressure — readings that drift over a run rather than holding steady, a sign of wear in guides, bushings or the nozzle and gate system.
Before replacing a tool, always compare the defect against process conditions. A flash that appears only on a specific machine at a specific transfer position is usually a nozzle-centring or support-height problem, not wear.
Repairable versus terminal
Most wear components are designed to be replaced: ejector pins, ejector bushings, sprue bushings, gate inserts, slides, lifters, vent inserts, cavity inserts and leader bushings. When one of those fails, you buy or machine a part, fit it, and the tool continues. Shops routinely get two, three or four repair lives out of a single mold base.
Terminal damage is different: cracks through the mold base or cavity blocks that cannot be welded reliably, severe thermal fatigue spalling, a warped mold plate, or a cavity insert whose seat is gone. That is where refurbishment stops being economical and the replacement conversation starts.
Shoppers browsing used tooling listings ask how to tell when a mold is finished rather than merely tired. The practical consensus is that hitting a cycle number is not the test. Wear components can be replaced indefinitely; the mold is done when it can no longer hold the dimensions, finish, strength or repeatability the part requires, and the remaining repair spend exceeds building new.
How Maintenance Extends Mold Life
A mold on a consistent preventive schedule typically runs two to four times the shots of the same mold with no maintenance at all. That figure comes from cleaning and inspection service providers rather than from independent testing, so treat it as directional, but the underlying mechanism is not in dispute: deposits become wear, and wear becomes drift.
Tie the schedule to shots, not to the calendar. A tool running weekends and a tool running five days a week need completely different intervals.
| Interval (shots) | Action | What gets inspected |
|---|---|---|
| Every setup and changeover | Visual check and vent clearing | Vent inserts, parting line, visible flash or damage, guide condition |
| Every 25,000-50,000 | Cooling channel clean and cavity check | Cooling water temperature differential, deposits, cavity sheen |
| Every 50,000-100,000 | Detailed dimensional and wear inspection | Critical part dimensions, cavity depth, shutoff contact, ejector pin fit |
| Every 100,000-150,000 | Lubrication and slide service | Guide pins and bushings, slides, lifters, angle pins |
| Every 250,000-500,000 | Full teardown inspection | Everything above plus cavity inserts, sprue bushing, hot runner, core pins, mold plate condition |
| Annually when idle | Preservation and VCI storage | Corrosion protection, breathable covers, humidity control, desiccant |
The four maintenance moments that matter
At setup: verify mold temperature stability before the first shots, confirm nozzle centering and mold support height, and record the baseline. Mold temperature sensors that read unstable at t0 predict almost every problem you will see at 400,000 shots.
During production: log cavity pressure and cycle time per hour and watch for drift in either. Most molding machines already track shot count, so use it — set the controller counter as your maintenance trigger rather than a calendar reminder.
At changeover: clear vents, wipe the parting line and check for flash. Flash left in place is how a shutoff edge dies early. If you want a step-by-step version of this routine, our mold maintenance schedule for injection molding guide lays it out in shop order.
At shutdown: clean the cavity, protect the steel, and store it dry. Condensation under a sealed bag will pit a stainless cavity in a way that production wear never could. Ultrasonic cleaning works well for cooling channels and cavity detail; a wipe-down with the right lubricant between jobs costs almost nothing.
When flash does show up, work through what causes mold flash and how to prevent it before assuming the tool is damaged. A surprising share of flash calls are venting, nozzle or temperature issues.
How to Estimate the Lifespan of a New Mold
Use this six-step method before you buy tooling. It takes an afternoon and it changes the conversation with your mold maker from “how long will it last” to “under these conditions, for how long”.
Step 1: Define the acceptance criteria
Write down the tolerances, surface finish and cosmetic requirements that actually decide whether a part passes. A hidden rib can tolerate 0.08 mm of drift. A Class 8 closure cannot. Life means different numbers for different features on the same part.
Step 2: Identify the harshest resin and cycle
Ask what resin the tool will actually run, at what filler level, at what cycle time and at what volume. Your molder will run one or two transition resins through every tool before production; those transitions are where wear accelerates.
Step 3: Estimate the wear rate
Start from the material table above and adjust. Glass or mineral filler cuts abrasive life by a large factor. PVC or flame-retardant blends push toward stainless. A cosmetic finish means you will retire the tool on appearance before you retire it on dimension.
Step 4: Calculate planned shot volume
Annual parts times cavities times working days, plus a realistic program life factor. Nobody runs a tool to theoretical capacity; programs get cancelled and restarted.
Step 5: Add a maintenance and repair allowance
Budget the insert sets, bushings, pins and teardown labor you expect. A tool with two planned repair lives should be assessed as two lifecycles, not one.
Step 6: Compare against production demand
If estimated life sits well above demand, a lighter tool is the rational choice. If it sits below, redesign toward replaceable wear inserts before you order harder steel.
Worked example: a 300,000-shot, four-cavity packaging tool
A packaging closures tool with four cavities running unfilled polypropylene at a 12-second cycle needs 300,000 parts, which is 1.2 million shots across the tool.
P20 at 28-32 HRC handles unfilled PP without abrasion, so a 1,000,000-shot ceiling is plausible with a real maintenance schedule. That suggests life capped by program demand rather than by wear: the tool outlives the program.
Now add the harsh case. If that program adds 30% glass-filled PP for a stiffer grade, abrasive life on the shutoff edge and gate drops to something in the 200,000-400,000 shot range for those cavities. At that point the sensible engineering move is hardened 718H inserts in the wear areas, or a two-cavity tool with the same insert strategy, rather than re-specifying the whole base.
Run the same logic on a 5,000-part prototype program and the answer flips: an aluminum machined tool that handles 50,000 shots, can be re-machined, and costs a fraction of steel is the right answer. Some shops even buy the aluminum tool knowing they will machine a second steel version later. Whether a used tool is worth buying is a separate question, and a pre-purchase inspection of cavity depth, parting line and guide condition tells you more than any listing.
Frequently Asked Questions
What is the average lifespan of an injection mold?
A pre-hardened P20 steel production mold typically delivers 500,000 to 1,000,000 shots. Fully hardened H13 or S136 tools can exceed 2,000,000, and aluminum prototype tools usually fall between 5,000 and 50,000. These ranges assume unfilled or lightly filled resin, stable process control and a preventive maintenance schedule.
How many times can an injection mold be used?
Life is counted in shots, where one shot is one complete cycle: clamp, inject, cool, eject. A four-cavity tool produces four shots per cycle, so a 300,000-part run on a four-cavity tool equals 1.2 million shots. Molds also carry multiple repair lives, since ejector pins, bushings, slides and inserts can be replaced without scrapping the tool.
How do you know if a mold is completely gone?
The tool is finished when it can no longer hold required dimensions, finish, strength or repeatability, and when remaining repair spend exceeds building new. Warning signs include steady dimensional drift, flash at the parting line, sink marks that resist process changes, uneven gloss, short shots and rust pits that return after cleaning. Cracked mold base blocks and spalled cavity steel are the terminal failures.
What causes an injection mold to wear out fastest?
Abrasive resin is usually first. Glass or mineral filled grades, especially glass-filled nylon, cut into cavity walls, core pins and gate areas every shot. Thermal cycling, high cavity pressure, poor cooling design and corrosive resins such as PVC add to the damage. Geometry matters too: tight shutoff, thin walls and cosmetic finishes surface wear long before structural features show it.
How often should an injection mold be cleaned and inspected?
Tie intervals to shot count rather than the calendar. A workable pattern is a visual check and vent clearing at every setup, a cooling and cavity clean every 25,000 to 50,000 shots, a dimensional and wear inspection every 50,000 to 100,000, lubrication and slide service every 100,000 to 150,000, and a full teardown inspection every 250,000 to 500,000.
Can injection molds be repaired instead of replaced?
Most wear components can be replaced: ejector pins, ejector and sprue bushings, gate inserts, vent inserts, slides, lifters, leader bushings and cavity inserts. Shops often get two to four repair lives from one mold base. Cracks through the mold base or cavity blocks, severe thermal fatigue spalling and warped plates are the cases where refurbishment stops making sense.
Key Takeaways for Planning Mold Life
How long does an injection mold last is answered in shots, conditioned on steel, resin, geometry and upkeep. Here is the short version of what to do.
- Document the baseline — file the T0/T1 first article report with the critical dimensions and finish grade. Without it you cannot prove drift later.
- Track shots, not weeks — use the machine controller counter as your maintenance trigger and keep a cavity pressure and cycle time record beside it.
- Match steel to resin — unfilled parts on P20 or 718H, filled or corrosive parts on H13 or S136, prototypes on aluminum with a known shot ceiling.
- Service on a shot schedule — vents, cooling channels, lubrication and wear components checked at fixed intervals rather than when a part starts looking wrong.
- Replace on part quality — when the tool can no longer hold the dimensions, finish or strength the part needs, and repair spend passes new tooling, it is done. Cycle counts are a planning input, not an expiry date.
One last practical note for anyone planning a launch: put the resin, annual volume, tolerance stack and expected finish in the RFQ. A mold maker cannot quote an accurate mold life without them, and a number quoted without those conditions is worth very little.