
How to start a 3D printing business comes down to three decisions: who you sell to, what you print for them, and what each print is worth once filament, electricity, labor, and failures are counted. Hardware is the easy part. Most people who quit never had a printer problem, they had a pricing problem or picked a product nobody was buying.
Here is the honest version. 3D printing is a manufacturing tool, not a business idea on its own. The business is a specific part, model, or batch of identical items that a specific group of customers already pays money for. The most common objection raised on r/3Dprinting is that printing dragons nobody commissions does not pay for anything, and that objection is correct.
Budget roughly 90 days and a few hundred dollars to test one product line before you commit real money. Work through the steps below in order, and stop at step two if nobody wants what you are making.
Table of Contents
- What You Need
- How to Start a 3D Printing Business: Step-by-Step
- 1. Choose a Profitable 3D Printing Niche
- 2. Research Demand Before Buying Equipment
- 3. Build a Simple Business and Financial Plan
- 4. Choose the Right Printer and Materials
- 5. Calculate Product and Service Pricing
- 6. Create Your Production and Quality Process
- 7. Set Up Sales, Shipping, and Customer Support
- 8. Launch and Market the Business
- 9. Track Profitability and Improve Operations
- Common Mistakes
- Frequently Asked Questions
- Conclusion
What You Need
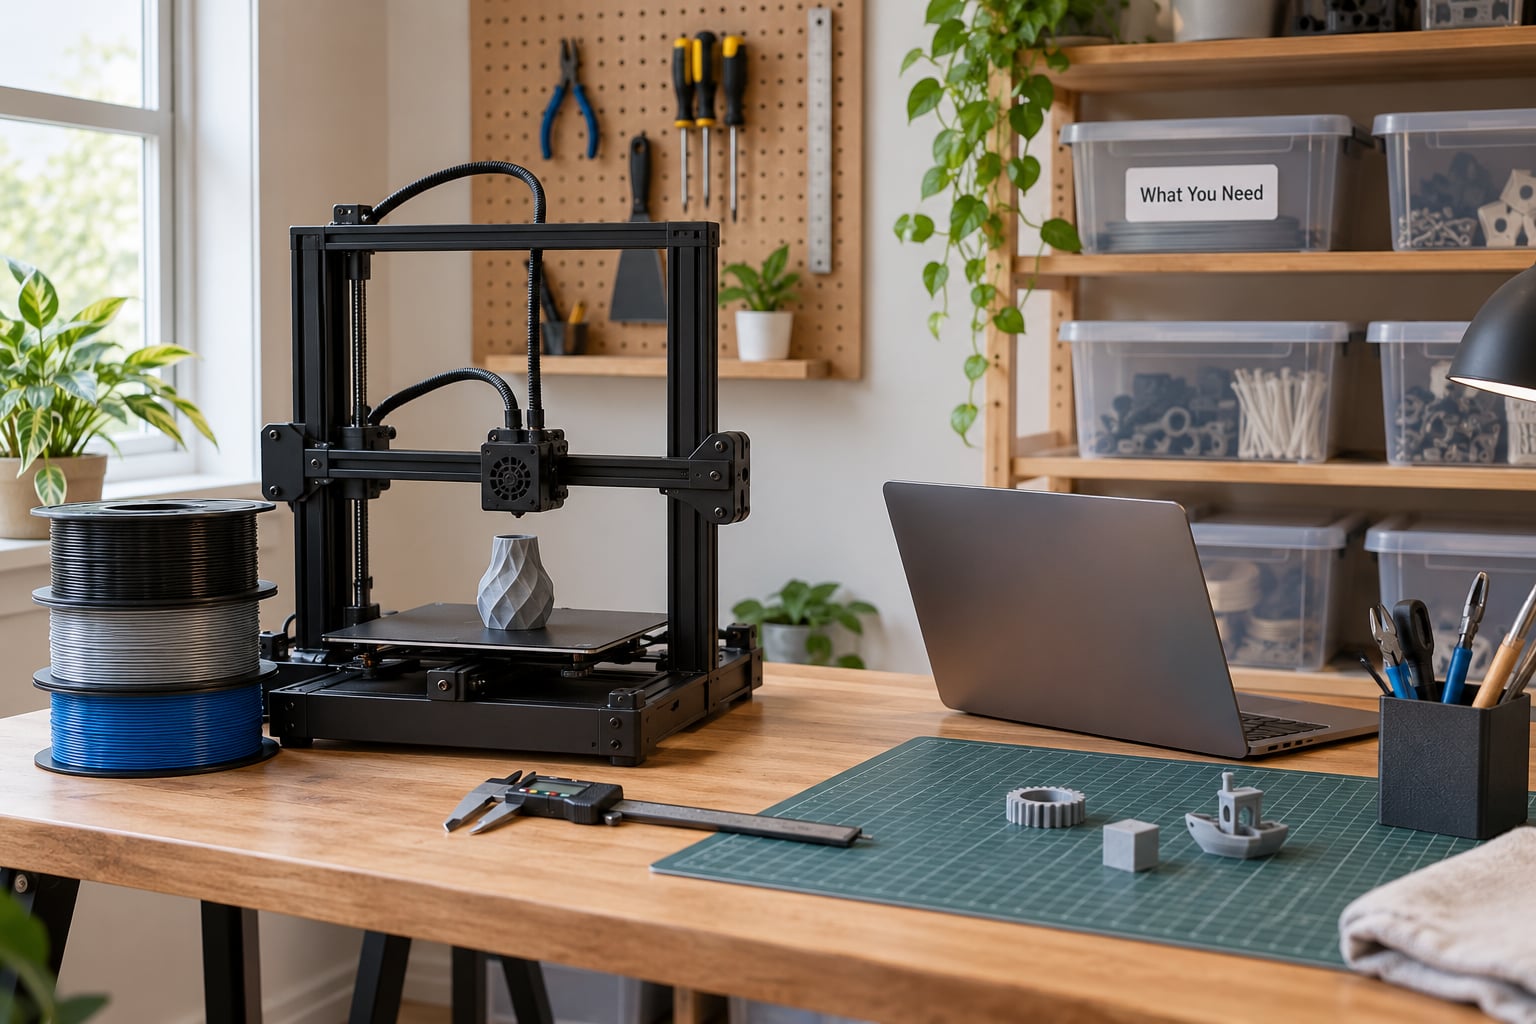
Before you buy anything else, get these categories covered. Some can start small, and some are worth waiting on until real orders prove they pay off.
Business basics
- A decision on legal structure, usually a sole proprietorship or LLC
- Registration with your state or local authority if you will sell regularly
- A separate business bank account so personal and print spending never mix
- A sales tax registration once you meet your jurisdiction’s thresholds
- A simple spreadsheet or bookkeeping app, and a separate mileage and materials log
Equipment
- One reliable FDM printer with an enclosed build chamber if you plan to sell anything functional
- A filament dryer, because wet filament causes popping, stringing, and weak layers
- Digital calipers, flush cutters, a deburring tool, and hex keys
- A second spare hotend, nozzle set, belts, and a spare heated bed sheet
- Enclosure or tent, plus ventilation if you ever run resin
Skip the second and third printer until one machine is genuinely busy. Wear and tear is a real cost line that hobbyists ignore: nozzles, belts, and bearings need replacing, and a printer running two shifts a day will tell you when.
Software
- Tinkercad, free in the browser, for your first hundred designs
- Fusion 360, free for personal use but licensed differently for commercial work
- Blender, free, for figurines and organic shapes
- OrcaSlicer, PrusaSlicer, or Cura, free slicers that turn a model into a print job
Materials and workspace
Start with PLA and PETG and add TPU once your slicer profiles are consistent. Resin gives better detail but demands gloves, ventilation, and longer post-processing, so treat it as a second-stage material. Keep the room stable and dry, roughly 15 to 28C, with airflow so fumes and heat do not build up.
Getting customers
Pick two channels before you launch, not ten. A marketplace listing plus one local channel, such as a craft market or a direct line to a small business, is enough to generate the first twenty orders and the first honest feedback.
How to Start a 3D Printing Business: Step-by-Step
1. Choose a Profitable 3D Printing Niche
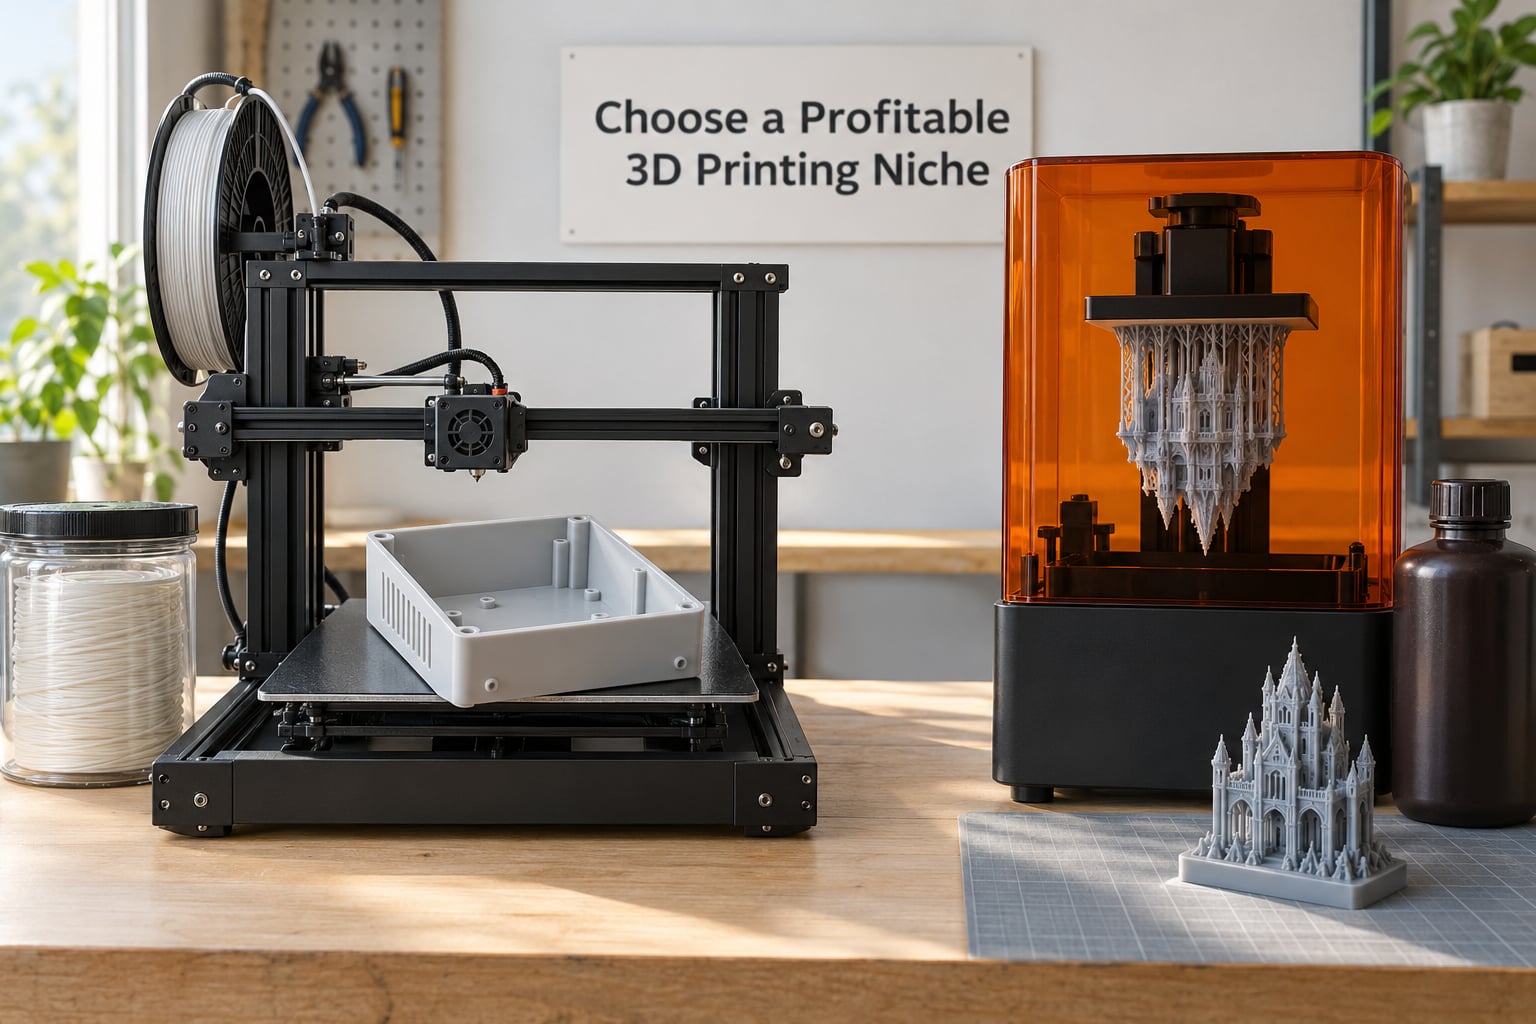
Choose one customer group and one product family, then stay there long enough to learn what they actually pay for. The best niches share four traits: people are already solving the problem with something expensive, the item is easy to describe in a listing, the print does not need a finishing line longer than the profit, and people come back or order in groups.
Custom organizers and household parts are a solid start because the buyer can photograph the problem at home and the fix ships flat. Replacement parts for a specific appliance, drone, or hobby machine work well when you can measure the original or the customer can send measurements. Miniatures and tabletop terrain sell in volume and accept a resin finish, though margins depend on post-processing speed. Prototypes and design samples go to other small businesses, which is the model several experienced operators point to when they say a print farm only makes sense when you are printing for other businesses.
How to tell if a niche passed: you can name ten real buyers or listings that sold recently, the item needs one material rather than four, and you can finish a piece in under 30 minutes. How to tell if it failed: the only examples you can find are hobby prints with no buyer, or every competitor is identical and undifferentiated.
2. Research Demand Before Buying Equipment
Validate before you invest. Look at what already sells on marketplaces and forums in your niche, count reviews and recent sales dates, and read the one-star reviews because that is where the product improvement lives. Search volume on the names buyers actually type tells you whether there is a market or just hobby traffic.
Then talk to ten people. Ask what they last paid for the problem, what broke, and what they would replace today. Five concrete preorders, or a simple landing page with a checkout and a clear delivery date, is enough signal to justify equipment. A landing page that gets clicks and no deposits is a cheap way to learn that your idea is wrong.
Measure the step by its result: named buyers, deposits, or a waitlist, not compliments. r/3DprintIndia threads show the pattern well, where a beginner with a single PLA printer asks for the full sequence because the gap is not equipment knowledge, it is customer-finding.
3. Build a Simple Business and Financial Plan
Register where your jurisdiction requires it, open a business account, and write down your fixed monthly costs: rent or space, power, insurance, software, and a replacement-parts reserve. Most home setups work at this stage, though a multi-machine operation needs noise, ventilation, and electrical capacity that a spare room may not have.
Set three numbers before the first order: your minimum acceptable margin per print, the monthly revenue that covers your fixed costs, and the number of orders per week that keeps machines busy. Treat the spare room as zero rent only if you are honest about the electricity, wear, and the value of the space.
Tax rules and registration thresholds vary by country and state and change over time, so confirm yours with a local accountant before you scale. This is general guidance, not accounting advice.
4. Choose the Right Printer and Materials
Match the machine to the niche rather than the other way around. Consumer FDM printers with an enclosed chamber are the workhorse for functional parts: repeatable, low material cost, forgiving of dust. Resin printers win on fine detail, miniatures, and tight tolerances, but they carry PPE, ventilation, and post-processing overhead. Larger-format and multi-material machines only pay off once your best-selling product outgrows your current build volume.
Used machines are reasonable for learning and risky for production, because a tired extruder shows up as failed prints you cannot explain. Whatever you buy, buy one you can service, and set aside a spare nozzle set and a spare hotend on day one.
Match the material to the use. PLA suits display items and prototypes. PETG handles heat and impact better and is the default for functional household parts. TPU covers gaskets, grips, and protective sleeves but prints slower and needs a direct drive extruder. ABS and ASA need an enclosure for outdoor parts. Resin delivers the cleanest detail and the most safety handling.
You can read the 3D Printing vs Injection Molding Cost Breakdown next, which is useful once your order volume climbs enough that you need to know where additive manufacturing stops making sense.
5. Calculate Product and Service Pricing
Price from cost upward, never from what a competitor charges. The formula is: filament grams multiplied by price per gram, plus print hours multiplied by your target machine hourly rate, plus kilowatt-hours multiplied by your electricity rate, plus post-processing labor, plus packaging, plus a failure allowance, plus platform fees, plus shipping.
The community’s shared unit of account is exactly this: grams, infill percentage, and hours. So use an 80 gram part at 30% infill with a two-hour print as the worked example. Filament at roughly two cents a gram puts material near $1.60. A printer pulling about 0.15 kW on average for two hours uses about 0.3 kWh, which at $0.17 per kWh is about five cents. Machine time is the real driver: at a $15-per-hour target rate, two hours is $30. Ten minutes of removal and cleanup at $20 an hour adds $3.30. Packaging is $1 to $2, and a 10% failure allowance covers about $4.
That lands near $40 for a simple functional part before fees and shipping. Add a marketplace transaction fee around 6.5%, roughly 3% plus a small fixed payment processing charge, a listing fee, and any offsite ads percentage the marketplace attributes to you, and a part that felt expensive now has real margin left in it.
Quote custom work by the hour or as a deposit plus balance, with a written scope covering material, size, finish, and delivery date. The documented lesson from a young seller’s early commission, covered by CNBC Make It, was simple: a twelve-piece order priced at $20 per piece became $45 per piece once his father counted nine hours of print time on each one, and that single order brought in $540.
6. Create Your Production and Quality Process
Write the workflow down so anyone could repeat it: model preparation, slicing profile, print queue, removal, post-processing, inspection, packaging, and a status update to the customer. Standard slicer profiles per material remove most guesswork and make failures comparable over time.
Track a simple defect rate, ideally under five percent, and photograph every finished piece before it ships. Finishing is where margin appears: a raw print, a sanded print, and a primed and painted print can justify three different prices for the same part, and the extra cost is labor you already understand. Support removal, sanding, filler, and a paint coat are the ladder most sellers ignore.
Keep a record of every reprint and why it happened. That list is your improvement roadmap and it is also the evidence you need when you argue for better equipment.
7. Set Up Sales, Shipping, and Customer Support
You need one checkout that takes payment, sends an order confirmation, states a realistic lead time, and gives tracking. Local pickup is underrated for fragile or oversized prints and it removes packaging cost entirely for nearby customers.
Pick a carrier and a packaging method that survives a drop. Rigid mailers, corner protection, and a simple drop test on your own packed order prevent most damage claims. Photograph the item and the box before sealing anything that had an issue on arrival.
Write a short returns policy in plain language: damaged on arrival gets replaced, print defects get reprinted, change of mind on custom work does not. Answer within one business day. A documented, professional response is what separates a shop from a hobby listing.
8. Launch and Market the Business
Launch small and proof-driven. Photograph finished pieces in real light, not on a render background, and show the object in use. Post short demonstrations of the print process because that content is genuinely interesting and it converts better than product photos alone.
Sell where the buyers already are: the niche forum, the local school or club, the tabletop group, the makerspace meetup, and one local craft market. A single table with twenty well-chosen items outperforms a storefront nobody visits. Reach out to small businesses for prototypes, because one repeat B2B customer can equal fifty marketplace orders.
Offer custom commissions with a clear form for dimensions and use case. Testimonials and printed reviews accumulate slowly, so ask early customers for a photo and quote, with permission, and publish them on the listing.
9. Track Profitability and Improve Operations
Review numbers monthly, not emotionally. Track revenue, material grams used, machine hours, labor minutes, failure and reprint counts, shipping cost per order, customer acquisition cost, and gross margin per product. Ask two questions each month: which product earns the best margin per machine hour, and which customer type repeats.
Raise prices when demand outstrips your queue. Retire products that consume machine hours and never repeat. Reduce failures by fixing the two most common ones rather than buying new equipment. Outsource overflow post-processing to a local partner before you hire. Add a printer only when the current one is idle less than a few hours a week and you know which product will fill it.
The scale test is simple: a real 3D printing business survives when orders repeat without constant persuasion. Until then, treat it as paid learning with a small cost base.
Common Mistakes
Buying too many printers too soon. Two idle machines cost twice the power and wear for none of the output. Correction: one machine, measured for a full month, before machine two.
Printing undifferentiated designs. If your listing looks identical to hundreds of others, you are competing on price alone, which is the worst place to compete. Correction: change one dimension, solve one specific problem, or serve one buyer group nobody else targets.
Ignoring failed prints as a cost. A failure is material, machine time, and labor, all gone. Correction: add a failure allowance to every price and log the causes.
Underpricing labor. Removal, cleanup, finishing, packaging, and messages are real work. The $20 to $45 repricing documented in that CNBC Make It case was exactly this correction. Correction: pay yourself a target hourly rate inside the price.
Selling designs you do not own. Many free models are licensed for personal use only, and the risk is losing the shop and paying damages. Correction: use your own designs or ones with an explicit commercial license.
Poor customer communication. Long silent gaps produce refunds and bad reviews faster than anything else. Correction: send a progress update when a long print starts, and again when it ships.
Skipping safety and airflow. Resin and heated chambers produce fumes and heat. Correction: gloves for resin, ventilation, a stable room temperature, and equipment kept clear of anything flammable.
Ignoring printer wear. Nozzles, belts, bearings, and heated beds are consumables with real lifetimes. Correction: a monthly replacement reserve and a monthly check of belt tension and rail cleanliness.
Frequently Asked Questions
Is 3D printing a profitable business?
It can be, but only with correct pricing and a repeat customer. The printers themselves rarely make money. Profit comes from price covering filament, electricity, machine time, labor, failures, packaging, fees, and shipping, with a real margin remaining. Sellers who price by feel report thin results, while sellers who price per machine hour and track defect rates build a real margin. Treat the first six months as paid learning.
How much does it cost to start a 3D printing business?
A lean home setup runs roughly a thousand dollars for one enclosed printer, starter filament, tools, dryer, packaging, and registration. A small working setup with several printers, ventilation, shelving, and spares runs from about one and a half thousand to four thousand. A dedicated small shop with six or more machines starts around six thousand and can pass fourteen thousand with workbench, power, and storage. Figures are typical US ranges and change.
Do I need a license to sell 3D prints?
You generally do not need a special manufacturing license to sell printed objects, but you do need to register a business and collect sales tax once your jurisdiction requires it. The part people get wrong is design licensing: many free models permit personal use only. Sell your own designs, or ones with an explicit commercial license. Local rules vary by country and state, so confirm before you scale.
What is the most profitable item to 3D print?
There is no single item, but the most profitable work shares traits: the buyer already pays for a worse solution, the part needs one material and no long finishing, and it repeats. Replacement parts, custom organizers, and functional household fixes usually beat decorative prints. Miniatures can do well in volume but depend on fast post-processing. Judge any candidate on margin per machine hour, not per piece.
What 3D printer should I buy to start a business?
Buy one enclosed-chamber FDM printer from a brand with replaceable parts and a serviceable hotend, then add a second only when the first is busy most of the week. Add resin later if your niche needs fine detail and you can handle ventilation and PPE. Used machines are fine for learning and risky for production, because worn components cause failures that are hard to diagnose.
Can I run a 3D printing business from home?
Yes, most starting sellers do. You need stable room temperature around 15 to 28C, airflow, a dedicated circuit for multiple heated chambers, and a noise plan for neighbors and family. Scale past a spare room when you need machine count, ventilation capacity, and electrical load that residential space cannot give you safely.
Conclusion
Start with one niche and one customer group, then prove demand with preorders or a landing page before you buy more than a single printer. Price every print from filament grams, machine hours, labor, and a failure allowance, so you know your margin before you quote a customer. Add the second machine when the first is busy and you know which product will fill it. Scale when orders repeat without constant persuasion.