
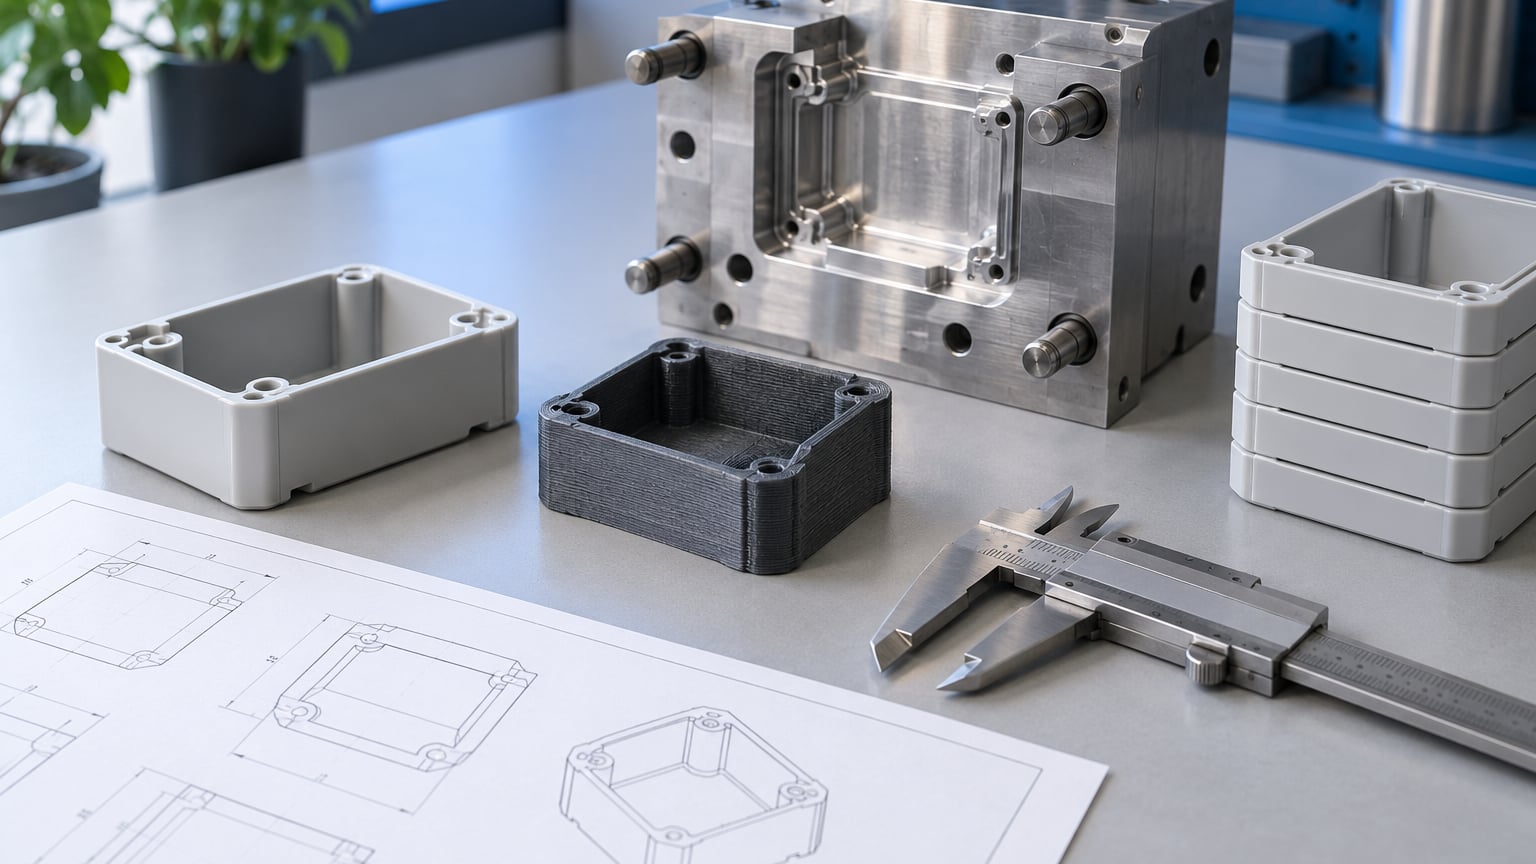
To manufacture a product idea step by step, you move it through a fixed sequence: validate the customer problem, design it in CAD, build and test prototypes, source a manufacturer, cost the part, run a pilot batch, then place a production order and inspect what arrives. Most first-time inventors skip the early steps and pay for it with tooling money they cannot recover.
A simple molded product takes four to eight months from a sketch to a repeatable production run. A complex assembly with electronics, custom tooling, and compliance testing can run a year or more, and the calendar is driven mostly by suppliers and test labs rather than by design work.
The order matters more than the pace. Every step produces something the next step needs: a brief produces a drawing, a drawing produces a quote, a quote produces a purchase order. Skip one and the factory guesses, and factories guess with your budget.
Table of Contents
- What You Need
- Step-by-Step: How to Manufacture a Product Idea
- Step 1. Define the Product and Its Customer Problem
- Step 2. Validate Demand and the Commercial Case
- Step 3. How to Manufacture a Product Idea: Pick the Material and Process
- Step 4. Create Engineering Drawings and Product Requirements
- Step 5. Build and Test Prototypes
- Step 6. Calculate the Product Cost and Selling Price
- Step 7. Validate the Manufacturing Process and Quality Plan
- Step 8. Place the Production Order and Prepare Logistics
- Step 9. Inspect, Ship, and Improve the Product
- Common Mistakes
- Frequently Asked Questions
- Conclusion
What You Need
Most people who feel stuck on this topic are not stuck on manufacturing. They are stuck because they cannot hand a stranger a clear description of what they want built. Gather these eight inputs before contacting anyone for a price.
- A defined product requirement. One page describing the product, the user, and the job it does. If it takes more than a page, the idea is not defined yet.
- Market evidence. Notes from buyer conversations, competitor listings, and any sign that people already pay for a workaround.
- Technical drawings or specifications. Dimensions, materials, and critical performance requirements. Sketches work for a first conversation; nothing else does.
- A target quantity for the first run. 300 units and 30,000 units are different products as far as a factory is concerned, and process choice follows the number.
- A material and process shortlist. Two or three candidate processes, with the reason each one might fit.
- A budget ceiling. What you can lose if the first attempt fails, separate from what you expect to make.
- Quality criteria. What “good enough” means: the load it must carry, the temperature range, the tolerance on a mating part, the service life you promise.
- Candidate manufacturing partners. Three is the minimum that lets you compare quotes honestly.
Own all eight before you spend money on anything. The product brief alone will save you from the most common early mistake, which is paying a mold maker for a part nobody has confirmed they want.
Step-by-Step: How to Manufacture a Product Idea
The nine stages below run in order. Each one ends with a deliverable you can show someone else and a check that tells you whether to move on or go back.
| Step | What you do | Output | Typical time |
|---|---|---|---|
| 1. Define the product | Write the brief: user, use case, size, load, materials, service life | One-page product brief | 1 to 2 weeks |
| 2. Validate demand | Talk to buyers, scan competitors, test a target price | Price band and first-order estimate | 2 to 6 weeks |
| 3. Pick material and process | Match geometry and volume to a manufacturing route | Chosen process with written reasoning | 1 to 2 weeks |
| 4. Draw and document | Create CAD models, tolerances, and a bill of materials | Drawing package and BOM | 2 to 8 weeks |
| 5. Prototype and test | Build low-fidelity and functional samples, revise | Working prototype and revision list | 2 to 6 weeks |
| 6. Cost the part | Add up material, tooling, labor, freight, scrap, and margin | Landed cost per piece | 1 to 2 weeks |
| 7. Run a pilot batch | Build a small run, set inspection points, review defects | Approved pilot output and control plan | 4 to 8 weeks |
| 8. Order production | Place the purchase order, confirm schedule and packaging | PO, milestone schedule, shipping documents | 2 to 4 weeks to place |
| 9. Inspect and improve | Inspect on arrival, log defects, close the loop on design | Receiving inspection record | Ongoing |
Step 1. Define the Product and Its Customer Problem
Turn the broad idea into a specific brief. Write down the target user, the situation they use it in, the required dimensions, the loads or operating conditions, the safety needs, the expected service life, and the cost you can absorb per unit.
The check is simple: hand the brief to someone outside the project and ask them to describe the product back to you. If they get the use case or the size wrong, the document is the problem, not the reader.
Start with the problem rather than the mechanism. Inventors on hardware forums repeat the same mistake: they describe a solution in the brief and then wonder why buyers are lukewarm about a problem they never confirmed exists.
Step 2. Validate Demand and the Commercial Case
Before anyone cuts material, find out whether people pay for this today. Interview ten to twenty people who would use the product, including three who already buy a competing version. If nobody owns a workaround, be suspicious of your own enthusiasm.
Then scan competitors and note their price, their stated materials, and what buyers complain about in reviews. Complaints are the most useful part of that scan, because they tell you what to fix and give you a reason to exist.
Estimate the first order quantity honestly. Crowdfunding campaigns often predict several thousand units and deliver a few hundred, so factories quote on the pessimistic number and you eat the difference. If your volume is uncertain, quote at 300 units and negotiate the higher tiers separately.
Getting a supplier lined up early costs nothing. Our guide to choosing a contract manufacturer covers the vetting questions worth asking before you share a drawing.
Step 3. How to Manufacture a Product Idea: Pick the Material and Process
The process follows the geometry and the volume, not the other way round. Injection molding suits complex hollow plastic parts above roughly 1,000 units. Compression molding handles thick or soft plastic and rubber parts with shorter tooling. Extrusion suits constant cross-sections such as channels and rails. Thermoforming suits thin plastic shells. Sheet metal fabrication suits brackets and enclosures. CNC machining suits metal prototypes and low-volume precision parts. Additive manufacturing suits complex shapes in small quantities and early testing. Assembly covers anything that combines purchased parts.
Decide on volume, finish, geometry, and cost together. A part that holds 30 units per year does not justify 20,000 dollars of tooling, and a molded part with a hand-finished touch on every unit will cost more in labor than the molding saved.
One warning about plastic specifically: material choice outlives the design. If a part will carry load or heat, check the resin grade before the color and texture. A lifecycle assessment before launch is a good way to compare recycled, bio-based, and virgin resin options on more than appearance.
Step 4. Create Engineering Drawings and Product Requirements
A factory cannot quote a photograph. Document the part as a drawing package: overall and critical dimensions with tolerances, surface finish, material grade, color and texture, labels and markings, packaging style, and any assembly notes.
Also produce a bill of materials that lists every purchased part with its specification, quantity, and source. Distinguish items you supply from items the factory buys, because those two categories carry different cost and lead time.
State your inspection points in the same package. Writing down what you will measure on arrival is what stops a shipment from being judged by opinion.
The check for this stage is quote quality: send the package to three factories and see whether their prices land in a similar band. Wildly different quotes usually mean one factory is reading different assumptions, not that one of them is a bargain.
Step 5. Build and Test Prototypes
Prototypes come in tiers. A foam or cardboard mockup tests size and ergonomics for a few dozen dollars. A 3D-printed sample tests fit and function in the low hundreds. A CNC-machined or molded functional prototype tests real materials and load, and usually runs from several hundred into the low thousands. A soft-tooled or low-volume run tests the actual production process before you commit to hard tooling.
Test against the brief, not against your enthusiasm. Put the part in front of five target users and watch them complete the core task without help. Then run the physical tests your use case demands: drop, load, cycle, temperature, wear. For plastic parts, our step-by-step impact resistance testing guide covers the drop tower and Izod methods in detail.
Log every change between prototype versions. Revisions 2, 3, and 4 need to be traceable, because the second time you make the same mistake you have paid for it twice.
Step 6. Calculate the Product Cost and Selling Price
Build the unit cost from these lines: resin or raw material, tooling amortized over the order quantity, direct labor, machine time, finishing and secondary operations, purchased components, assembly, quality control, packaging, inbound and outbound freight, duty and tariffs where applicable, scrap allowance, and factory overhead.
Tooling is the line people get wrong. A 12,000 dollar mold spread over 5,000 units adds 2.40 dollars per piece. The same mold spread over 500 units adds 24 dollars, which usually kills the product. That single calculation decides whether a part is injection molded or machined.
Set your target selling price from the landed cost plus the margin your channel can carry, not from a competitor’s shelf price minus a guess. Retail and distributor channels take a large cut of retail price, and freight can add meaningfully to a bulky part. Most first runs land somewhere between 20 and 60 percent over simple part cost once every line above is counted.
The check: does the margin survive a 10 percent scrap allowance and a freight estimate written by a forwarder rather than a hopeful guess? If not, redesign before you order.
Step 7. Validate the Manufacturing Process and Quality Plan
The pilot run answers one question: can this factory repeat the approved sample? Build 100 to 500 units, not 100 to 500000, and use the run to find problems where they are cheap.
Define your critical-to-quality characteristics: the dimensions that must be tight, the surfaces that must look right, the load or rating that must hold, and the cosmetic defects that make a unit unsellable. For each one, write the measurement method and the acceptable limit.
Review the pilot output with the factory. Cosmetic defects, warpage, flash, and dimensional drift all show up here, and every one of them is cheap to fix now and expensive to fix after a 20,000-unit run. Approve a signed golden sample and attach it to the purchase order so production has something concrete to match.
Step 8. Place the Production Order and Prepare Logistics
Write a purchase order that names the part revision, material grade, quantity, unit price, tooling ownership, payment milestones, delivery date, inspection standard, defect allowance, and what happens to nonconforming units. Vague orders produce vague deliveries.
Ask for a milestone schedule in writing: material arrival, tooling completion, first article, production start, packaging, and the final handover date. Confirm lead times for anything you supply yourself, since a late supplier part delays the whole assembly.
Agree packaging and labeling before production starts. Barcode format, carton counts, pallet dimensions, and carton markings all affect what happens at your warehouse door. Ask for commercial invoices, packing lists, and certificates of origin or conformance to be prepared with the shipment rather than afterward.
Build a small contingency: a second source for critical components, and enough inventory buffer to absorb a two-week delay in your best-selling color or size.
Step 9. Inspect, Ship, and Improve the Product
Inspect on arrival, before anything moves to the floor. Pull a sample per the plan you agreed in step 7, measure the critical dimensions, check cosmetics under consistent lighting, and run functional tests on the rated units.
Document the results. A receiving inspection record that says “30 of 500 inspected, 2 cosmetic defects, 1 dimensional reject” gives you a defect rate you can act on. An inspection nobody wrote down gives you an argument instead.
Handle nonconformities through a written process: quarantine the affected units, tell the factory within the contract window, agree on replacement or credit, and record the cause. Then fix the cause, usually in the design, the material choice, or a control point in the process.
Feed field feedback back into the same loop. A recurring complaint that never reaches a drawing revision will keep coming back on every future run.
Common Mistakes
These are the errors that cost real money, with the fix that usually prevents them.
Starting production before validating demand. You end up with 5,000 finished units and no buyers. Fix: require three written confirmations of willingness to buy at your target price before any tooling deposit.
Using vague drawings. “Approx. 4 inches, black plastic” produces a part nobody can repeat. Fix: every dimension on the drawing carries a tolerance, and every material carries a grade.
Choosing a process on the lowest quote alone. The cheapest mold for 500 units is rarely the cheapest route overall once you count rework and shipping. Fix: compare at least three quotes on identical drawings and terms.
Underestimating tooling and lead time. A simple single-cavity mold often takes four to six weeks; a multi-cavity or multi-part tool takes longer. Fix: ask for the tooling schedule in writing before you pay the deposit, and add contingency to your launch date.
Ignoring tolerances on cosmetic parts. A part that looks right on screen and does not click together wastes an entire run. Fix: mark mating dimensions on the drawing and state the functional consequence of each one.
Launching without inspection criteria. The factory cannot guess what you would have rejected. Fix: attach the inspection method and defect allowance to the purchase order and to the golden sample.
Disclosing the design before protecting it. Once a drawing is in someone’s inbox, assume it can leak. Fix: sign a mutual nondisclosure agreement before detailed technical discussions, and file a provisional patent application before any public disclosure if protection matters to you.
Planning production, not inventory. A single long production run leaves you with all your money in the wrong color. Fix: bring a sales forecast into the order, and add a modest safety quantity on your best sellers rather than a large quantity of everything.
Two habits keep most of these away: get a factory’s process engineer to review your design before tooling, and treat every revision as a controlled change with a date and a reason attached.
Frequently Asked Questions
When should I manufacture a product in-house instead of outsourcing?
Manufacture in-house when volume is high and steady, the process is simple, and owning equipment creates a real advantage. Outsourced manufacturing makes more sense when volume is uncertain, the process is capital intensive, or you need several processes under one roof. Most first products belong with a contract manufacturer, because the capital tied up in machines does not scale down to a small order.
How do I choose a manufacturer for my product?
Send the same drawing package and bill of materials to at least five factories and compare the answers, not just the prices. Ask about the process they run most often, their smallest sensible run, defect history, lead time, tooling ownership, and who owns the files. Order a sample from your top two, then visit or video-call the one that will run production.
Do I need a physical prototype before talking to a factory?
For molded or machined parts, yes. A factory quotes geometry, wall thickness, draft, and tolerances, and a crude mockup cannot tell them whether the part will actually release from a mold. For simple products like fabric, printed items, or assembled purchased parts, a spec sheet and a sample image can be enough, and many buyers start that way.
What information does a factory need to give me an accurate quote?
Send a drawing package with dimensions and tolerances, the material grade, the annual and first-order quantities, the finish and color, an assembly bill of materials, your target delivery date, and the packaging format. Also say which parts you will supply and which the factory buys. Anything you leave out gets priced as a guess, and guesses are expensive.
How can I reduce the cost of manufacturing my product?
Design for the process, not against it: uniform wall thickness, fewer tight tolerances, and features the chosen process makes cheaply. Consolidate parts so you pay for one operation instead of four, cut cosmetic work nobody sees, and raise the order quantity if demand supports it so tooling amortizes. Re-quote once the design is stable, because most cost sits in the drawing, not the material.
Conclusion
Start this week with three things. Write the one-page product brief, then talk to ten people who would use the product and three who already buy something like it. After that, pick a material and process for your geometry and volume, build a functional prototype you can hand to a stranger, and send the same drawing package to three factories for a quote.
That sequence, run honestly, is how to manufacture a product idea step by step without spending money you cannot get back. Everything before the first purchase order is cheap compared with everything after it.