
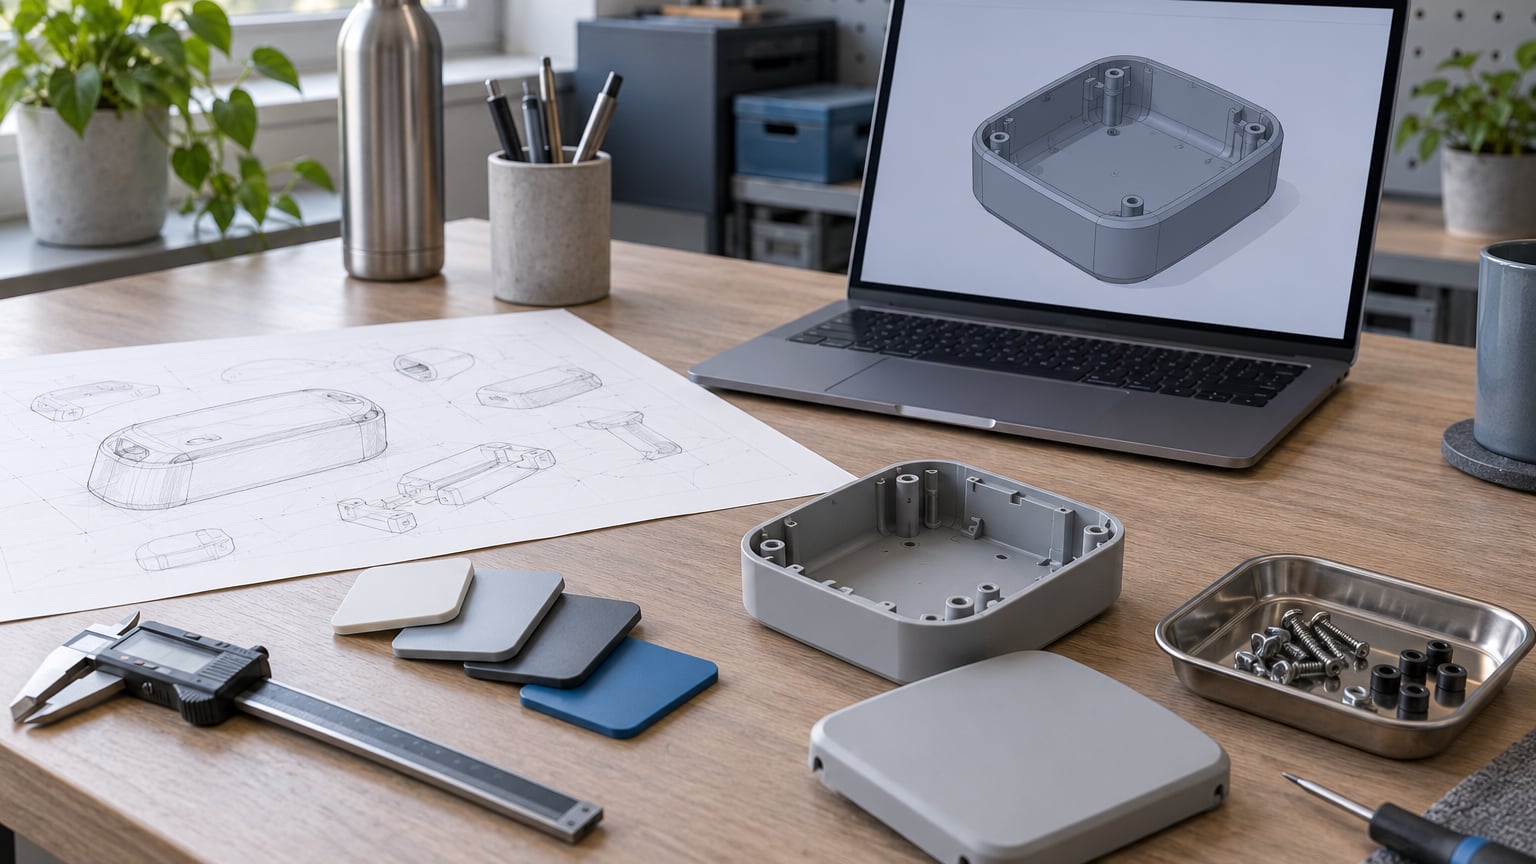
A product prototype is built to answer one question before you spend real money on production. If you know how to make a prototype of a product, you work rough to refined: sketch the idea, cut a cheap mock-up, model it in CAD, fabricate a sample with the process that fits your geometry and material, then test it until it passes or fails on written criteria.
For most physical products the whole cycle runs three to ten weeks and two to five build rounds. The people who rush it skip straight to a costly sample, and that is where budgets disappear.
What You Need
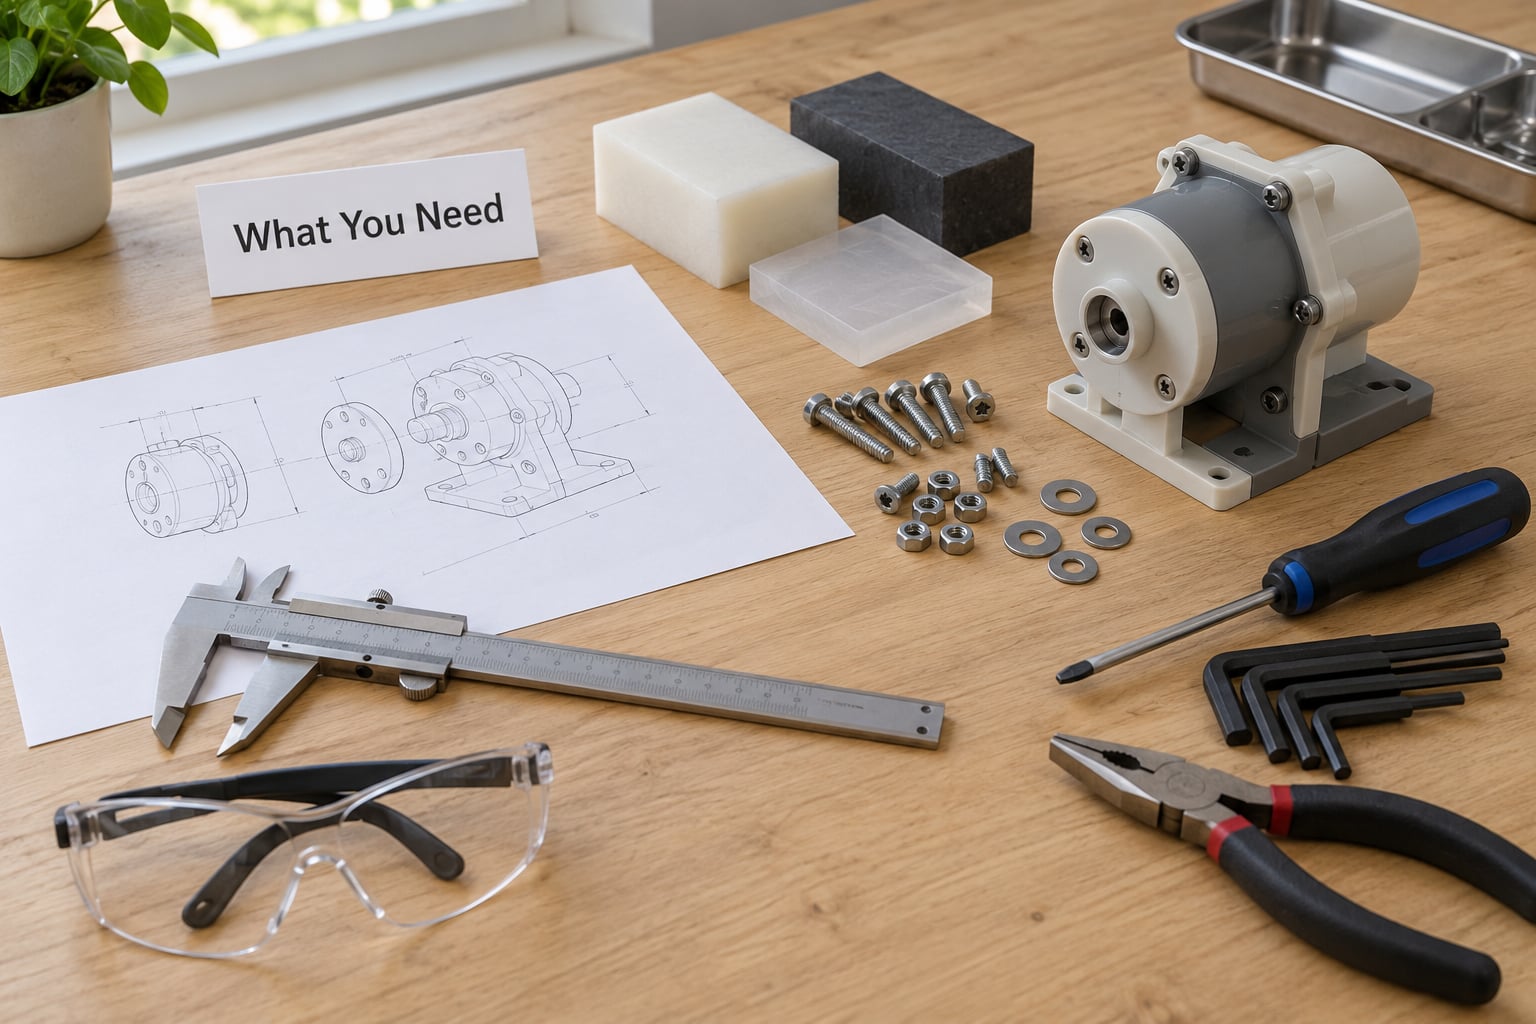
The first thing you need is a written sentence saying what the prototype must prove. Everything else follows from it. Can people reach the controls? Does the latch hold a load? Does it fit the enclosure it ships in?
Next, decide the fidelity level, because the three levels answer different questions and a wrong choice wastes a build round.
| Prototype level | What it proves | What it does not prove |
|---|---|---|
| Concept or low-fidelity mock-up | Size, ergonomics, user flow, whether the concept is worth pursuing | Durability, fit, function or manufacturability |
| Functional prototype | That the mechanism works and parts move together correctly | Cosmetic finish, long-term wear, tooling feasibility |
| Production-intent prototype | That the design can be built repeatedly with real materials and tolerances | Certified safety, regulatory compliance, long-run consistency |
Beyond the sample itself you need these five things lined up before cutting anything.
A specification. Dimensions that matter, the load or pressure it must survive, the environment, and the material. Write tolerances explicitly, even rough ones like plus or minus 0.2 mm on a mating feature.
A method. Pick the fabrication process that matches your geometry and quantity. FDM prints for fit checks, CNC for metal or tight tolerances, vacuum casting or soft tooling for small batches of real plastic parts.
Tools and materials. Calipers, a machinist square, hand tools, and raw stock in the material you intend to use. Using the real polymer or alloy early saves a whole revision cycle.
Documentation. A sketch set, CAD files, a bill of materials, and a dated record of every revision. A dated folder is weak evidence but it costs nothing and it settles arguments later.
Safety and test criteria. Eye protection, ventilation for resin or heated processes, and a written pass or fail list. If the product touches skin, food or mains power, get the applicable standards identified now rather than after the first build.
One more practical item: a decision on who is allowed to touch the design files. Sign a nondisclosure agreement with any supplier before you send drawings, and check whether you should file a provisional patent application first.
Step-by-Step
How to Define the Prototype’s Purpose and Requirements
Write a one-page brief before anything else. If a supplier can build it from your brief alone, the brief is good.
Cover the user and the use case first. Who holds this thing, in what position, for how long, and what happens if it fails? Then list the functions in priority order and mark which ones this prototype has to demonstrate.
Add the physical envelope. Overall length, width, height, wall thickness, weight, and every dimension that mates with another part. Include the load conditions: how much force, how many cycles, in which direction.
Finish with materials, cosmetic expectations, budget and the test that defines success. A typical budget range for a first functional prototype runs from a few hundred dollars for a machined or printed assembly to several thousand for a soft-tooled or cast set of parts, so state your number before a quote shapes your expectations.
Checkpoint: the brief is reviewed by whoever pays for the build, and every requirement has a number attached. If a requirement reads “should feel solid”, it is not ready.
How to Choose the Right Prototype Method
Method choice decides cost, lead time and which defects you will actually see. Choose by geometry, material, quantity and required accuracy, not by what the last project used.
The table below covers the common routes. Lead times are typical ranges in the US for a single small batch and shift with supplier load.
| Method | Best for | Typical lead time | Fidelity |
|---|---|---|---|
| 3D printing, FDM | Fit checks, housings, jigs, low-volume concept models | 1 to 5 days | Moderate; visible layer lines, anisotropic strength |
| 3D printing, SLS or SLA | Complex geometry, fine detail, functional parts, short runs | 3 to 10 days | High; SLS is strong in all directions, SLA gives detail and needs post-processing |
| CNC machining | Metal or rigid plastic parts with tight tolerances | 3 to 15 days | Very high; near-production material behaviour |
| Vacuum forming or soft tooling | Housings, shells and enclosures in the real polymer | 2 to 6 weeks | High on wall thickness and texture; limited on draft and threads |
| Injection molding with a bridge tool | Ten to a few hundred parts in production resin | 4 to 10 weeks | Very high on finish; gives real shrinkage and warpage data |
| Casting, metal or urethane | Metal parts, or many copies of one complex shape | 2 to 6 weeks | High; machining of cast features may still be needed |
| Manual mock-up | Scale, shape, ergonomics, pitch material | Same day | Low; no function at all |
A few rules of thumb. Printed plastic is fine for fit and layout but misleading for anything that depends on wall thickness, because FDM infill and layer adhesion do not behave like a molded part. If strength or flexing matters, cut a test coupon from the real stock. If the part is under about 100 mm and mostly flat, vacuum forming beats a machined block every time.
When the make-or-buy call is genuinely unclear, running a make or buy decision analysis before the first quote keeps the comparison honest, because tooling cost and unit cost move in opposite directions.
Checkpoint: you can state why this method and not the cheaper one. “It is what we have in-house” is not a reason.
How to Create a Prototype Design and Bill of Materials
Sketch first, then model. The sketch forces you to decide how the thing works before software lets you fall in love with a shape.
In CAD, separate the assembly into parts and make each part its own body. Draft any surface that will be molded or cast, usually three degrees or more, and keep wall thickness uniform so the flow is predictable. Add fillets at internal corners; sharp internal corners are the classic cause of short shots and sink marks later.
Mark the critical dimensions and leave everything else loose. Over-constraining a model makes revisions slow and pushes suppliers to quote it as a precision part.
Build the bill of materials next: every part, its material and grade, quantity, and who supplies it. Off-the-shelf items such as fasteners, bearings and seals should be specified as real parts with real standard references so a supplier can buy them too.
Export STEP as the master format and STL only for printing. Keep a dated copy of every version, and write down the assumptions you are not yet certain about, such as shrink rate or a supplier’s minimum wall thickness.
Checkpoint: someone who has never seen the product could quote it from your files. If they would have to call you with questions, the package is incomplete.
How to Build the First Product Prototype
Now fabricate, but treat the build as a documented run rather than a one-off. Deburr every printed or machined part, remove supports, and check critical dimensions against your drawing before assembly.
Mark orientation on parts that matter. Injection molded and vacuum formed shells warp in predictable directions, and knowing which way a wall was formed saves a puzzling failure later. Write down which parts are as-designed and which were adjusted to make the assembly close, and why.
Assemble in a fixed order and note fastener torque or thread engagement for anything that carries load. If a press fit is too tight, change the part, not the assembly. Hand-fitting a hole to make it work hides exactly the kind of variation that will wreck a production run.
Protect cosmetic surfaces during handling. Mask glossy faces, avoid clamping on visible walls, and keep one unassembled part aside as a material sample so you can compare the finish later.
For teams making early enclosures, making plastic molds at home can cover simple one-off shells, though production-intent parts should go through a proper bridge tool.
Checkpoint: you have a build record listing deviations, and the prototype assembles with only hand tools.
How to Test and Refine the Prototype
Test against the criteria you wrote in the brief, not against your memory of what you hoped would happen.
Run four passes. First a dimensional check with calipers against every callout. Then functional testing, cycling the mechanism well past normal use to find the failure point rather than the comfortable one. Then environmental exposure: heat, humidity, cold, dust, cleaning chemicals, and the drop or vibration levels the product will see in shipping.
Finally, put it in front of real users. Five to seven people from your target segment will surface most of what a longer study would, and you can run the session in under an hour each. Give them tasks, not instructions, and watch where they hesitate. Take notes on paper during the session rather than typing, and finish with a written list of what changes as a result.
Record every change as a numbered revision with a reason attached. Two or three rounds is typical for a simple product; five is still cheaper than one week of production sorting at a supplier.
Then ask whether the design is ready for production-intent work. If it passes function and wear but you still have questions about molding or cost, take it to a DFM review before anyone commits to tooling. That review is cheap and it is the last moment where geometry changes are free.
Checkpoint: each criterion on your brief has a pass or fail and a note. A prototype with three open questions is a work in progress, not a product.
Common Mistakes
Skipping requirements. Building before the brief exists means every stakeholder’s assumption gets baked into hardware. Fix: no build order without written criteria.
Confusing a mock-up with a prototype. A cardboard mock-up tests size and feel. It cannot tell you anything about function, and treating it as proof is the most common false positive in this process.
Choosing a material that does not match production. ABS printed on an FDM machine feels nothing like an ABS injection molded shell, and flexible TPU prints hide wall thickness problems entirely. Fix: test at least one feature in the real material.
Ignoring tolerances until the parts arrive. A 0.3 mm interference on a snap fit works once and fails at scale. Fix: call out fits as clearances and interference values, and tell the supplier which ones are load-bearing.
Testing too late. Discovering an unusable size after the third build round is the expensive version of this mistake. Fix: run the mock-up and the fit check before committing to a functional build.
Sending files before protecting them. Suppliers talk to each other. Fix: sign an NDA and consider a provisional patent filing before drawings leave your inbox.
Not budgeting for iteration. Nobody gets it right first. Fix: plan three rounds and the cost of each, and treat a round that needs no change as a good outcome, not a wasted one.
Trusting a printed prototype to prove manufacturability. Layer lines, orientation and infill hide sink marks, flash, short shots and warpage. Fix: if manufacturability is the question, use a soft or bridge tool and the real resin.
Cost escalates sharply with stage. A paper and foam concept model is trivial. A functional sample is a modest multiple. Production tooling is one to two orders of magnitude above that, and a pilot run adds material and setup again. Every error caught before the tool is cut is paid for at prototype prices; the same error caught at first article is paid for in scrap, schedule and freight. Reviewing material choices and end-of-life impact early, the way a lifecycle assessment for a plastic product does, is a cheap way to catch choices that get expensive later.
Frequently Asked Questions
How do I get my prototype made?
Start with a one-page brief listing functions, critical dimensions, materials and pass or fail criteria. Build a low-cost mock-up to validate size and ergonomics, then produce CAD files and a bill of materials. Send that package with drawings and tolerances to a prototyping house or manufacturer, review the DFM feedback, and iterate on built samples until every criterion passes.
What makes a prototype a prototype?
A prototype is an early, unreleased version of a product built to answer a specific design question before production is committed. Its job is to test one thing: fit, function, ergonomics, load, or manufacturability. A model that answers no question is a rendering or a mock-up, and it costs you build rounds without telling you anything you did not already assume.
How much does it cost to build a prototype?
Cost tracks fidelity and process rather than size. A manual mock-up runs tens of dollars in materials. A printed or machined functional prototype commonly lands in the hundreds, and a soft-tooled or bridge-tooled set of parts in the real polymer runs into the thousands. Add ten to twenty percent per revision round, and expect material to cost more per unit in small quantities than it will at volume.
Can I patent an idea without a prototype?
Yes. A patent application does not require a working model, and filing early protects your filing date while development continues. A prototype you build later does not hurt an application, though US law requires disclosing the best mode you knew of at filing. Filing a provisional application first is a common route because it is cheaper and buys twelve months to decide whether to go further.
Is a 3D printed prototype enough to prove it can be manufactured?
No, and this is where most first-time builders get hurt. Printed parts hide shrink marks, flash, short shots, draft problems and warpage because they are built layer by layer in a different way. Printed samples are excellent for fit, layout and function. To prove manufacturability, use a soft or bridge tool with the production resin and let the parts shrink before you judge them.
What is the difference between a prototype and an MVP?
A prototype answers a design question and is usually not the version you sell. A minimum viable product is the smallest version real customers can buy and use, built with production materials and processes. The path runs prototype, then pre-production sample, then a pilot run, then the MVP. Treating a prototype as launchable usually means discovering your worst problems in public.
Conclusion
Prototyping is a loop, not a line: define the question, build to the cheapest fidelity that answers it, test against written criteria, revise, and only then raise fidelity. The whole process is worth learning how to make a prototype of a product because the design decisions that cost you money later are cheapest to make while you still have three build rounds left.
Start today with one page: the function, the critical dimensions, the material, the budget and the test that decides whether this design works. Everything after that page is detail.
Keep this guide current for 2026 by revisiting the method table whenever your supplier changes processes or material grades.