
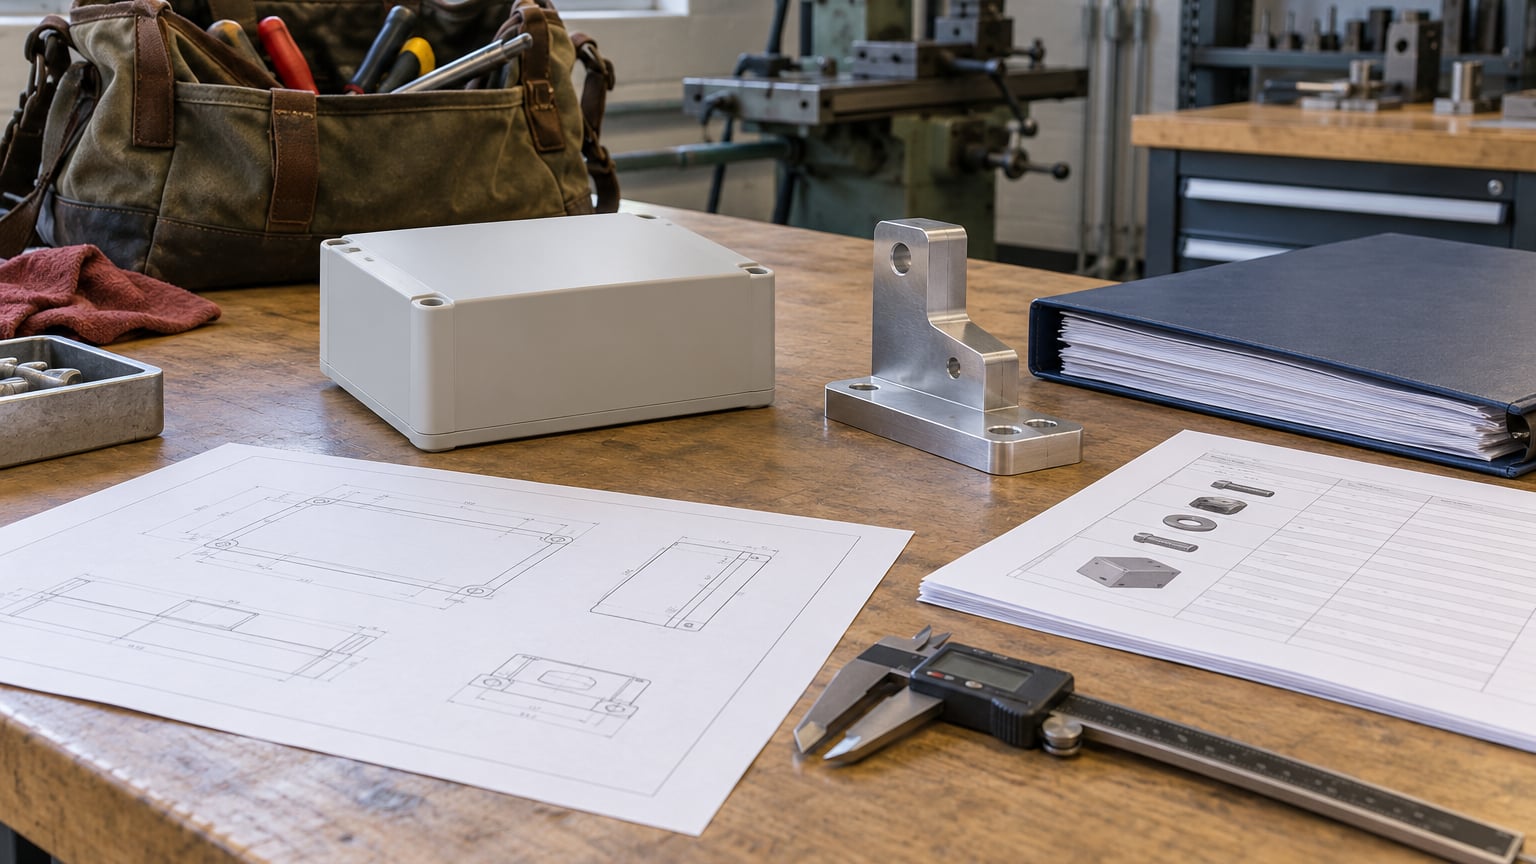
How to get a product manufactured in the USA comes down to a sequence you can actually follow: define the product, document it so a factory can quote it, find and screen domestic suppliers, compare real quotes line by line, approve a sample, then run production with inspection. Most first-timers stall before step three because the process looks opaque from the outside.
Here is the whole path in nine steps, then the paperwork that makes it work. It is the version I wish someone had handed me before my first production run, when I assumed a factory could tell from a photo what I wanted.
- Define the product and write a manufacturing brief.
- Turn the design into manufacturing-ready drawings and a bill of materials.
- Pick the manufacturing process the geometry and volume actually support.
- Find US manufacturers and screen them for real capability.
- Send comparable RFQs and compare total delivered cost.
- Approve samples, tooling and the production plan in writing.
- Negotiate terms and place a purchase order with clear terms.
- Manage production with inspection checkpoints and change control.
- Receive, inspect, trace and decide whether to scale.
Table of Contents
- What You Need
- Step-by-Step
- 1. Define the product and production requirements
- 2. Create manufacturing-ready specifications
- 3. Determine the right manufacturing process
- 4. Find and screen US manufacturers
- 5. Request comparable quotes and evaluate total cost
- 6. Validate samples, tooling and the production plan
- 7. Negotiate terms and place the order
- 8. Manage production and quality inspection
- 9. Receive, inspect and scale the product
- Common Mistakes
- Frequently Asked Questions
- How long does it take to get a product manufactured in the USA?
- What is the minimum order quantity for a US manufacturer?
- How much does it cost to manufacture a product in the USA?
- Do I need a prototype before contacting a factory?
- How do I find a manufacturer in the USA?
- Can a US manufacturer ship finished orders directly to my customers?
- Conclusion
What You Need
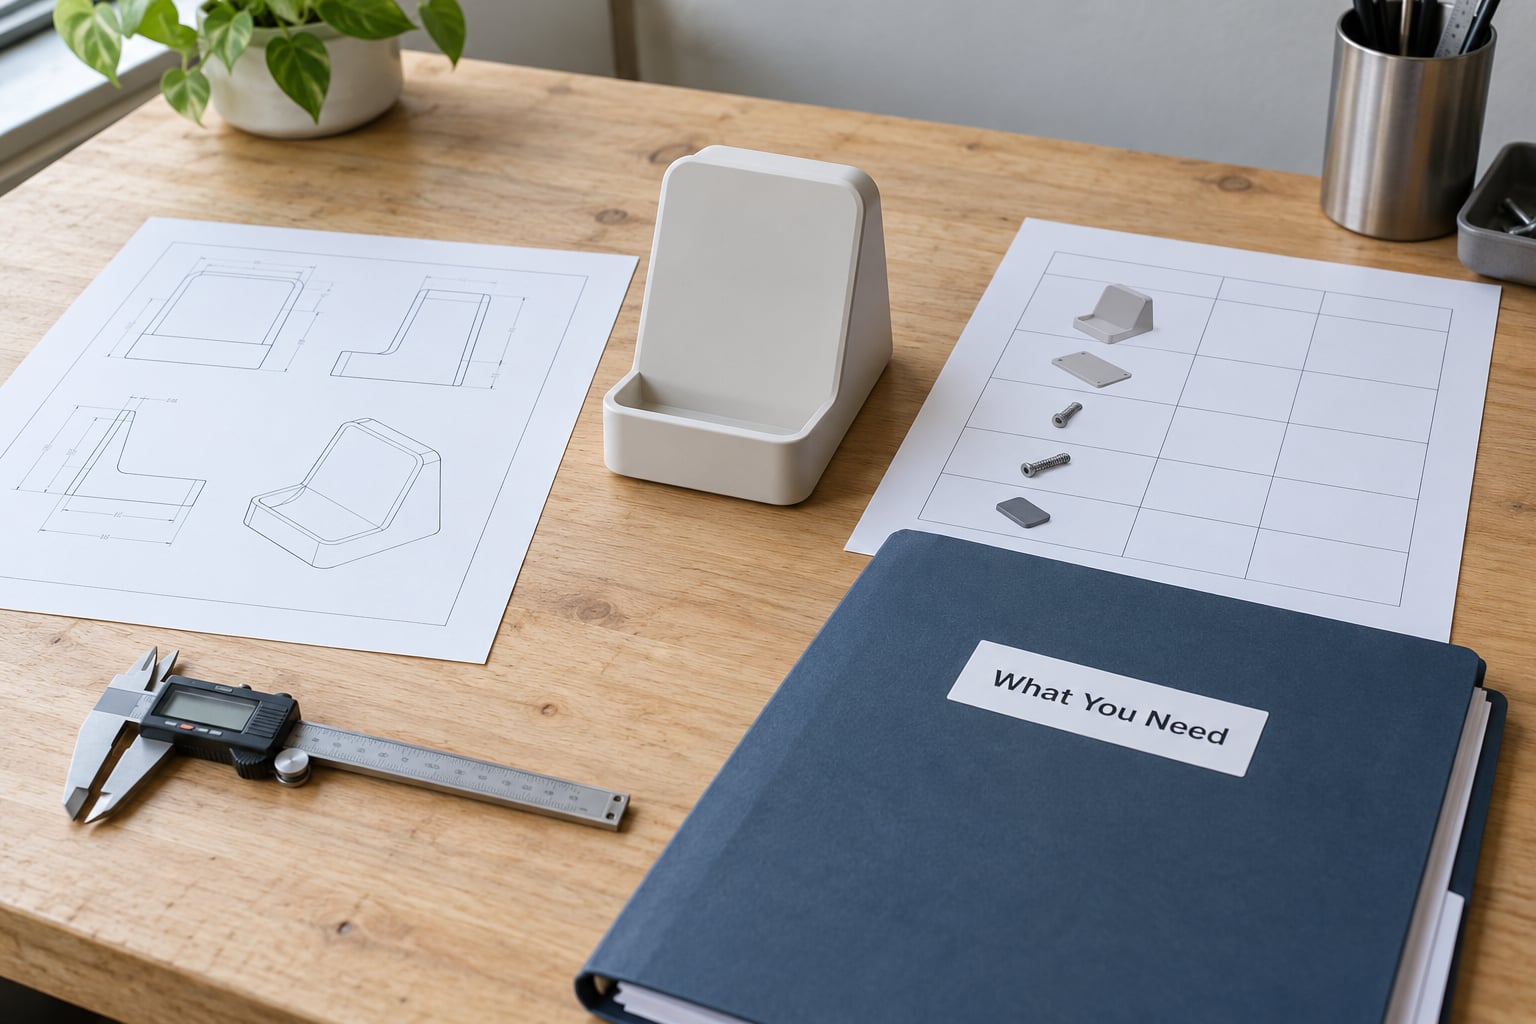
Factories quote from documents, not from descriptions. What you hand over decides how fast you get useful numbers back and whether those numbers are comparable between suppliers.
Assemble this pack before you contact anyone:
- A manufacturing brief. Function, key dimensions, materials, finish, assembly method, target quantity per run, delivery location and the date you need product in hand.
- Drawings or CAD files in a neutral format (STEP or IGES for 3D, plus a dimensioned 2D drawing). Include every critical dimension and tolerance, not just the overall size.
- A bill of materials. Every part, material grade, quantity per assembly, and any bought-out component like fasteners, labels or inserts.
- Tolerance and finish callouts. Where flatness, surface texture or concentricity actually matter, say so. Leave the rest open so the supplier can suggest a cheaper process.
- Quantity scenarios. A first pilot quantity, a target first production run, and a twelve-month forecast. Suppliers price the three differently.
- Compliance needs. FDA registration for anything food-contact or cosmetic, UL or CE listings for electrical, ISO 9001 or AS9100 if your customer demands it, and child-safety testing for kids’ products.
- Packaging requirements. Retail box, poly bag, barcode labels, pallet configuration, and whether the factory can ship finished goods direct to your customers.
- Supplier-evaluation material. A short questionnaire, your NDA template, and a list of references you will actually call.
If your product is a plastic part, the material choice drives cost more than the part count does. Running a lifecycle assessment on a plastic product before you lock the resin will show you where material choice hits cost, weight and end-of-life questions later.
Step-by-Step
1. Define the product and production requirements
Write one page that states what the product does, who uses it, and the constraints that cannot move. The output is a brief a factory can quote without emailing you six clarifying questions.
Split your requirements into two piles. Essential items are the ones where being wrong means the product fails or gets recalled. Flexible items are the ones a supplier can substitute, simplify or change for manufacturability without hurting the product. A product with a tight budget usually has more flexible items than founders expect, and naming them is what gives a supplier room to quote a better process.
How you know it worked: three different suppliers read the same brief and come back with quotes about the same product. If they describe three different products, your brief is still too loose.
2. Create manufacturing-ready specifications
Move from a design that looks right to a design a factory can quote and inspect. A design that only exists as a render or a 3D-printed shell will come back with a hundred-dollar question mark on the quote.
Deliver dimensioned drawings with datum references, a bill of materials naming material grades, a revision number on every file, and a written list of which characteristics are critical to function. Add inspection criteria alongside the drawing so quality is a written requirement rather than an opinion at the receiving dock.
If you still have open design questions, do not pass them to the factory as guesses. Mark each one on the drawing as a question with your proposed answer and the reason behind it. Experienced shops will answer in writing, and those answers usually settle the design faster than a call would.
How you know it worked: your quote requests come back priced rather than refused. A shop saying it cannot quote from a specific file is telling you that file is the weak link.
3. Determine the right manufacturing process
Match the process to the material, geometry, precision and volume, because each combination points at a different set of shops. A short glass-filled nylon bracket with a 0.1 mm fit and a year of demand is a molding job. The same bracket in aluminum at two pieces per year is a CNC job shop job.
Injection molding suits thermoplastic parts with repeat volume and stable geometry. Metal fabrication, stamping and sheet metal forming suit flat, bracket-type and enclosure parts. CNC machining suits low volume, high precision and metal work. Contract manufacturing and turnkey partners suit products that need sourcing, assembly, packaging and fulfillment as one package, and co-packers handle formulated goods such as food, beverages, supplements and cosmetics.
Combination processes are normal. A molded housing with machined inserts and a printed label is a small assembly job on top of a molding job, and price it that way rather than treating it as one magic number.
How you know it worked: the shops that respond describe the process you expected, and they tell you where it would break down. A shop that quietly suggests a different process and explains why is usually the more useful one.
4. Find and screen US manufacturers
Domestic suppliers are findable through industrial supplier directories, industry trade shows, state and regional manufacturing extension programs, and referrals from existing brands in your category. Target a shortlist of ten to fifteen, not two, because the difference in how they answer a first email tells you a lot.
Screen each one on the same criteria: whether they run the process you need, the machines and capacity behind it, relevant certifications, how long they have been in business, tooling they have built before, minimum order quantity, and whether they will sign your NDA and show you the facility by video before quoting. Ask directly whether they use subcontractors, because undisclosed outside processing quietly breaks a Made in USA claim.
Verify that each company is an operating factory rather than a broker. Brokers will happily quote you, then source the work from whoever answers first. A verifiable US physical address, a state business registration, a site visit or live video walkthrough, and a willingness to name the machinery on the floor are the practical checks.
How you know it worked: at least three suppliers remain who all confirmed the process, the volume range and the capability questions on the record.
5. Request comparable quotes and evaluate total cost
Send the same RFQ to every supplier on your shortlist, with the same document pack, the same quantity scenarios and the same response deadline. A quote you can compare is the only useful output of this step.
Send a document pack that includes the drawings and bill of materials, a written summary of function and quality expectations, three quantity scenarios, a requested sample and pre-production run, a target delivery date, packaging requirements, and a request for an itemized quote with lead times broken out by phase. Add the line asking whether they need an NDA before reviewing details.
Quotes rarely arrive in the same shape, which is where comparisons go wrong. Some bury tooling, some treat packaging as free, some quote freight as a placeholder. The line items to normalize are tooling and mold or fixture cost, setup and programming, material cost, per-piece conversion, secondary operations, assembly, inspection and testing, packaging, and freight. Ask for any item they left out to be written as a zero rather than a silence.
Compare total delivered cost per piece across the same quantity, not the headline unit price. The cheapest piece price in a quote missing two line items is not the cheapest quote. A shop quoting a higher piece price with tooling included and a named quality process can be the better total.
How you know it worked: you can put two quotes in a spreadsheet and the numbers line up, line for line, at the same quantities.
6. Validate samples, tooling and the production plan
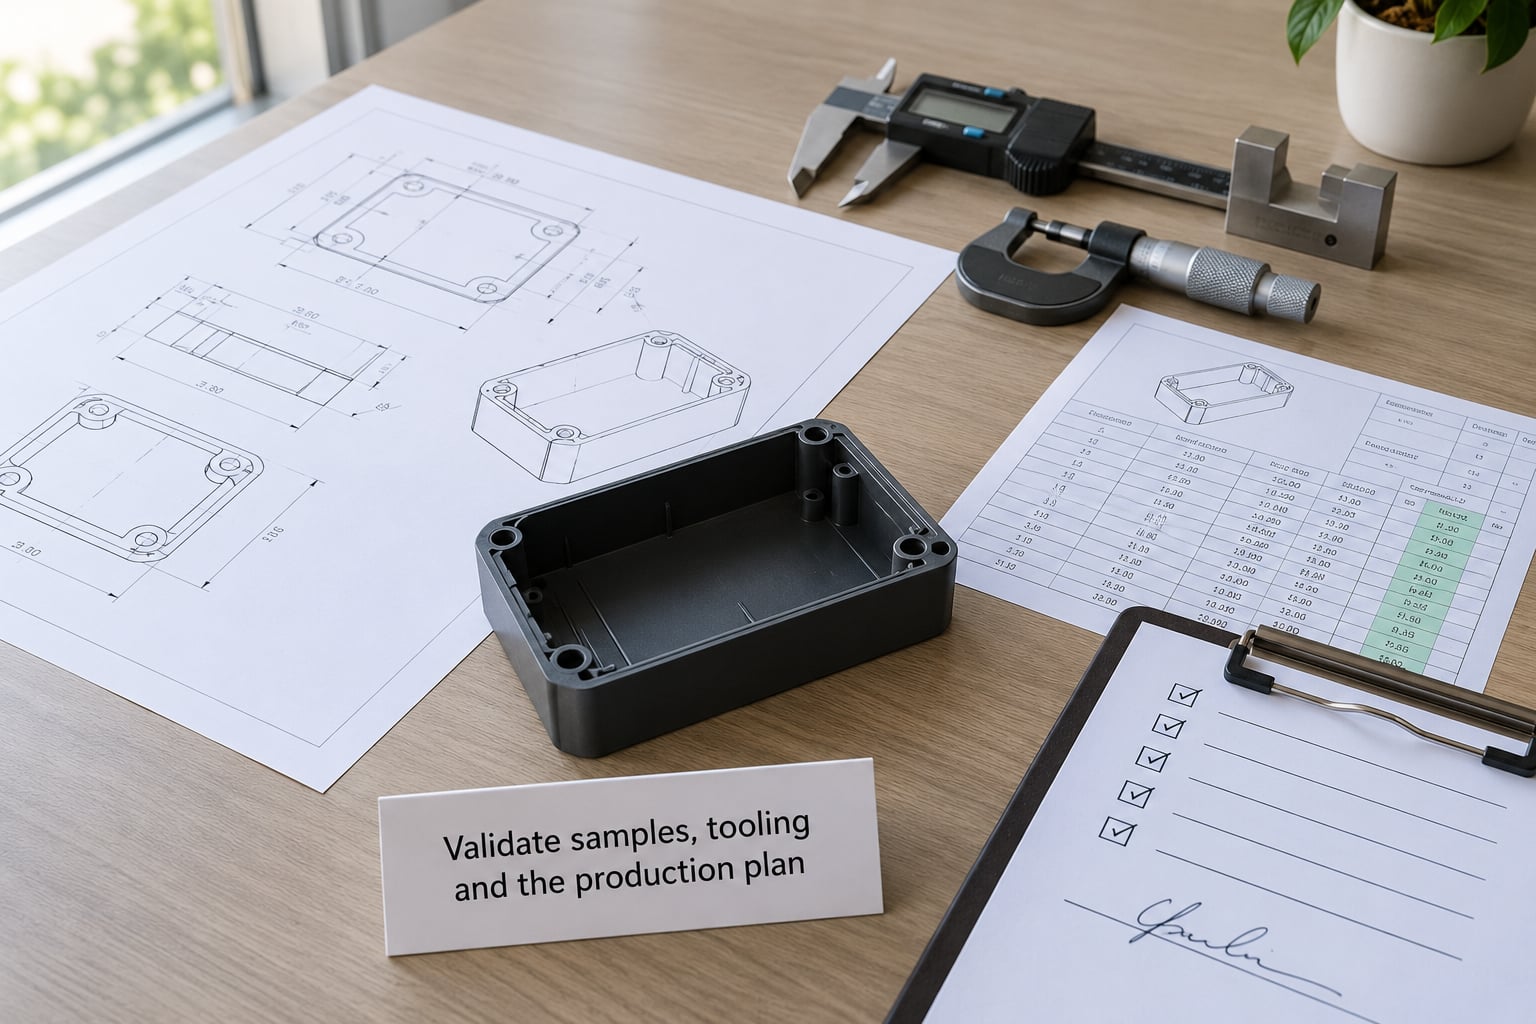
Before authorizing a production run, get a physical sample in your hands and test it against the specification you wrote in step two. This is the gate where cheap changes happen. Findings after a 5000-piece run cost orders of magnitude more.
Review the first article for fit, function, finish, cosmetic defects and the critical dimensions called out on the drawing. Document every deviation with a photo and a written description, and send it back as a punch list rather than a complaint. Then get the control plan agreed: which characteristics get checked, at what frequency, with what equipment, and what the acceptance criteria are for each.
Put the remaining commercial and technical commitments in writing before the deposit. Tooling ownership and where the tool physically lives, who pays for maintenance and what happens to the tool if the relationship ends, revision control and how design changes get priced, the production schedule with realistic lead times, your right to inspect the run, the defect rate that triggers replacement, and the factory’s committed capacity for your volume.
How you know it worked: the approved sample matches the drawings, the punch list is closed in writing, and the control plan names a person at the factory responsible for each check.
7. Negotiate terms and place the order
The purchase order and the quality agreement carry more weight than the friendly email thread that preceded them. Negotiate the terms you would be uncomfortable discovering were missing after a problem.
Cover price and payment schedule, including deposits and any progress billing tied to tooling completion, minimum quantities per order and per style, lead time with a start date and an end date, the change-order process and its cost, delivery terms and who carries freight risk, packaging specification, your inspection rights before shipment, warranty and defect remedies, intellectual property ownership, confidentiality on both designs and volumes, tooling ownership, and what happens if the factory misses a date. Ask how they handle a delay in writing before you need the answer.
Keep the payment structure tied to something you control. A deposit larger than the tooling deposit, paid before any approved drawing, is how people end up owning half a mold they never approved.
How you know it worked: the signed paperwork answers every question you would otherwise be asking on the day something goes wrong.
8. Manage production and quality inspection
A purchase order is not management. Set communication checkpoints for tooling completion, first article approval, production start, mid-run status and pre-shipment review, and put the dates in both calendars.
Track material and tooling through the run rather than trusting that the order number is enough. Ask for production and in-process photos at agreed stages, and for the inspection report against your control plan before anything ships. When you are commissioning third-party inspection rather than visiting, write the standard used, the defect categories and the pass threshold into the order so the report means something.
Handle nonconformities in writing the day you find them, with evidence. Agree the corrective action and the timing in the same exchange, and decide up front whether a re-run happens at their cost, whether the affected pieces are credited, and what you need to see before the replacement lot ships.
How you know it worked: the pre-shipment report arrives before the invoice, every finding is closed, and nobody is surprised by anything in the report.
9. Receive, inspect and scale the product
Inspect incoming production against the approved specification, not against how the first carton looks. A sampling plan agreed before shipment beats a full inspection you did not budget for, and the two differ a lot in cost on a large run.
Check a sample against the control plan for critical dimensions, function, finish and packaging, and record lot or batch identifiers so you retain traceability back to the production date. Photograph damage before the packaging is thrown away, since carriers dispute claims without evidence. Log every finding in one place so supplier performance becomes a record rather than a feeling.
Then review performance with numbers: on-time delivery against the promised date, the defect rate the factory reported versus what you found, response time on change orders, and how the landed cost behaved at your actual volume. Use that review to decide whether to increase the quantity, revise the design to make it cheaper to build, or qualify a second source while the first is still healthy. Qualifying an alternate before you need one is the cheapest insurance in manufacturing.
How you know it worked: you can state your true landed cost per piece, your real defect rate, and whether you would order from this factory again.
Common Mistakes
These are the failures that show up again and again on first domestic production projects. Each one has a straightforward correction. None of them are exotic, which is part of the problem.
Sending a vague specification. “Similar to this sample” produces quotes that are not comparable and parts that are not consistent. Fix: dimensioned drawings, a bill of materials, revision numbers, and a written list of which characteristics are critical to function.
Comparing piece price instead of total cost. The lowest unit price often comes from the quote that excluded tooling, packaging or inspection. Fix: normalize every quote onto the same line items at the same quantities, then compare delivered cost per piece.
Skipping the sample and jumping to production. It saves a few weeks and costs you a production lot when something does not fit. Fix: treat the first article as a gate you sign off, not a formality.
Leaving packaging undefined. Retail-ready packaging turns out to be its own tooling cost and its own lead time. Fix: specify bags, boxes, labels, barcodes and pallet configuration in the RFQ, and get it priced as its own line.
Treating compliance as a later problem. FDA registration, listings, safety testing and certification can add months if they are not designed in from the start. Fix: name the requirements in the brief and confirm the factory holds the right registrations for your category before you sign.
No change control. A small design tweak in week six should trigger a written change order with a cost and a schedule impact. Without that, changes arrive in the shipped product and the cost lands on you.
Unrealistic timelines. Domestic shops run first-come, first-served calendars, and a booked slot slips when a larger customer needs capacity. Fix: ask for the lead time per phase, confirm the slot in writing, and build slack into your own delivery date.
Assuming a Made in USA claim is free. “Made in USA” is a standard of identity with rules, and a partial or subcontracted process can make the claim misleading. Fix: put the origin claim in the contract, state the domestic-content expectations in the RFQ, and confirm the labeling rules before you print packaging.
Failing to check whether the supplier is a factory. Brokers quote confidently and subcontract everything. Fix: verify the address, the registration, the machinery and, where you can, walk the floor.
Frequently Asked Questions
How long does it take to get a product manufactured in the USA?
For a molded or machined part, a first run typically takes 8 to 16 weeks: 2 to 4 weeks for samples and first article, 4 to 8 weeks for tooling, 4 to 6 weeks for production and inspection, then freight. Simple sheet metal and assembly work is faster, often 4 to 8 weeks. Regulatory testing and certification can add months, and a booked shop slot sets the start date, so confirm the slot in writing before you build a launch date around it.
What is the minimum order quantity for a US manufacturer?
Domestic minimums are much lower than offshore ones. Many job shops accept one-piece prototypes and small batches in the tens, and contract manufacturers often start around 100 to 500 pieces per part, with a few accepting pilot runs in the low hundreds. Tooling is usually the real commitment, since a mold or fixture is a one-time build that holds its cost across later runs.
How much does it cost to manufacture a product in the USA?
There is no single number, because the quote is driven by tooling, material choice, part complexity, quantity and inspection level. The realistic answer is that domestic piece prices sit above offshore ones, while freight, duty exposure, rework and inventory carrying costs sit below. Ask every supplier for the same itemized line items at the same three quantities, then compare total delivered cost per piece rather than the headline rate.
Do I need a prototype before contacting a factory?
You do not need a finished prototype, but you do need something that shows fit, function and material intent. A 3D-printed shell plus a dimensioned drawing and a bill of materials is enough for most shops to quote accurately. Skipping it entirely means suppliers price for risk, and that risk premium shows up in every piece price they quote you.
How do I find a manufacturer in the USA?
Use industrial supplier directories, trade shows for your category, and state or regional manufacturing extension programs, then shortlist ten to fifteen companies running your process. Search by capability and certification rather than by product name, because shops describe themselves by what their machines do. Verify each one with an address check, a registration lookup, references from comparable customers, and a site visit or live video walkthrough before you share a full drawing package.
Can a US manufacturer ship finished orders directly to my customers?
Yes, and it is common. Most domestic shops and co-packers will pack to your retail specification, apply your barcodes, and ship on your carrier account, either as drop shipment or as a bulk shipment to your 3PL. Confirm it in the RFQ, because it affects packaging cost, freight terms and the carrier account on the quote. State clearly who owns the packaging artwork and who is responsible for damage in transit.
Conclusion
Start with the manufacturing brief, not with a supplier list. Write down what the product must do, document it well enough that a stranger can quote it, identify the process the geometry and volume support, build a shortlist of ten to fifteen US manufacturers, and send the same RFQ to all of them with the same deadline.
Most first runs go wrong in the same three places: an underspecified design, quotes that are not comparable, and a sample that was never really approved. None of them are hard to fix, and all of them get expensive fast. The best manufacturer is the one that can hold your specification reliably at your target volume for a total delivered cost you can live with, and you only find that out by comparing written quotes and a signed first article, not by choosing the fastest reply.