
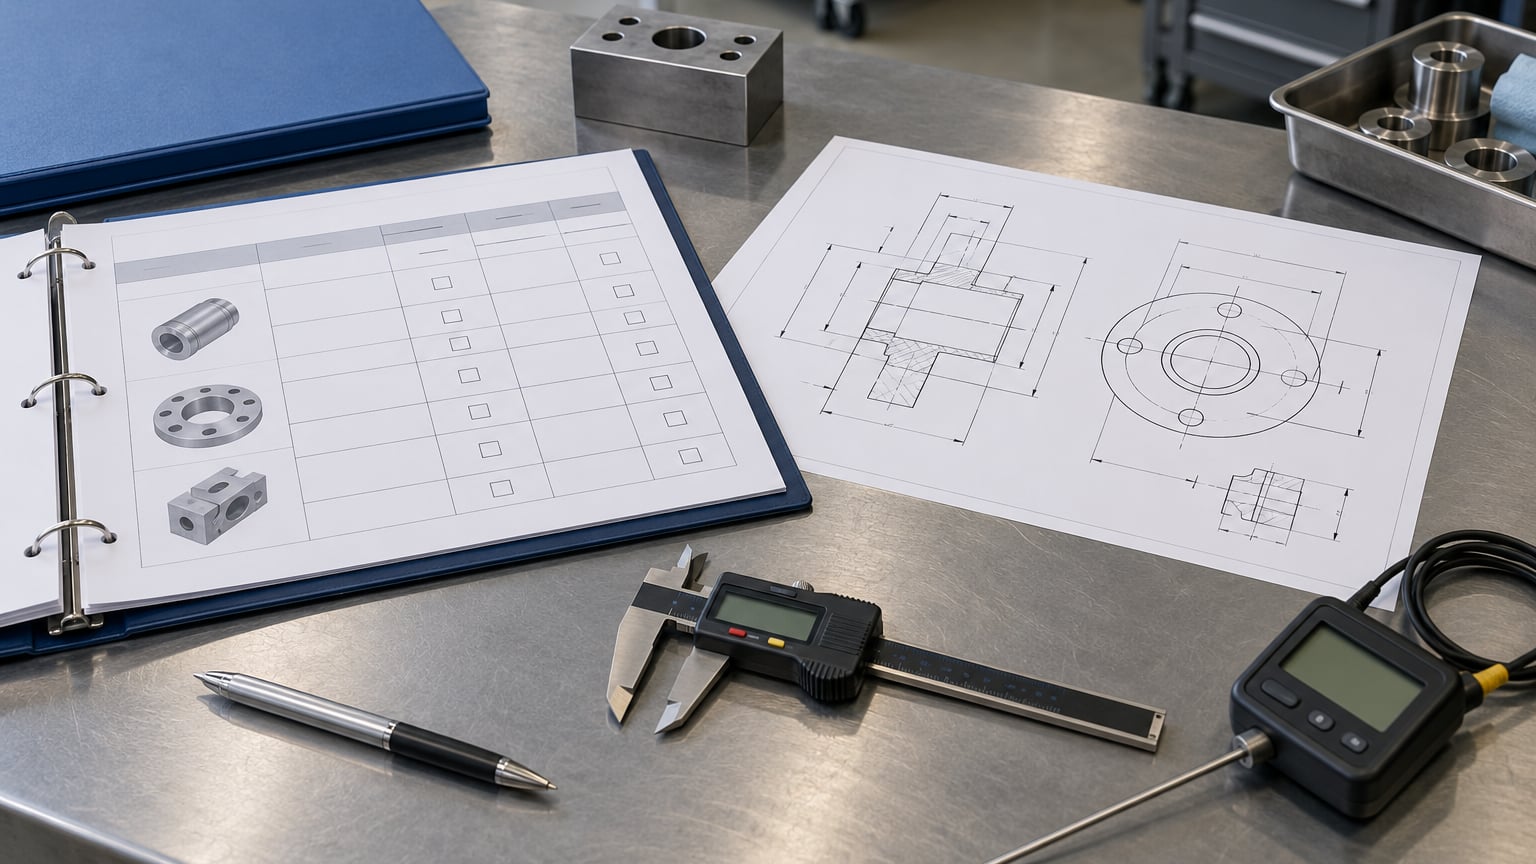
To create a control plan, you turn a process flow diagram into a monitoring routine: every step gets a specification, a measurement method, a sample size and frequency, a named person responsible, and a written reaction plan for when a reading goes out of limits. This guide covers manufacturing and quality control plans, not traffic or erosion control plans, which share the name and nothing else. Budget two to three days for a single process the first time, and expect to revise it after launch.
A control plan is a document that defines how a process is monitored and kept stable. It lists each process step, the characteristics being controlled, how each one is measured, the acceptable limits, the sampling plan, and the reaction plan to follow when a measurement falls outside those limits.
Every control plan, regardless of the shop or the software, carries five things: the process steps, the characteristics that matter, the measurement and sampling method, the responsible person, and the reaction plan. If one of those five is missing, the plan is decoration. Readers looking for the full breakdown of the five elements usually find the Document Control Basics for Quality Systems overview useful next, because numbering and revision discipline is where most control plans fall apart.
Control plans show up in the top ten IATF 16949 non-conformances, year after year. That is not because the paperwork is hard. It is because most plans describe the part instead of the process, and because nobody revisited them after a machine or material change.
What You Need
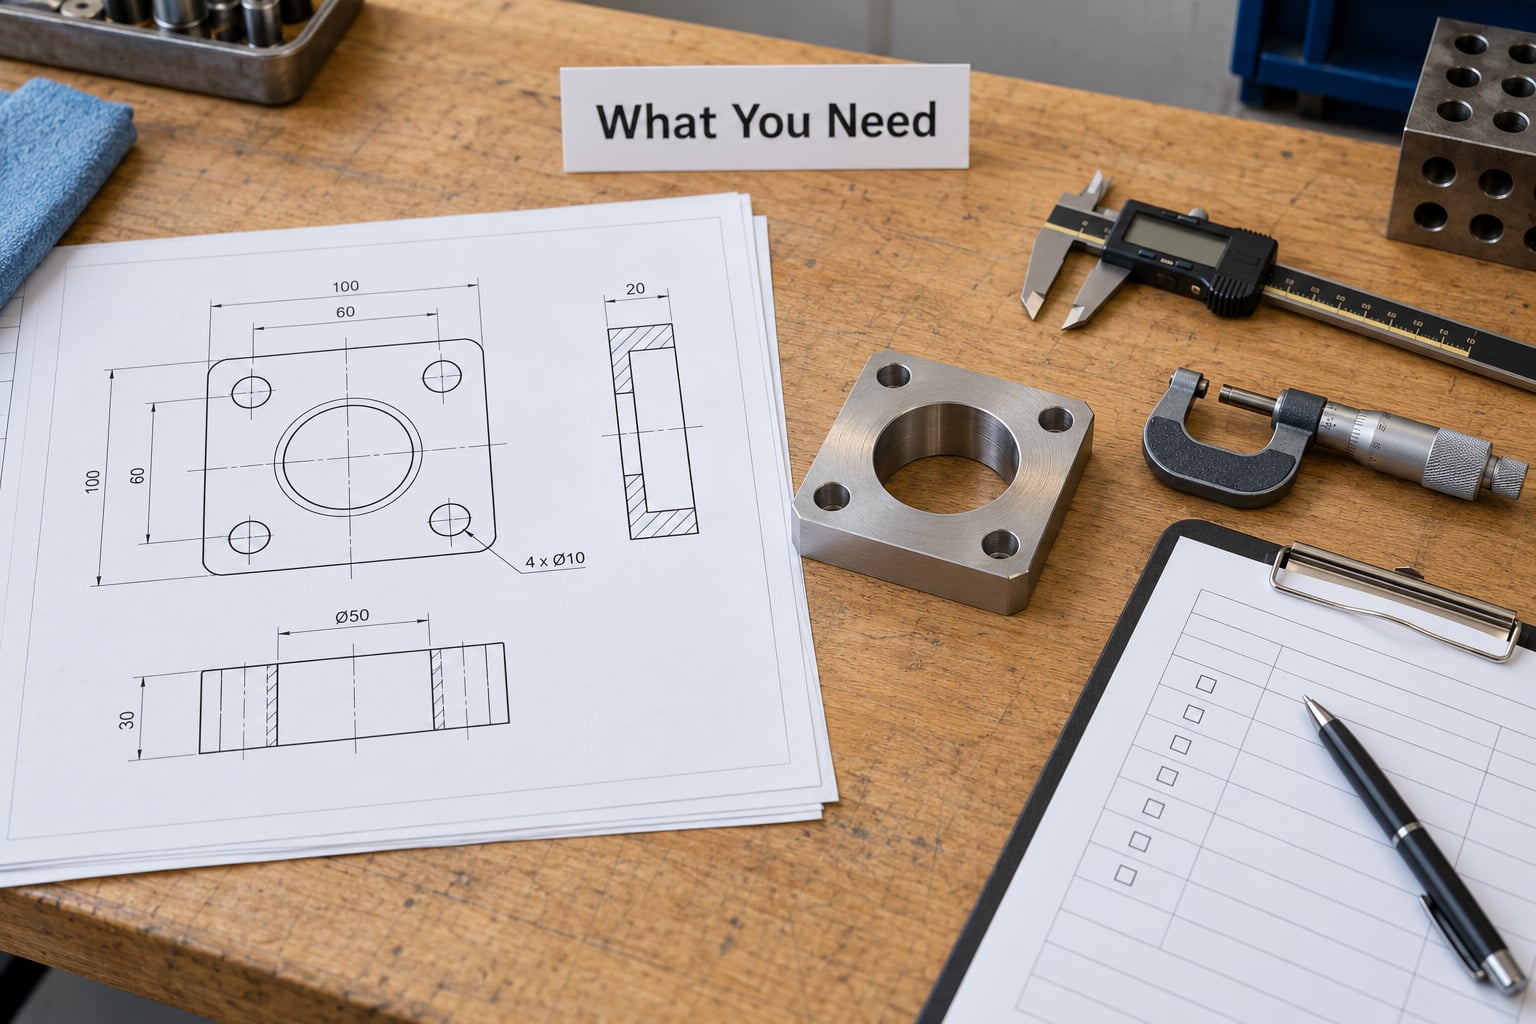
Gather these before you open a blank form. Building the plan from scratch without them produces a document full of words like “as required” that an auditor will pick apart in under five minutes.
- Process scope. The specific part number or family, the operation, the cell or line, and the lot or serial traceability scheme.
- Drawings and specifications. Current revisions for the part, plus customer drawings and any customer specific requirements (CSR) that override the internal print.
- Critical-to-quality list. The characteristics the customer actually inspects, drawn from the PFMEA, the process flow diagram and last year’s defect data.
- Applicable standards. ISO 9001, IATF 16949, customer-specific audit criteria, and internal work instruction numbers.
- Measurement capability. The gauge or instrument for each characteristic, plus its calibration status and the measurement system analysis (Gage R&R) result.
- Roles. Who runs the check, who verifies it, and who has authority to stop the line.
- Existing records. Prior control plans, non-conformance reports, capability studies, and the supplier’s control plan if the process is sub-tier.
One practical note. If a characteristic has no reliable measurement method, you cannot control it, and putting it on the plan just creates a row nobody can execute. Fix the measurement first or drop the characteristic until you can measure it.
Step-by-Step
Knowing how to create a control plan comes down to seven steps in order. Skip ahead and the plan reads like a form filled in at the end rather than a process you actually control.
1. Define the Process and Product Scope
Write the scope before the content. Name the part number and revision, the operation number, the machine or cell, the shift scope, and the traceability method. A control plan that says “injection molding” is useless; one that says “part 44-2108 rev C, cavity 1 of a 2-cavity tool, zone 2 mold temperature” tells the operator exactly what to check.
State where the plan begins and where it ends. Usually that is the first process step that produces a characteristic you must verify, through final packaging or shipment.
Most shops are not sure how a control plan relates to the rest of the launch package, so here is the short version:
| Document | When it is created | What it holds | Primary owner |
|---|---|---|---|
| Process flow diagram | Early in APQP design | The sequence of steps and where characteristics are verified | Manufacturing engineer |
| PFMEA | After the process flow exists | Failure modes, severity, occurrence, detection, and actions | Cross-functional team |
| Control plan | After PFMEA review | How each characteristic is monitored and what happens when it fails | Process owner |
| PPAP package | At launch | The evidence trail, including the control plan and capability results | Supplier quality engineer |
The link between PFMEA and control plan is the part people miss. Each control point on your plan should trace back to a failure mode in the PFMEA, and the reaction plan should match what that failure mode requires. A cosmetic defect with a severity of 2 does not need a line stop and an NCR every time.
2. List Critical-to-Quality Characteristics
Separate characteristics into three tiers so the shop knows where to spend inspection hours. Critical characteristics affect safety or regulatory compliance. Major characteristics affect fit, form, function or appearance as the customer judges them. Minor characteristics have no functional impact and are usually checked less often or sampled.
Every characteristic on the plan needs a measurable requirement attached to it: a nominal value, a tolerance, or a pass/fail criterion written in words an operator can apply. “Good surface finish” is not a specification. “No sink marks deeper than 0.20 mm in the visible A-face” is.
Where the customer has supplied a print or a CSR, use their limits verbatim. Rewriting a customer tolerance “to be clearer” is how you end up with a part the customer rejects at their own receiving dock.
3. Select Control Methods and Measurements
Match the control method to the risk and to the process’s ability to hold the characteristic. Preventive controls on the machine itself usually beat inspection. If a parameter can be closed-loop controlled and monitored, do that first: cycle time, cavity pressure, melt temperature, or fill volume.
For characteristics you must measure, pick the tool and the type of check: first-piece approval after a changeover, automated in-process inspection, a variable gauge reading, an attribute go/no-go check, or a process parameter logged from the machine.
Frequency follows risk. New or recently changed processes get checked more often. A stable, capable process with an in-process monitor does not need a manual check every 30 minutes. In injection molding work, parameters that drive shrinkage and warpage are usually handled by reading Mold Temperature Control Best Practices for Plastic Parts into your monitoring plan rather than chasing finished-part dimensions.
Separate specification limits from control limits, because writing them in the wrong column is a classic audit finding. Specification limits come from the drawing or the customer. Control limits come from your own process data, typically the mean plus or minus three standard deviations once the process is stable and capable. A control limit describes your process behavior. A specification limit describes the customer’s requirement. They should not be the same number.
Only set control limits from real collected data. If you write plus or minus 0.05 mm on paper before running 25 subgroups, you have invented a capability you do not have, and your chart will spend the first month telling you the process is out of control.
4. Assign Responsibilities and Records
Name a role or a person in the responsible column for every control point. “Operator” is acceptable when the task is genuinely the operator’s. “Notify supervisor” as a reaction plan is not, because it transfers the problem without naming who owns it.
Decide where evidence lives before launch: the signed first-piece report, the gauge log, the SPC chart, the scrap log, the non-conformance report. If the only copy is a laminated sheet on the machine, you have no record the moment the paper is lost or superseded.
Decide how nonconforming output is identified and held. My rule of thumb is that material from the last known good check to the first out-of-limit reading gets quarantined, and the quantity on the label matches the real count.
5. Write Reaction Plans
A reaction plan tells the person on the floor what to do, in order, with enough detail to act on at 2 a.m. A usable reaction plan has four parts: contain the suspect material, identify the scope, correct or compensate for the cause, and record the event for follow-up.
Weak reaction plan: “Stop production if defect rate exceeds 2 percent.” Better version: “Segregate all parts produced since the last passing check. Run five pieces and measure on the CMM. If any piece is out of tolerance, quarantine the full interval, open an NCR, and notify the process engineer. Restart only after the process engineer records the corrective action on the plan.”
Think about the three levels of reaction. Level one compensates or adjusts when the root cause is unknown, which keeps short-term production moving without pretending the problem is solved. Level two applies a temporary correction when you know the cause. Level three is mistake-proofing, where you change the process so the same error cannot repeat.
Here is what a filled row looks like, using a typical molded part:
| Process step | Characteristic | Specification | Measurement method | Sample size and frequency | Reaction plan | Responsible person |
|---|---|---|---|---|---|---|
| Mold close and inject, step 10 | Cavity pressure, peak | 850 to 1050 bar, target 950 | Machine transducer, logged | Every cycle, reviewed every 4 hours | Stop machine, segregate parts since last reviewed cycle, mold maintenance inspects gate and venting, first-article before restart | Molding operator, verified by process engineer |
| Cooling, step 20 | Mold temperature, zone 3 | 30 C plus or minus 2 C | Thermocouple readout, IR thermometer as backup | Every 2 hours | Verify thermocouple against backup, quarantine two hours of output, maintenance checks heater and thermocouple | Process engineer |
| Final inspection, step 40 | Overall length | 84.00 mm, plus 0.20 minus 0.00 | Vernier caliper, Gage R&R before launch | 5 parts every 2 hours | Contain, measure 20 additional pieces, open NCR if any piece is out of limit, quarantine the interval | Quality inspector |
| Packaging, step 50 | Label part number and revision | Matches drawing rev C | Visual, 100 percent of cartons | At run start and every 2 hours | Relabel from controlled artwork, quarantine mislabeled cartons, verify artwork revision with document control | Lead packer |
Every row should have a real person or role against it and an action that changes something. Numbers in these cells come from your own process data and your customer’s print, not from a generic template.
6. Review and Approve the Control Plan
Send the draft for cross-functional review. Manufacturing checks feasibility, quality checks method and measurement, engineering checks the specifications against the print, production checks that the plan is executable on shift, and suppliers review any sub-tier steps. Comments get resolved in writing, not verbally.
Then approve it with signatures and dates, attach it to document control with a revision number and an effective date, and mark superseded copies as obsolete. A wall of old revisions in a binder is worse than no binder, because someone will work to the wrong one. The mechanics of that system are covered in the Document Control Basics for Quality Systems piece.
7. Implement, Monitor, and Revise
Training comes before release. Walk the cell through each control point, show the gauge, run one actual reaction plan as a drill, and document the training. Then place the plan at the point of use, in the language and format operators actually use on shift.
Monitor two things: whether the checks are being performed as written, and whether the reaction plans are producing real corrective action. Skipped rows and repeated use of the same reaction plan on the same characteristic are both signals.
Revise when a process, machine, material, supplier, or customer requirement changes, when a non-conformance points at a missing or weak control point, and on a set review interval even when nothing changed. Practitioners typically treat these as living documents reviewed quarterly. Molding shops that tie this to their OEE work find the control plan doubles as a troubleshooting record; How to Improve OEE in a Molding Plant covers that loop.
Common Mistakes
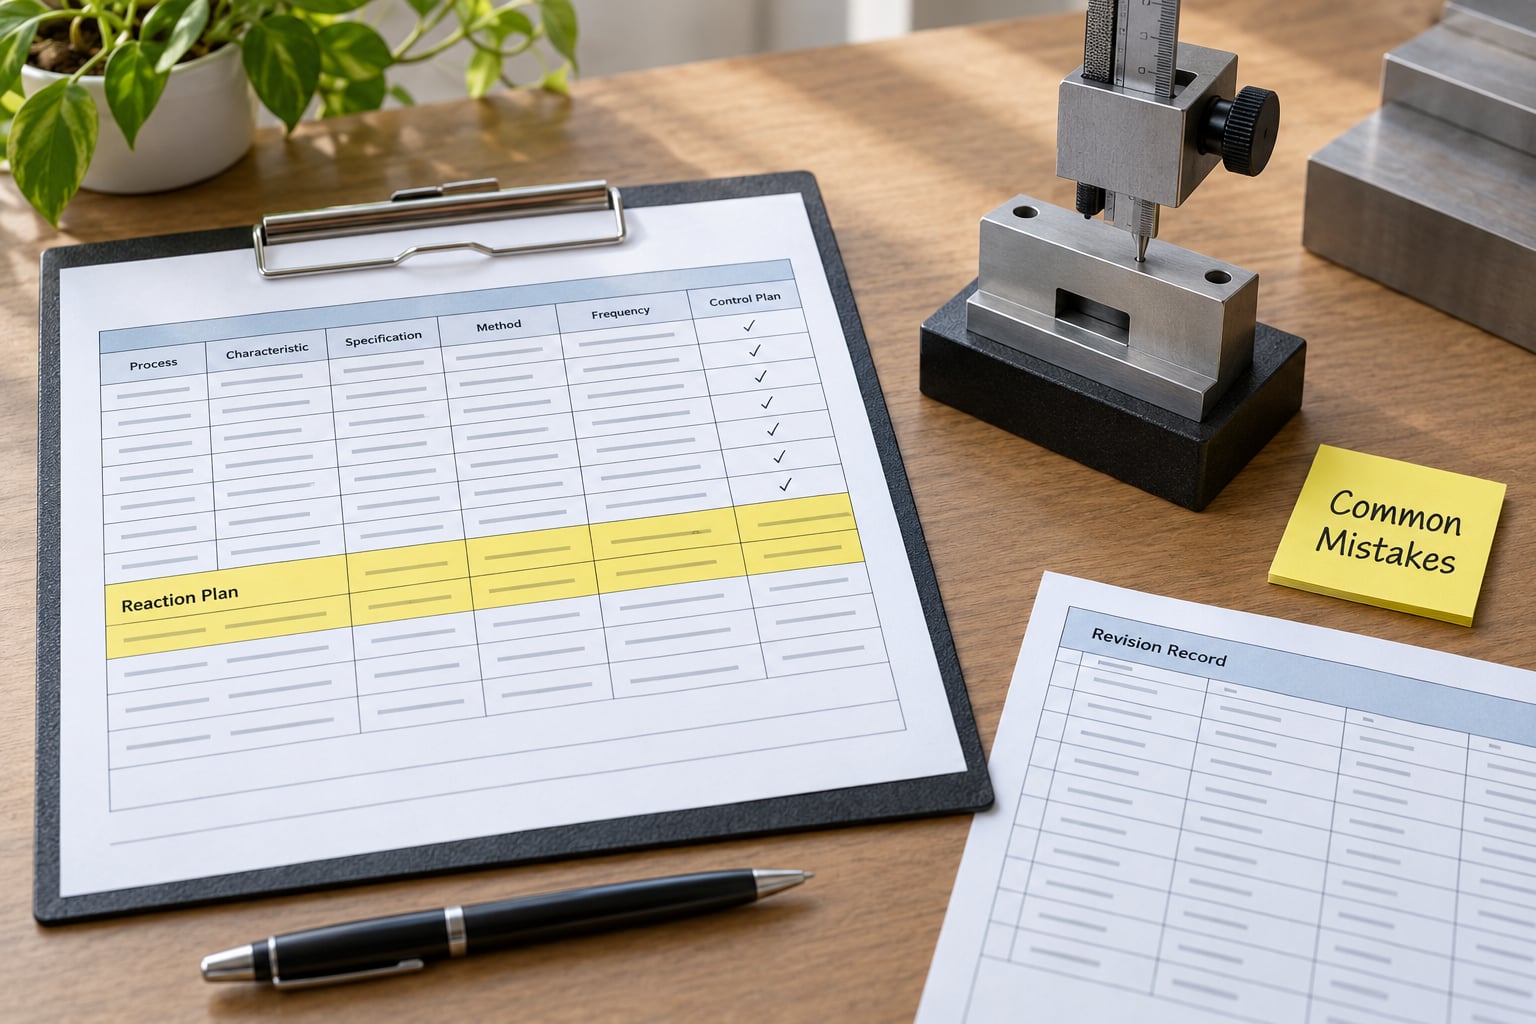
These six account for most of what auditors write up.
- Measuring the part instead of the process. The plan lists final dimensions and nothing about the settings that produce them. Fix: add the process parameters that drive each critical dimension, such as melt temperature, hold pressure and cooling time.
- Vague specifications. “Check appearance” tells the operator nothing. Fix: write the defect type, the size or count threshold, and the sample size. Reference Mold Temperature Control Best Practices for Plastic Parts for how a parameter becomes a written limit.
- Too many checks. Fifty rows on a plan means nobody performs them. Fix: keep the critical and major characteristics, sample the minor ones, and put the rest in an internal audit schedule.
- Reaction plans that only say stop. Stopping without containment, scope, or correction just converts a quality problem into a scheduling problem. Fix: use the four-part structure from step 5.
- Unclear ownership. No named responsible person on a row. Fix: add the column and fill it. Auditors read that column first.
- No revision discipline. A plan found on the shop floor still specifying a sampling rule that was obsolete two years ago, with signatures that need re-collecting. Fix: tie revisions to document control and physically destroy superseded copies.
Two habits catch most of the rest. Keep one row per characteristic per process step, so a reader can scan one row without cross-referencing anything. And write the reaction plan as an instruction, not an intention, because that distinction shows up immediately on the floor.
Frequently Asked Questions
What are the 5 elements of a control plan?
The five elements are the process steps, the characteristics being controlled, the measurement and sampling method, the responsible person for each check, and the reaction plan when a reading goes out of limit. Some sources count more because they split the sampling method from the measurement method, or add process parameters and the applicable standards. The five above are the ones an auditor will look for on every row.
What is a control plan example?
A control plan example is a filled row rather than a blank form: one process step, one characteristic, its specification, the gauge or method used to check it, the sample size and frequency, the reaction plan, and the responsible person. Injection molding examples usually cover cavity pressure, mold zone temperature, part weight, critical dimensions, and label verification. The table in step 5 shows a filled set you can copy into Excel and adapt.
What is a control plan in PPAP?
In a PPAP submission, the control plan is one of the supporting documents that proves how you will hold the process at the quoted condition. It typically accompanies the process flow diagram, PFMEA, dimensional results, and capability study. Customers review it for reaction plan quality and for coverage of every customer specific requirement, so it should be the current revision, not the launch draft.
How do you set control limits on a control plan?
Collect real data first. Run the process until it is stable, then compute the mean and standard deviation of at least 25 subgroups and set control limits at the mean plus or minus three standard deviations. Keep specification limits separate, since they come from the customer or the drawing. Do not copy limits from another part or line, and revise them after a change that alters process variation.
How often should a control plan be reviewed?
Review it on a fixed interval such as quarterly, and immediately after any change to process, machine, material, supplier, personnel, or customer requirements. Also review it whenever a non-conformance shows a control point was missing or ineffective. A review that produces no changes is fine as long as you recorded the evidence that supported leaving it alone.
Conclusion
Pick one high-risk process this week. Not the whole plant, not a new product line, one process with real defect history.
List its critical and major characteristics, attach a measurable specification to each, choose the gauge or machine parameter that checks it, and set a sample size and frequency you can actually staff. Then write the reaction plan so it contains, corrects, and records, and put a name in the responsible column.
Get it reviewed by quality and production, sign it, put a revision number on it, and place it at the machine. Then run one reaction plan as a drill with the operator who will actually use it. That single drill exposes most of the weak spots before an auditor does, and it is the fastest way to learn how to create a control plan that holds up in production rather than only on paper.