
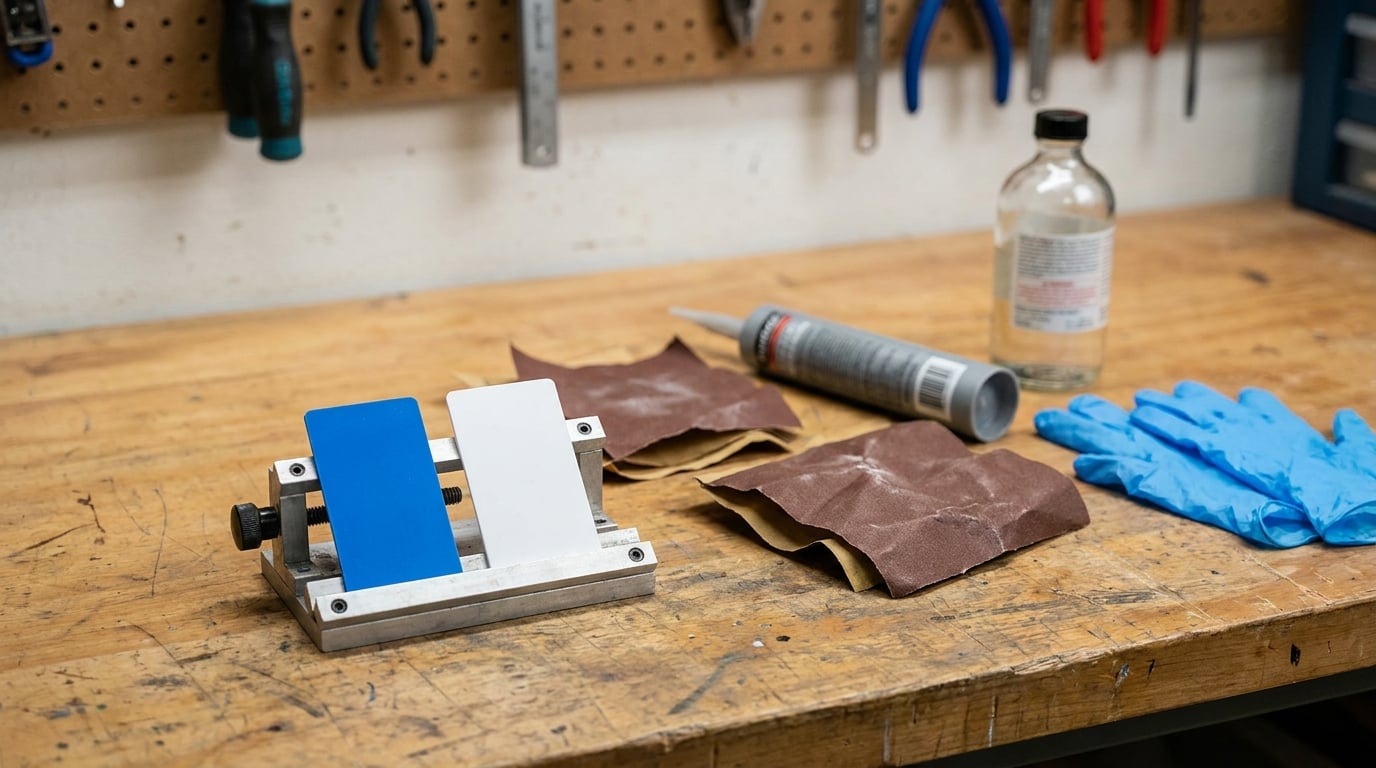
To bond dissimilar plastics, you pick the joining method that wets the harder surface of the pair, prepare that surface until the adhesive spreads instead of beading, then give the joint its full cure before it sees load. In practice that means identifying both resin families, treating the low-surface-energy side such as polyethylene or polypropylene, and matching the adhesive or weld process to what the joint has to survive. Most failed mixed-plastic bonds are not adhesive problems. They are surface problems.
That is worth stating plainly because roughly half the common plastic families are difficult to bond. Joining ABS to PVC is a good afternoon. Adding polypropylene to that pair changes the problem completely, because the same adhesive that grabbed ABS will sit on polypropylene like water on a freshly waxed car.
What follows is the process I would hand an engineer or a serious hobbyist: eight steps, the tools behind each one, the places it usually goes wrong, and a small coupon test that costs almost nothing and saves the real part. I have laid it out so you can follow it in order the first time and skip around once it becomes routine.
Table of Contents
- What You Need
- Step-by-Step
- 1. Identify Both Plastics and Their Constraints
- 2. Choose a Compatible Joining Method
- 3. Confirm the Adhesive or Process Is Suitable
- 4. Prepare the Bonding Surfaces
- 5. Assemble and Apply the Joint
- 6. Cure or Cool the Joint Correctly
- 7. Test Strength and Environmental Resistance
- 8. Scale Up and Document the Process
- Common Mistakes
- Frequently Asked Questions
- Start With a Small Compatibility Test
What You Need
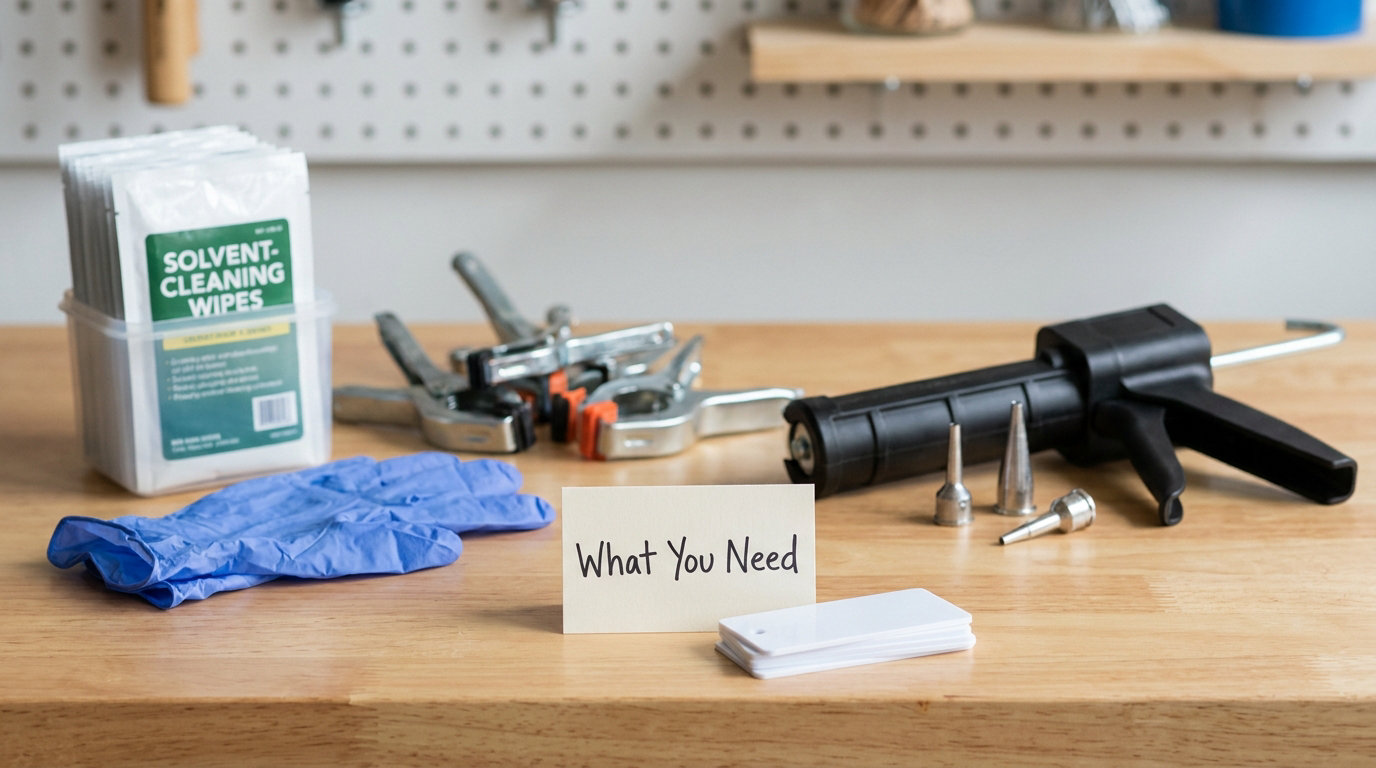
The materials list depends heavily on which two plastics you are joining, so start with the generic kit and add from there.
- Identification first: a resin identification code lookup, an isopropyl alcohol bottle, lint-free cloths, and 220 to 400 grit sandpaper or abrasive pads.
- Adhesives and cements: a two-part epoxy, a cyanoacrylate in gel form, a structural acrylic (MMA), a polyurethane adhesive, and a plastic solvent cement. You will not use all of them, but having two chemistries on the bench saves a failed part.
- Primers and surface activation: a polyolefin primer, and access to a flame torch, corona treater, or plasma unit if the pair is industrial and one side is PE, PP, PTFE or TPO.
- Fixturing: clamps, jigs, weights, tape, and a straight edge. Pressure during cure matters more than most people expect.
- Documentation: the technical data sheet for each adhesive you are considering, plus the datasheet for the harder plastic. Shear strength, gap filling, cure schedule, temperature range and solvent resistance all live there.
- Safety gear: nitrile gloves, splash goggles, and local exhaust or a fume hood if you will be using solvent cement or acetone. Keep a lid on the container. Nobody enjoys a workspace smelling like a hardware store for a week.
- Test coupons: small flat offcuts of both plastics. This is the item people skip and then regret.
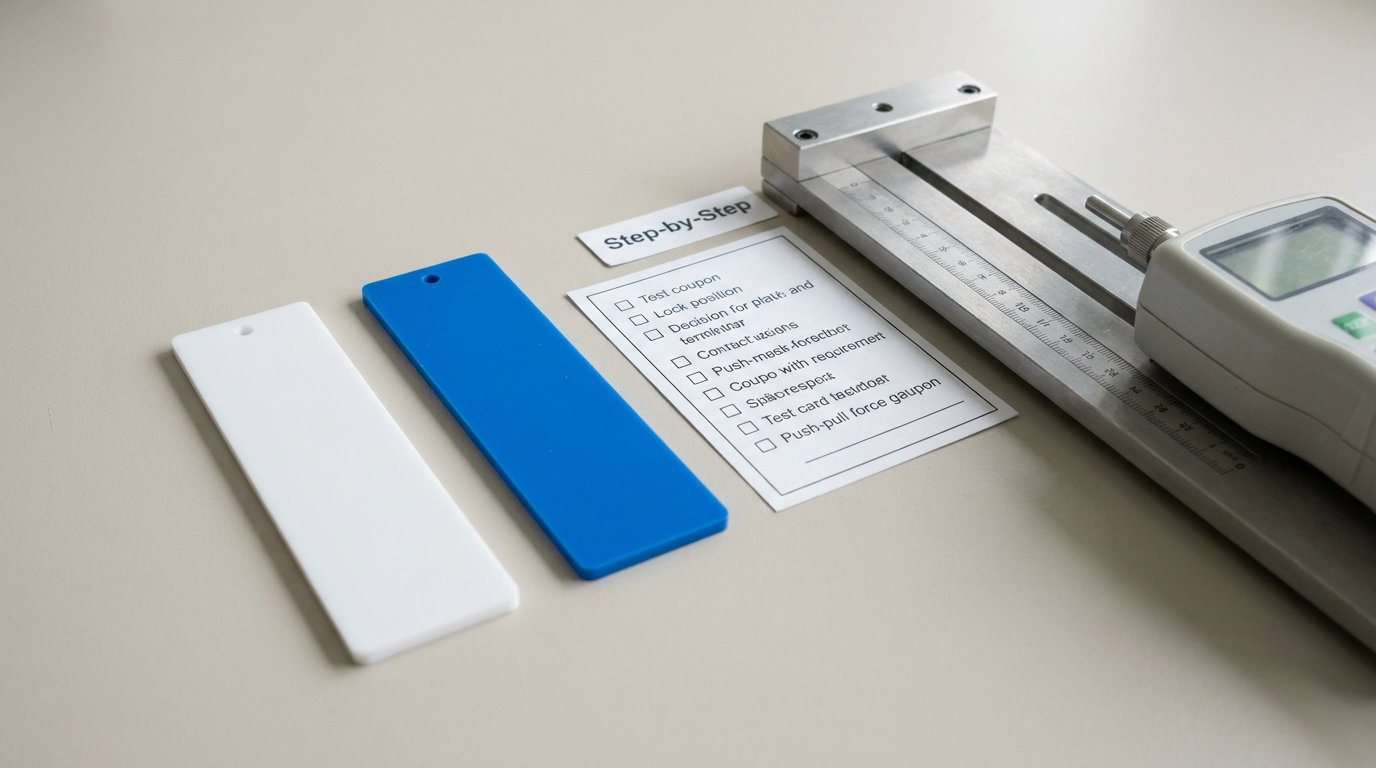
One more thing worth having: a push-pull tester or, failing that, a way to load a coupon by hand in a repeatable way. Without it you are guessing whether the joint worked.
Step-by-Step
1. Identify Both Plastics and Their Constraints
Look for the resin identification code, the number inside the recycling triangle. ABS is 9, polycarbonate is 7 but usually marked PC, acrylic is PMMA, and polyethylene and polypropylene are 2 and 5. Codes are often moulded into an interior wall, the base, or a label nobody reads.
If there is no code, use field tests. A drop of water on the surface tells you a lot: it beads up on polyethylene and polypropylene, and spreads on ABS, PVC, polycarbonate and acrylic. Flex the part in your hand too. Polypropylene creases white and flexes a lot, ABS snaps more crisply, and acrylic has a hard, almost metallic feel with a faint ring when you tap it.
Then write down the constraints, because these decide everything downstream. Note the service temperature range, whether the joint is loaded in shear or peel, whether it sees chemicals, oil, water or UV, and whether the seam has to be invisible. A hidden bracket and a clear display case are different problems wearing the same plastic.
2. Choose a Compatible Joining Method
Choosing how to bond dissimilar plastics comes down to which side is the problem. If both members are high surface energy, you have room to work. If one is low surface energy, that member dictates the method.
| Plastic family | Surface energy | Difficulty | Typical choice | Preparation needed |
|---|---|---|---|---|
| ABS, PVC, acrylic (PMMA), polycarbonate | High | Easier | Solvent cement or epoxy | Clean, light abrasion |
| Polystyrene | High | Easier | Solvent cement | Clean only, avoid abrasion glossing the face |
| Nylon, PBT, PET, PEEK | Medium to high | Moderate | Epoxy, PA-reactive adhesive | Degrease, dry thoroughly |
| Polypropylene (PP), TPO, TPE | Low | Hard | Polyolefin primer plus MMA or epoxy, or a mechanical joint | Abrade plus primer, or flame/plasma/corona activation |
| Polyethylene (PE), UHMW | Very low | Very hard | Specialist polyolefin adhesive or fusion welding | Heavy abrasion plus primer; surface activation strongly preferred |
| PTFE and other fluoropolymers | Extremely low | Hardest | Fluoropolymer-rated adhesive, or mechanical fastening | Chemical etching or plasma, plus specialist primer |
For polyethylene and polypropylene, plan on a polyolefin primer, abrasion, or both. The ordinary super glue in your drawer will not do it, and neither will construction adhesive, because that type needs a porous substrate to grab.
If one of the two plastics is a polyolefin and the other is ABS, PVC or polycarbonate, you have a solvable but demanding pair. A two-part epoxy with a polyolefin primer handles it, as does a structural acrylic designed for low surface energy plastics, and ultrasonic or hot plate welding handles it better still when the geometry allows.
3. Confirm the Adhesive or Process Is Suitable
Read the technical data sheet rather than the front of the tube. You want to know the recommended substrates, the lap shear strength, the gap filling capability, the fixture time versus the full cure time, the temperature range, and the chemical resistance.
Then make a coupon. Two flat pieces of each plastic, cleaned and prepared the way the real parts will be, glued exactly as the datasheet instructs, and left alone for the full cure. Test it. A joint that peels apart cleanly at the adhesive line tells you the adhesive never wetted that surface. A joint that snaps in the plastic itself is a good bond.
Scales modellers get this right by habit. They use a thin solvent cement, one side only, and they leave it longer than feels necessary, which is exactly the behaviour that pays off on a larger repair.
4. Prepare the Bonding Surfaces
Surface energy is simply the tendency of a solid surface to be wetted by a liquid. A high surface energy surface lets a liquid adhesive spread out and make molecular contact. A low surface energy surface resists it, so the adhesive pulls itself into a bead and never touches enough of the substrate to hold. Think of a freshly waxed car. Water sits on it in tight beads no matter how hard you try to spread it.
Clean both surfaces with isopropyl alcohol and a lint-free cloth. Let them dry fully. For high surface energy plastics, a light pass with 220 to 400 grit paper increases the mechanical key the adhesive can grab, but go lightly on clear parts or you will leave a haze you cannot polish out.
For polyolefins, abrasion alone is a compromise. Do it anyway, then use a polyolefin primer, or use flame, corona or plasma treatment if the process allows. Plasma and corona raise surface energy but the effect fades in hours, so bond soon after treating. Avoid anything that softens, distorts or stress-whitens the part. Solvent attack on polycarbonate and acrylic is the classic mistake here, and crazed plastic cannot be undone.
Do not overlook time. Freshly cleaned plastic can re-contaminate from mould release agents and additive migration within hours, so prepare and bond the same day.
5. Assemble and Apply the Joint
For a two-part epoxy, measure the mix ratio accurately. A sloppy mix is why so many epoxy joints stay tacky for weeks. Mix thoroughly, apply a thin even layer on the harder surface only, and bring the parts together.
Joint geometry matters as much as chemistry. Aim for the largest practical overlap, keep the adhesive layer thin, and design to load the joint in shear or compression rather than peel or cleavage. Peel stress concentrates at the edge of the joint and will take it apart no matter how good the adhesive is. Where you can, add a fillet, a reinforcing strip or a second bond line to spread that load.
Gap control is the part most people get wrong. Most epoxies and acrylics want roughly 0.1 to 0.25 mm of adhesive line. Too little and the joint is starved. Too much and the adhesive cures as a weak, thick, brittle layer. Use glass beads or a shim if you need to control the gap precisely.
Fixture under steady, moderate pressure. Over-clamping squeezes adhesive out and leaves voids. For welding, this is where your parameters live: tool temperature, contact time, weld pressure, and cycle time all come from the process sheet and they are not interchangeable between plastic families.
6. Cure or Cool the Joint Correctly
Fixture time is when the joint can be moved. Cure time is when it reaches full strength. They are very different numbers, and confusing them is the single most common cause of bonds that feel perfect on day one and crack on day ten.
Follow the manufacturer’s cure schedule, including the temperature. Epoxies cure faster warm and slower cold, and a cold garage can stretch a 24 hour cure into two days. Do not load, flex, or test a joint before its cure time, even lightly. Then cool or hold welded parts undisturbed through their full cycle, because a weld that is handled while still hot distorts and loses strength.
Expect a slow build. A strong bond that reached full strength quietly in the background is worth far more than a fast grab that peels at the first impact.
7. Test Strength and Environmental Resistance
Do not declare victory because the parts stayed together. Test to the conditions the joint will actually face. A lap shear coupon or a peel test gives you a number. For a waterproof application, a water immersion test or a soap and water leak test is more informative than any bond strength figure.
Then age it. Put coupons through the exposures that matter for your part: heat, cold, humidity, UV, the detergent or fuel or solvent it will meet, and repeated flex cycles. Peel a failed coupon and look at the failure mode. Adhesive failure at the interface means the bond never wetted one surface, so go back to preparation or change the adhesive. Cohesive failure inside the adhesive or inside the plastic means the chemistry was right and the joint was the weak link, so increase overlap, reduce peel, or move to a tougher adhesive.
Two coupons tested properly take an afternoon. A failed part in a moulded or fabricated assembly takes the whole job with it.
8. Scale Up and Document the Process
Turning a good coupon into a repeatable production process means writing down the variables that actually moved the result. Record surface condition and grit, primer and its open time, mix ratio, open time, application thickness, gap, clamp pressure, cure temperature and time, and cooling time for welds.
Then control them. Set a limit on time between surface prep and adhesive application. Train operators on the prep, not just the dispensing. Inspect bonds non-destructively where possible. Set a rework limit, because a part that has been disturbed after cure rarely bonds well the second time.
Different plastic families expand at different rates, so a mixed joint carries a permanent internal stress. Where the service temperature swings widely, either pick a flexible adhesive, like a polyurethane, to absorb the movement, or design the joint so the stress lands in the fasteners rather than the adhesive line.
Common Mistakes
Most failures trace back to one of these, and the symptom usually tells you which one you hit.
- Choosing the adhesive for the easy plastic. If the pair includes PE, PP, PTFE or TPO, that member sets the requirement. Buying a general epoxy because it worked on the ABS side is the most expensive mistake in the process.
- Bonding over contamination. Skin oils, dust, mould release and condensation all sit invisibly. Clean and bond the same day.
- Skipping surface preparation on the hard side. Abrasions and primer are not optional on polyolefins, and the effect of corona or plasma treatment decays with time.
- An excessive joint gap. Thick adhesive layers cure weak and brittle. Control the gap with shims or beads.
- Wrong cure conditions. Too soon, too cold, or the wrong mix ratio leaves a joint that never reaches strength.
- Loading the joint in peel. Every edge in a peel load concentrates stress. Change the joint design before you change the adhesive.
- Ignoring thermal expansion mismatch. Mixed families flex at different rates, which slowly works the adhesive line apart. Use a flexible grade or accommodate the movement.
- Using solvent cement on polycarbonate or acrylic. These dissolve or stress-whiten. You get a haze or crazing that no amount of curing will fix.
- Skipping validation entirely. The bond looked good, so it went into service untested. This is how a cosmetic repair becomes a failed assembly.
One more worth naming: reaching for a caulk-gun construction adhesive on a smooth plastic pair. It needs a porous substrate, and smooth plastic is the opposite of that.
Frequently Asked Questions
What adhesive bonds polyethylene to polypropylene?
Both are polyolefins with very low surface energy, so ordinary epoxies and super glues will not hold. Use an adhesive formulated for polyethylene and polypropylene, applied over freshly abraded, cleaned surfaces, and follow the manufacturer’s stated cure schedule. In production, ultrasonic or hot plate fusion welding is often more reliable than any adhesive. Always test a coupon first, because filler content and grade change behaviour a lot.
Do I need a primer to bond plastic to plastic?
For high surface energy plastics such as ABS, PVC, acrylic and polycarbonate, a clean, lightly abraded surface is usually enough. For low surface energy plastics such as polyethylene, polypropylene, TPO and PTFE, a primer or surface activation is not optional. Apply the primer exactly as directed, bond within its open time, and do not treat then wait days before bonding, because the activated surface decays.
Should I glue or weld two different plastics together?
Glue when the joint is complex, the load is light, and disassembly or cosmetic appearance matters. Weld when the joint carries real load, sits at elevated temperature, must be leak tight, or when one member is polyethylene or polypropylene that resists adhesives. Fusion processes also avoid adding a stiff adhesive line between two materials that expand at different rates. Geometry and volume usually decide which is practical.
Is a bonded plastic joint waterproof?
It can be, but the adhesive, not the surface, is the weak link. Choose a chemistry rated for continuous water exposure and for whatever else the joint sees, such as chlorine, detergent, salt or fuel. Design the joint with continuous overlap and avoid peel loads, because a gap at the edge is where water gets in. Verify with a water immersion coupon or a leak test before you trust the part.
How strong is glue compared with welding plastic?
For structural load in shear, a properly designed welded joint is generally stronger, because the weld is the same polymer as the part. Adhesive bonds can be strong, but strength depends entirely on overlap area, adhesive choice and surface preparation, and the adhesive line carries its own temperature and creep limits. Cosmetic and light-duty assembly is where bonding wins, because welders need clean, accessible, heat-tolerant surfaces.
Why did my plastic bond fail after a few days?
The usual reasons are handling the joint before its full cure time, bonding over skin oils or mould release, curing too cold, or a peel load at the edge of the joint. Break the failed coupon open and look. A clean split at the interface points to poor wetting, so change surface preparation or adhesive. A chunky break in the plastic or adhesive means the joint itself was under-designed, so add overlap and remove the peel load.
Start With a Small Compatibility Test
Before you order anything or touch the real part, identify both plastics by resin code or field test, narrow the candidate methods to two, and make small coupons from scrap of each. Prepare them the way the production parts will be prepared, including primer on the low surface energy side, cure them fully, and pull them apart. That single afternoon tells you which method actually holds your pair, and it costs a couple of offcuts instead of the component.
Once that coupon works, the rest is discipline: control the surface, control the gap, control the cure, and document what you did. That is the whole of how to bond dissimilar plastics, and it works whether you are fixing a 3D printed bracket or assembling parts on a line.