
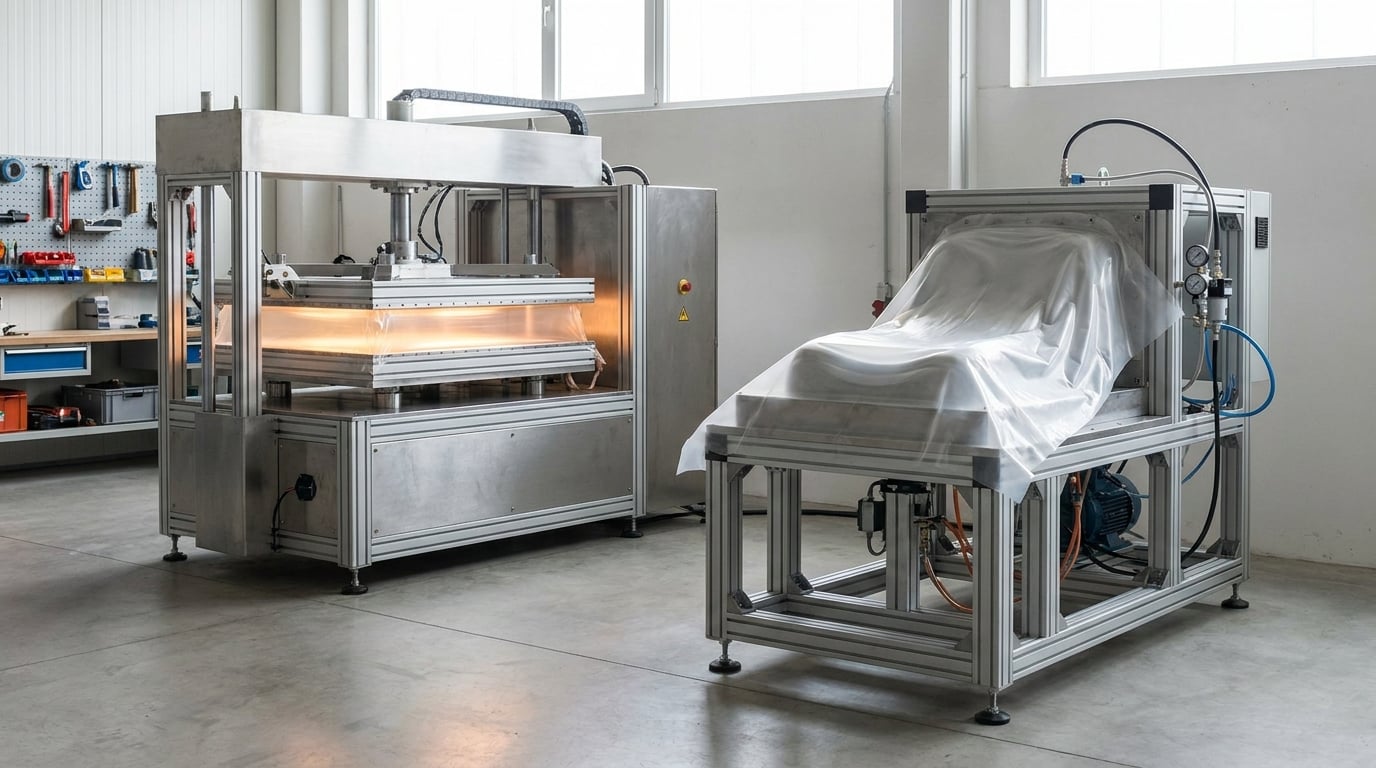
Pressure forming vs vacuum forming comes down to where the forming force comes from. Vacuum forming pulls air out from under a heated plastic sheet so atmospheric pressure presses it onto a mold; pressure forming pushes compressed air on the back side of the sheet, usually with vacuum underneath too, to force the material into finer detail.
That one difference cascades into everything else: tooling, wall thickness, cycle time, part size, cosmetic quality and unit cost. Get it backwards and you either overpay for pressure tooling on a simple tray, or discover a month in that the texture, logo or lettering on your enclosure will not reproduce under vacuum alone.
This guide is written for engineers, buyers and shop owners evaluating a real part. I’ll walk through both processes, then the decision points that actually decide the job.
Table of Contents
- Pressure Forming vs Vacuum Forming at a Glance
- What Is Pressure Forming?
- What Is Vacuum Forming?
- How the Two Forming Methods Differ
- Pressure Forming vs Vacuum Forming: Materials and Part Geometry
- Tooling, Cycle Time, and Production Costs
- Which Should You Choose?
- Frequently Asked Questions
- Conclusion: Choose by Part Requirements, Not Just Process Name
Pressure Forming vs Vacuum Forming at a Glance
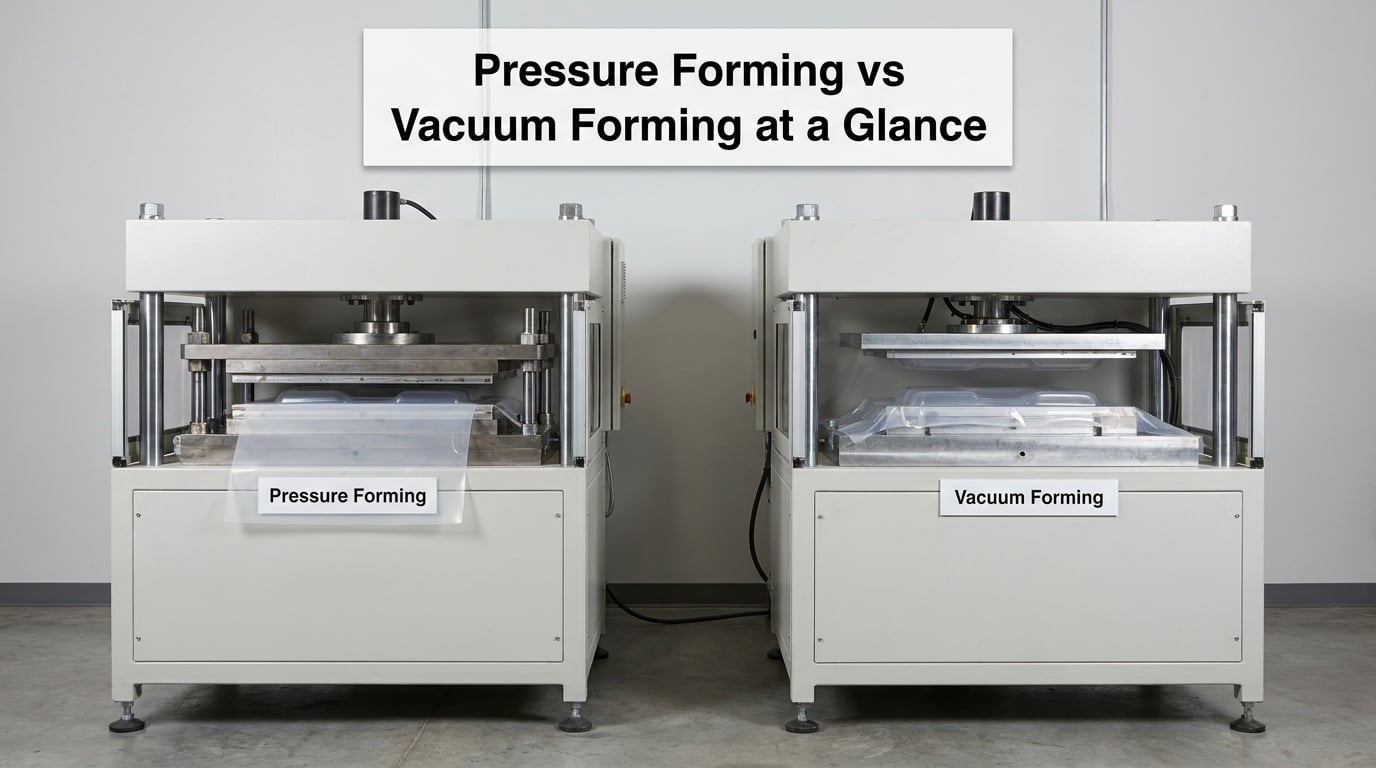
The short version, in one table:
| Factor | Vacuum Forming | Pressure Forming |
|---|---|---|
| Forming force | Atmospheric pressure only, up to roughly 14.7 psi differential at sea level | Positive compressed air on the reverse side, on top of the vacuum differential |
| Tooling | Single-sided mold: wood, epoxy, acrylic or machined aluminum | Matched tooling, usually machined aluminum or steel, often two matched halves |
| Surface detail | Good on broad radii and shallow features; textures tend to soften | Crisp edges, defined ribs, molded-in texture, legible fine lettering |
| Sheet contact | Partial; the sheet bridges small radii and only partly fills fine features | Full contact across the tool surface |
| Wall thickness | Thins at deep draws and corners; wide variation without assist | More even distribution, often used with plug or pressure assist |
| Part size | Very large panels are achievable, but sag between clamps is harder to control | Large parts possible, though tooling weight and press size become the limit |
| Cycle time | Fast; heating and cooling dominate | Slightly longer per cycle because the pressure box must seal and equalize |
| Best fit | Prototypes, shallow forms, packaging trays, guards, low-volume work | Enclosures, cosmetic panels, deep or detailed parts, higher volume runs |
| Where it sits vs injection molding | Cheaper tooling, weaker on detail and repeatability | Closer to injection molding on appearance, still far cheaper on tooling |
| Third option | Twin sheet forming uses two heated sheets sealed together for closed volumes with no mold contact on the outer skin | |
One thing to correct before reading further: neither process improves dimensional accuracy the way people assume. Pressure forming gives better surface definition, not tighter tolerances. A pressure-formed part can still vary in wall thickness and overall dimension just as much as a vacuum-formed one.
What Is Pressure Forming?
Pressure forming is thermoforming where compressed air pushes the heated sheet against the mold. The force is applied from the side opposite the tool, which is why the process usually needs a sealed pressure box or platen rather than an open frame.
The sequence runs like this:
- Clamp the thermoplastic sheet in the frame.
- Heat it evenly until pliable, usually by infrared heater bank, with the temperature set to the material’s softening range.
- Drape the sheet over the mold and seal the platen against the frame.
- Apply vacuum below the sheet, then add positive compressed air above it.
- Hold under pressure so the material stays in full contact with the tool while it cools.
- Release pressure, demold, trim and finish.
Because the sheet is pushed from above and held against the tool from below, it conforms to small radii, lettering and texture instead of bridging over them. That is why enclosures, medical device covers, speaker grilles and appearance-critical interior panels tend to end up here.
Tooling is the real weight on the decision. A pressure tool is usually machined aluminum or steel built to a matched pair, and it has to hold pressure without flexing. Cheap hand-built tooling will not survive that load consistently, so this is the point where a part either justifies proper tooling or it does not.
What Is Vacuum Forming?
Vacuum forming is the older and simpler of the two. The heated sheet is draped over a single-sided mold, the mold is sealed against the platen, and a vacuum pump evacuates the air trapped between the sheet and the mold surface.
With the air gone, the pressure in the chamber above the sheet pushes it down until it conforms. That differential is capped by the atmosphere itself, which is about 14.7 psi at sea level and drops with altitude. Shop machines commonly quote vacuum levels in inches of mercury rather than psi, and a good pump will pull 28 or 29 inches of mercury, close to the practical ceiling.
That ceiling is the whole story of vacuum forming’s limits. You have one atmosphere of force, and it is applied from a single direction. Small features that sit in shadow from the tool’s perspective get less effective pressure, so textures soften, ribs round off, and tight radii web or thin.
The upside is speed and simplicity. Tooling can be CNC-routed wood, cast epoxy, acrylic or a buck cut from machinable board, which means a first part can be on the machine in a day or two. That fast iteration is exactly why most first-time formers start here.
How the Two Forming Methods Differ
Pressure distribution and mold construction
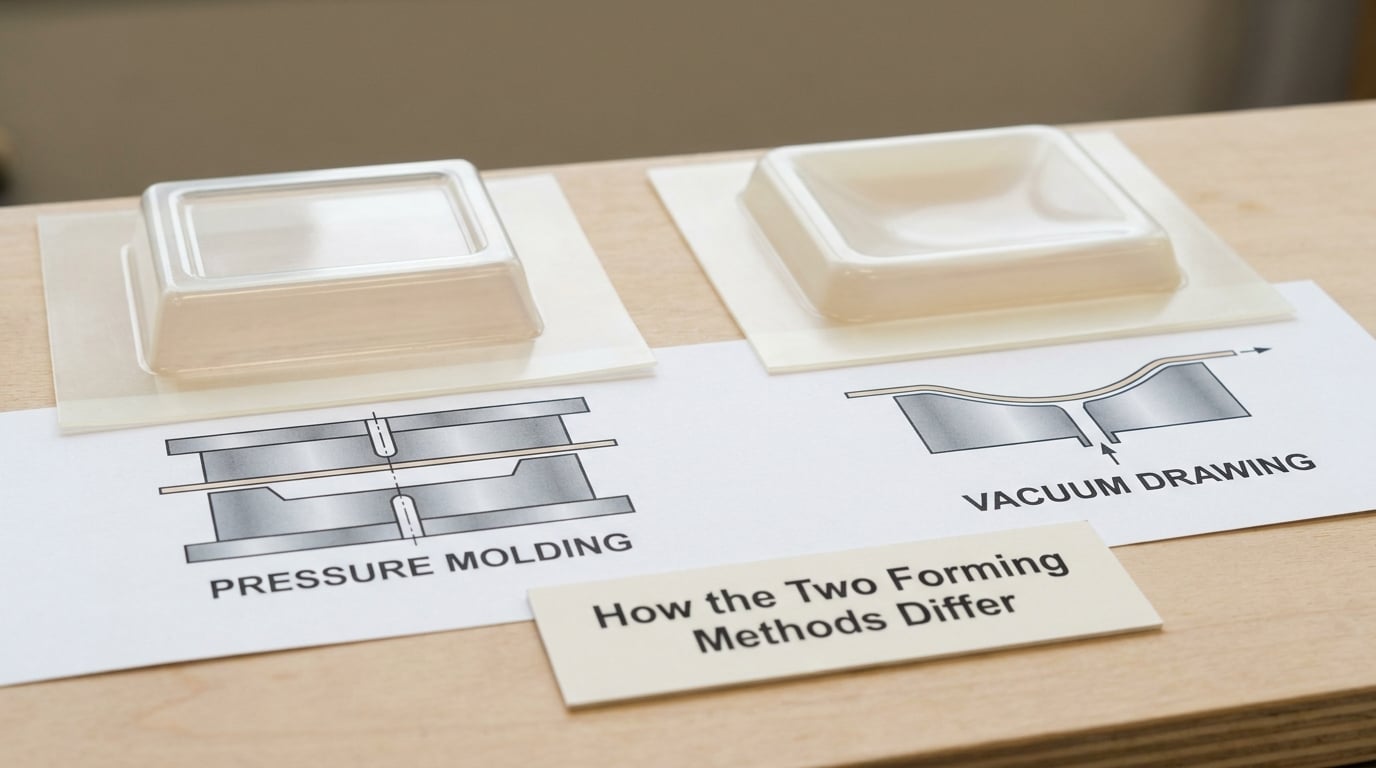
Vacuum forming pulls from a diffuse, atmospheric source. Pressure forming adds a controlled positive source on the reverse side, so the net force is higher and more even across the sheet. The tooling follows: one-sided for vacuum, matched and rigid for pressure.
Wall thickness, draw ratio and thinning
Both processes stretch material, and material stretched over a long draw gets thinner. Draw ratios of about 2:1 to 5:1 are typical working ranges, with 3:1 a common practical target for consistent wall thickness. Beyond that, thinning concentrates in corners and can web out entirely.
Vacuum forming tends to show more variation, especially in deep draws, because the sheet can only be pulled from the vacuum side. Pressure forming with plug or pressure assist pushes material back into the cavity and holds walls more even. This is one of the clearer technical reasons to pay for pressure tooling.
Detail, texture and repeatability
Texture is where the two separate most visibly. Under vacuum, a fine-grain texture often comes out softened or partially erased. Under pressure, embossed logos, fine lettering, louvers, ribs and recessed cosmetic features come through sharp.
Repeatability follows the same line. A wood or epoxy vacuum mold is good for dozens or hundreds of shots and drifts as it wears. A machined aluminum pressure tool holds its geometry for thousands. Cycle time is a smaller effect: both are dominated by heating and cooling, with pressure adding a sealing and equalization step.
Where twin sheet fits
Twin sheet forming is the third member of the family worth knowing. Two heated sheets are sealed together around the perimeter and inflated apart, producing a closed volume with no mold contact on the outer skin. It suits hollow covers and containers where you want smooth outside surfaces and controlled wall thickness without a full tool.
Pressure Forming vs Vacuum Forming: Materials and Part Geometry
Material and geometry together decide more than preference. Sheet gauge, color, texture, draft, radii and depth all change which process will give you a repeatable part.
| Material | Vacuum Forming | Pressure Forming | Watch out for |
|---|---|---|---|
| ABS | Good, forgiving for prototypes | Excellent for housings and cosmetic parts | Oil and stress cracking if trimmed poorly |
| HIPS | Very common for packaging and displays | Works, holds detail well when heated right | Heating too hot causes a matte, hazy surface |
| Polycarbonate | Possible but demanding; needs high heat and even heating | Better control for deep parts and thick sections | Trapped moisture causes splaying, so dry the sheet first |
| PMMA (acrylic) | Excellent clarity for displays and covers | Good for polished, textured cosmetic parts | Surface scratches show badly, so handling matters |
| PP | Fine for sleeves, trays, covers | Fine, with careful temperature control | Shrinkage on cooling can twist flat panels |
| PVC rigid | Works for signage and short runs | Acceptable, less common | Heat sensitivity narrows the forming window |
| PETG | Common on desktop machines | Used on some production equipment | Crystal clear grades can stress-whiten on deep draws |
| HDPE | Fine for guards and covers, not for detail | Limited, texture will not hold | Very soft material, needs a rigid tool |
Sheet thickness runs from under 1 mm to more than 10 mm in industrial work. Thin sheet sags between frame clamps before it reaches the tool, which is where large vacuum-formed panels pick up wrinkles and why thicker sheet is easier to hold flat. A pressure frame controls sag better with a pre-blow bubble, but the tooling must be stiff enough to resist the pressure.
Geometry rules matter more than most people expect. Add a draft angle of roughly 3 degrees on male features and 1 degree on female features so the part releases. Make internal corner radii four to five times the sheet thickness, because a sharp inside corner needs to stretch material a long way in a very short distance. Keep undercuts off the draw path unless you plan a separate molding operation.
How these play out by part type:
- Packaging trays and blisters: shallow, thin, high volume. Vacuum forming on inexpensive tooling is the standard answer.
- Equipment enclosures and housings: deeper draws with walls, ribs, bosses and cable cutouts. Pressure forming once the design is frozen.
- Point-of-purchase displays and signage: large, shallow, appearance-driven. Vacuum forming handles the size, pressure forming if the graphics need to be crisp.
- Automotive and medical panels: tight cosmetic standards, deeper contours, controlled repeatability. Pressure forming with an aluminum tool, often followed by secondary CNC machining for critical features.
Deep draws deserve their own warning. Tall, narrow parts are where vacuum forming fails first, because the sheet has to stretch a long way with one atmosphere pushing it. The result is a thin, uneven wall that may tear at the corners. On r/manufacturing, this exact question comes up repeatedly when people try to form a tall liner into a mold. Pressure forming with a pressure-assist plug is the usual fix, and redesigning the part to reduce depth is often the better one.
Tooling, Cycle Time, and Production Costs
Compare total cost per part, not the mold invoice. The finished part is material plus tooling amortized over the run, plus forming time, trimming, finishing, scrap and inspection.
Tooling is where the two separate most. A vacuum mold can be wood, epoxy or acrylic, produced quickly and at low cost, and reworked easily when the design changes. A pressure tool is machined aluminum or matched steel that must hold pressure without flexing, and it costs several times as much up front. That gap is the main reason formers start with vacuum forming and stay there when the part does not demand more.
Tooling maintenance follows. Wood and epoxy tools get dinged, patched and re-cut. Aluminum tools get refinished and polished at much longer intervals, which is why they amortize well across long runs.
Per cycle, both processes are heating- and cooling-limited. A single cycle commonly runs somewhere between 30 seconds and a couple of minutes depending on gauge and tool mass. Pressure forming adds a sealing and equalization step, and a pressure box holds heat in differently, so expect a modest penalty there rather than a step change. Labor is usually the larger lever: trimming is a manual operation on both, and it is where scrap tends to hide.
At low volume, a cheap vacuum tool and fast iteration win outright, because amortization has little to work with. At medium volume, the sheet cost and cycle time start to dominate and the processes get closer. At high volume, the pressure tool’s longer life and lower scrap rate pull ahead, and past some point injection molding takes over entirely. I would not pick a process by the volume number alone, though, because the tooling quote you get back will tell you where the break-even actually sits for your part.
Which Should You Choose?
Choose vacuum forming when the part is shallow or simple, the design is still moving, the run is short, or the budget for tooling is tight. Choose pressure forming when the part is deep, appearance-critical, has molded-in texture or lettering, needs tighter wall control, or will run in volume.
A decision checklist before you request tooling quotes:
- Write down the part depth and draw ratio. Deep draw pushes you toward pressure.
- Note any texture, logo, lettering or louvers. Sharp features push you toward pressure.
- Confirm draft angles and corner radii meet the 3 degree and four-to-five-times-thickness rules. If not, fix the design before quoting either process.
- List the annual volume. Low volume favors a simple vacuum tool even for a good-looking part.
- Decide the tolerance and finish requirement. Remember pressure improves appearance, not accuracy.
- Check the machine. A tabletop unit with limited clamp force constrains size and pressure before process choice ever enters the conversation.
One honest note from the forums: if the part has complex integrated geometry at real volume, the honest answer is often injection molding rather than trying to push thermoforming further. Pressure forming is a bridge, not a substitute. It buys cosmetic quality and lower tooling cost; it does not buy the repeatability of a steel injection tool.
Frequently Asked Questions
What is a disadvantage of using vacuum forming?
The main disadvantage is limited forming force. Vacuum forming works with the atmospheric differential, about 14.7 psi at sea level, so material thins unevenly on deep draws and fine textures, ribs and lettering often come out soft. A second disadvantage is tooling durability, since wood or epoxy molds wear and drift far sooner than machined aluminum, which affects repeatability on longer runs.
Is vacuum forming cheap?
Vacuum forming is usually the cheaper entry point, because tooling can be wood, epoxy or acrylic and produced in days rather than weeks. But the mold is only part of the cost. Sheet material, cycle time, trimming labor, scrap and any secondary machining all count, and cheap tooling often means more scrap. Compare total cost per finished part at your actual volume, not the mold invoice.
How much vacuum pressure does vacuum forming actually need?
A full vacuum equals about 14.7 psi of differential at sea level, so a pump pulling 28 to 29 inches of mercury is already close to the practical ceiling. What you need depends on gauge, draw depth and how rigid the tool is, not on a single set number. Deeper draws and thicker sheet want every bit of differential you can get, which is one reason shops move to pressure forming.
Should I vacuum form or pressure form a deep part?
For deep or tall parts, pressure forming, usually with a pressure-assist plug or matched tooling. Vacuum forming has only one atmosphere pushing the sheet, so a long draw thins the walls unevenly and often tears at the corners. If the depth is a real requirement, redesigning for a shallower draw with draft and generous radii often beats changing process.
Does pressure forming improve accuracy or only looks?
Only looks, in the main. Pressure forming gives sharper edges, cleaner texture, legible fine lettering and better contact with the tool, but it does not tighten dimensional tolerances the way injection molding does. Wall thickness still varies with draw ratio and cooling. If your requirement is tight dimensions rather than appearance, no amount of forming pressure will get you there.
Can pressure forming replace injection molding?
For appearance-critical parts at low to medium volume, often yes, because a machined pressure tool costs a fraction of a steel injection tool and produces a comparable outer surface. At high volume, injection molding still wins on cycle time, repeatability and total cost per part. And for integrated geometry with no cosmetic surface requirement, forming has to be machined afterward, which erodes the saving.
Conclusion: Choose by Part Requirements, Not Just Process Name
Vacuum forming is faster to tool, faster to change and fine for shallow, simple, short-run parts. Pressure forming is the answer when the part is deep, textured or appearance-critical, and it is the closer of the two to injection molding on surface quality.
Neither one is “better” in the abstract. The deciding facts are your draw depth, your sheet gauge, whether texture and lettering are in the model, your annual volume, and how tight your tolerances really need to be.
Before you request any tooling quote, write those five things down: part geometry and depth, material and thickness, annual volume, tolerance and finish requirement, and your target cost per part. Send that to two or three shops and ask each one to quote the finished part, not just the mold. The quote that separates itself clearly is usually the right process, and the ones that look similar are the ones worth negotiating on.