
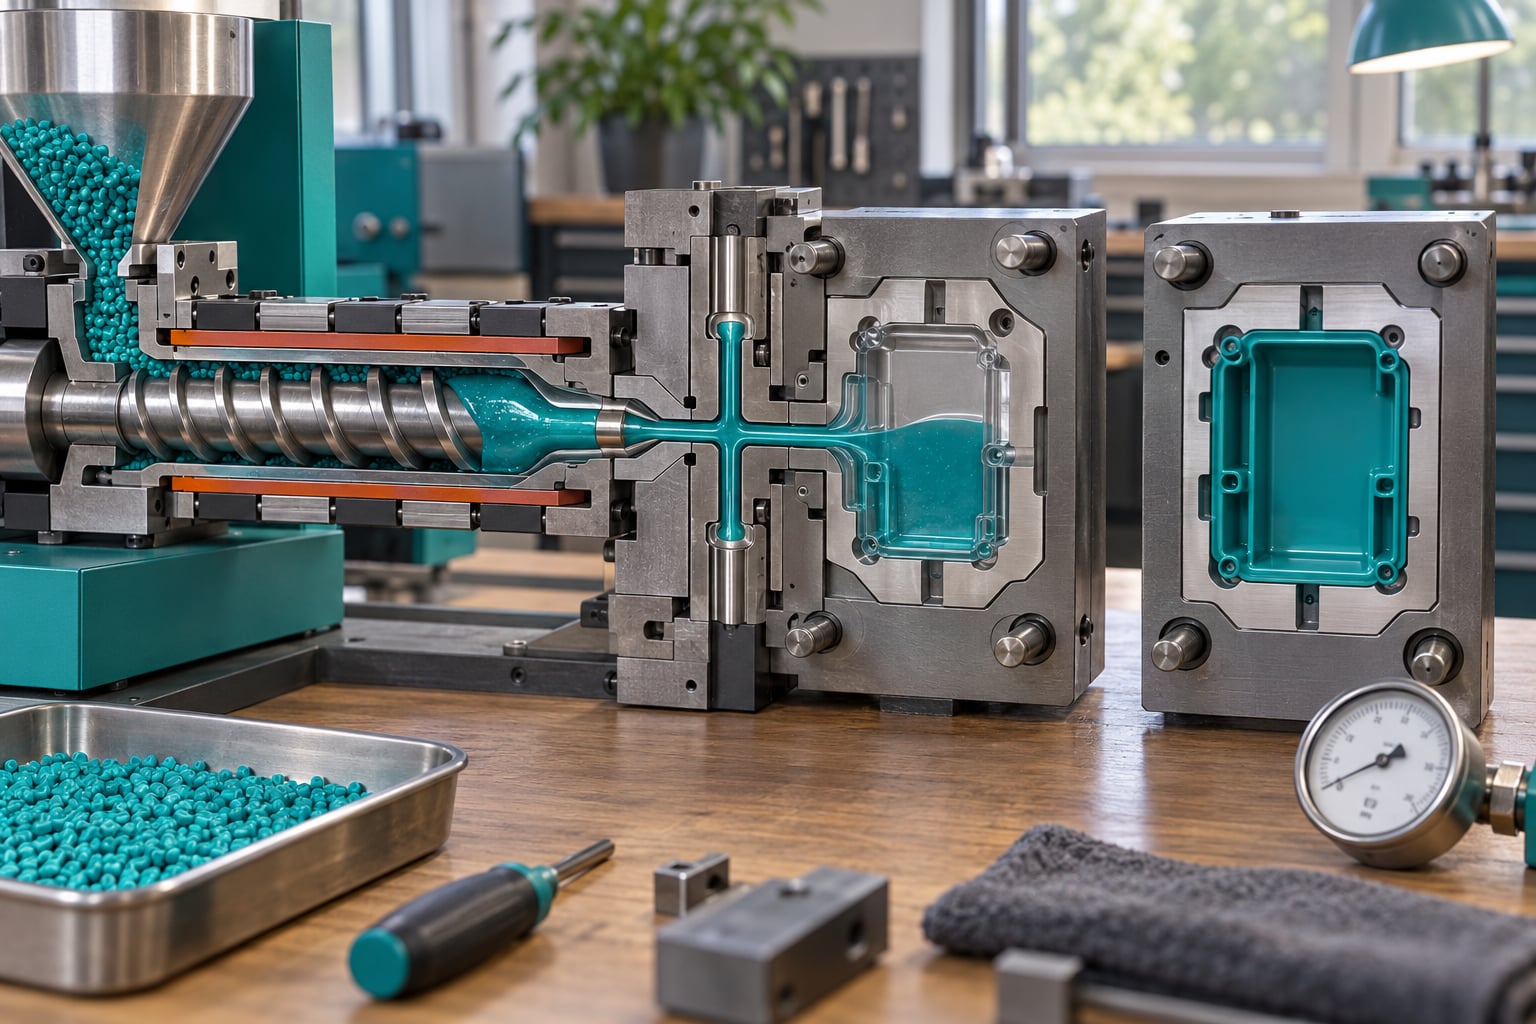
Injection pressure fills the cavity; hold pressure packs it. Injection pressure is the high pressure that drives molten plastic through the sprue, runner and gate during filling, and it decides whether the part is complete or short shot. Hold pressure is the lower pressure applied after fill to push in extra material and offset shrinkage as the part cools, and it decides sink marks, part weight and dimensional stability. Getting the injection pressure vs hold pressure split right is where most molding problems are actually solved.
That is injection pressure vs hold pressure explained in two sentences. The two settings are often confused because they sit next to each other on the machine panel and both get adjusted reactively when a defect shows up. This guide separates them, gives typical psi ranges by material family, and shows a troubleshooting order that works.
Table of Contents
- Injection Pressure vs Hold Pressure at a Glance
- What Is Injection Pressure?
- What Is Hold Pressure?
- How Injection Pressure and Hold Pressure Affect Part Quality
- Injection Pressure vs Hold Pressure: Which Problems Does Each Control?
- How to Adjust the Two Pressures Without Creating New Defects
- Which Should You Choose?
- Frequently Asked Questions
- What is the difference between injection pressure and hold pressure?
- Is higher injection pressure always better for injection molding?
- Why does increasing hold pressure sometimes cause flash?
- Does injection pressure determine the fill rate?
- How do I know if hold pressure is too low?
- Should injection pressure and hold pressure be increased together?
- What to Do First
Injection Pressure vs Hold Pressure at a Glance
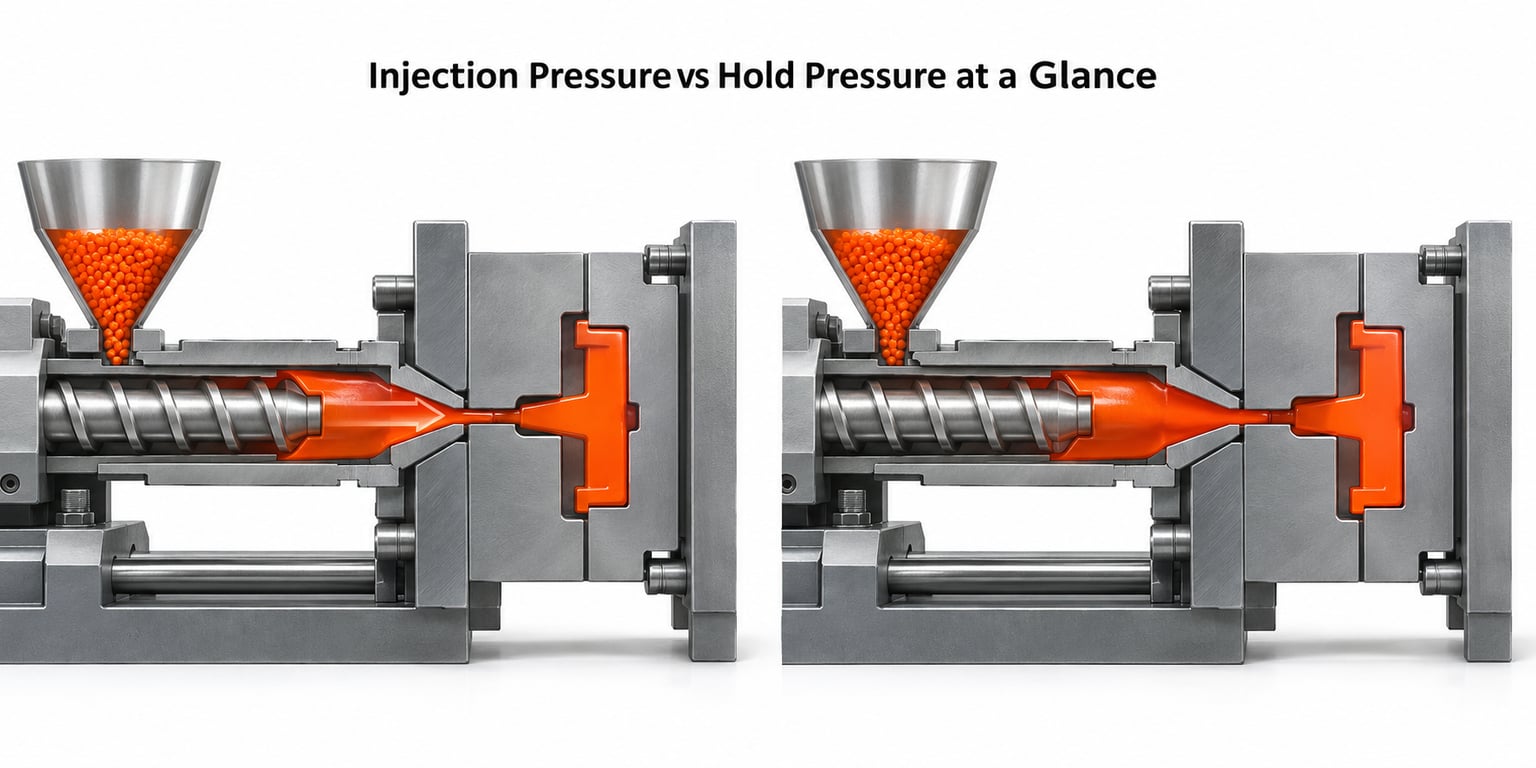
Both pressures act on the same melt, but they do different jobs at different times. The comparison below is the shortest version of the answer.
| Factor | Injection Pressure | Hold Pressure |
|---|---|---|
| Stage | Fill / velocity stage | Pack / holding stage |
| Purpose | Fill the cavity to 95-99% of volume | Add material to offset volumetric shrinkage |
| When it acts | From gate opening to end of fill | From end of fill until the gate freezes |
| Typical level | Peak of roughly 20,000-25,000 psi plastic pressure on difficult fills | Often 30-60% of injection pressure |
| What controls it | Volumetric flow rate, melt viscosity, gate area, flow length | Part thickness, shrink rate, gate seal time |
| Machine setting | Usually a pressure limit riding on a velocity profile | Usually a percentage of maximum pressure |
| Defects when wrong | Short shots, weld lines, jetting, trapped air, flash | Sink marks, voids, low part weight, flash, warpage |
What Is Injection Pressure?
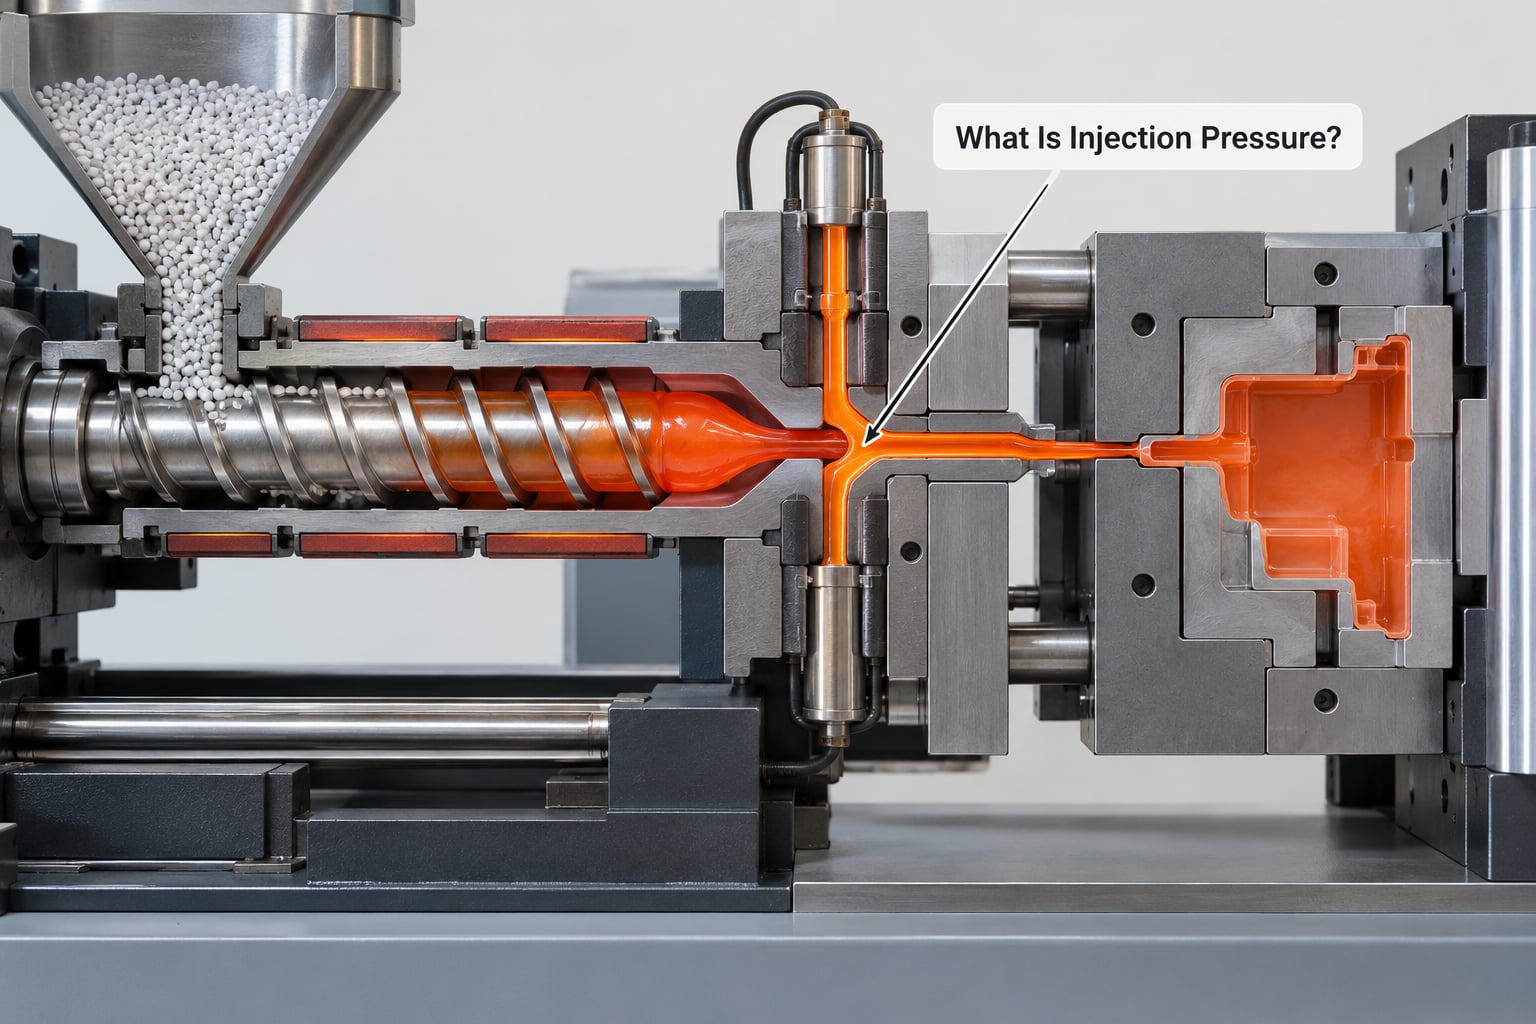
During fill the screw stops plasticizing and advances as a plunger, pushing melt forward at a controlled volumetric flow rate. The resistance the melt meets at the gate, the cold runner walls and the growing air head is what generates injection pressure, so pressure is a symptom of the flow demand rather than a setting you dial in directly.
How to calculate injection pressure for a part
Flow demand comes first. Volumetric flow rate has to deliver the cavity volume in the chosen fill time, and everything that resists that flow eats pressure: viscosity, flow length, wall thickness, the gate area, and the temperature drop as the melt travels through the runner.
A rough industry benchmark is that end-of-cavity pressure should stay near 3,000 psi for a healthy process window. Once the pressure available at the cavity falls below that, the last portion of the flow stalls and you get a short shot with the runners packed solid.
Resin viscosity is not a fixed number. The same lot of material can swing about 20% in viscosity, which is why a fill that worked on Friday can short shot on Monday at identical settings. Molders using cav sensors on the mold side see this drift long before it shows up in part weight.
Fill time matters as much as the pressure number. Fill too fast and you trap air ahead of the melt front, which shows up as a weld line in a bad place or a void at the thick section. Fill too slow and the same viscosity problem produces a short shot that raising pressure alone will not fix.
Thin walls are where injection pressure numbers look most alarming. A thin-wall, long-flow part in a viscous plastic can genuinely need 20,000 psi or more to complete the fill. That is normal, not a machine fault, and it is a different problem from a short shot on a short-flow part where pressure is already plentiful.
What Is Hold Pressure?
Hold pressure is applied after the cavity is essentially full. The screw stops advancing and simply pushes against the melt, feeding extra material into the part as the polymer contracts from the melt temperature down to solid. That feed is what keeps thick sections dense and flat.
Its effectiveness has an expiry date: gate seal time. Once the gate freezes shut, no amount of hold pressure can add material, because the path is closed. This is the link most guides skip, and it explains a lot of frustrating results where hold pressure is raised step after step with zero change in part weight.
A common starting rule of thumb is roughly one second of hold time per millimeter of part thickness, plus a 10-20% margin. Nylon and acetal, being semi-crystalline, generally need longer holds than ABS. Polyethylene needs less. The gate decides the rest: a small gate seals early, a large gate stays open longer and makes hold pressure more useful.
Hold pressure is normally set lower than injection pressure because the melt is already in place and only needs enough pressure to push against a shrinking part and whatever back pressure the mold presents. Running the two equal wastes clamping force and buys nothing.
How Injection Pressure and Hold Pressure Affect Part Quality
The symptoms point back to the stage that caused them. Injection pressure problems show up in the shape of the melt front; hold pressure problems show up in the density and the dimensions.
| Setting | Too low | Too high |
|---|---|---|
| Injection pressure | Short shots, incomplete features, jetting from poor flow control | Flash at the parting line or gate, excessive clamp load, weld line degradation, mold damage |
| Hold pressure | Sink marks, low part weight, voids at thick sections, poor dimensional repeatability, higher residual stress | Flash, excessive part weight, overpacking stress that shows up later as warpage, nozzle drool or stringing |
Sink marks are the classic hold-pressure symptom. They are thermal voids under a thick section, and they shrink when you pack the part properly and cool it evenly. Part weight is the honest indicator of the same thing, since weight is density multiplied by volume.
Warpage is more complicated and often blamed on the wrong setting. Packing pressure left too high builds residual stress into a part that later distorts on the line or in the assembly. The fix is usually reducing hold pressure or hold time and correcting mold temperature balance, not increasing pressure.
Flash is the one defect both stages can cause, which is why it confuses people. During fill, excessive injection pressure opens a venting gap at the parting line. During hold, excessive pack pressure does the same after the cavity is full. Which one you are seeing is a function of timing, and a pressure trace tells you which.
Injection Pressure vs Hold Pressure: Which Problems Does Each Control?
Match the symptom to the stage before you touch the panel. Here are the calls I would make on a real press.
- Short shots on a long-flow or thin-wall part: injection pressure and flow rate. Check gate size, melt temperature and flow length first. If the end-of-cavity pressure is healthy, more pressure adds flash and nothing else.
- Short shots on a short-flow part that fills fast: almost never pressure. Look at venting, melt temperature and cushion left at end of stroke.
- Sink marks behind a boss or rib: hold pressure first, then hold time, then cooling time and local cooling. Packing more does nothing once the gate has sealed.
- Part weight drifting within a batch: hold pressure and hold time. Gate seal variation with mold temperature is the usual cause.
- Weld line in a weak spot: injection side. Reduce the fill rate at the weld and shift the gate. Pressure alone will not save a bad weld line.
- Flash that appears only on thick parts: hold pressure, because thick sections pack hardest. Flash that appears on every shot regardless of geometry usually means a clamping or mold-fit problem, not pressure.
- Warpage that shows up days after molding: hold pressure too high, or hold time too long. Overpacked parts release their stress slowly.
How to Adjust the Two Pressures Without Creating New Defects
Most pressure problems come from changing two things at once. This sequence avoids that.
Establish a stable baseline first
Lock down melt temperature, mold temperature, fill time and cooling time, and confirm the fill looks clean with no trapped air. Set a moderate hold pressure, about half of what you think you need, and let the part reach steady state before reading any numbers. Process data taken during the first shots after a mold change is mostly thermal noise.
Use the part-weight method to find the hold side
Run parts at hold pressures in steps, for example 20%, 35%, 50% and 65% of injection pressure, weighing twenty parts at each step. Part weight rises and then plateaus. The pressure where the curve flattens is the useful hold pressure; anything above it is overpacking, and anything below it is leaving weight on the table. This is more reliable than a number printed in a setup sheet.
Change one variable at a time on the fill side
Treat injection pressure as a ceiling, not a target. Set your velocity profile first, then lower the pressure limit until you find the level at which the fill is still complete with some margin. If the fill completes at a lower limit, leave it there. Most machines should never reach their maximum injection pressure during a normal shot.
Verify with dimensions, not just weight
Weight tells you density. Dimensions tell you whether the geometry is holding. Measure the dimensions most likely to drift, usually the flow direction near the thickest section, across a sample rather than one part. Pair the measurement with a control plan once the process is stable, since a pressure change that helps one dimension often moves a critical-tolerance feature the other way. If you are building those charts by hand, SPC charts for injection molding explained covers the format, and statistical sampling plans explained for molders covers how many parts to pull on each check.
Know when the gate has sealed
If part weight stops responding to hold pressure, the gate has frozen. The remaining levers are a bigger gate, a hotter gate, or earlier hold application. Cavity pressure sensors make this obvious because you can see the point where the trace goes flat. Without them, the weight curve tells you the same thing.
Which Should You Choose?
There is no universal setting, but there are reliable starting points by part and material.
- Thin-wall packaging and containers: prioritize fill. Use injection pressure and velocity to get a complete, air-free fill, then hold gently and briefly to keep weight stable without stressing the thin sections. Flash here usually means fill control, not hold pressure.
- Thick-sectioned housings and fittings: prioritize the pack. Longer hold time and moderate hold pressure matter more than a high fill peak. These parts sink, void and warp if the pack side is neglected.
- Semi-crystalline resins such as nylon, acetal and polypropylene: higher shrink rates mean more material to add, so hold pressure carries more of the job. Plan for longer hold times and watch part weight closely. Nylon in particular varies lot to lot, so confirm incoming material with hardness testing for plastics explained before blaming the settings.
- Amorphous resins such as ABS, PS and PC/ABS: lower shrink rates tolerate lower hold pressure. Keep hold time generous to avoid residual stress in glossy parts.
- Cosmetic painted or plated parts: hold pressure is the lever that matters. Sink marks and flatness show up after finishing, and both are packing problems. Overpacking is just as damaging because it stresses the surface.
- Runs limited by flash rather than short shots: do not add fill pressure. Work the hold side down, check clamping force and mold fit, and consider a hot runner or a larger gate so you can pack without pushing on the parting line.
Multi-stage pressure profiles and decoupled molding take this further by separating fill from pack entirely, using cavity pressure sensing to trigger the transition. They are worth the setup effort on high-volume, tight-tolerance work and rarely necessary on short runs where a good single-stage profile will do.
That is injection pressure vs hold pressure in one sentence: fill decides whether you have a part at all, pack decides what shape it keeps.
Frequently Asked Questions
What is the difference between injection pressure and hold pressure?
Injection pressure forces molten plastic through the sprue, runner and gate to fill the cavity during the velocity stage. Hold pressure is a lower pressure applied after the cavity is full, which pushes extra material in to offset volumetric shrinkage as the part cools. Injection pressure decides whether the part is complete; hold pressure decides its density, weight, sink marks and dimensions.
Is higher injection pressure always better for injection molding?
No. Injection pressure is a ceiling that must stay high enough to complete the fill, not a target to maximize. If the cavity fills with margin at a lower limit, raising it only adds clamp load and flash risk. Fill problems are often caused by viscosity, flow length, gate size or a fast fill trapping air, and pressure will not fix those.
Why does increasing hold pressure sometimes cause flash?
Hold pressure is applied after the cavity is full, so any excess has to escape past the parting line or the gate. If the mold is already flexing slightly under clamping load, or the fit is worn, a higher pack pressure opens that gap and you get flash. Flash from the pack stage usually appears only on thick parts; flash on every shot points to clamping or mold fit instead.
Does injection pressure determine the fill rate?
Not on most machines. Fill rate is set by screw velocity, which determines volumetric flow rate, and injection pressure is usually a limit riding on top of it. The pressure you see is the melt’s resistance, not a command. Pressure becomes the active setting only on machines that control pressure directly, or when you deliberately lower the limit to cap peak cavity pressure.
How do I know if hold pressure is too low?
Part weight is the fastest check. Weigh twenty parts, raise the hold pressure in steps and watch the curve. If weight is still climbing, you were underpacking. Sink marks behind bosses, voids in thick sections and drifting dimensions on the flow-direction feature are the visible symptoms. Once part weight stops responding, the gate has sealed and hold pressure no longer matters.
Should injection pressure and hold pressure be increased together?
No, and there is no reason to. They answer different problems. Injection pressure is set just high enough to complete the fill with margin, while hold pressure is tuned separately, usually 30-60% of the injection pressure, using the part-weight curve. Raising both together usually pushes the part into flash while the original fill or sink problem stays exactly where it was.
What to Do First
Decide which stage your defect came from before you touch a single setting. Fill problems get the injection side: velocity profile, gate size, melt temperature, then a pressure limit set with margin. Packing problems get hold pressure and hold time, tuned on the part-weight curve until weight plateaus.
Change one variable at a time, let the part reach steady state, and confirm with dimensions rather than with the gauge. That order alone removes most of the pressure chasing that fills a shop floor with scrap.