
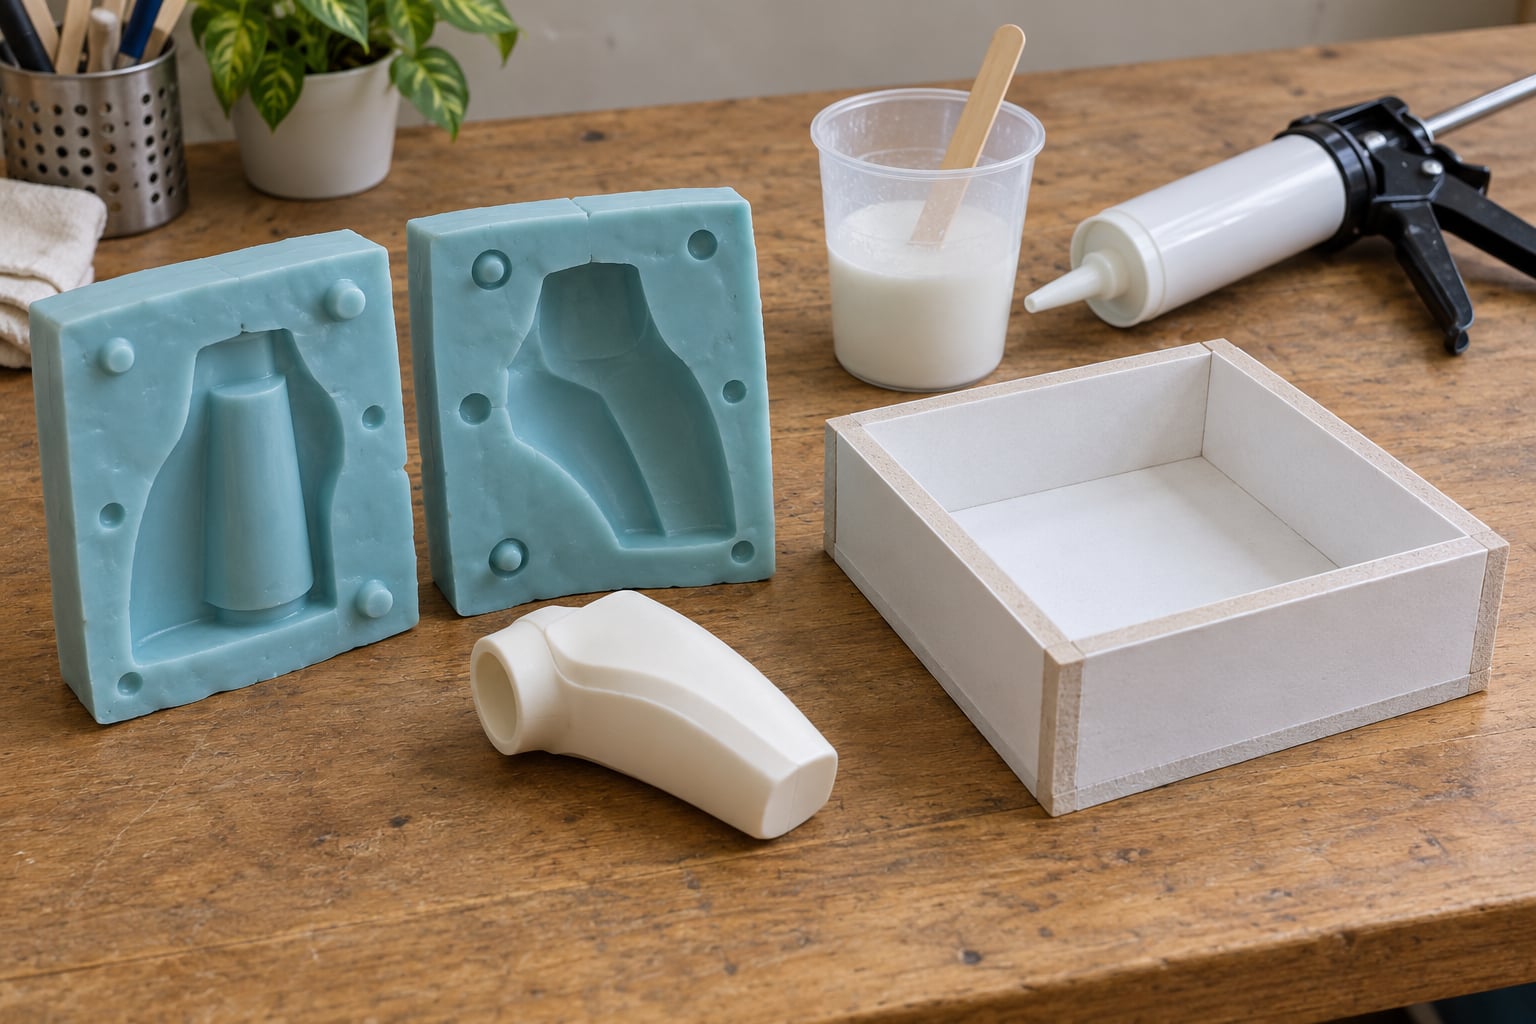
If you need a handful of plastic test parts without paying for production tooling, learning how to make plastic molds at home is the fastest route. The basic method is simple: build or find a master shape, seal it into a box, pour a mold material over it, let that cure, then pour your casting resin into the cavity you just made. A small test cavity takes an evening; a full box takes a weekend of curing time.
This guide is aimed at makers, product designers and small manufacturers who need prototypes, replacement knobs, enclosures and one-off parts — not thousands of identical injection-molded pieces. Home molds capture shape well and hold tolerance loosely. That is a fair trade for spending a weekend instead of a month.
Table of Contents
- What You Need
- Step-by-Step
- Safety and Material Disposal
- Frequently Asked Questions
- What material is best for making a plastic mold at home?
- Can I use silicone to make a mold for casting plastic resin?
- How many test parts can one home-made mold produce?
- Is a home-made plastic mold safe for food-contact parts?
- Why are there bubbles in my plastic casting?
- Can I use a home-made mold for short-run production?
- Conclusion
What You Need
Most of the tool list is short. The decisions that matter are the mold material and how well you seal the box.
Workspace and safety gear
Work outdoors or in a room you can leave open. Acetoxy silicone caulk cures by releasing acetic acid, and that smell fills a closed room fast.
- Nitrile gloves and safety glasses you can wear the whole session
- A ventilated work area or a fan pointed out of a window
- A disposable bench covering, because nothing you mix here stays put
- A scale accurate to a gram, for measuring resin and hardener by weight
- Paper towels and a scrap card for wiping sticky hands
Mold materials
Three options cover most home work. Acetoxy silicone caulk from a hardware store is the cheapest and the slowest, usually taking a full day or more to skin over. Condensation-cure silicone is a similar tube that also cures by moisture in the air. Two-part RTV silicone, sold in craft and industrial supply shops, has a far more predictable cure, mixes in any ratio you choose, and gives you roughly fifty casts before it starts tearing. Plastic epoxy putty is the option when you need a hard, heat-tolerant cavity rather than a flexible one.
Box and support materials
Foam core board from a craft shop is the standard flask material because it cuts cleanly with a hobby knife. A shallow food container works for small flat parts. Interlocking bricks seal well with hot glue and let you change wall height between pours. Plywood or MDF gives you a rigid box for larger castings.
Core tools
A hobby knife, a caulking gun or a putty knife for stirring, a mixing cup, a small brush, a rubber mallet, a hair dryer or heat gun, and a level. A cheap vibrator — an orbital sander sitting on the bench works — helps bubbles rise. If you print your own master, an FDM printer is enough; sand the layer lines down before you pour, because every ridge shows up in the cavity. For background on why those ridges matter and how tight a part really needs to be, read our plastic part tolerance standards explained.
Optional helpers
Silicone spray release, a dental pick for popping bubbles, a torch or lighter for skimming surface foam, a vacuum chamber if you are serious about clarity, and a pressure pot if you intend to cure parts under vacuum. None of these are required for a first cast.
Step-by-Step
The workflow below works for both a one-part and a two-part mold. Where the two differ, I flag it in each step.
How to Make Plastic Molds at Home for a Test Part
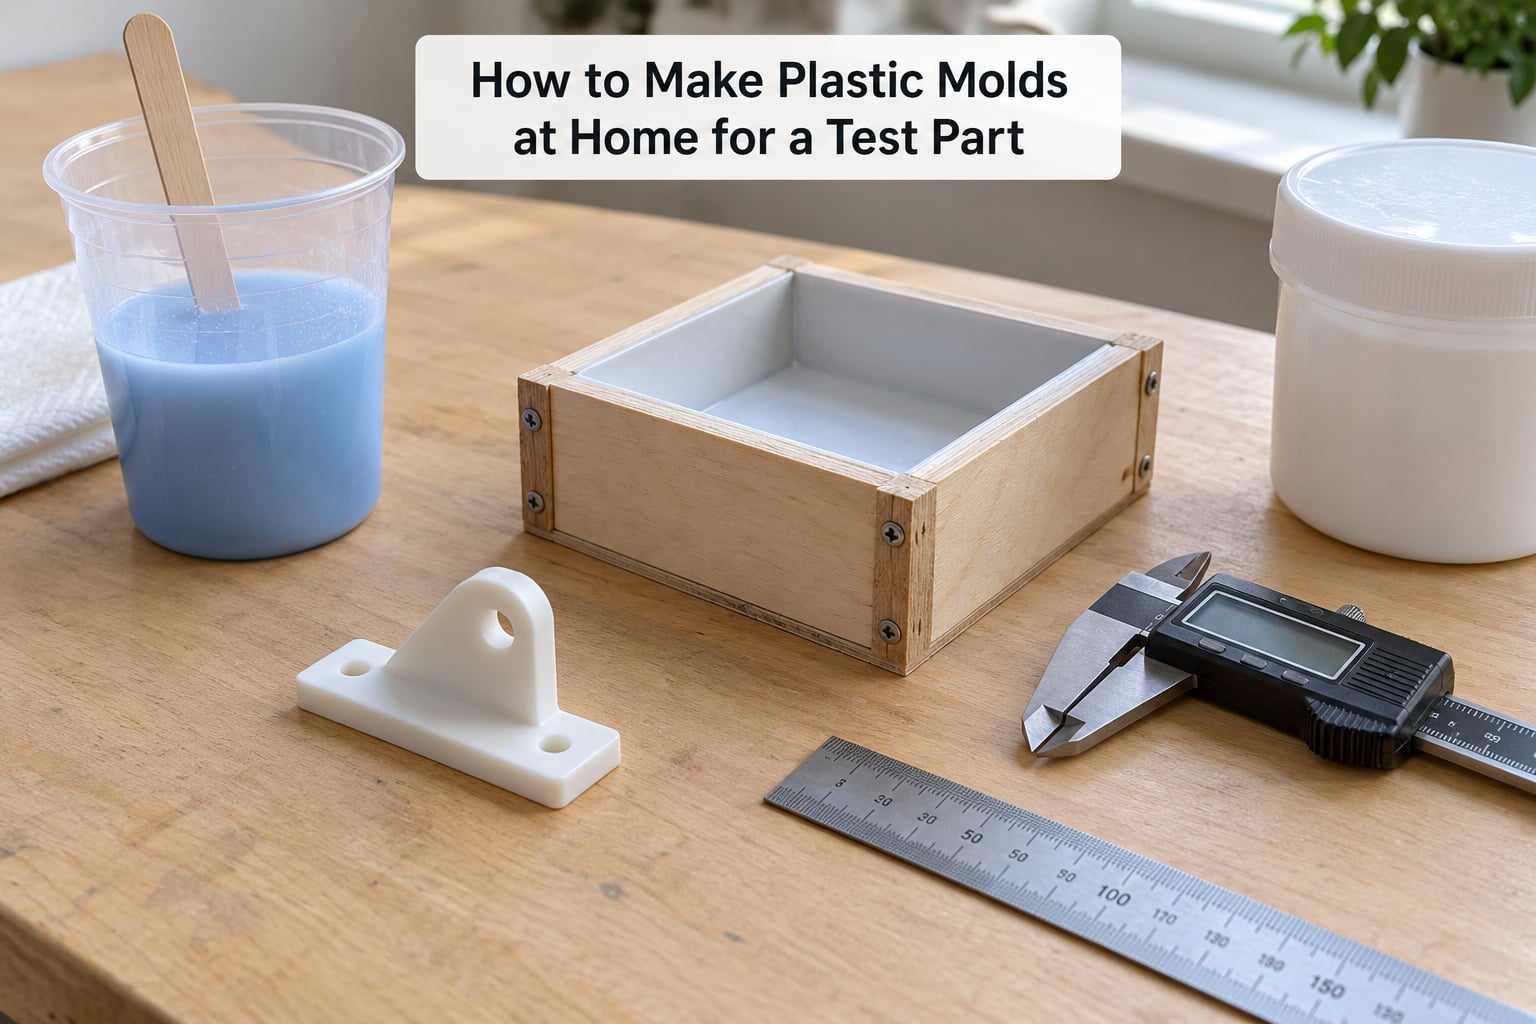
Decide how the part comes out before you touch any material. A one-part mold sits open on a flat base, so the part has to pull straight up or straight down. A two-part mold splits the cavity at a parting line, which lets you cast shapes with a vertical wall or an overhang. Any feature that blocks a straight pull — an overhang, a snap fit, a handle running sideways — is an undercut, and a one-part mold will lock around it.
Check draft while you are still holding the master. Every vertical surface needs a couple of degrees of taper so the part releases instead of gripping. If you have a caliper or a piece of card stock, hold a line up along the wall and see if it clears top to bottom. If it does not, add taper with a sanding block, a scraper, or warm water and a print that you can re-sand after printing.
Run a cheap test first. A shallow tray of leftover silicone and a 20 mm cube of printed plastic tells you in twelve hours whether your draft works and whether your box leaks. Pouring a full box and discovering a locked master on day two wastes the whole batch. Most beginners skip this, then pay for it.
Two-part molds need one extra plan: where the mold splits. Put the parting line at the widest horizontal plane of the part, where the cross-section is largest, and add small pyramid-shaped registration keys in the mold faces so the halves line up again on the second pour. Without keys, a two-part mold drifts and the cast comes out stepped.
Prepare the Mold-Box or Mold-Making Surface
Start with the master. Wash off fingerprints, sanding dust and any printing residue, then dry it completely. Dust on the surface prints into the cavity, and a fingerprint becomes a crater you will see on every cast. Fill, sand and re-fill printed masters until the surface takes light evenly.
Seal the master if it is porous. Foam, clay, plaster and unfinished print all drink silicone and give you a dry, crumbly surface at the contact face. Brush on a thin sealing coat, let it cure fully, then sand it flat again. Two thin coats beat one thick one, because thick sealant bridges over detail instead of sealing it.
Build and seal the box. Glue foam core walls to a base with contact cement, then run a bead of hot glue along every inside seam. Silicone finds gaps you cannot see. Overfill seams slightly and let the glue cool before you pour anything. Keep the box large enough that the mold has a solid wall of at least 6 mm around the part on all sides; thin edges are the first thing to tear off during demolding.
Level the box on your bench. A box that sits at even a slight slope gives you a casting that is thicker on one side and thinner on the other, and thin walls crack. For a two-part mold, split the box, form the clay bed or foam core that holds the master half up to the parting line, and seat it on a glass or acrylic sheet so the mold face comes out flat and glossy rather than full of pinholes.
Anchor and release. Glue or tack the master to the base so buoyancy cannot float it as you pour. Then apply release agent: petroleum jelly for a one-off plastic master, silicone spray for anything you plan to cast more than a few times, and nothing at all if you are casting concrete into a silicone mold, where the rubber is its own release. Apply thin coats and let each dry. Puddled release prints as a shiny blob in the cavity.
Mix and Pour the Mold Material
Measure by weight, not volume. Two-part epoxy and silicone ratios are stated as weights, and eyeballing by line in a cup is the fastest way to an uneven cure. Zero the scale, tare the cup, add part A, then part B. Stir slowly for two full minutes, scraping the bottom and the sides, because resin that stays on the wall stays soft and ruins that corner.
Watch the clock. Every material has a pot life, the working window before it thickens, and it is usually short once the two parts meet. If you can hold a full pour in three minutes, three minutes is what you get. Pour a cup you can manage in one steady motion, and mark the ratio on the bottle with a marker so the next batch matches.
Brush a thin first coat into the part. This detail coat wets out the surface texture and gives trapped air a path out. Let it go tacky — a few minutes for most materials — then add the bulk pour. Pour slowly from one corner and let the material flow; dumping it in the middle traps a wave of air underneath.
Remove bubbles while the material still flows. Set the box on your vibrator or tap the sides with a rubber mallet and watch bubbles rise and pop. For stubborn ones, drop a little material in first, then drizzle from a height so the stream breaks on impact. Skim foam off the top with a torch held just above the surface; keep the flame moving so it does not scorch anything.
Fill to the planned top. Pouring a heavy excess layer makes the mold stiffer and easier to handle but adds material, and it also traps stress when you demold. Follow your material’s instructions on thickness and cure time, and resist the urge to poke it early — an early demold tears the cavity rather than testing it.
Cure, Demold, and Check the Mold
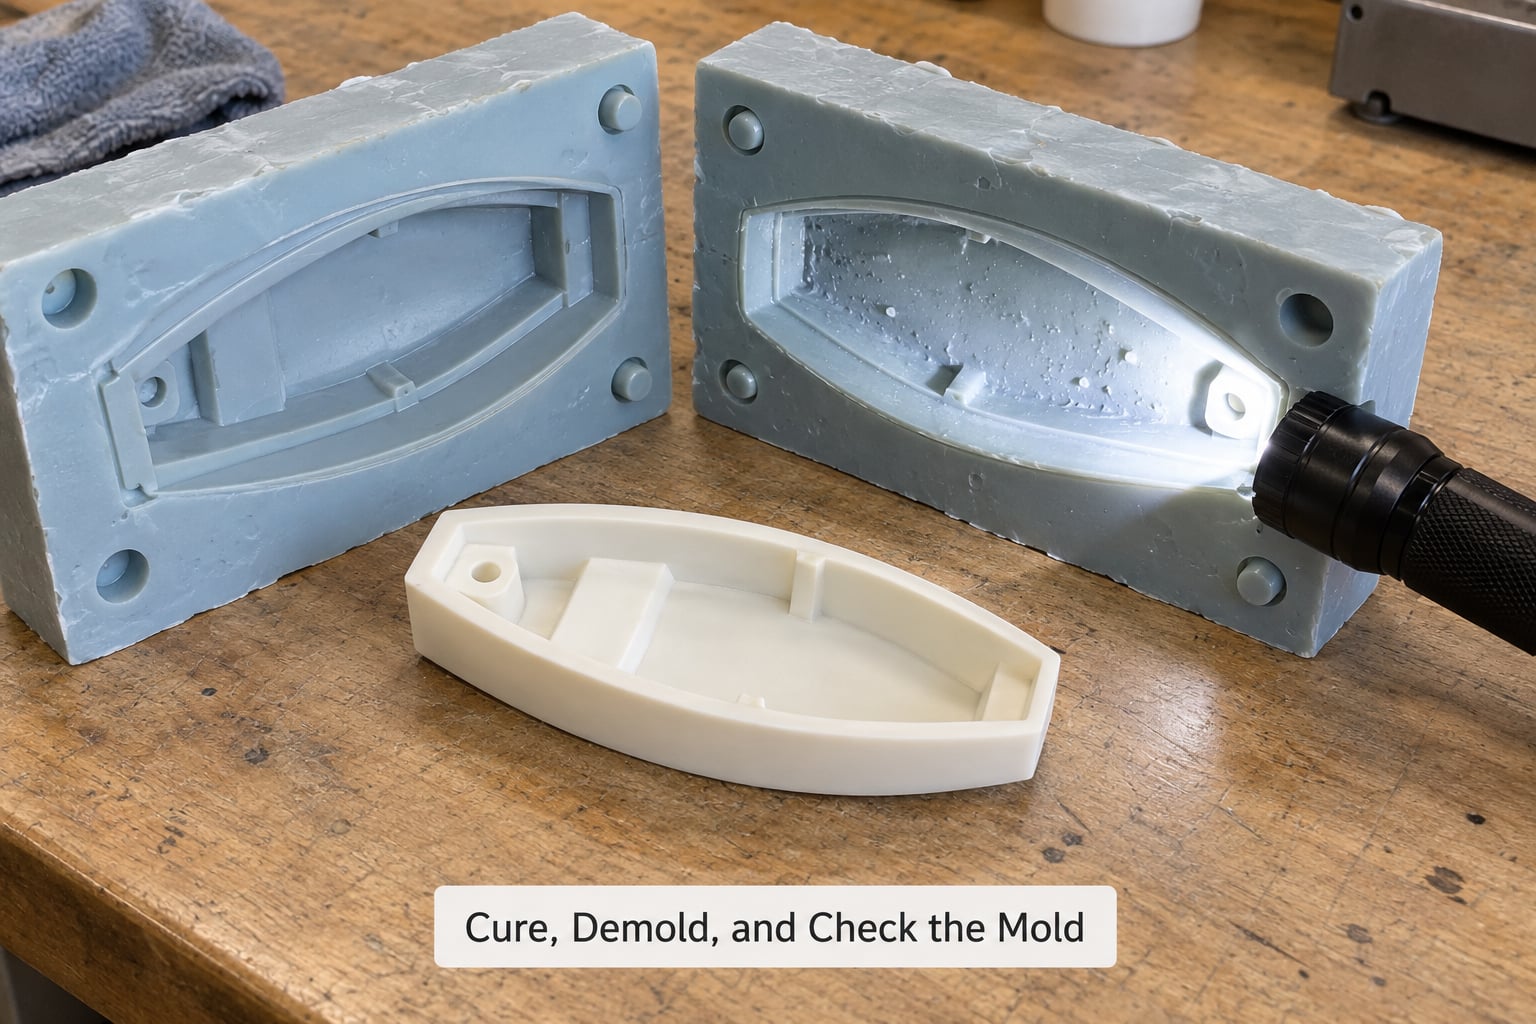
Confirm the cure before you touch anything. A cured RTV silicone feels dry, slightly rubbery and rebounds when pressed, with no tack or coolness to the finger. If it still sweats a film, it needs more time, not more force. Follow the datasheet cure time and add humidity-appropriate margin if you are in a dry climate. Then check with a flashlight held at a shallow angle across the cavity: bubbles read as small craters, thin spots read as glow, and a sharp parting line reads as a clean ridge.
Demold by flexing, not prying. Peel the mold wall back from the box in one slow motion and peel the part off the base. If it grips, find the actual cause — no release, no draft, an undercut, or an unremoved sealant coat — instead of levering with a knife, because a pry mark turns a usable mold into scrap. For two-part molds, tap gently around the parting line to break the seal and separate the faces along the keys.
Trim flash with a sharp hobby knife while the rubber is still soft. Cut vents — a thin groove from the cavity edge up to the top of the mold — before your first real casting, since air trapped in the cavity is the main cause of incomplete fills. Small round or square vents work; a sprue and runner is only worth building when you are casting several hundred pieces.
Judge whether the mold is fit for another round. A good mold has a sharp cavity, no visible voids in critical areas, intact walls and no sticky patches. Cast one test part, then measure it against your design rather than against your hopes. How the flatness holds across a panel matters as much as whether the walls meet their dimensions, and our guide on how to measure warpage on a plastic part shows how to check it on a plate no caliper will tell you about. Expect a home mold to run tens of parts before the tear strength goes; store it with a keeper cast inside so it keeps its shape on the shelf.
Common Mistakes
Each of these has a specific fix, and none of them are about skill level. They are about sequence.
Molding too early. A mold pulled before full cure flexes and tears along the cavity edge. Wait for the full datasheet time, not a touch test.
No draft on the master. The part grips and tears the mold instead of releasing. Add a couple of degrees of taper to every vertical wall before you pour anything.
Thin mold walls. A 3 mm wall off the side of the box tears on the first demold. Build the mold at least 6 mm thick on all sides so you have material to hold.
Bubbles in the cavity. Pouring fast, mixing fast and skipping the brushed detail coat are the three causes. Brush the coat on, stir slowly, pour from a corner, and vibrate while the material is still fluid.
Mixing ratio off. Off-ratio epoxy stays tacky in the pour or never sets. Weigh both parts and write the ratio on the bottle.
Warming the resin too much. Self-heating epoxy in a deep pour can hit temperatures that distort thin walls and crack the mold. Pour shallower sections and follow the maximum depth on the datasheet.
Missing release agent. A master stuck to the mold is a ruined master and a cavity with a chunk missing. Thin, even coats, dried between applications.
Overcutting a one-part design. If your part has an overhang, stop trying to force it from a one-part mold. Split it into two halves at the parting line instead.
Safety and Material Disposal
Resin work at home is fine as long as you respect the ventilation. Acetoxy silicone caulk gives off acetic vapour while it cures, and that is the reason people work outside or with a fan running. Uncured epoxy and polyurethane resin are sensitizers: once you react to them, you can react again from a much smaller exposure. Gloves matter.
- Wear nitrile gloves and glasses, and change gloves before you touch anything you plan to eat or handle with bare hands
- Work in a ventilated space, and if you are indoors, run a fan that exhausts out of a window or door
- Follow the manufacturer’s technical data sheet for mixing, curing and handling — pot life, maximum depth, ventilation and PPE guidance all differ between products
- Do not pour uncured resin down a drain; it can seal the pipe
- Let mixed material fully cure, then dispose of it as local rules require; in many places that means a household hazardous waste drop-off rather than the bin
- Wash resin off skin with soap and water, not solvents, and clean spills with wipes before anyone walks through them
Keep a sheet of the relevant data sheet next to the bench while you work. It answers the ratio, the cure time and the disposal question, which are the three things that get guessed and get people into trouble.
Frequently Asked Questions
What material is best for making a plastic mold at home?
For most home projects, two-part RTV silicone is the best balance of cost and repeatability. A tube of hardware-store silicone caulk is cheaper and works for one or two casts, but it cures in 24 hours or more and often stretches out after a handful of pulls. RTV silicone lets you choose the pot life and cure time, captures fine detail, and lasts far longer. Use a rigid epoxy putty instead only when you need a hard, heat-tolerant cavity.
Can I use silicone to make a mold for casting plastic resin?
Yes, and it is one of the most common home setups. Silicone is chemically inert to most epoxies and polyurethanes, it does not shrink much, and it releases cleanly with a thin coat of release agent. Match the silicone hardness to the casting resin: a soft 20 to 30 Shore A mold suits flexible castings, while stiffer molds reduce distortion on flat panels. Always check your resin data sheet for compatibility before mixing.
How many test parts can one home-made mold produce?
A silicone caulk mold from a hardware store typically gives you five to fifteen usable casts before the cavity starts tearing. Two-part RTV silicone commonly runs fifty casts or more if you demold carefully, apply release each time, and never lever with a tool. Rigid epoxy putty molds can go far longer, but they are brittle and any impact chips them. Part life is set by tears, not by wear at the surface.
Is a home-made plastic mold safe for food-contact parts?
Only if every material in the chain is certified for food contact. Acid-cure silicone caulk contains tin and is not food safe. Plated silicone that carries a food-contact certification from the manufacturer is the right choice for anything edible. Avoid petroleum jelly as a release agent for food molds, because it can transfer into the part; use a food-grade release spray or a cornstarch dusting instead.
Why are there bubbles in my plastic casting?
Bubbles come from trapped air, and they usually enter at the pour. Fix it by mixing slowly, pouring a thin brush coat into the detail, then pouring the bulk from one corner at low height so the stream breaks on the surface. Tap the mold or set it on a vibrator while the resin is still fluid, and warm the mold slightly if the resin is thick. Tiny foam spots on the face come from a dirty master or an uncapped first coat.
Can I use a home-made mold for short-run production?
You can, and for a few dozen identical parts a home silicone mold is often the cheaper route than any other option. Know the limits. Expect shrinkage from your resin, flash along the parting line, and less consistency than a steel tool, and plan to trim flash on each part. For anything with tight tolerances, high volume, or a hot material, move to a proper tool and read about u003ca href=u0022https://venchurs.com/plastic-part-tolerance-standards-explained/u0022u003eplastic part tolerance standardsu003c/au003e first.
Conclusion
Start by pouring a shallow test cavity tonight with hardware-store silicone and a printed cube. If it releases cleanly in twelve hours, you have your draft and your sealing technique confirmed, and you can move to a proper two-part RTV silicone mold for the real part.
Know what a home mold is and is not. It is a fast, cheap tool for prototypes, fixtures and short runs of a few dozen parts, where shrinkage and flash are acceptable. It is not a substitute for a production tool on anything with tight tolerances, high volume or elevated temperature, and checking your requirements against standard part tolerances early is cheaper than reworking a batch. If you later need real material impact data for the design, running a lifecycle assessment on a plastic product is the next reasonable step.