
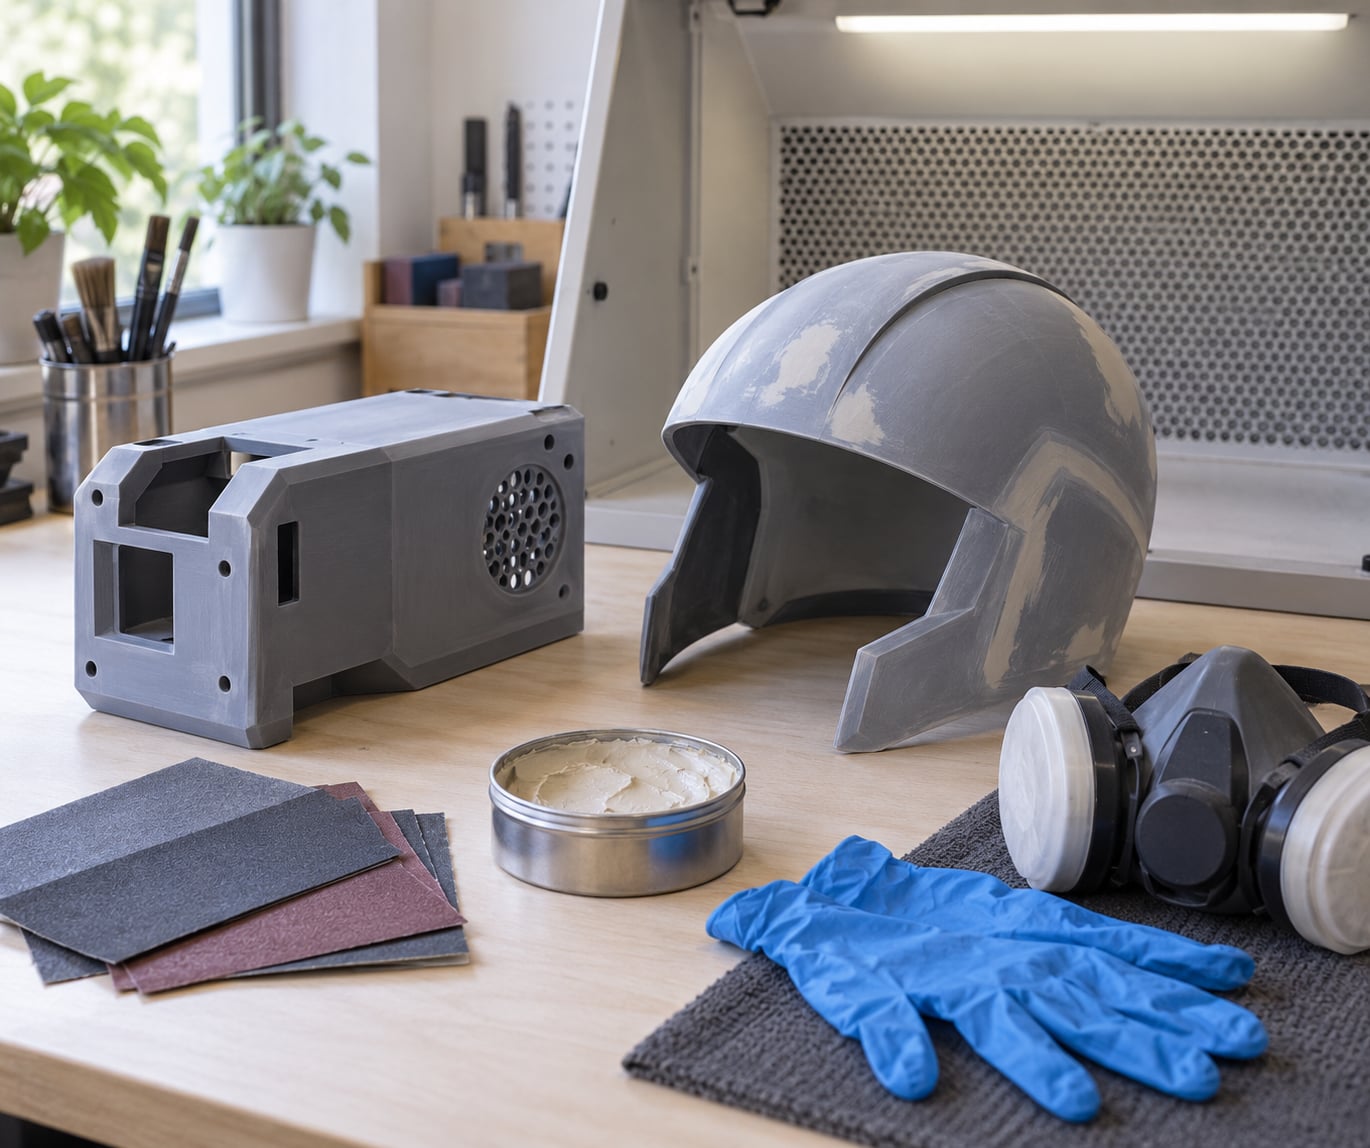
Smoothing a 3D print means removing the ridged texture left between layers, and the honest answer is that there is no single trick for every material. The mechanical baseline that works on almost everything is progressive wet sanding: climb the grit ladder without skipping a step, fill the valleys left behind, and finish with a polish only once the scratches are gone.
Beyond that baseline, four other routes exist. Filler primer and body filler add material into the low spots, epoxy or resin coatings build a glass-like shell over the part, controlled heat reflows the outer skin of thermoplastics, and solvent vapour smoothing dissolves and re-flows the surface of a small group of materials. Only some of those are chemically safe for the filament you actually printed.
That last point is where a lot of wasted material comes from. Acetone is the famous answer and it does almost nothing to PLA, which is the single most common source of frustration for people searching how to smooth 3D prints. The material you printed decides the method, so start there. For most makers the fastest practical workflow runs roughly one to three hours of hands-on work for a part the size of a helmet shell, less for a small enclosure, and considerably more for anything with a lot of surface area.
This guide walks through the decision process first, then each method in detail, with material compatibility tables, grit ladders and time expectations so you can pick a route before you start rather than three hours in.
Table of Contents
- What You Need
- How to Smooth 3D Prints Step by Step
- Sanding and Polishing a Printed Part
- Step 1: Clean the part thoroughly
- Step 2: Choose your starting grit honestly
- Step 3: Sand with a block, not with your fingers
- Step 4: Manage the heat
- Step 5: Wet sand where it makes sense
- Step 6: Rinse, dry and inspect
- Step 7: Fill only where you need to
- Step 8: Polish last, and only lightly
- Time expectations
- Using Heat to Smooth Thermoplastic Prints
- Chemical Smoothing for Compatible Materials
- Finishing Resin Prints
- Choosing the Best Method for Your Material
- Common Mistakes and How to Fix Them
- Frequently Asked Questions
- Can you heat-smooth PLA 3D prints without melting them?
- What is the best way to smooth a 3D print for a visible surface?
- Does sanding a 3D print change its dimensions?
- What is the safest way to smooth ABS or ASA prints?
- Why does my sanded resin print still look cloudy or feel tacky?
- Should I use filler or solvent smoothing for a 3D-printed part?
- Conclusion
What You Need
The tool list is short, and most of it can be picked up before you start the first part. What follows is the working set I would put on the bench.
Preparation and cleaning
Isopropyl alcohol at 90% or higher with a lint-free cloth, a stiff nylon or brass brush for knocking off loose plastic dust, and clean water for wet sanding. Degreasing matters more than most people expect, because silicone from a printer nozzle or handling oils will stop filler and paint from adhering no matter how long you cure them.
Mechanical finishing
A flexible sanding pad or a sanding block that takes half a sheet of 230 by 280 mm paper, plus a supply of wet-dry paper in a grit range from about 80 up to 2000. A rotary tool with a sanding drum or a small foot sander is a large time saver on big flat panels, though it needs steady technique and it is the fastest way to gouge a thin wall.
Diamond files and small needle files cover supports and tight internal corners that a pad cannot reach. A rotary tool with a sanding mandrel handles inside corners. If you work at scale, a random-orbit or inline sander with a vacuum attachment keeps resin and plastic dust out of the air you are breathing.
Filler, primer and coatings
For gap filling you want one of three families. Lightweight spray filler primer handles general surface texture on rigid filaments. Two-part polyester or epoxy body filler, sold as glazing putty or spot putty, handles deeper defects and local repairs. Household wood filler thinned with acetone is the budget version and works surprisingly well on small parts.
For a full gloss finish you need a two-part epoxy coating, a UV or polyurethane casting resin, or a high-build primer followed by a clear coat. A foam roller and a cheap set of stir sticks come in handy for mixing.
Safety equipment
Nitrile gloves, a particulate respirator rated for fine dust, and safety glasses. A solvent-rated nitrile glove is required rather than the standard latex type. If you spray anything, use a spray booth or a respirator with organic vapour cartridges and run it outdoors or in a well-ventilated space.
Optional inspection equipment
A pair of calipers to check dimensional change as you work, a machinist square or straightedge to check flatness, and bright raking light from a desk lamp to reveal ripples that your eye misses on a matte surface. Under-cabinet lighting angled across the part shows every layer line instantly.
A note on material safety
Solvents, heated tools and chemical smoothing all require appropriate ventilation, personal protective equipment, and a read of the manufacturer’s instructions before you start. Acetone, ethyl acetate and other solvents are flammable and their vapour is heavier than air, so work away from any ignition source and never in a small unventilated room. Filler primers and isocyanate-containing spray coatings need respiratory protection and a controlled spraying area. Dispose of solvent rinses and contaminated rags through your local hazardous waste route, not down the sink. Follow your filament supplier’s guidance on temperature exposure, because the safe window differs between grades of the same polymer.
How to Smooth 3D Prints Step by Step
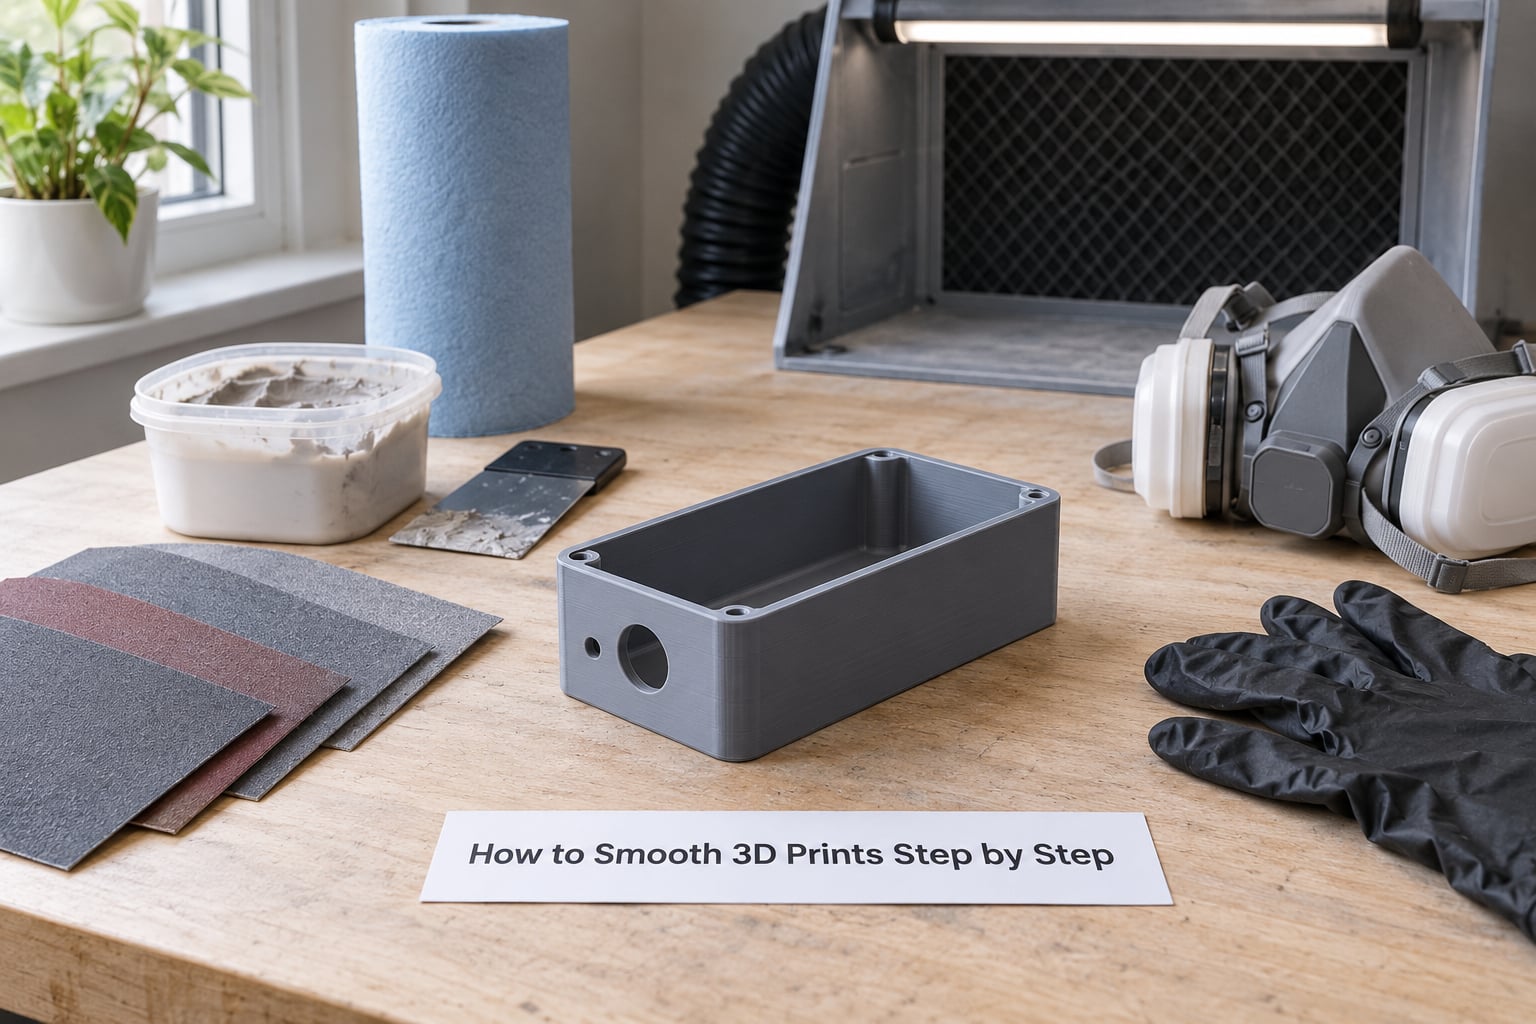
The decision comes before the sanding. Work through these five questions in order and you will pick a method in under a minute instead of discovering the wrong one halfway through a part.
1. Identify the material
PLA, PETG, ABS, ASA, nylon and filled filaments each behave differently, and some react violently to the wrong chemical. Check the filament spool or supplier page rather than guessing from colour and surface sheen. Filled filaments with carbon or fibre content do not melt cleanly, so they are excluded from heat-based methods.
2. Define the finish you actually need
A functional part that mates with another component needs flatness and dimensional control, not gloss. A display piece or a part that will be painted needs an even surface with no visible ridges and good adhesion. An investment casting pattern needs a surface that will release from the mould and burn out cleanly. Each of those finishes points at a different method, and chasing gloss on a tolerance part is wasted effort.
3. Inspect and clean the print
Remove supports while the part is still slightly warm, then clean the surface and look at it under raking light. Note where the layer lines are deepest, where the seam sits, where supports marked the surface, and where the print is genuinely out of flat. A print with a 0.4 mm bow will not become flat through sanding, and you are better off reprinting it in a better orientation.
4. Choose the least aggressive method that will get there
Start low. Solvent and heat methods are faster but they round off sharp edges, blur fine detail and can move dimensions. Sanding and filler are predictable, forgiving and reversible in a way that chemical treatment is not. If a mechanical route can meet the finish you defined, take it.
5. Verify the result against your tolerances
Measure with calipers at the points that matter. If a part has to fit a slot, check that fit before you invest an evening in 2000 grit sanding. Post-processing adds and removes material, and both of those change the dimensions you started with.
The order of the mechanical sequence is coarse sand, filler, fine sand, polish, and each stage has a condition that tells you whether to move on. Sanding before cleaning grinds debris into the valleys. Filling before cleaning traps loose plastic under the filler. Polishing before the scratches are gone just spreads those scratches into a haze you then have to remove.
Tailor that sequence to the part rather than running it automatically. A well-tuned print with a 0.12 mm layer height may need only 400 grit and a coat of filler. A tall 0.28 mm layer print with visible seam blobs needs to start at 120 or 180 grit and may need two filler cycles.
How to smooth 3D prints when the layer lines run deep
When a single pass is not enough, stop and fill rather than grinding harder. Grind the ridges down to a consistent level first, then apply filler primer or body filler to the valleys, let it cure fully, and sand the filler back flush. Repeat until the surface reads flat under raking light, then move up the grit ladder for the final finish.
This cycle is slower than one aggressive pass and far more predictable. It is also the only way to get a genuinely flat surface without erasing the detail you printed.
Sanding and Polishing a Printed Part
This is the universal baseline and the method that works on PLA, PETG, ABS, ASA, nylon and most filled filaments. Resin is covered separately because it behaves differently. Progress through these steps and you will have a surface that takes paint or clear coat cleanly.
Step 1: Clean the part thoroughly
Wash the part with warm water and detergent, rinse, then wipe with isopropyl alcohol. Scrub layer valleys with a stiff brush while wet so debris lifts out instead of being pressed in. Dry fully before you start, because trapped moisture under abrasive paper turns into a slurry that clogs the paper.
Step 2: Choose your starting grit honestly
Start where the texture actually is, not where you wish it was. Skipping grits is the most common reason a finished part still looks scratched, and coarse scratches take longer to remove than they ever save you.
| Grit | What it is for | Skip it when |
|---|---|---|
| 80 | Knocking down heavy seam blobs and support scars | The print has thin walls or fine surface detail |
| 120 to 180 | Levelling pronounced layer ridges on coarse prints | Your layer height is already 0.12 mm or finer |
| 220 to 320 | The usual starting point for most prints | You have already sanded finer on this surface |
| 400 to 600 | Blurring sanding scratches after filler work | No filler has been applied yet |
| 800 to 1200 | Pre-polish on filler or primer surfaces | The part is functional and unpolished is fine |
| 1500 to 2000 | Final satin or gloss finish for display pieces | The part will be painted or cast |
The practical rule most experienced makers follow is to open at 180 or 220 for most FDM work and only drop to 80 or 120 when a genuine artifact needs removing.
Step 3: Sand with a block, not with your fingers
Wrap the paper around a rigid pad and hold the part against it, moving the part rather than the paper. Sanding with your fingertips follows the contours of your fingers and leaves a dimpled surface that shows up badly under clear coat. Use a slow, consistent stroke and count passes rather than guessing, so the whole face gets equal attention.
Step 4: Manage the heat
This is the issue that makes PLA feel impossible to sand. Friction from a power tool generates enough heat to soften the surface, at which point the paper gums up and the layer lines smear rather than level. Keep the tool moving, use a light touch, and dip the part in cool water every few passes on PLA and PETG. Long breaks matter more than pressure.
Nylon and filled filaments take heat differently. Nylon is already flexible and does not melt at the temperatures a sander produces, but it strings and gums. Carbon-filled prints are abrasive and will eat paper quickly, so use diamond film and expect to change sheets more often.
Step 5: Wet sand where it makes sense
Wet sanding from about 400 grit upward cools the surface, controls dust, and reveals scratch depth accurately because the water turns loose abrasive into a slurry you can wipe away and renew. It works well on rigid thermoplastics and resin. It is a bad idea on nylon and on anything water-absorbent, and it is unnecessary on PETG if you are careful with the heat.
Step 6: Rinse, dry and inspect
After wet sanding, rinse the part and dry it fully. Heat the part gently for ten minutes to drive out moisture trapped in the layer valleys, then check it under raking light. Any remaining scratch you can feel with a fingernail will show up under gloss, so keep going rather than stopping at a grit that still feels rough.
Step 7: Fill only where you need to
Apply filler in thin layers rather than one heavy coat. A heavy coat shrinks as it cures and pulls the surface out of flat. Sand the filler back with the grit that matches the surrounding surface, usually 180 to 320, then continue up the ladder. For small parts and miniatures, cyanoacrylate gel applied to the surface and sanded back is a fast alternative that fills micro-valleys in seconds, though it needs a thin application and it will crack if laid on thick.
Step 8: Polish last, and only lightly
Compounds and polish pastes are for the final haze, not for removing scratches. Over-polishing can haze the surface and cut into fine detail. Stop when the part feels smooth and looks even under raking light. On parts that will be painted, deliberately stop around 1000 to 1500 grit, because a slightly textured surface gives paint something to bite into.
Time expectations
A small electronics enclosure takes 30 to 60 minutes of sanding. A helmet shell is typically under two hours of hands-on sanding, longer once filler cycles are added. A full cosplay armour plate set is a weekend. Power tools cut large flat panels to roughly a third of that, but the skill curve is real and thin walls punish impatience.
Using Heat to Smooth Thermoplastic Prints
Heat works on the same principle as chemical smoothing: it softens the outer skin so the ridges flow into each other and level out. It is fast and needs no consumables, but it is the method most likely to damage a part permanently.
What heat can and cannot do
You are working in a window between softening the skin and distorting the part. Every thermoplastic has a glass transition temperature where it stops being rigid, and prints soften somewhat below that point. Manufacturers publish guidance for their own grades and materials, so treat any number you read online as a starting point rather than a setting to trust blind.
The failure modes are predictable: warping as the part cools unevenly, sagging of overhangs and unsupported spans, softened or collapsed fine detail, and dimensional change. Thin-walled parts and tall parts are the most sensitive. Filled filaments with carbon or fibre are excluded because the filler does not flow.
Iron method
Place the part on a flat sacrificial surface such as parchment paper or a silicone mat. Run a hot iron over the surface with light pressure and slow movement, working in sections rather than parking on one spot. Keep the iron moving and lift it between passes. The visual cue is the layer lines vanishing and the surface taking on a slight sheen.
This is best suited to flat panels and top surfaces on short prints. It is nearly impossible on vertical walls or complex geometry, and repeated passes on one area will distort the part rather than smooth it.
Heat gun and heat block method
A heat gun on a low setting, held well back and swept continuously, works on larger parts and curved surfaces. Sweep faster than you think you need to. Keep the gun moving in one direction rather than circling, because a stationary hot spot softens a single area and pulls the part out of shape.
A heated aluminium block or a heated bed offers a gentler alternative for controlled surfaces. Run the part and the block to a temperature well below the material’s softening point, rest the part on the surface, apply light even pressure with a heat-resistant silicone pad, and count the dwell time in seconds rather than minutes.
Ventilation and precautions
Heated PLA produces a noticeable sweet smell and UFP emissions, and the same applies to ABS and ASA. Work in a ventilated space, not in a bedroom or a closed garage. Never heat a part in a solvent-wetted state, because the two combine badly. Follow the filament supplier’s temperature guidance and stop immediately if you see the surface starting to gloss, which means you have already gone too far.
Chemical Smoothing for Compatible Materials
Solvent vapour smoothing suspends a part above a solvent inside a sealed container. Vapour reaches the surface, partially dissolves it, and the reflowing polymer levels the layer lines under gravity. It produces a finish that sanding alone cannot match, on a small number of materials.
Materials this works on
ABS and ASA are the reliable ones. Some styrenic blends and ABS-like copolyesters also respond. Everything else needs careful checking with the supplier, and PLA, PETG, nylon, polycarbonate and most filled filaments will be attacked, blurred or destroyed.
The reason acetone does nothing visible to PLA is chemical, not a matter of technique. Acetone does not dissolve PLA, so it leaves the surface essentially unchanged, and any softening you see is heat from evaporation rather than useful reflow. This is the acetone myth, and it is the reason many prints have been ruined by people testing it.
Enclosure setup
Use a container large enough that the part does not touch the walls or the liquid. Place a raised platform or a wire rack inside so the part sits above the solvent pool with air around it. Add enough solvent to have a visible liquid level and a strong vapour, seal the lid, and open it for short intervals to inspect. Exposure control matters enormously; overexposure rounds edges, blurs text, and can cause runs and sagging.
The finished surface on a well-exposed part is glossy and reflective with the layer lines gone. Under-exposed parts come out hazy with the ridges still visible, which is the most common outcome.
Safety, ventilation and disposal
Acetone and ethyl acetate are highly flammable, their vapour is heavier than air, and they are neurotoxic in high concentration. Work in a well-ventilated area or under a fume extraction hood, away from sparks, pilot lights and heaters. Never use an open bucket method on a bench, indoors, or near anything that ignites. Keep containers away from heat and direct sunlight.
Note that solvent vapour smoothing is a bench-scale technique with real ventilation requirements, and for repeat production parts it makes more sense to have the process done professionally or to move to a silicone moulding workflow. Rinsing and disposal follow the solvent supplier’s guidance and your local hazardous waste rules. Never pour solvent into a drain.
The safer alternatives
PVB filament treated with isopropyl vapour produces a noticeably smoother surface with no flame risk and far lower vapour toxicity, at the cost of a softer, less dimensionally stable part. A printed-in-place epoxy smoothing treatment also exists and is worth evaluating for display pieces. For PLA, there is no chemical bath that works reliably, which is why the mechanical route remains the answer for that filament.
Finishing Resin Prints
Resin prints smooth differently because the surface chemistry is different. Sanding a cured resin print dusts into a chalky white haze that will not wipe off, and the material is far more brittle than FDM plastic in thin sections. The workflow below accounts for both.
Wash, then cure fully
Wash the print in isopropyl alcohol according to your printer manufacturer’s instructions, since wash times vary by resin chemistry and machine. Many modern wash stations run a multi-stage cycle, and extending a short clean cycle by hand under a low-flow rinse helps. A cloudy white film that remains is uncured resin, and it must come off before you go further.
Then cure the print to the full cycle your resin requires. UV, sunlight and heat-cure resins all respond differently, and under-curing leaves a surface that stays tacky, picks up dust and never sands to a clean finish. If it feels tacky anywhere, cure it longer.
Remove supports and clean the scars
Take supports off while the print is still slightly warm and before full hardening. If a support scar remains, wet sand just that area with high grit under water and finish the whole part with the same grit afterwards, so you do not leave a matte patch next to a glossy one.
Sand with dust control
Wet sand resin under water from about 400 grit upward. Dry sanding resin produces a fine dust that gets airborne, sticks to everything and clouds the finish permanently. Wet sanding keeps that dust in the slurry and gives you a much cleaner result. A respirator is still worth wearing.
Expect the surface to appear milky while you work. It clears once the part is rinsed, dried and inspected under good light. Let resin dry slowly at room temperature rather than with heat, which can cloud it further.
Polish or coat
A polishing compound designed for resin, applied with a cloth and worked in small circles, brings a matte print to a satin finish. For a true gloss, a thin UV-cured or polyurethane coating applied in several thin coats works better than one thick coat. Fill the layer valleys first if you are coating, or the coating will amplify the texture rather than hide it.
Final inspection
Check for uncured resin in recesses, dust trapped in the layer valleys, and chipping at thin edges, which resin does more readily than FDM plastic. Small parts especially benefit from handling as little as possible during finishing.
Choosing the Best Method for Your Material
The tables below match method to material and then to job. Read the material table first to rule methods out, then the method table to pick one.
| Material | Sanding | Filler and primer | Heat | Solvent vapour | Coating |
|---|---|---|---|---|---|
| PLA | Yes, watch the heat | Yes | Very narrow window | No effect | Yes |
| PETG | Yes, cools easily | Yes | Caution | No effect | Yes |
| ABS | Yes | Yes | Yes | Yes | Yes |
| ASA | Yes | Yes | Yes | Yes | Yes |
| Nylon | Yes, dust control | Yes | Not recommended | No | Yes |
| Filled filaments | Yes, use diamond film | Yes | No | Generally no | Yes |
| Resin | Yes, wet only | Yes, sparingly | No | Per manufacturer | Yes |
| Method | Finish quality | Effect on dimensions | Difficulty | Best use | Key limitation |
|---|---|---|---|---|---|
| Progressive sanding | Matte to satin | Removes small amounts | Low | Prototypes, flat panels, pre-paint prep | Time on large surfaces |
| Filler primer | Smooth matte | Adds then removes material | Low | Deep layer valleys, texture removal | Needs curing between coats |
| Epoxy or resin coating | Glass-like | Adds noticeable thickness | Medium | Display pieces, mould masters | Breaks tight tolerances |
| Heat smoothing | Soft sheen | Moves and warps | Medium | Flat panels, curved shells | Loss of fine detail |
| Solvent vapour | High gloss | Rounds edges and features | High | ABS and ASA shells | Ventilation and safety burden |
| Resin finishing | Matte to gloss | Adds thickness with coating | Medium | Display miniatures, figurines | Dust and brittleness if rushed |
| Your situation | Recommended route |
|---|---|
| Functional part with a tolerance fit | Sanding only, check dimensions at each grit |
| Visible PLA part for painting | Sanding to 400 grit, filler primer, sand to 600, then paint |
| Display piece that must look moulded | Sanding, filler, then epoxy or resin coating |
| Small figurine or miniature | CA glue and sand, then wash off the dust with alcohol |
| ABS shell needing a fast gloss | Solvent vapour in a ventilated, sealed enclosure |
| Pattern for investment casting | Light filler and sanding only, with clean burnout behaviour |
| Repeat production of one part | Printed pattern plus silicone moulding rather than finishing each copy |
Two situations deserve special attention. For investment casting patterns, fillers that do not burn out cleanly will contaminate the shell and ruin the casting, so keep the surface simple and confirm burnout behaviour with your foundry. For repeat production, finishing every copy is the wrong approach; a well-finished master pattern plus a silicone mould is faster and gives identical parts each time.
Common Mistakes and How to Fix Them
Almost every ruined print comes from one of a short list of mistakes. Here is what goes wrong and what corrects it.
Sanding too aggressively
The classic failure is a power tool paused in one spot, which softens the surface and gouges a hollow. Watch for the paper clumping and change to fresh paper. Never let a rotary tool sit on PLA, and keep a water spray or dip interval for rigid filaments.
Filling layer valleys before cleaning
Filler applied over loose plastic dust and grease cures into a layer that peels away later. Clean, rinse and dry the part before any filler goes on, and scrub the valleys with a brush while wet.
Skipping grits in the ladder
Jumping from 220 to 600 leaves scratches that 600 grit cannot reach, and you end up grinding them out again at 400. Climb every step. If you need to save time, go coarser rather than skipping: starting at 120 on a rough print and progressing properly is faster than starting at 220 and starting over.
Heating parts unevenly
A heat gun held too close or moved in tight circles softens one region and pulls the part out of flat. Sweep in one direction, keep the gun well back, and use a heated block for controlled surfaces instead.
Overexposing solvent vapour treatments
Longer exposure gives gloss up to a point, then gives you rounded edges, blurred detail and sagging. Pull the part at the first sign of a reflective surface, and remember that under-exposure produces haze that must be sanded anyway.
Trapping moisture during wet sanding
Water left in the layer valleys will cloud a clear coat and can cause bubbling later. Rinse thoroughly and dry the part slowly at room temperature with good airflow, or warm it gently for ten minutes once it is surface dry.
Contaminating resin prints
Sanding resin dry puts a chalky dust into every crevice, and washing it off is far harder than not creating it. Wet sand from the start, keep the part out of dusty air while it dries, and never handle a cured print with bare dusty hands.
Over-polishing
Polish applied too early spreads scratches into a haze. Wait until the surface is smooth at high grit under raking light, and stop before the detail starts to soften.
Losing tolerances
Every sanding pass removes material and every coating adds it. Measure at the features that matter rather than at the longest dimension, and check fit after each major stage rather than only at the end.
Selection and quality-control habits
Always run the chosen process on a scrap print or a flat coupon first. It takes ten minutes and tells you the real curing time, the real sanding behaviour and whether your part geometry will tolerate the method.
Choose the least aggressive method that meets your finish target, and reduce the work at the source by printing with a finer layer height, enough walls to survive sanding, an orientation that puts visible faces on top surfaces, and the slicer’s ironing feature enabled where it helps. If the best print settings would leave you needing almost no finishing, that is time well spent.
Frequently Asked Questions
Can you heat-smooth PLA 3D prints without melting them?
Technically yes, but the window is narrow. PLA softens at a lower temperature than most people expect, so an iron on a low setting with light pressure and continuous movement can reflow the outer skin before the part distorts. The risk is real: overhangs sag, tall thin parts warp and fine detail blurs. Most makers get a better result by sanding, and they keep heat for flat panels where there is little to distort.
What is the best way to smooth a 3D print for a visible surface?
Sanding with a progressive grit ladder, then filling, then a thin coating. Start around 180 or 220 grit, work up through every step without skipping, and use filler primer if the layer valleys stay visible after sanding. For a glass-like result, finish with a two-part epoxy or resin coating in several thin layers. Sanding alone gives a satin finish; the coating is what makes it look moulded.
Does sanding a 3D print change its dimensions?
Yes, always in the direction of removal. Coarse grit passes can take a noticeable amount off corners, and thin walls are where this shows up first. Print at least four walls if you plan to sand, orient the part so faces you care about are not walls, and check critical dimensions with calipers between grits. Coatings push the other way and add thickness, which breaks tight tolerance fits even more reliably than sanding does.
What is the safest way to smooth ABS or ASA prints?
Progressive sanding and filler primer, by a wide margin. Solvent vapour smoothing works well on ABS and ASA and gives a better gloss, but it needs a sealed container, strong ventilation, flammable-safe storage and hazardous waste handling. Heat is the middle option and needs good airflow because both materials emit fumes when heated. For most shops the mechanical route is safer, fully controllable and good enough.
Why does my sanded resin print still look cloudy or feel tacky?
Two different causes. Cloudiness usually means uncured resin on the surface, which needs longer curing or a second wash, and it will never sand off cleanly while it is there. Tackiness after sanding means the sandpaper was dry and the resin dust is embedded in the surface; wet sanding under water prevents it entirely. If the part is tacky before you sand at all, under-cure it and clean it again.
Should I use filler or solvent smoothing for a 3D-printed part?
Use filler unless the part is ABS or ASA and you have a ventilated, controlled enclosure. Filler is predictable, works on every material and does not move the part, at the cost of time between coats. Solvent smoothing is faster and glossier on compatible materials but rounds sharp edges, blurs detail, and adds fire and fume handling to your workflow. For tight-tolerance or functional parts, filler is the safer choice.
Conclusion
The fastest workflow that keeps quality under control is short. Inspect and clean the part, add filler only where the layer valleys actually need it, sand progressively without skipping grits, and polish only once no scratch is left to catch a fingernail.
Reserve heat and chemical smoothing for materials that genuinely accept them, which in practice means ABS and ASA for solvent vapour work and thermoplastics that tolerate a temperature just below their softening point. Everything else, including almost all PLA printing, comes down to sanding done properly.
Before you treat a valuable production part, run the process on a scrap print or a flat coupon first. Ten minutes there saves an evening of discovering that the filler needed longer, the part warped, or the solvent exposure was too long.