
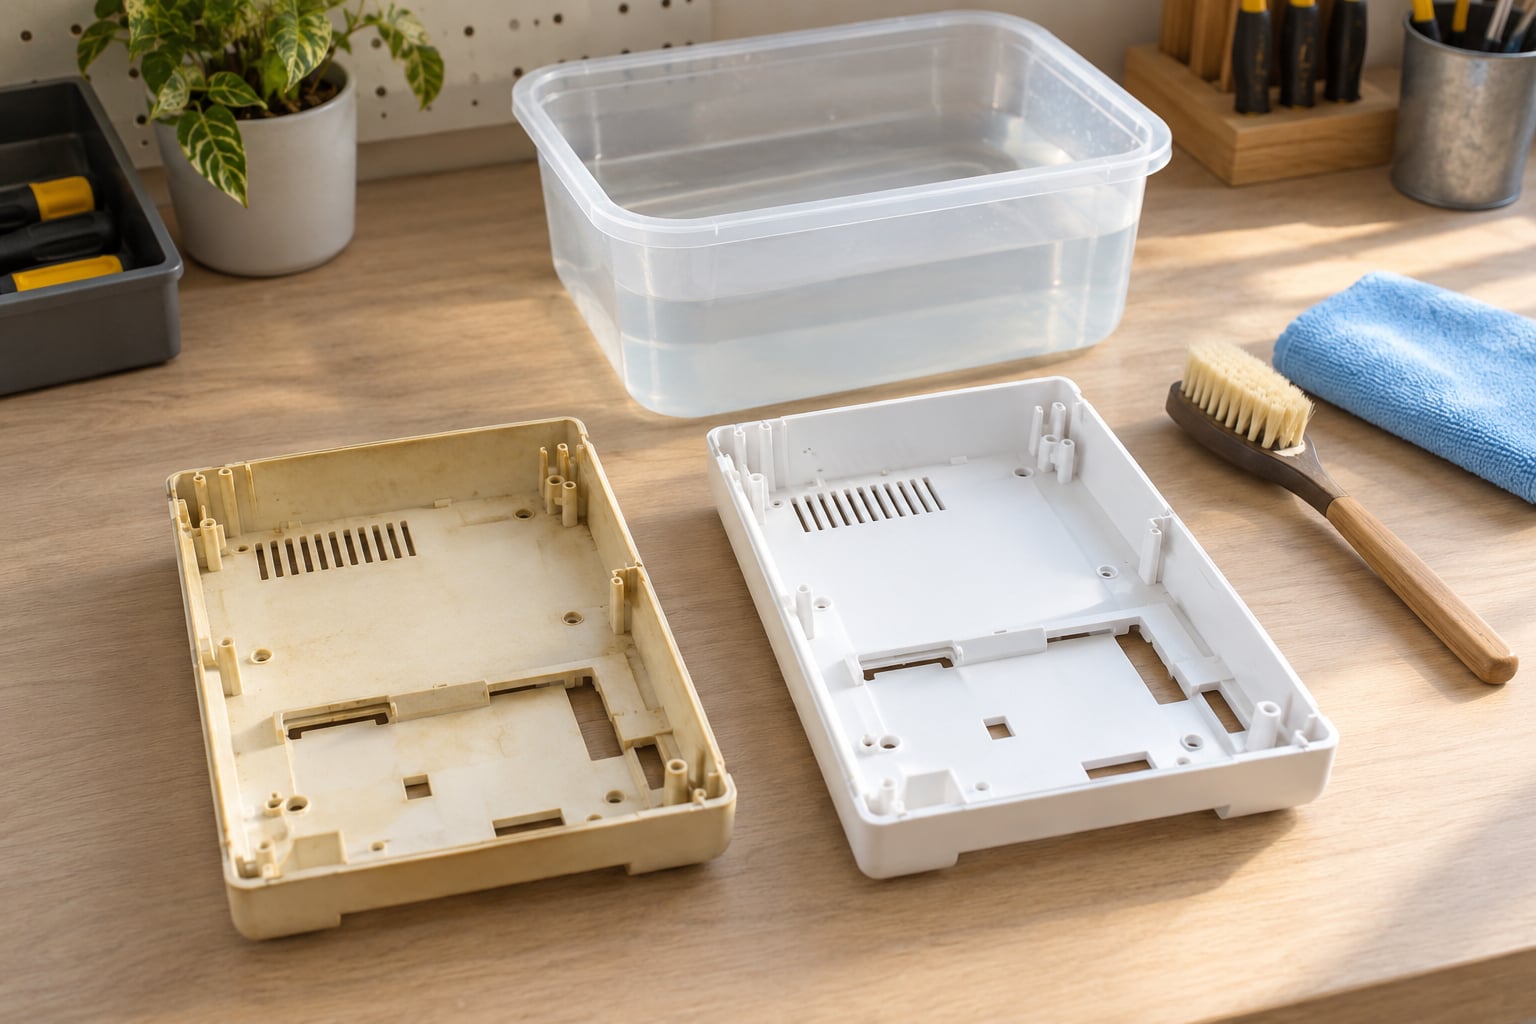
Yellowed plastic can usually be brought back. The mechanism is oxidation, and the practical answer is a peroxide-based brightening treatment activated by UV light, most often direct sunlight or a UV lamp. Light yellowing on ABS, acrylic and polycarbonate typically responds within two to six hours of UV exposure, while deeper cases need repeated soaking across several days. This guide was checked against current material data practice for 2026.
How to remove yellowing from plastic safely depends on three things: the resin, the surface finish, and whether the part is molded, painted, transparent or coated. A white appliance housing and a chromed trim ring are both “yellowed plastic,” and only one of them is a candidate for a chemical soak. That is also why the first step here is identification, not cleaning.
The failure mode worth naming early is bleach. It is the intuitive answer, and it works on dirt. On oxidized polymer it drives embrittlement and microfracturing, so the part ends up weaker than if you had left it alone.
Table of Contents
What You Need
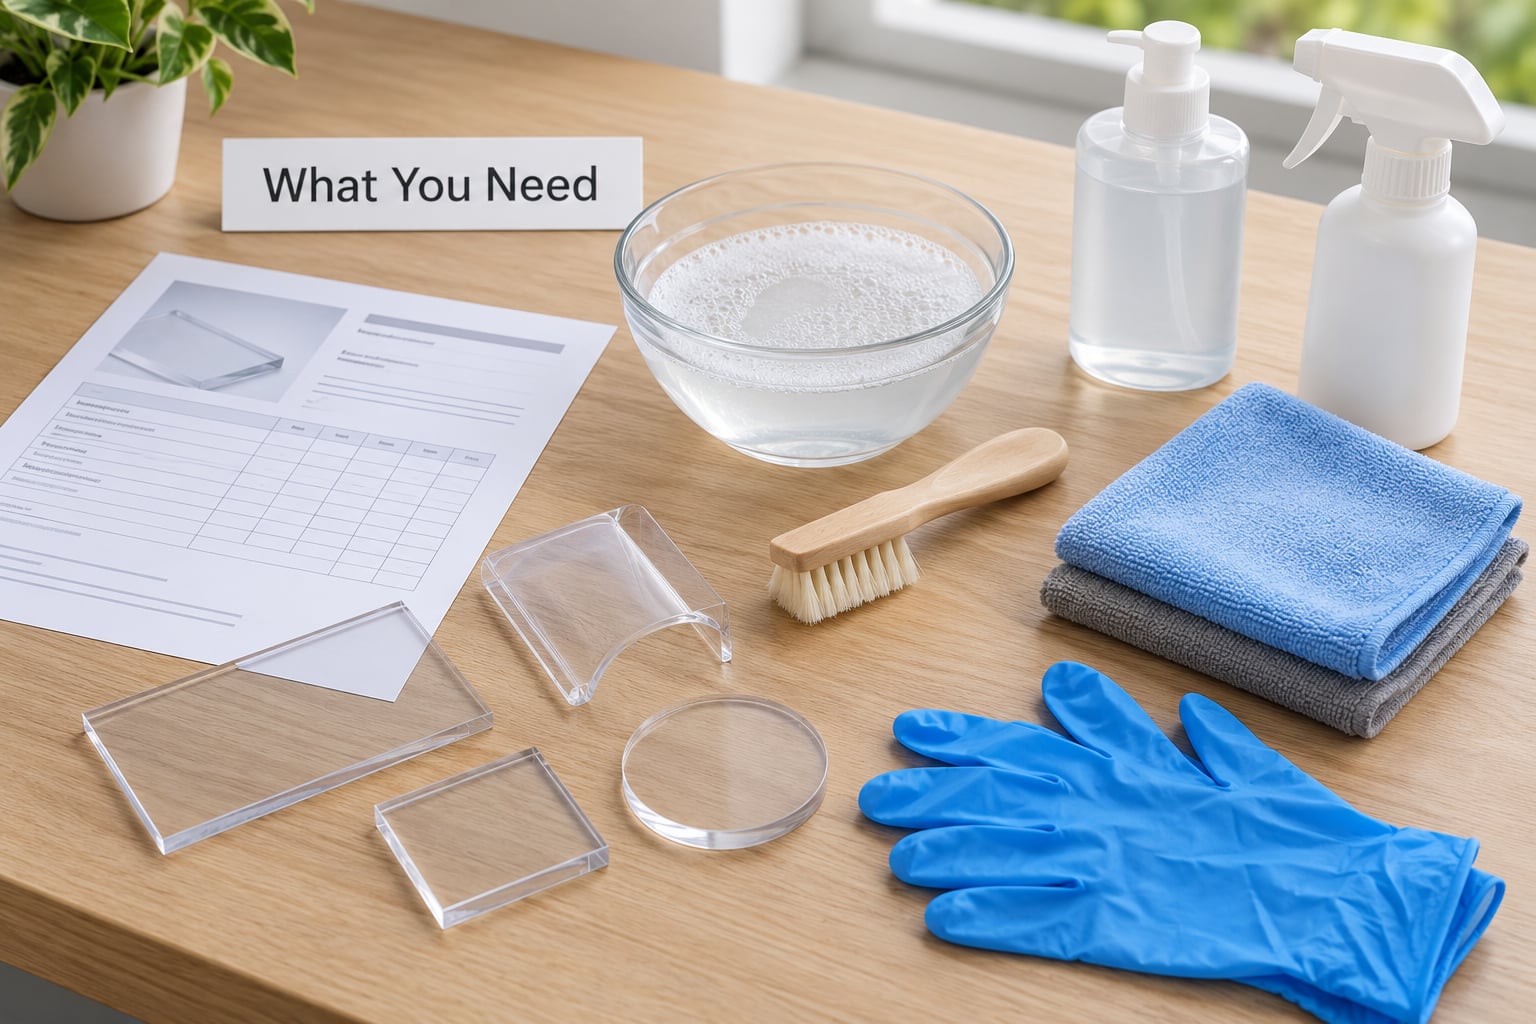
The correct approach depends on the plastic type, the finish, and whether the item is molded, painted, transparent or coated, so the supply list splits into three groups: identification, cleaning, and treatment.
Identification materials. The part’s material marking, the supplier specification, or the manufacturer material data sheet (SDS plus the resin grade, for example ABS 757 or PC 1100). A resin identifier pen helps if you are working on a mixed batch, but treat it as a clue rather than a certificate.
Cleaning supplies. Warm water, mild detergent, a soft nylon brush for textured and creviced surfaces, microfiber cloths, and a timer. Household dish soap is enough. You are removing the film of skin oils and grime that reads as dull yellow before any chemistry touches the part.
Protection. Chemical-resistant gloves, eye protection, and ventilation. A tray or tub large enough that you can submerge the item without it touching metal hardware.
Brightening agents. 3% hydrogen peroxide from a pharmacy, 12% peroxide for a faster soak, or a 40-volume cream developer for paste-and-UV work on parts that cannot be submerged. Sodium hydrosulfite and manufacturer-approved plastic restoration products are the other two common routes, and both work best on ABS and acrylic. UV sources: direct sunlight, a UV curing lamp, or a UV box for large parts.
A refillable tub matters. Crevices, seams and molded texture need several sessions, not one, and the plan is to re-submerge the same part rather than start over.
Step-by-Step: How to Remove Yellowing from Plastic
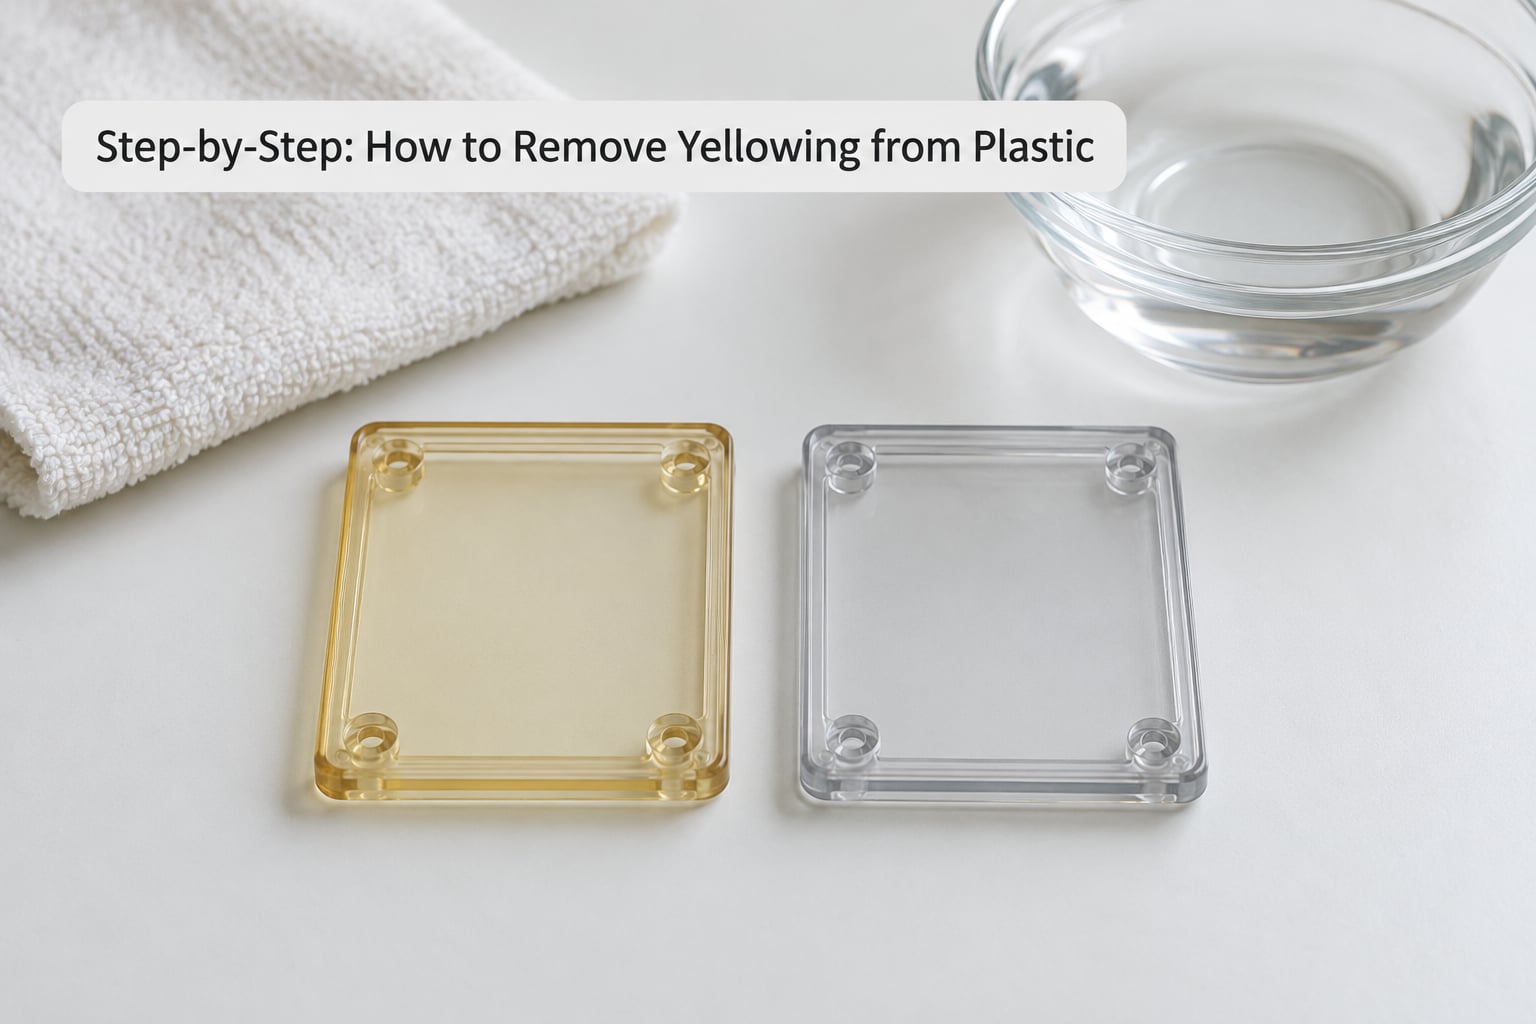
Yellowing usually comes from UV exposure, heat, oxidation or chemical incompatibility, so the process runs in a fixed order: identify the resin, judge how deep the yellow goes, wash, apply the least aggressive effective treatment, then rinse and assess. Budget 15 minutes for a light cleaning job and up to several days for a deeply oxidized part with tight geometry.
1. Identify the Plastic Before Treating It
Check a material marking molded into the part, then the supplier specification or manufacturer documentation, for ABS, acrylic (PMMA), polycarbonate, PVC, polystyrene, polyurethane or another resin. A scratch test gives you a preliminary clue only: ABS and polystyrene scratch soft and powdery, polycarbonate is noticeably harder, acrylic has a higher-pitched squeak, and polypropylene is waxy and dents with a fingernail. None of that replaces documentation.
Avoid harsh chemicals on engineering plastics until the resin is confirmed. If the material is unknown, use a manufacturer-approved treatment or skip chemical work entirely.
The four resins you will meet most often behave very differently, which is why nobody publishes a single answer for plastic:
| Plastic type | Yellows with age? | Peroxide safe? | Typical outcome |
|---|---|---|---|
| ABS (appliance housings, toys, bricks) | Yes, strongly | Yes | Best candidate; often returns close to original white |
| Acrylic / PMMA (clear panels, lenses) | Yes, moderate | Yes | Good; clarity returns but heavy UV bloom may not fully reverse |
| Polycarbonate (clear parts, housings) | Yes | Yes, test first | Partial improvement; may stay slightly warm in tone |
| Polypropylene, polyethylene (toys, caps) | Rarely | Limited effect | Usually not the cause; look for surface grime instead |
2. Test the Yellowing and the Surface Finish
Look at whether the color is superficial or accompanied by crazing, brittleness, warping, peeling paint or discoloration running through the wall thickness. Yellowing from degraded polymer or from a pigment that has migrated is not fully reversible, and a part with visible stress cracks may fail during handling rather than during treatment.
Clean a small hidden area or an offcut first, treat that patch, and compare it against the untreated color under the same light. A partial-immersion control makes the result easy to read: mask one section so it stays above the liquid, then the treated and untreated halves sit side by side on the same part.
This is the step that decides whether you can safely continue. Every method below is easier to walk away from before you start than after.
3. Wash the Plastic with a Mild Cleaner
Wash with warm water and mild detergent, using a soft brush or microfiber cloth to lift dirt and oils that make plastic look more yellow than it is. Rinse with clean water and dry fully.
Skip abrasive pads, high-pressure washing, solvents and aggressive scrubbing on polished, textured, painted or coated surfaces. Melamine foam will take a gloss finish down to a matte one and it will not come back. Isopropyl alcohol is fine for degreasing seams, acetone is not.
4. Apply a Plastic-Safe Brightening Treatment
Hydrogen peroxide acts as a controlled oxidizing agent that breaks down the chromophores responsible for the yellow color, and UV light acts as a catalyst that accelerates that reaction. The part has to stay in contact with peroxide and be exposed to UV for the process to complete, which is why the fast methods are the ones that combine both.
Hydrogen peroxide-based products suit some acrylic and thermoset plastics and can damage or discolor others, so spot-testing is not optional.
For parts that can be submerged:
- Fill a tub with 3% hydrogen peroxide, or 12% for a faster pass.
- Submerge the part completely, keeping it clear of metal clips, hinges and screws.
- Cover the tub and set it in direct sunlight or under a UV lamp.
- Check at two hours, then at four, then let a stubborn part continue overnight.
- Refill with fresh solution and repeat for several days if crevices still hold yellow.
- Rinse thoroughly and dry in shade at room temperature.
For parts that cannot be soaked: apply a 40-volume cream developer or a peroxide and baking soda paste, wrap tightly in clear plastic cling film so it cannot dry out, then activate with UV for several hours. Cream developer keeps the chemistry in place on vertical faces; the wrap keeps it wet. Expect patchy marbling if the paste is applied unevenly.
For surface-level grime and mild yellowing: an oxalic acid cleaner such as Barkeeper’s Friend used as a paste, left for 15 to 30 minutes, works on dirt and very light bloom. It is not a substitute for peroxide on a genuinely oxidized part.
For indoor parts: a UV curing lamp or a UV box gives the same activation as sunlight, which matters for appliances and panels that never see a window.
5. Rinse, Dry, and Assess the Result
Remove or neutralize the treatment exactly as the label directs, rinse thoroughly, and let the part dry in shade at room temperature. Heat accelerates oxidation, so skip the hairdryer.
Judge success on color uniformity, gloss, surface texture and mechanical condition, comparing the treated area with the untreated area. If the color is even and the part is not softer or more cracked than before, the treatment worked. If yellowing remains, repeat only the compatible and milder method. Escalating to stronger chemicals after a partial result is how parts get lost.
6. How to Remove Yellowing from Plastic You Cannot Submerge
Painted graphics, decals, lettering and chromed trim cannot be soaked, and solvents lift or bleach the print. On those parts the options are a paste-and-wrap treatment masked away from the graphics, careful hand application with a swab, or repainting with plastic primer and paint. For collectors, repainting is an accepted fallback rather than a defeat.
Gloss-finished panels and keycaps sit in between. A peroxide paste with UV activation works without immersion, but any mechanical work, including sanding or alcohol, risks dulling the gloss. Test a corner first and accept the trade-off before starting.
Common Mistakes That Damage Plastic
Treating the whole part with no patch test. Corrective action: treat a hidden area or offcut, leave a control section untreated, and compare both under the same light before committing.
Reaching for chlorine bleach. Bleach does not reverse oxidation yellowing on ABS and polycarbonate. It embrittles the polymer and creates microfractures, so the part cracks sooner than untreated. Corrective action: 3% hydrogen peroxide, or sodium hydrosulfite where the resin suits it.
Using unverified solvents. Acetone and paint thinner cause stress cracking in ABS and can dissolve acrylic. Corrective action: confirm compatibility with the supplier before any solvent touches the part, and use isopropyl alcohol for degreasing only.
Confusing surface dirt for chemical yellowing. Baby wipes and light scrubbing give a modest improvement on grime and nothing at all on true oxidation. Corrective action: wash first, then judge whether the color changed before escalating.
Applying high heat or intense light. A UV lamp set inches away, or a heat lamp used to speed drying, pushes the same degradation forward. Corrective action: moderate UV at a working distance, dry in shade at room temperature.
Treating unknown plastics. Without a resin ID, you are guessing. Corrective action: use a manufacturer-approved product, or skip chemical treatment and document why. If the material question stays open, accelerated aging tests for plastic products are how most labs settle it.
Judging the result before the part is dry. Wet plastic looks lighter than it is. Corrective action: wait until fully dry, ideally overnight, then assess.
To slow the return, reduce the causes. Shade parts from direct UV where you can, keep heat exposure down, store items indoors away from window light, ventilate areas where plastic sits near solvents, and clean with mild detergent rather than letting grime build. Long-term material selection matters more than maintenance; if a part will live outdoors, working through how to choose a plastic for UV exposure up front is the cheaper fix than any treatment after the fact.
Frequently Asked Questions
Can I remove yellowing from plastic with vinegar?
Vinegar is mildly acidic, so it can lift surface grime and mineral deposits, but it does very little to oxidized polymer. On yellowed ABS or acrylic, expect a modest improvement at best. Wash the part with detergent first, then use diluted vinegar only if a deposit is what you are seeing. Anything beyond that needs peroxide and UV.
Is hydrogen peroxide safe for yellowed plastic?
At retail strength, hydrogen peroxide is the standard treatment for yellowed ABS, acrylic and polycarbonate, and it will not etch or melt plastic the way a solvent does. Higher concentrations such as 35% cause chemical burns, so dilute or avoid them. Always spot-test a hidden area first, especially on painted, coated or polycarbonate parts.
Can I use bleach to remove yellowing from plastic?
No. Chlorine bleach does not reverse oxidation yellowing and it embrittles the polymer, creating microfractures that make ABS and polycarbonate crack sooner. It is useful for cleaning contaminated non-plastic parts, but on plastic it trades a cosmetic problem for a mechanical one. Use 3% hydrogen peroxide with UV exposure instead.
Why does clear plastic turn yellow over time?
UV radiation, heat and oxygen slowly degrade polymer chains and form light-absorbing compounds called chromophores, which tint clear plastic yellow or cream. UV stabilizers slow this process rather than stopping it, which is why clear acrylic and polycarbonate stored indoors yellow more slowly than the same material on a dashboard. The discoloration is the visible sign of polymer degradation.
How do I know whether yellowing can be removed without damaging the plastic?
Patch-test a hidden area or offcut, leave a control section untreated, and compare them once dry. If the part already shows crazing, brittleness, warping or peeling paint, the discoloration is deeper than the surface and treatment risks failure. Confirm the resin with manufacturer documentation, and stay with the mildest effective method rather than escalating.
Conclusion
Start with identification, then inspection, then a gentle wash, then the mildest approved treatment on a small area. That order is what keeps a restoration attempt from becoming a scrap part, and how to remove yellowing from plastic without damage depends almost entirely on respecting it.
Severe yellowing combined with brittleness, cracking or widespread discoloration usually means the material has degraded past what treatment can safely reverse. At that point, replacing the component or specifying a more UV-stable resin is the better engineering call. If the replacement has to match what came off the machine, matching plastic color across production runs is the next problem to solve.