
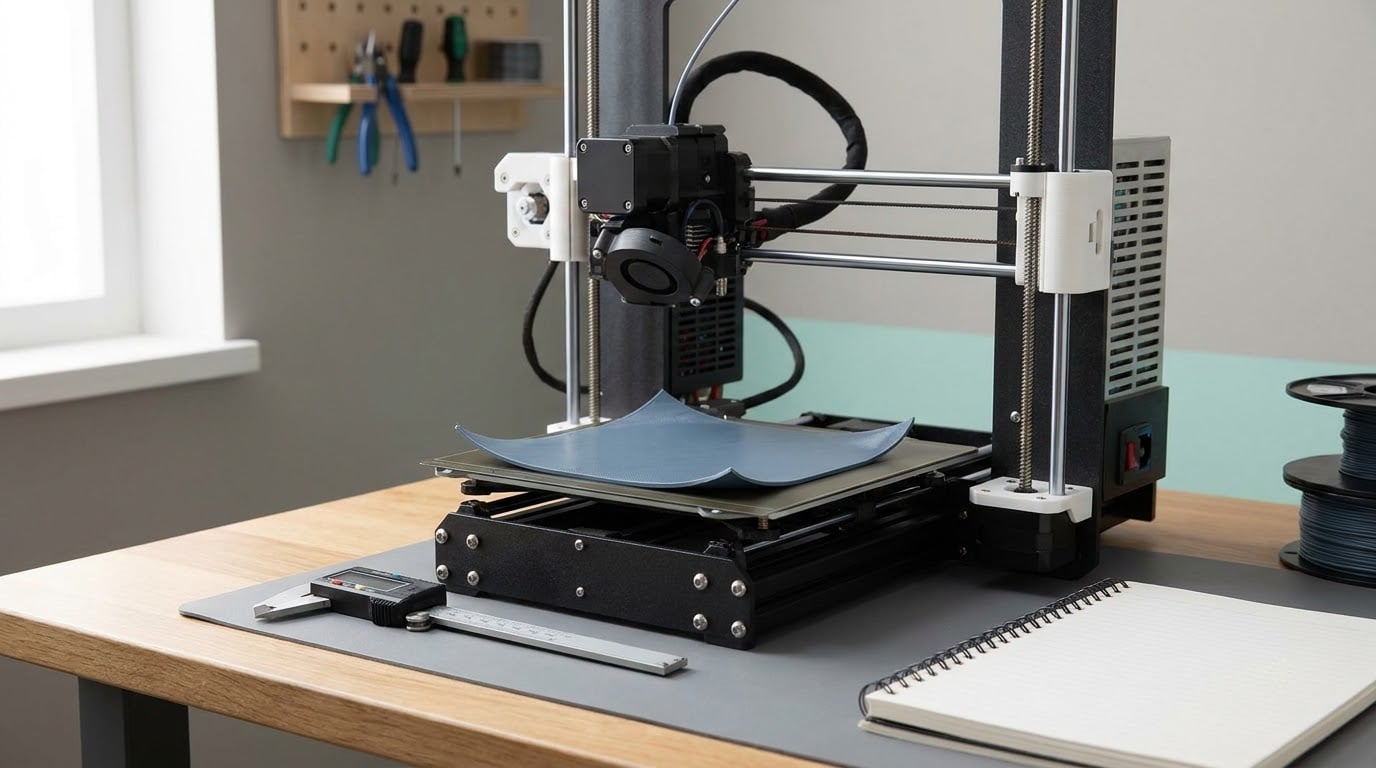
3D prints warp because the plastic contracts as it cools, and different parts of the print cool at different rates. Layers near the heated bed stay warm and pliable while the layers higher up cool faster and try to shrink more, so the mismatch in length builds internal stress that pulls the edges and corners off the plate.
That answer is the short version of why 3D prints warp and how to fix it, and it matters because warping is not random. The amount a part moves is a function of three things you can actually change: the material’s coefficient of thermal contraction, the temperature gradient through the part, and its geometry.
Fix the right one of those three and the problem goes away. Fix the wrong one and you burn filament on 400-layer prints that come off the plate cupped anyway. This guide walks through a repeatable order of operations, cheapest and easiest fix first, so you can stop guessing.
Table of Contents
What You Need
You need very little to diagnose warping properly, and none of it is specialised equipment. The point of gathering these is to rule causes in and out rather than to buy anything new.
- Your printer, with working bed temperature control. Bed temperature is the single most-used warping lever, and you need to be able to read and change it.
- A clean, known build surface. Glass, smooth PEI, textured PEI, garolite and Kapton tape all behave differently with each material, so know which one you have.
- Isopropyl alcohol and a lint-free wipe. Finger oil, dust and previous prints are the most common cause of a first layer that never fully stuck.
- An enclosure or at least a draft shield. A purpose-built enclosure, a cardboard box, or a foam board cover. The cheap version works for most open-air machines.
- Access to your slicer settings. Whether that is Cura, PrusaSlicer, Orca or the Bambu Studio equivalent, you need the adhesion and cooling controls in front of you.
- A way to measure. A digital caliper for thickness and flatness, and a ruler for corner lift. Eyeballing flatness across a 200 mm span is surprisingly hard.
- A flat test coupon. A thin square plate roughly 100 by 100 mm by 2 mm tall, or a hollow open-top box with sharp vertical corners. Both reveal warping in about 40 minutes instead of eight hours.
For materials like ABS, ASA and nylon, an all-metal hotend is not optional. PTFE-lined hotends degrade at the temperatures those materials need, and for ABS and ASA you also need ventilation away from your face rather than a sealed hobby room.
Step-by-Step: Diagnose and Fix 3D Printing Warping
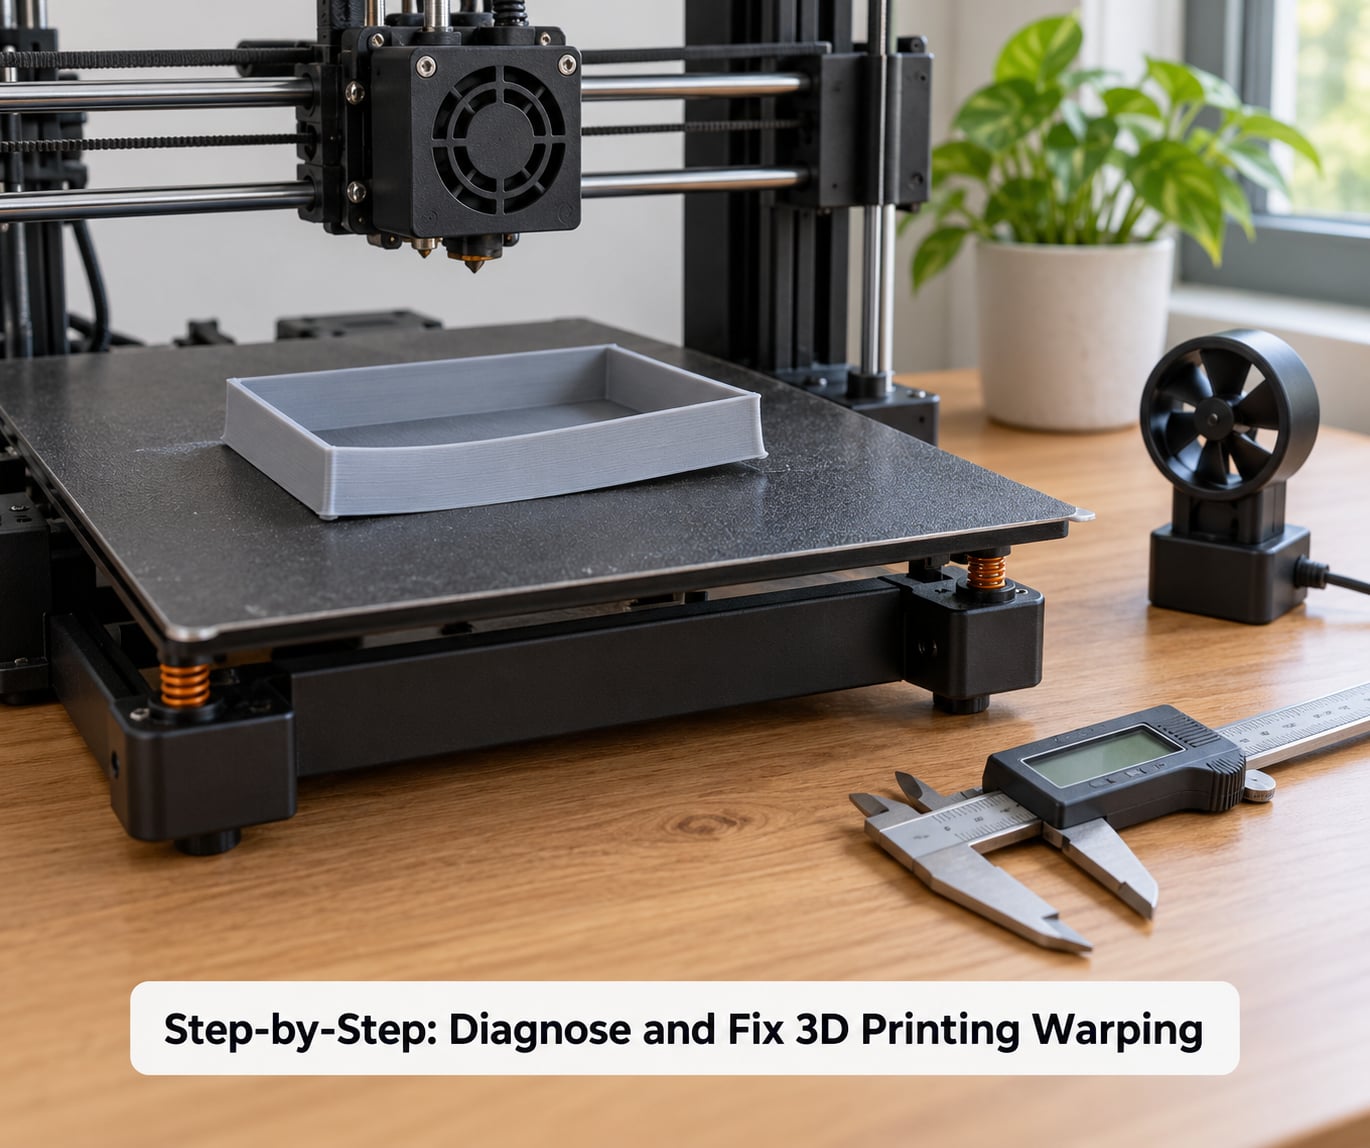
Work through these six steps in order and change one variable at a time. The order matters, because adhesion and temperature problems produce similar-looking results and you will chase the wrong cause if you adjust both at once.
Step 1: Identify Where the Print Is Warping
Corner lift, edge curl, cupping and dimensional distortion have four different causes, and the pattern tells you which one you have. Look at the finished part with the shape in mind before you touch a single setting.
Corner lift is the classic case. Only the corners curl upward, the middle of the part stays flat, and the lift usually starts in the first few layers or in the last ones as the bed cools. This points to a combination of weak adhesion and long uninterrupted contraction runs at the perimeter.
Edge curl is the same mechanism along an entire side rather than at a corner. If one side consistently lifts and the side nearest a window or an open door is the culprit, airflow is likely driving it.
Cupping is a bowl shape across the whole part, often with the corners following the curve. That is a thermal gradient signature: the centre is cooling more slowly than the edges and the whole sheet curves.
Dimensional distortion means the part is flat but wrong. Walls thinner or thicker than the slicer promised, holes in the wrong place, a 100 mm feature measuring 98 mm. That is shrinkage and calibration, not warping, and raising bed temperature will not fix it.
Two timing questions narrow it down fast. If the part lifts during the print, think adhesion and airflow. If it sits flat and then lifts as the bed cools at the end, you are seeing a thermal event during cooldown, and a longer bed cooldown time in the slicer often settles it.
Step 2: Check and Improve Bed Adhesion
Bed adhesion is the first thing to check because it is the cheapest to verify and the most commonly assumed cause. A part can only lift off the plate if it was never firmly attached to begin with.
Start by cleaning. Wipe the build plate with isopropyl alcohol immediately before the print, let it dry fully, and avoid touching the print area with bare fingers afterwards. Oils from your hands reduce adhesion more than most people expect.
Next, confirm the first layer is genuinely continuous. Watch the first two layers at a low camera angle if you can. Squiggly, gappy, or visibly separated lines mean a Z-offset problem, not a temperature problem, and raising bed temperature will only disguise it.
Level the bed if the mesh is far off, then fine-tune Z-offset with a paper test or the printer’s own calibration routine. Slightly too high is what you want. Too low squashes the first layer, which actually helps adhesion, but far too low causes an elephant’s foot and jams later on.
Raise bed temperature 5 to 10 C above the material’s default and watch what happens. Typical working ranges are PLA 60 to 65 C, PETG 80 to 85 C, ABS and ASA 100 to 110 C, polycarbonate 110 to 115 C, and nylon 110 to 120 C. Going much beyond those numbers buys nothing and starts squashing the bottom of the part.
Add a brim before you reach for a raft. A brim of 5 to 8 mm suits PLA, 8 to 12 mm suits PETG, and 10 to 15 mm suits ABS and ASA. A brim adds material around the perimeter that holds the corner down while the part contracts, and it costs a couple of layers of print time. A raft adds a whole sacrificial slab underneath: more filament, more time, and a rougher bottom edge.
If your surface will not cooperate, an adhesion aid does the job well. A slurry of clear school glue, isopropyl alcohol and water at roughly 1:2:2, brushed on in thin coats and allowed to dry, works on bare PEI and glass. A glue stick works too, and it doubles as a release agent so the part can push itself off as the bed cools instead of tearing the bottom layer.
Step 3: Control the Thermal Environment
Temperature control fixes warping by reducing how much the part shrinks as it cools. Higher bed temperature, a warmer chamber, and a longer heat soak all shrink the gap between the hot nozzle and the finished part.
Raise the bed temperature before you touch anything else, and hold it there. Many slicer profiles drop bed temperature after the first layer to avoid an elephant’s foot, and that drop re-introduces exactly the gradient you were trying to remove. If your profile has a bed temperature for layer 1 and a lower one for the rest, set them equal and judge the result.
Preheat and soak. Give the printer 10 to 15 minutes at temperature before starting a large or high-shrinkage job so the bed and chamber are actually at temperature rather than still climbing. With an enclosed machine, a 30 minute soak gives noticeably more consistent results on ABS and ASA.
Watch the nozzle temperature too. Printing hotter means a larger temperature delta between extrusion and final cool, which means more shrinkage. If a part is dimensionally off or severely cupped, dropping nozzle temperature 5 C within your filament’s range is sometimes more effective than any adhesion change.
Know the trade-off before you overcorrect. Raise the bed temperature until the part stops lifting and you will very likely create an elephant’s foot, a squashed first layer that hurts dimensional accuracy and can break off on removal. The useful target is the lowest bed temperature that holds the part flat.
Check your printer’s bed temperature with an independent probe if you suspect the calibration is off. A large heated bed running a cool sensor, or a sensor reading high against the actual plate surface, will make every setting you try behave inconsistently.
Step 4: Reduce Airflow Without Undercooling
Airflow across a cooling part is a direct cause of warping, so shielding a large flat print from drafts fixes cases that no amount of bed temperature will touch. The trap is that shielding the part is not the same as starving it of cooling.
Close the door. Most open-air printers on a desk sit near a window, a door or an air conditioning vent, and a draft strong enough to cool a 200 C nozzle can absolutely curl a plate of plastic. Test this by printing your coupon, then printing it again with the room door shut and the printer boxed in.
If it stops warping, you have your cause. A cardboard box over the frame is the cheapest enclosure there is, and it is reported constantly as the fix that works. A purpose-built enclosure does the same job with better heat control.
For ABS and ASA, aim for a chamber in the 40 to 50 C range. Users report warping effectively disappears at that point. Passive enclosures often stall around 35 to 45 C, which is usually enough, and an actively heated chamber gets you to 55 to 65 C for the large plates and tall towers that still struggle.
Do not seal a PLA printer in a hot enclosure. PLA does not need it, and running a chamber far above the filament’s glass transition temperature causes heat creep at the extruder, jams, and dimensional drift in the X and Y axes.
Here is the counterintuitive part. Several long-running community discussions report that stronger part cooling and slower printing reduce warping rather than cause it. The reasoning is sound: contraction stress accumulates while a layer is still hot, so completing a layer quickly and letting it sit before the next one reduces the time stress has to build. Setting a minimum layer time of around 20 seconds, or turning fan speed up on long layers only, costs nothing and helps tall ABS towers settle down.
Balance the two. Shield the perimeter with a draft shield or a cardboard baffle, keep the fan running for small features and bridges where overhang quality matters, and let large top surfaces benefit from steady cooling.
Step 5: Adjust Slicer Adhesion and Geometry Settings
Slicer settings are where you fix warping without buying hardware, and geometry changes fix it without spending print time. Start with the free ones.
Slow the first layer down. A first layer speed of 15 to 25 mm/s gives the plastic time to fuse to the plate instead of laying down a cold line that peels later. Keep the part cooling fan off for the first 3 to 5 layers so the bed can do its work, then ramp it up over the next few layers rather than switching it on abruptly.
Look for a slicer setting that limits the temperature drop. PrusaSlicer and the Orca and Bambu slicers expose bed temperature per range, so set a single temperature for the whole job. Cura users can set the first layer separately, and the value to change is the one labelled for subsequent layers.
Increase the layer height only slightly. Thicker layers bond better between themselves, though they raise the risk of an elephant’s foot at the bottom, so this is a small adjustment rather than a large one.
Raise infill on large flat parts. Counterintuitively, a 12 to 20 percent infill part warps more than a solid one, because each layer completes faster and dumps its stress into the next layer sooner. Going to 50 percent or solid on a 200 mm plate fixes a surprising number of cases.
Rotate the part. A part oriented so the long dimension runs along Y rather than X presents a shorter contraction run, and the corner closest to the front left of the bed is usually the worst corner because it sits closest to the cooling duct.
Change the model if you control it. Notches smaller than one line width cut along a long straight edge, ribs down the middle, and a honeycomb or gyroid infill instead of solid lines all break up continuous contraction runs. Each has a cost: notches weaken the edge and are hard to remove, extra ribs add time. Honeycomb infill is the rare free win because it uses less material and prints faster while cutting stress accumulation.
Scale matters more than most people expect. Contraction force scales with the length of the run: 0.5 percent shrinkage across a 100 mm edge is about half a millimetre of movement, while the same 0.5 percent across a 10 mm feature is almost nothing. That is why a 40 mm cube prints flat and a 200 mm plate of the same material does not.
Step 6: Validate the Fix and Recover a Finished Print
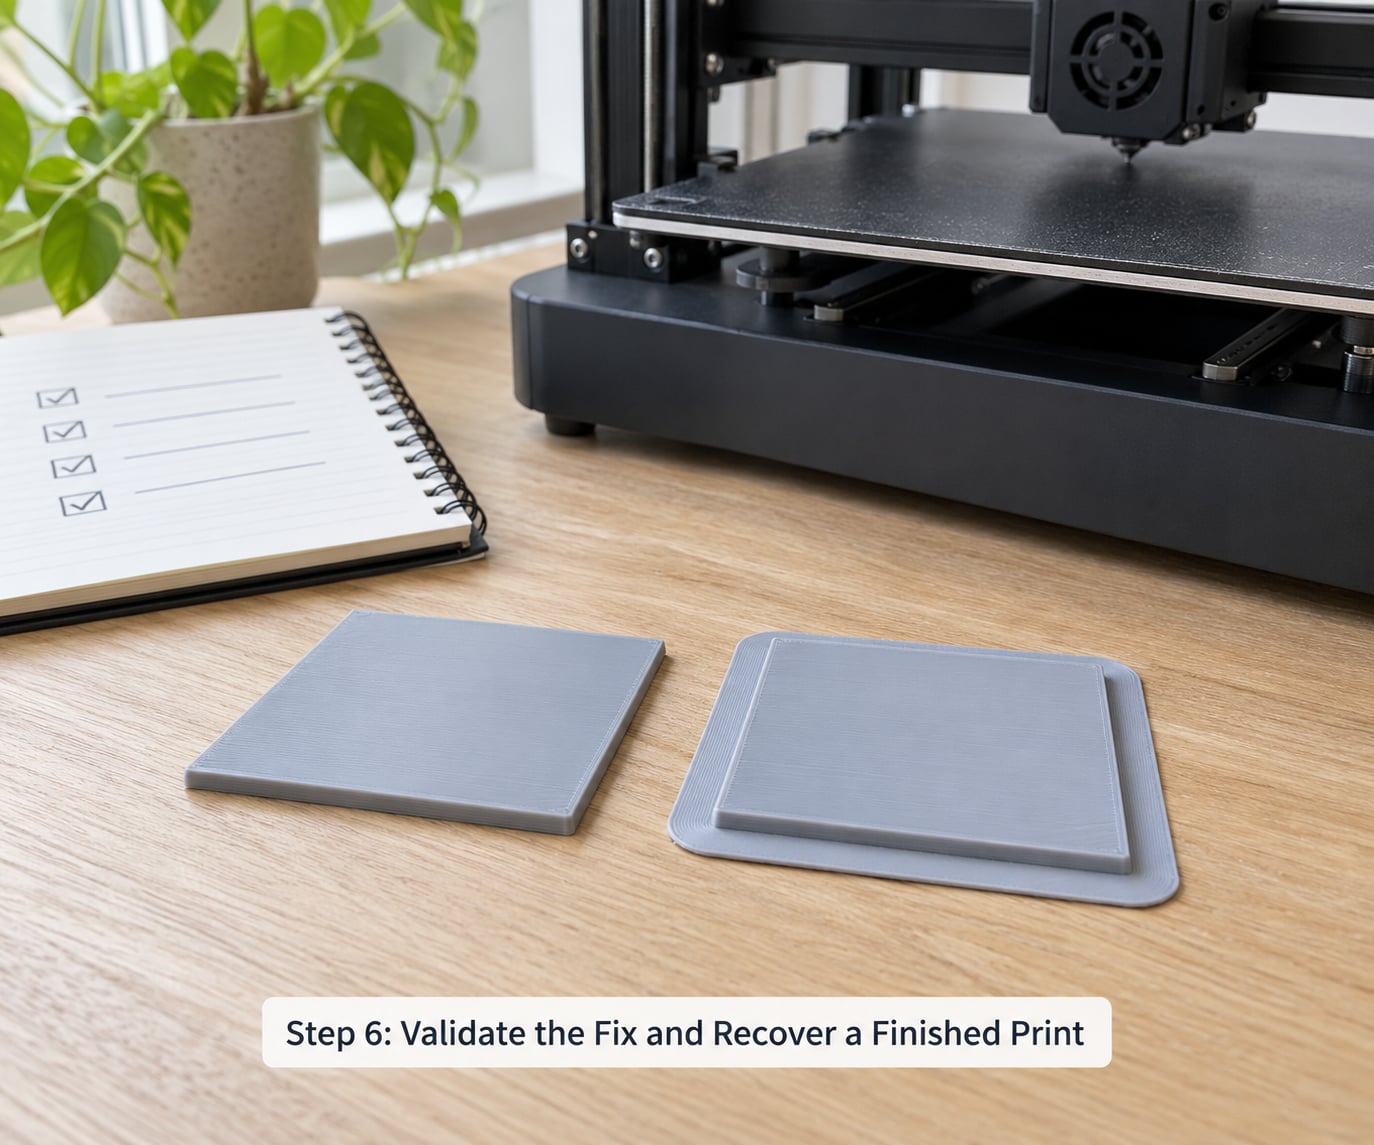
Validate on a coupon before committing to a long print. Print a 100 by 100 by 2 mm flat plate, or a hollow box with sharp vertical corners, with the change applied. Forty minutes of testing beats eight hours of guessing.
Measure the result. Put the caliper on the corner height and record the number in your notebook alongside the material, bed temperature, brim width, enclosure state and fan setting. When the same job warps next month, you have a known-good baseline to start from instead of a memory.
Keep a short maintenance routine. Clean the plate with alcohol before every print, re-check bed level weekly, verify first layer height monthly, and dry filament that has been open for more than a few weeks. Wet filament prints with poor layer bonding, which looks a great deal like delamination.
Now the part that is already finished and warped. If it lifts only slightly and no under-extrusion is visible, heat can relax the internal stress. Warm water around 60 to 70 C, or an oven held just above the material’s glass transition temperature for a short soak, softens the part; clamp or press it flat against a glass plate and let it cool under weight.
Know the limit before you try. A corner that lifted mid-print usually received less plastic while it was off the plate, so flattening it leaves a thin, under-extruded corner that will snap. Deep curl along an edge, prints with visible layer separation, and anything with tight mechanical tolerances are past what heat will fix. Heat also works on PLA, PETG, ABS and ASA to different degrees, and it is a physical reshape, not a repair of the material.
Watch for heat creep while you soak. Keep the part away from the bed and support it so the softened bottom layers do not sag under their own weight.
When It Is Not Warping At All
Four failure modes get confused constantly, and each has a different fix. Getting the diagnosis wrong is why some people run through every warping fix and see nothing change.
| What you see | Actual cause | What fixes it |
|---|---|---|
| Corners or edges lift while the part is printing | Warping from differential thermal shrinkage | Bed temperature, brim, enclosure, airflow control |
| A clean horizontal split partway up the height | Delamination, a new layer cooling before it bonds | Higher nozzle temperature, slower speed, minimum layer time, or less fan |
| The part peels off the plate in the first layer | First-layer adhesion failure | Clean the plate, fix Z-offset, add a glue aid |
| A rounded, squashed bottom edge that is hard to remove | Elephant’s foot from over-squashing | Raise Z-offset slightly, lower bed temperature a few degrees |
Delamination is the one people misdiagnose most. A split straight across the print is not the part lifting off the plate; it is a layer arriving before the previous one dropped below the material’s glass transition temperature and could bond. ABS sits around a 105 C glass transition temperature, which is why fanned ABS splits. Fix it with temperature and speed, not with a wider brim.
Common Mistakes
Most failed troubleshooting sessions share one of these causes. Each one wastes hours and sometimes makes the original problem worse, which is a large part of why 3D prints warp and how to fix it stays unsolved for so many people.
Changing five settings at once. If you raise the bed temperature, add a brim, drop the fan and enclose the printer in one go and the print improves, you have learned nothing. You cannot repeat it, and you cannot roll it back. One variable, one test coupon, one result.
Setting the bed too close. A squashed first layer genuinely helps adhesion, which is why this mistake hides itself. Push it too far and you get an elephant’s foot, dimensional errors in the bottom millimetre, and a part that tears when you try to remove it.
Letting the bed temperature drop mid-print. Several slicer profiles drop bed temperature after layer 1 to protect the bottom of the part. For high-shrinkage materials that drop silently reintroduces the thermal gradient you spent an hour setting up. Flatten the temperature curve in your profile.
Fighting the enclosure with uncontrolled cooling. Sealing an ABS machine and running the fan at full blast cancels both changes. Conversely, enclosing a PLA printer for no reason causes heat creep and dimensional drift. Match the enclosure to the material.
Assuming one universal fix works everywhere. There is no single setting that fixes warping across six materials and three printer classes. ABS contracts roughly 4 to 5 times more than PLA, which is why a profile that is perfect for one spool fails completely on the next.
Reaching for a raft when a brim would do. Rafts waste material and add print time to solve a problem a brim handles in two layers. Use a raft when the first layer itself is failing to bond, not when the corners are curling.
Ignoring the room. An open door, a window or an air conditioning vent next to the printer will undo every enclosure setting you have made. This is the most common hidden cause and the one users consider last.
Assuming the filament is fine. Wet filament produces poor layer bonding and weak bed adhesion. If a spool has been sitting open in a humid room, dry it before blaming the printer.
Settings Cheat Sheet by Material
Start here, then adjust for your specific printer and room. These are starting ranges, not fixed values.
| Material | Shrinkage | Bed temperature | Brim width | Enclosure | Warping risk |
|---|---|---|---|---|---|
| PLA | 0.2 to 0.3 percent | 60 to 65 C | 5 to 8 mm | Not needed | Low on small parts, rises with footprint |
| PETG | Around 0.3 to 0.5 percent | 80 to 85 C | 8 to 12 mm | Helpful on open-air machines | Moderate, adhesive build surfaces help |
| ABS | 0.5 to 0.8 percent | 100 to 110 C | 10 to 15 mm | Strongly recommended | High without a warm chamber |
| ASA | Similar to ABS | 100 to 110 C | 10 to 15 mm | Strongly recommended | High, but UV stable outdoors |
| TPU | Varies by formulation | 30 to 50 C | 5 to 8 mm | Not needed | Low, flexible materials conform instead of lifting |
| Nylon | Around 0.5 to 1 percent | 110 to 120 C | 10 to 15 mm | Essential | High, plus moisture problems |
That 0.5 to 0.8 percent figure for ABS against 0.2 to 0.3 percent for PLA is the whole ABS warping story in two numbers. Over a 150 mm part, ABS tries to lose more than a millimetre of length and PLA loses under half of one, all while the bottom of the part is pinned to a warm plate.
One more case that gets misread: a large low-infill part that warps only after the print finishes and the bed cools. That is a thermal event during cooldown, and a longer bed cooldown time in the slicer gives the part time to relax before it is disturbed.
Frequently Asked Questions
What actually causes warping in a 3D print?
Warping comes from differential thermal shrinkage. Plastic contracts as it cools, but layers near the heated bed stay warm and pliable while layers higher up cool faster and contract more. Those two zones want to be different lengths at the same time, so internal stress builds and pulls the edges and corners off the plate. Material shrinkage rate, temperature gradient and part geometry are the three variables that decide how bad it gets.
Will raising the bed temperature alone stop my prints warping?
Sometimes, and often on small PLA parts where adhesion is the weak link. Raising bed temperature helps when the part is lifting because adhesion is weak, and it usually needs to go 5 to 10 C above the default. It will not help when a draft is cooling the print, when the first layer never stuck, or when a printer profile drops bed temperature mid-job. And going too high creates an elephant’s foot, so treat bed temperature as one lever, not the answer.
Which materials warp the most, and does an enclosure fix them?
ABS and ASA warp the most, contracting roughly 4 to 5 times more than PLA at 0.5 to 0.8 percent against 0.2 to 0.3 percent. Nylon and polycarbonate are close behind. An enclosure helps these materials because it holds chamber temperature around 40 to 50 C, which shrinks the cooling delta. PLA does not need an enclosure and can develop heat creep inside one. Bed temperature, brim width and airflow control complete the fix.
How do I tell whether warping is an adhesion problem or a temperature problem?
Look at where and when the part moves. If it lifts within the first few layers, the first layer never fused to the plate, so clean the build surface, correct Z-offset and add a brim. If it stays flat for most of the print and then curls as the bed cools, you have a thermal gradient problem, so raise bed temperature, hold it constant and shield the part from drafts. One variable per test is the only reliable way to tell them apart.
Can I fix a print that has already warped?
Gently, and only in some cases. Mild lift with no visible under-extrusion can be relaxed by warming the part in 60 to 70 C water or a short oven soak, then pressing it flat under weight until cool. A corner that lifted mid-print usually got less plastic while it was off the plate, so flattening leaves a thin spot that will snap. Deep curl, layer separation or tight-tolerance parts are past what heat can recover.
Conclusion
Start with the first layer. Clean the plate with isopropyl alcohol, confirm Z-offset is right, and watch whether the first two lines fuse continuously. That single check rules out the most common cause in about five minutes.
Then raise bed temperature 5 to 10 C above default, hold it constant for the whole print, and add a brim sized for your material. Next, close the door and take the printer out of any draft, or box it in for ABS and ASA. After that, keep the part cooling fan off for the first 3 to 5 layers and enable a minimum layer time on long layers.
That is why 3D prints warp and how to fix it comes down to order of operations rather than a magic setting: inspect the first layer, clean and level the bed, confirm material temperatures, reduce disruptive airflow, and change one variable at a time before writing the settings down for future prints.